Exercise - Store session state information in an ASP.NET web app
Many session-state providers are available for ASP.NET web applications. For a web app running under Azure App Service, using the Azure Cache for Redis provider can offer the scalability and performance required to support large numbers of concurrent sessions. That's especially true when requests to the same session are directed to different instances of the web app.
In this exercise, you'll create an instance of the Azure Cache for Redis service. You'll configure the session provider for the example web app to use this cache. You'll then verify that the application is using the cache to store session state information.
Create an instance of Azure Cache for Redis
In the Azure Cloud Shell window on the right, run the following command to define a PowerShell variable that contains the name of the Azure Cache for Redis instance to be created:
$rediscachename = (-join($useralias, "-workshop-cache"))Create an Azure Cache for Redis instance. This command can take up to 15 minutes to complete:
az redis create `
    --location $location `
    --name $rediscachename `
    --resource-group $resourcegroupname `
    --sku Basic `
    --vm-size c0
Run the following command to check the provisioning state of the cache. Repeat this command every 30 seconds until it displays the message Succeeded:
(Get-AzRedisCache `
    -ResourceGroupName $resourcegroupname `
    -Name $rediscachename).ProvisioningState
Retrieve the primary access key for the cache and record it to use later:
$rediskey = (Get-AzRedisCacheKey `
    -Name $rediscachename `
    -ResourceGroup $resourcegroupname).PrimaryKey
Configure the session provider in the web app
Return to Visual Studio, editing the eShopLegacyWebForms solution.
In the Solution Explorer window, right-click the eShopLegacyWebForms project, then select Manage NuGet Packages.

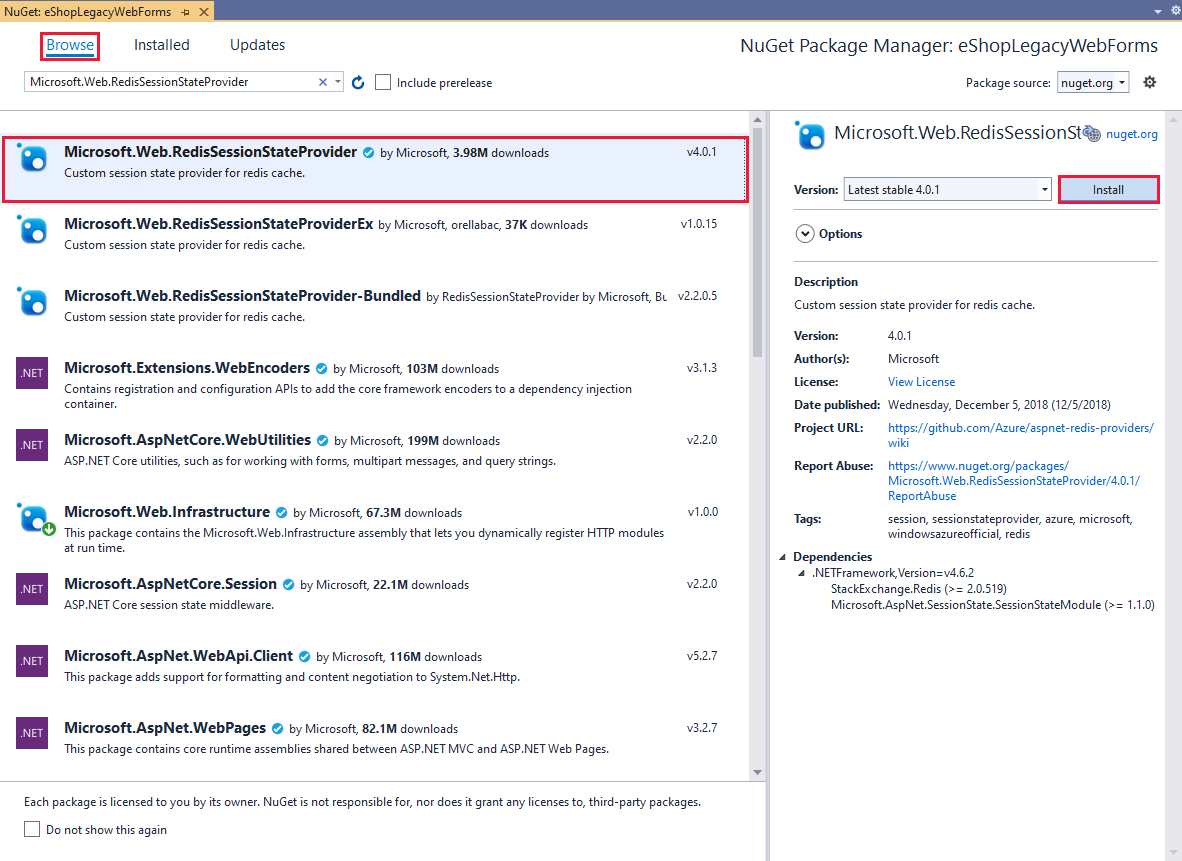
In the NuGet Package Manager window, select Browse. In the Search box, enter Microsoft.Web.RedisSessionStateProvider. Select the Microsoft.Web.RedisSessionStateProvider package and select Install.
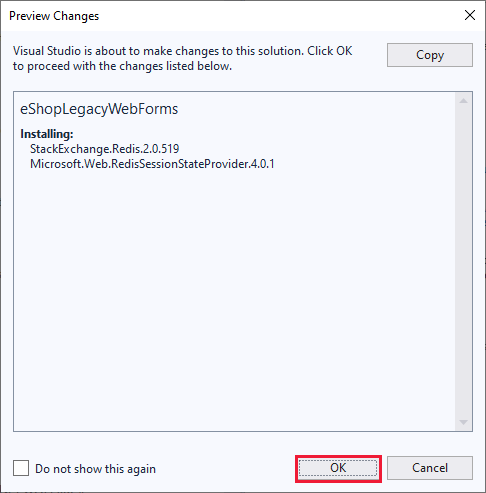
If the Preview Changes window appears, select OK.
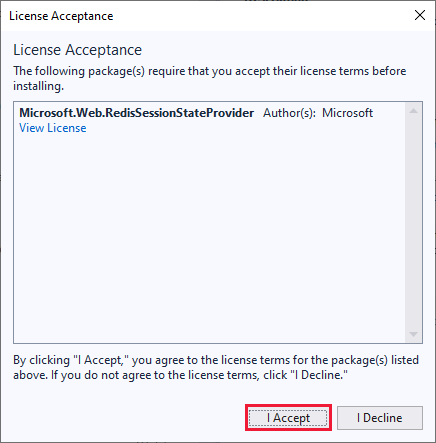
In the License Acceptance window, select I Accept.
In the Solution Explorer window, select the web.config file.
In the web.config file, find the sessionState section. It looks like this:
<sessionState mode="Custom" customProvider="MySessionStateStore">
  <providers>
    <!-- For more details check https://github.com/Azure/aspnet-redis-providers/wiki -->
    <!-- Either use 'connectionString' OR 'settingsClassName' and 'settingsMethodName' OR use 'host','port','accessKey','ssl','connectionTimeoutInMilliseconds' and 'operationTimeoutInMilliseconds'. -->
    <!-- 'throwOnError','retryTimeoutInMilliseconds','databaseId' and 'applicationName' can be used with both options. -->
    <!--
      <add name="MySessionStateStore"
        host = "127.0.0.1" [String]
        port = "" [number]
        accessKey = "" [String]
        ssl = "false" [true|false]
        throwOnError = "true" [true|false]
        retryTimeoutInMilliseconds = "5000" [number]
        databaseId = "0" [number]
        applicationName = "" [String]
        connectionTimeoutInMilliseconds = "5000" [number]
        operationTimeoutInMilliseconds = "1000" [number]
        connectionString = "<Valid StackExchange.Redis connection string>" [String]
        settingsClassName = "<Assembly qualified class name that contains settings method specified below. Which basically return 'connectionString' value>" [String]
        settingsMethodName = "<Settings method should be defined in settingsClass. It should be public, static, does not take any parameters and should have a return type of 'String', which is basically 'connectionString' value.>" [String]
        loggingClassName = "<Assembly qualified class name that contains logging method specified below>" [String]
        loggingMethodName = "<Logging method should be defined in loggingClass. It should be public, static, does not take any parameters and should have a return type of System.IO.TextWriter.>" [String]
        redisSerializerType = "<Assembly qualified class name that implements Microsoft.Web.Redis.ISerializer>" [String]
      />
    -->
    <add name="MySessionStateStore" type="Microsoft.Web.Redis.RedisSessionStateProvider" host="" accessKey="" ssl="true" />
  </providers>
</sessionState>
Remove the commented-out content, and amend the entry for MySessionStateStore as shown in the following code. Replace <youralias> with the value of the $useralias PowerShell variable. Replace <primarykey> with the value of the $rediskey PowerShell variable.
<sessionState mode="Custom" customProvider="MySessionStateStore">
  <providers>
    <add name="MySessionStateStore"
         type="Microsoft.Web.Redis.RedisSessionStateProvider"
         host="<youralias>-workshop-cache.redis.cache.windows.net"
         accessKey="<primarykey>"
         ssl="true" />
  </providers>
</sessionState>
Find the <sessionState mode="InProc" /> element near the start of the <system.web> section and comment it out:
...
<system.web>
  <compilation debug="true" targetFramework="4.7.2" />
  <httpRuntime targetFramework="4.6.1" requestValidationMode="2.0" />
  <!--sessionState mode="InProc" /-->
  ...
</system.web>
Deploy the web app to Azure
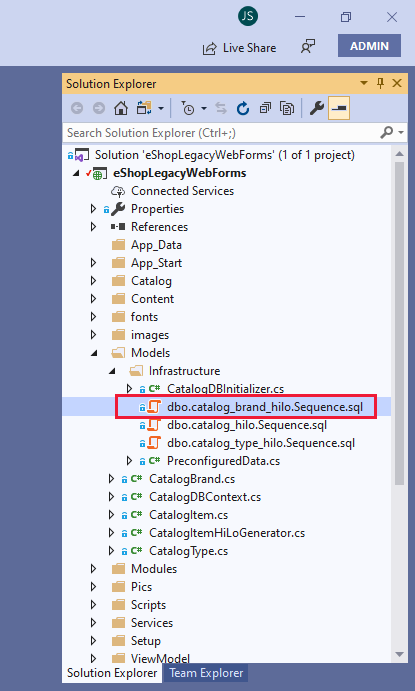
In the Solution Explorer window, expand the Models folder, expand the Infrastructure folder, and then select the dbo.catalog_brand_hilo.Sequence.sql file.
In the SQL file, comment out the USE statement at the start of the file:
-- USE [Microsoft.eShopOnContainers.Services.CatalogDb]
/****** Object:  Sequence [dbo].[catalog_brand_hilo]    Script Date: 16/08/2017 11:21:49 ******/
CREATE SEQUENCE [dbo].[catalog_brand_hilo]
  AS [bigint]
  START WITH 1
  INCREMENT BY 10
  MINVALUE -9223372036854775808
  MAXVALUE 9223372036854775807
CACHE
Repeat step 2 for the dbo.catalog_hilo.Sequence.sql file and the dbo.catalog_type_hilo.Sequence.sql file. Save all files.
Note
The scripts in these files run when the database is seeded with data. This seeding happens automatically the first time the application is run against a new database. The statements that you've commented out are required only when you're running the application locally. When the application runs using the Azure SQL Server database, the database to be used is specified as part of the connection string.
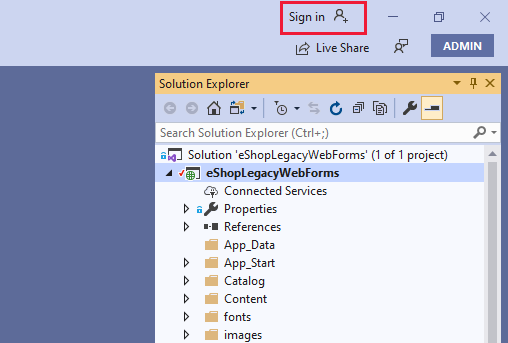
If you aren't currently signed in to your Azure account in Visual Studio, in the upper right of the toolbar, select Sign in. Follow the instructions and sign in.
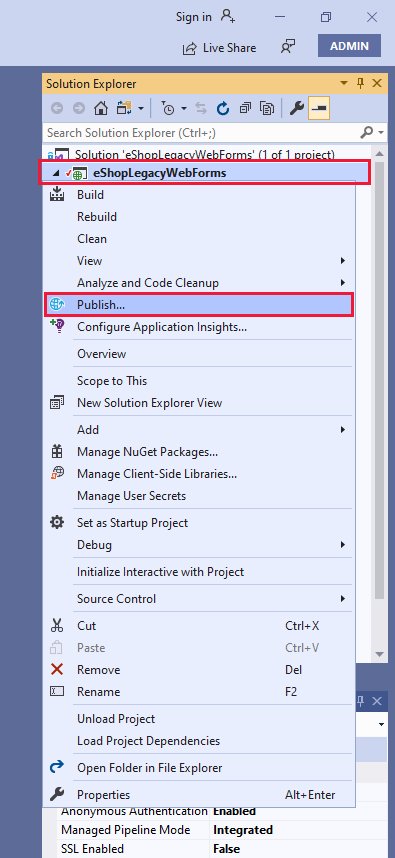
In the Solution Explorer window, right-click the eShopLegacyWebForms project, then select Publish.
If you haven't previously deployed the web app and configured the connection to the Azure SQL Database server, complete the following substeps. Otherwise, skip to step 7.
Switch back to the Azure PowerShell window. Run the following command to allow your computer to access the Azure SQL Database server that you created in the setup unit. Replace YourIPAddress with the public IP address of your computer.
New-AzSqlServerFirewallRule -ResourceGroupName $resourcegroupname -ServerName $servername -FirewallRuleName "AllowDesktop" -StartIpAddress YourIPAddress -EndIpAddress YourIPAddressNote
Make sure you specify the IP address of your computer, not the IP address of the host running Cloud Shell.
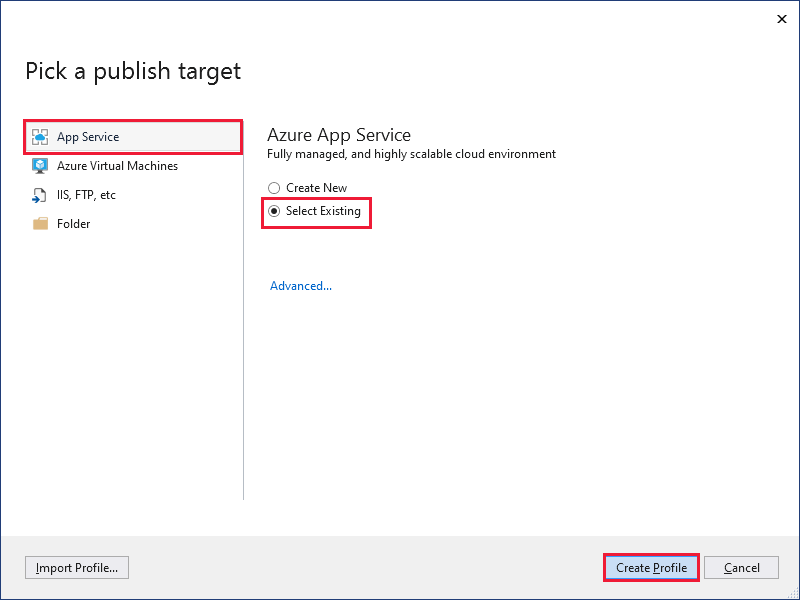
Return to the Pick a publish target window in Visual Studio and select Azure App Service > Select Existing > Create Profile.
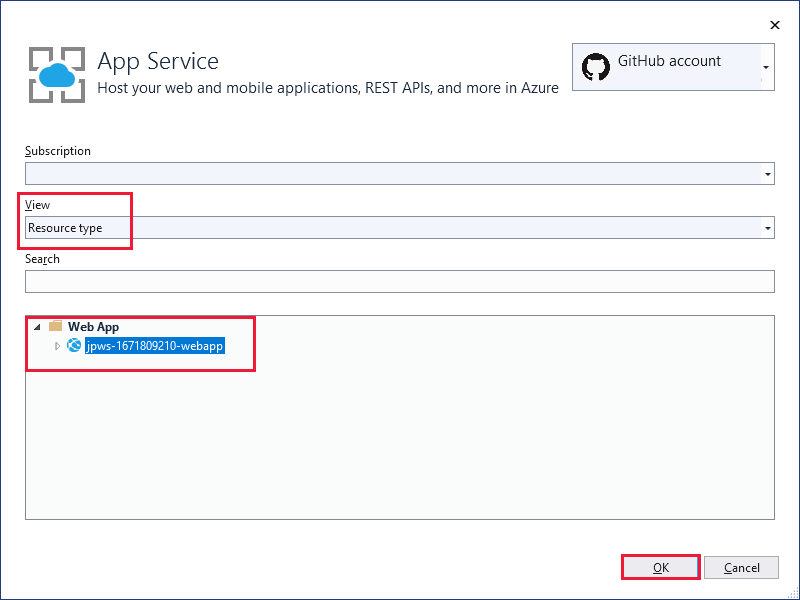
In the App Service window, select your Azure subscription. Set View to Resource type. Expand Web App, select the Azure web app that you created during the setup unit, and then select OK.
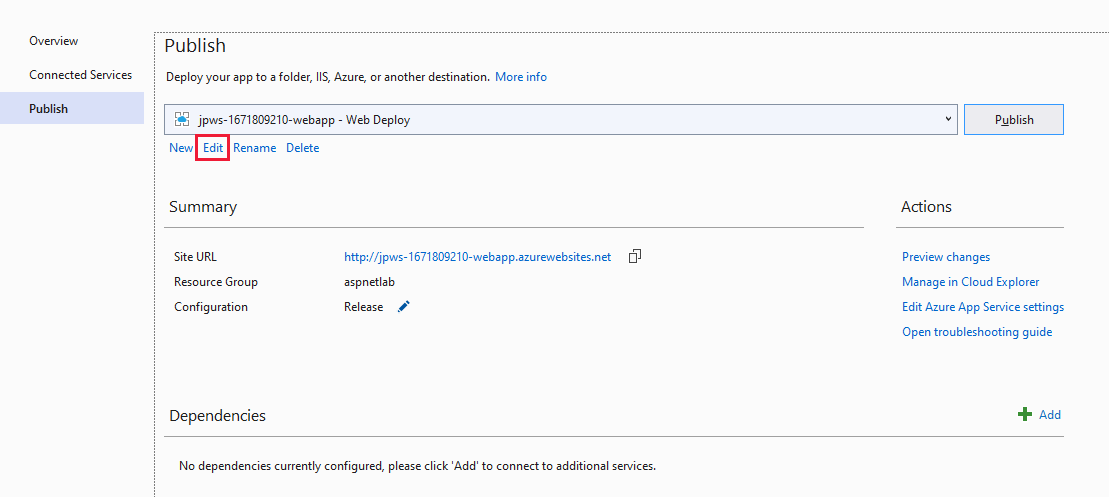
On the Publish page, select Edit.
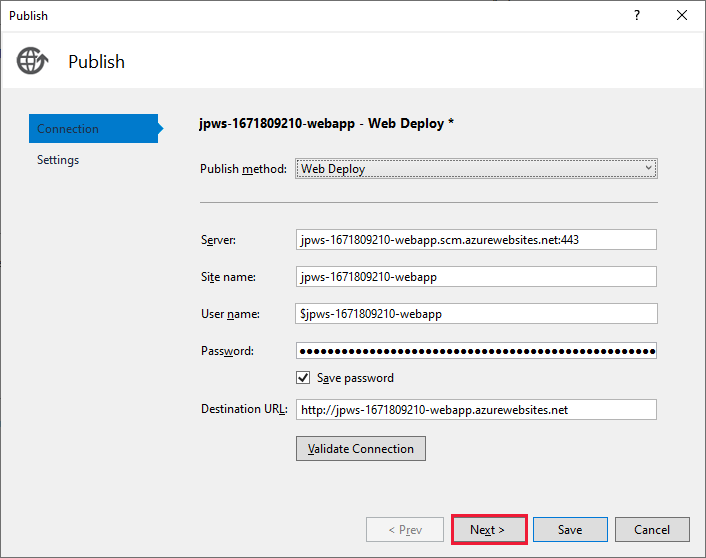
On the Connection page of the Publish dialog box, select Next.
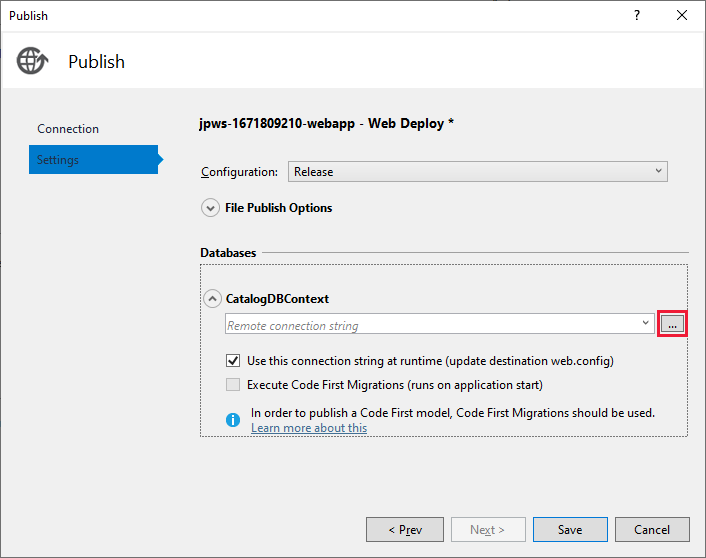
On the Settings page, by the Remote connection string text box, select the ellipsis button (...).
In the Destination Connection String dialog box, specify the values in the following table, and select OK.
Field Value Data source Microsoft SQL Server (SqlClient) Server name Specify the value in the $servername PowerShell variable. Append the text .database.windows.net to the end of the server name. Authentication SQL Server Authentication User name Specify the value in the $serveradminname PowerShell variable. Password Specify the value in the $serveradminpassword PowerShell variable. Save my password Selected. Select or enter a database name eShop 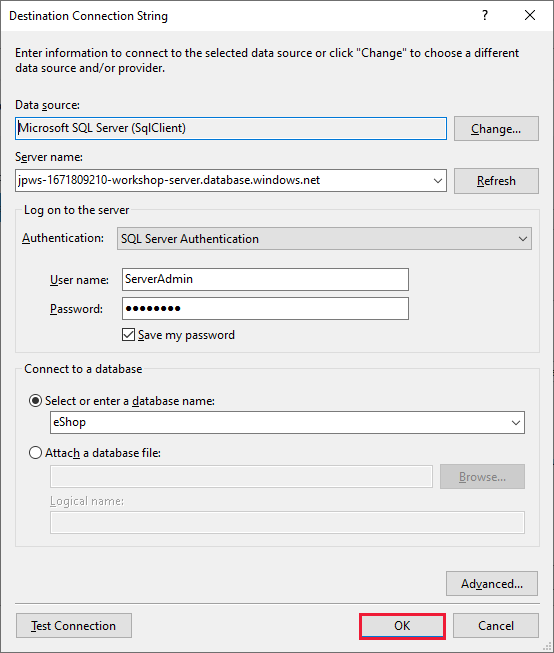
Back on the Settings page, select Use this connection string at runtime (update destination web.config) if it isn't already selected, then select Save.

On the Publish page, select Publish.
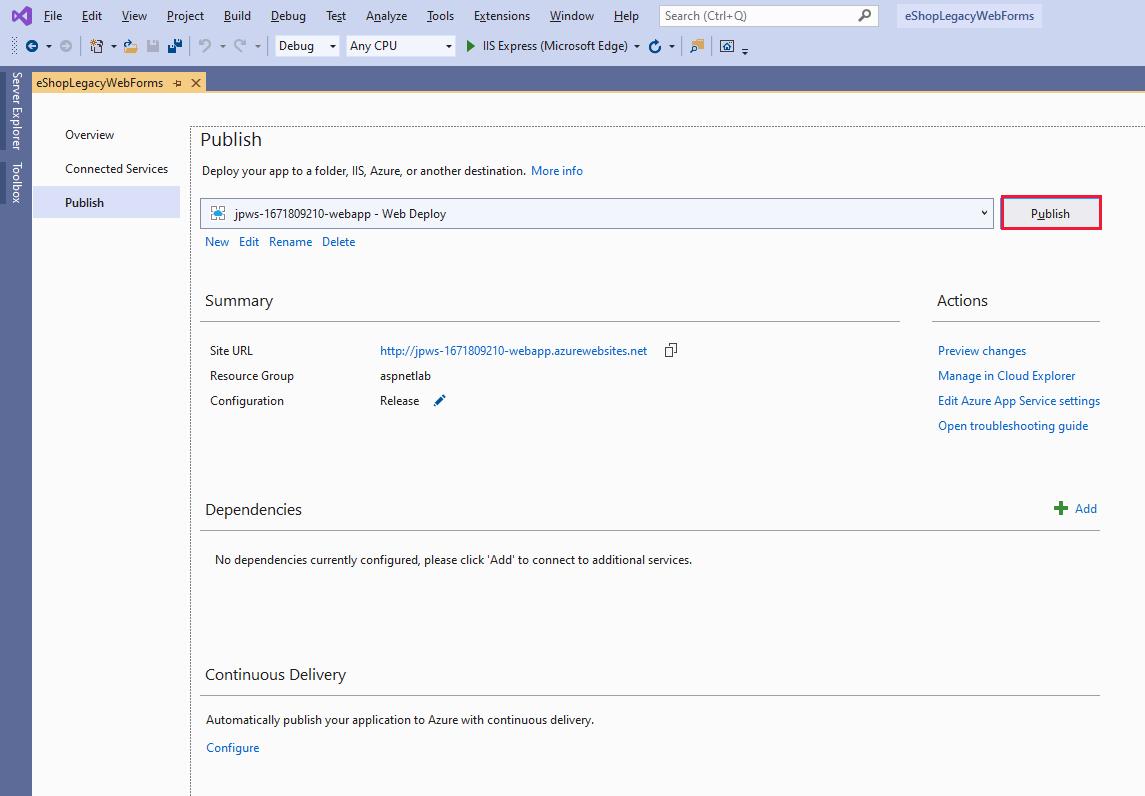
Wait while the web app is built and deployed to App Service. When deployment is complete, the web app will start and Visual Studio will open a web browser. Browse through the website to verify that the web app operates in the same way as it did before when running locally. Leave the page for the web app open in the browser.
View cache activity
Sign in to the Azure portal.
Select the Show portal menu button, then select All resources.
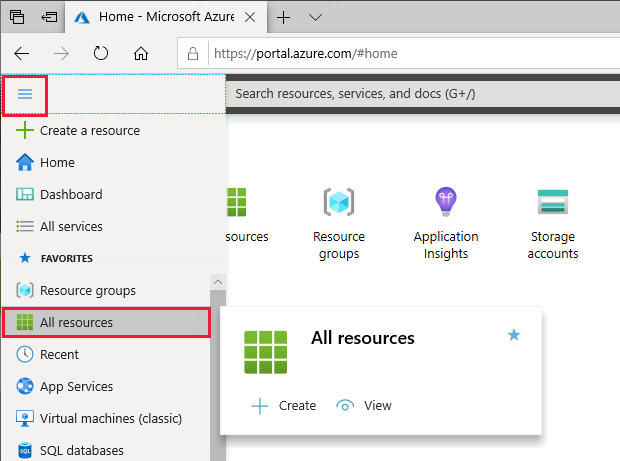
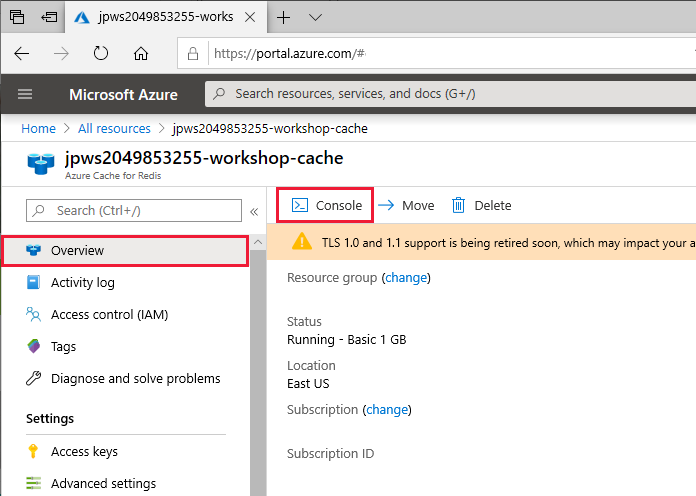
On the All resources page, select the Azure Cache for Redis instance that you created earlier. It will have the name <useralias>-workshop-cache.
On the Overview pane for the cache, select Console.
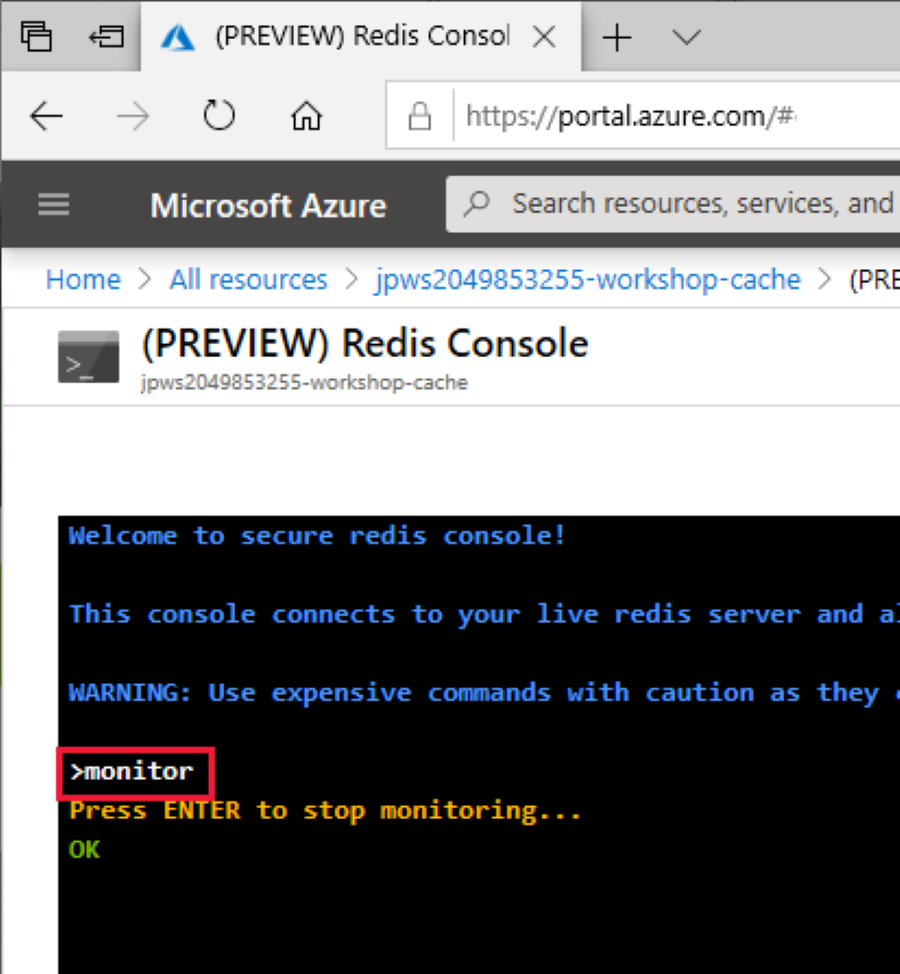
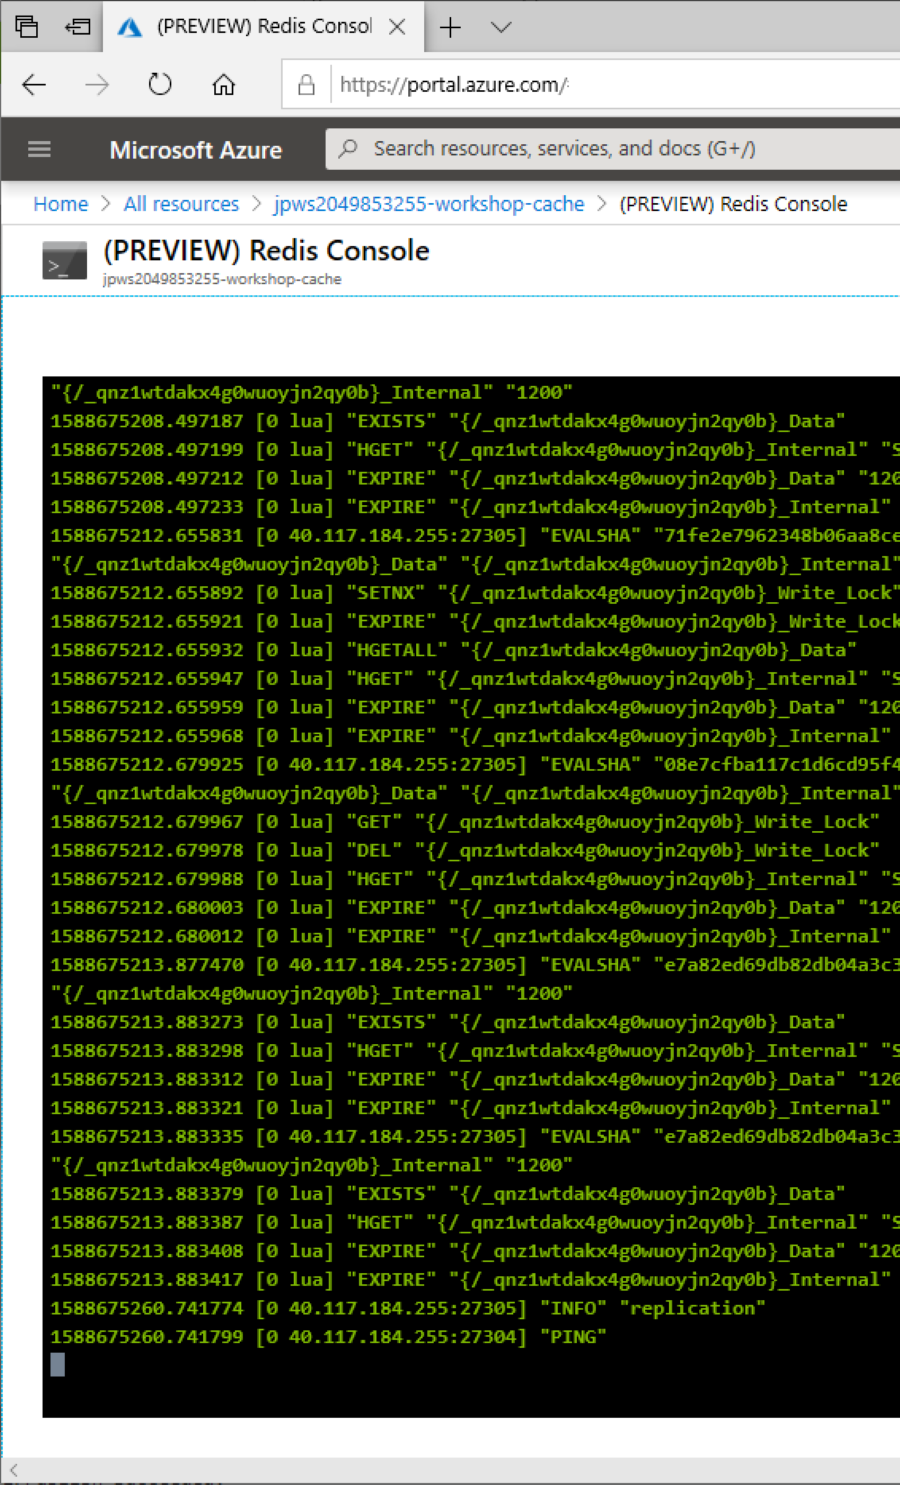
In the Redis Console window, at the > prompt, type monitor, then select the Enter key.
Return to the browser window for the web app and browse through the details of products.
Note
The Redis monitor command affects the performance of all operations that use the cache, so you might notice that the web app is slower to respond than normal. You shouldn't use the monitor command in a production system.
Return to the Redis Console window for the cache. You should have messages displaying the cache activity that took place while you browsed through products. The keys that have _Data and _Internal suffixes identify session state information.
Select the Enter key to stop monitoring activity.