Authentication with managed identities
Managed identities for Azure resources is a Microsoft Entra ID feature that you can use free of charge. Using managed identities is the recommended way for applications hosted in Azure to authenticate to Azure resources and services.
Imagine that your company has moved all of its applications from on-premises servers to Azure-hosted virtual machines (VMs). The on-premises applications authenticate to Azure using service principals. Now that you host the applications on VMs in Azure, you can use managed identities.
In this unit, you'll explore Managed identities for Azure Resources. You'll see how they work and what resources you can access in Azure.
What are managed identities in Azure?
When you use managed identities, you don't need to include authentication information in your code or make it available as part of application accessible configuration files. Managed identities provide an identity for applications to use when connecting to resources that support Microsoft Entra authentication. Applications can use the managed identity to obtain Microsoft Entra tokens.
When you use managed identities, you don't need to rotate credentials or worry about expiring certificates. Azure handles credential rotation and expiration in the background. To configure an application to use a managed identity, use the provided token to call the service.
Note
The term Managed Service Identity (MSI), which is still used in some client libraries, has been replaced by managed identities for Azure resources.
How managed identities work
When you work with managed identities, you should be familiar with some common terms:
- Client ID: A unique ID linked to the Microsoft Entra application and service principal that was created when you provisioned the identity.
- Object ID: The service principal object of the managed identity.
- Azure Instance Metadata Service: A REST API that's enabled when Azure Resource Manager provisions a VM. The endpoint is accessible only from within the VM.
You can create two types of managed identities: system-assigned managed identity and user-assigned managed identity.
System-assigned managed identity
You can enable system-assigned managed identities directly on an Azure service instance, such as a VM. When you enable managed identities, Azure creates a service principal through Azure Resource Manager. A system-assigned managed identity has its lifecycle linked to the resource instance where it was created. For example:
- If you have two VMs and you want to use system-assigned managed identities, you need to enable managed identities on each VM.
- If the resource is deleted, so is the managed identity. A resource can have only one system-assigned managed identity.
User-assigned managed identity
User-assigned managed identities are created as standalone Azure resources. They're independent of any app or service instance. When a user-assigned managed identity is provisioned, Azure creates a service principal just as it does for a system-assigned managed identity.
However, a user-assigned managed identity isn't tied to a specific resource, so you can assign it to more than one application. For example:
- If your web app is deployed on 10 front-end VMs, you can create a user-assigned managed identity for the app, grant the managed identity the necessary rights, and then associate it with all 10 VMs.
- If you used system-assigned managed identity, you'd need 10 identities, and you'd have to manage access for each one.
Use managed identities with Azure resources
Your stock-tracking application retrieves database credentials from an Azure Key Vault. When the application ran on-premises, it used a service principal and certificates to access credentials in the vault. Now that you host the VM on Azure, you can use managed identities instead.
To set up a system-assigned managed identity:
- In the Azure portal, go to the VM that hosts the app.
- On the overview page, in the left menu pane, under Security, select Identity.
- On the right side of the page, you can enable system-assigned identity by toggling the Status switch to On. Notice that you could also specify a user-assigned identity by choosing User assigned at the top of the page and choosing Add to specify the user-assigned managed identity that you want to use.
- Save the changes.
Next, the system reminds you that the server will be registered with Microsoft Entra ID, and that you can grant permissions to resources there.
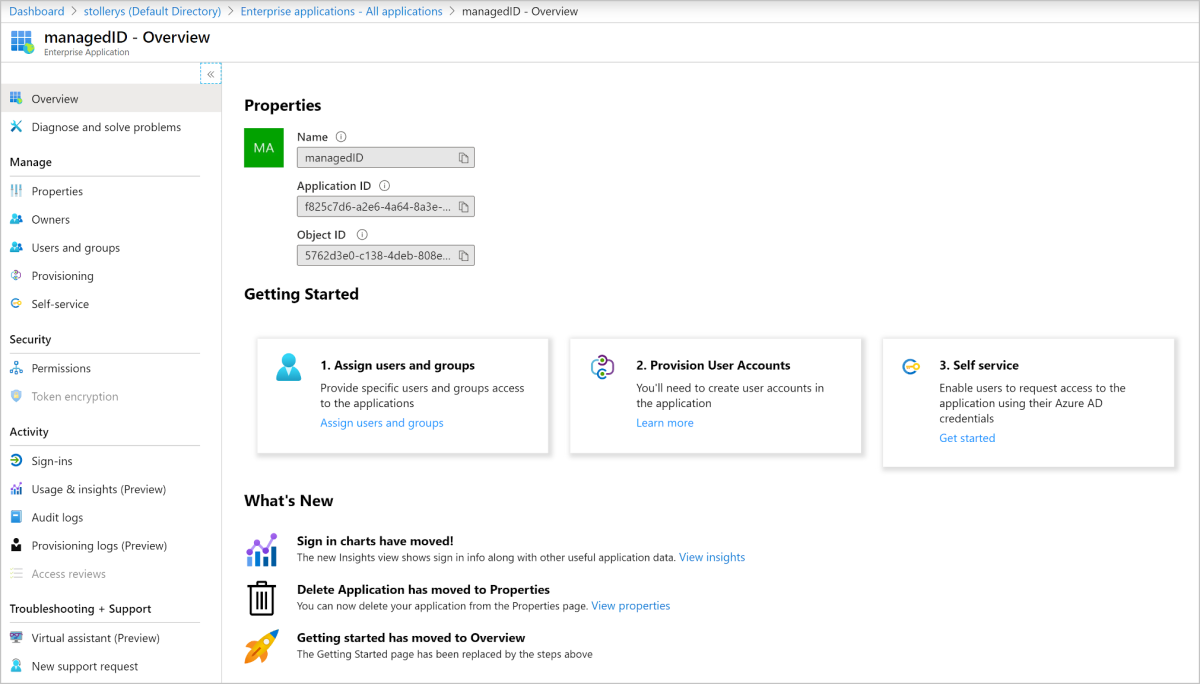
You can always see the current managed identities for the subscription in Microsoft Entra ID in the Enterprise applications section of the Azure portal. Select All applications and filter the results to Application type== Managed Identities.
Check your knowledge
Having an issue? We can help!
- For issues related to this module, explore existing questions using the #azure training tag or Ask a question on Microsoft Q&A.
- For issues related to Certifications and Exams, post on Certifications Support Forums or visit our Credentials Help.