Author a guide in the PC app
For an overview of how to author a guide in the PC app, watch the following video.
You use the PC authoring app in Dynamics 365 Guides as the first step in the authoring process.
Use the PC app to complete these tasks:
Create a guide.
Select an anchoring method.
Add tasks and steps.
Write the instructions for your steps.
Assign different types of content to support the steps. Here are some examples of supporting content:
- 3D parts
- 3D objects, such as objects from the 3D toolkit (for example, arrows and numbers)
- 2D media (images and videos)
Install, open, and sign in to the Dynamics 365 Guides PC app
Use these instructions to install the Microsoft Dynamics 365 Guides PC app (if it hasn't already been installed for you) and to sign in.
Note
You must have a license to install the Dynamics 365 Guides PC app. You can also sign up for a free trial. For more information, see Setup overview.
Install the app
To install the PC app, follow these steps.
On a computer that is running Windows 10, make sure that you have the latest Windows 10 build (10.0.16299 or later).
Go to Start > Microsoft Store, and then search for Dynamics 365 Guides.
Select Install to download and install Dynamics 365 Guides.
Before you can sign in and start building guides, you must have a subscription (trial or paid), install the solution and set up user and roles.
Sign in to the app
To sign in to the PC app, follow these steps.
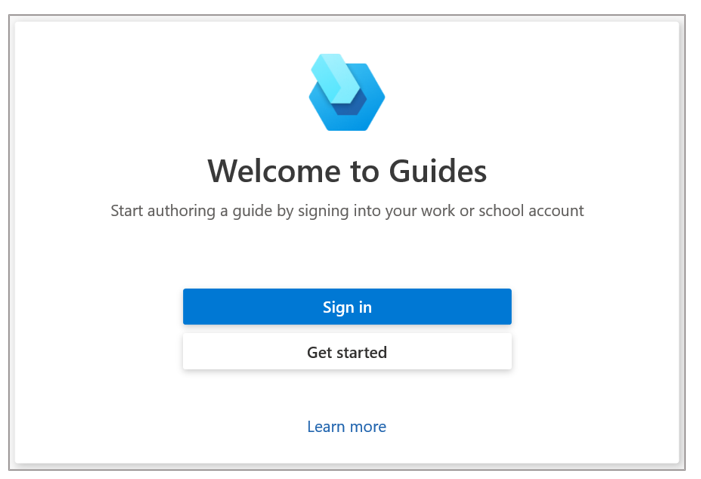
Open the Dynamics 365 Guides app from the Start menu on your computer.
On the Welcome to Guides page, select Sign in.
In the Sign in dialog box, select Work or School account, and then select Continue.
On the Sign in page, enter the user account and password that your organization assigned to you.
Select the instance that you want to use, if there is more than one instance.
Select OK.
Create a guide
To create a guide by using the Dynamics 365 Guides PC app, follow these steps
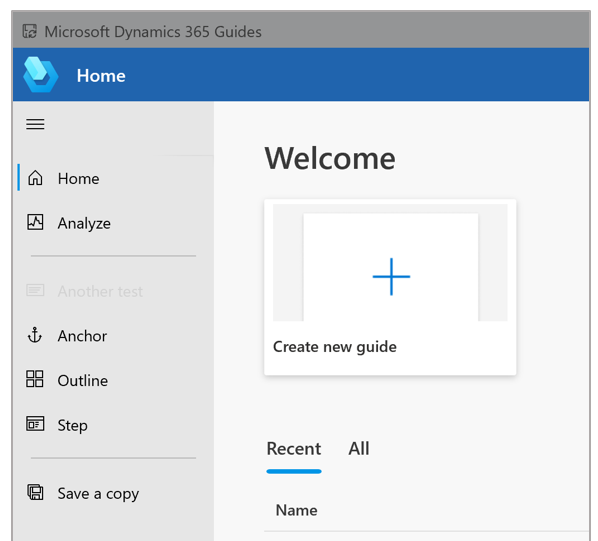
Open the Microsoft Dynamics 365 Guides PC app.
Select Create new guide.
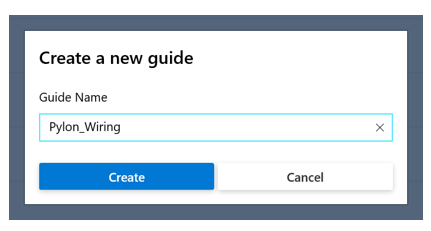
Enter a name for the guide, and then select Create.
Tip
If you're planning to create multiple versions of the guide, you might want to add _v2, _v3, and so on, as part of the name. You can also use the Save a Copy command on the File menu if you're creating multiple versions of the same guide.
After you create your guide, the Outline page appears. To learn more about how to work on the Outline page, see Structure your guide in the Outline page unit later in this module.
How changes are synced between the PC app and the HoloLens app
The PC authoring app and the HoloLens app are connected through the cloud, where your Dynamics 365 Guides files and content are stored.
When you author a guide, all changes are saved on both the computer and the HoloLens. Therefore, it's easy to switch between devices. Autosave checks for changes every four seconds.
You must be online to author Dynamics 365 Guides (on PC and HoloLens).
Note
When you switch from one device to the other, it's a good idea to close the guide, to make sure that you don't lose any work.
Keyboard shortcuts
You can use many keyboard shortcuts in the Microsoft Dynamics 365 Guides PC app.
See the list of shortcuts in Keyboard shortcuts for the Dynamics 365 Guides PC app.