Structure your guide in the Outline page
After you create a guide by using the Dynamics 365 Guides PC app, or when you open an existing guide, the Outline page appears. On the Outline page, you create a framework for your guide by adding as many tasks and steps as you need.
Tasks are groups of steps. Steps are the short, separate work items that operators complete to perform the task. Steps are the central building blocks in Dynamics 365 Guides.
The Outline page provides a great way to map out your guide at the start, or to get an overall picture of the guide after you've added all the tasks and steps. You can also restructure your guide from the Outline page by dragging tasks and steps.
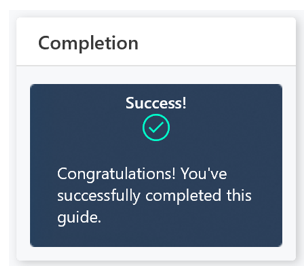
The Outline page includes a Completion step that is included in all guides. This step lets operators know that they've reached the end of the guide. The Completion step includes default text that you can customize as you see fit.
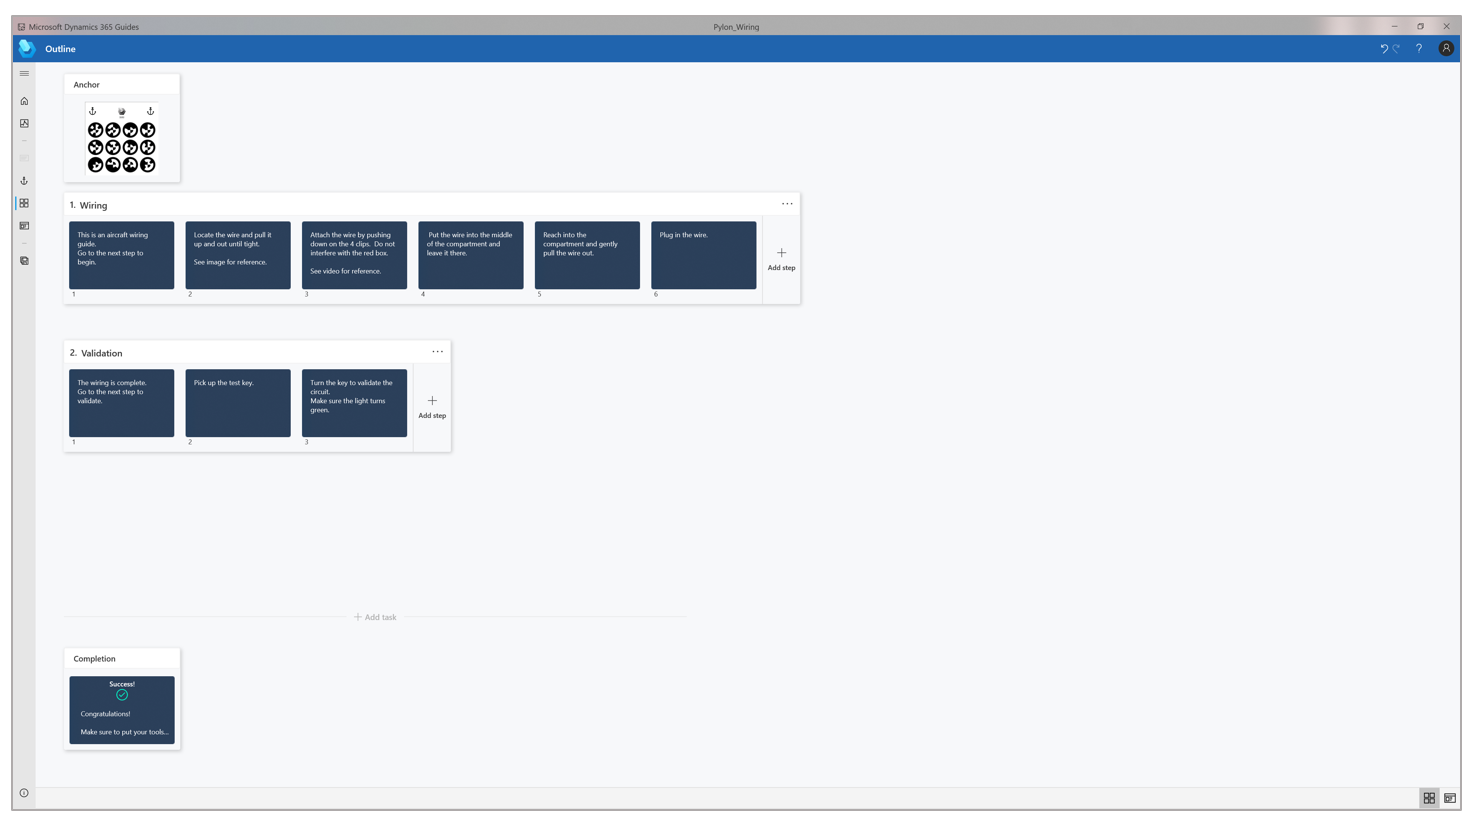
Here's an example of a filled-in Outline page.
Go to other pages from the Outline page
You can use the buttons in the navigation bar on the left side of the Outline page to go to other pages in the PC app.
Open navigation button
 Expand the navigation bar so that it includes a description for each button.
Home button
 Go to the Welcome page, where you can create a new guide or open an existing guide.
Analyze button
 Go to the Analyze page, where you can set up Power BI reports (Guides Analytics) to analyze your guides.
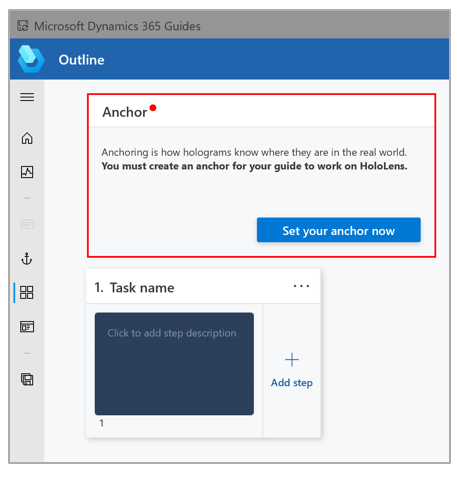
Anchor button
 Open the Choose an anchor method wizard, where you can select an anchoring method for your guide or change the existing anchoring method.
Step button
 Go to the Step Editor page, where you can add instruction text and supporting 2D or 3D content.
Work with tasks and steps
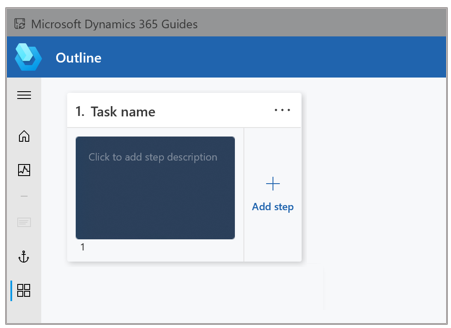
When you open the Outline page for a newly created guide, you will notice that a single task and a single step have already been created for you.
The following table describes the actions for working with tasks and steps.
| Action | Steps |
|---|---|
| Change the name of a task. | Enter a new name in the Task name box. |
| Enter instruction text for a step. | Enter text in the box below the task name. When you start to enter text, the Step Editor page appears. |
| Add a new task. | Select Add task below the last task or set of steps. Alternatively, select the Task menu (...) button to the right of the task name, and then select Insert a task. |
| Add a new step. | Select Add step. |
| Remove a task and its steps. | Select the Task menu (...) button to the right of the task name, and then select Remove task and steps. |
| Change the instruction text for the Completion step. | Select the Completion step. The Step Editor page appears. |
| Rearrange tasks or steps. | Drag the task or step to move it where you want. |
Best practices for the Outline page
Here are some best practices to consider when using the Outline page.
To provide overall context, add an Overview task at the beginning of the guide. This task should include just one step that describes what the guide is about. This step is also a good place to list all the tasks that the guide covers.
At the beginning and end of each task, add a step to let operators know when they've finished something or are starting something new. This type of step can help operators feel successful when they complete a task.
Don't hold back on adding lots of steps. However, for the best effect, remember to keep the steps short.
Consider adding steps that show individual tips and tricks.