Create and place a trigger for step navigation
A trigger automatically advances an operator to the next step based on detection of their hand(s). This provides a very natural way for operators to complete a task. You place the triggers in the real world where the work takes place. The operator doesn’t have to disrupt the flow of their work by gazing at a button on the instruction card after completing each step.
There are two types of triggers:
Visible triggers - Dynamics 365 Guides comes with pre-configured Next and Back buttons that you can place in the real world. Operators select a visible trigger with their hand(s) to move forward or backward. You can add a dotted line to a visible trigger to tie it to a specific place in the real world.
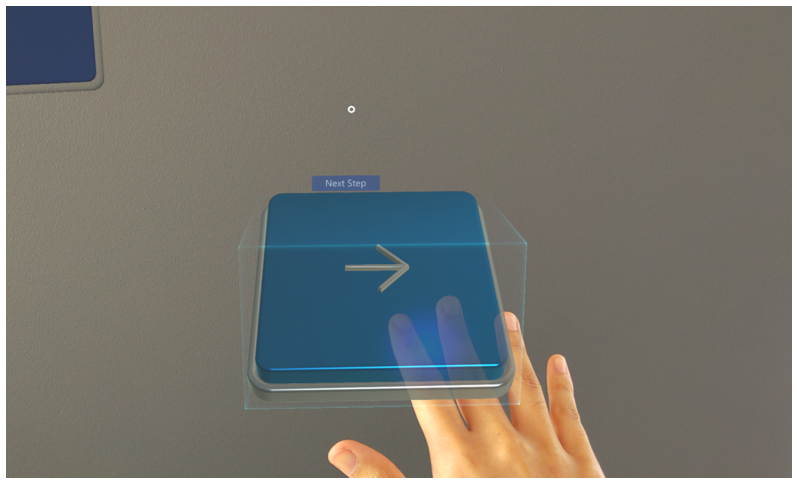
Invisible triggers - An invisible trigger automatically advances an operator to the next step when the trigger is activated. Operators don’t see any evidence of the trigger until they activate it, at which time they’ll see a light green box.
After you create a trigger in the Microsoft Dynamics 365 Guides PC app, you can place and test it in the HoloLens app. You can also create the trigger directly in the HoloLens app, as described in this unit.
Note
You can also use triggers together with branching (non-linear) guides. For more information about branching see Add a branch in to a guide in Dynamics 365 Guides to create a non-linear workflow.
Create a trigger in the HoloLens app
To create a trigger in the HoloLens app, follow these steps.
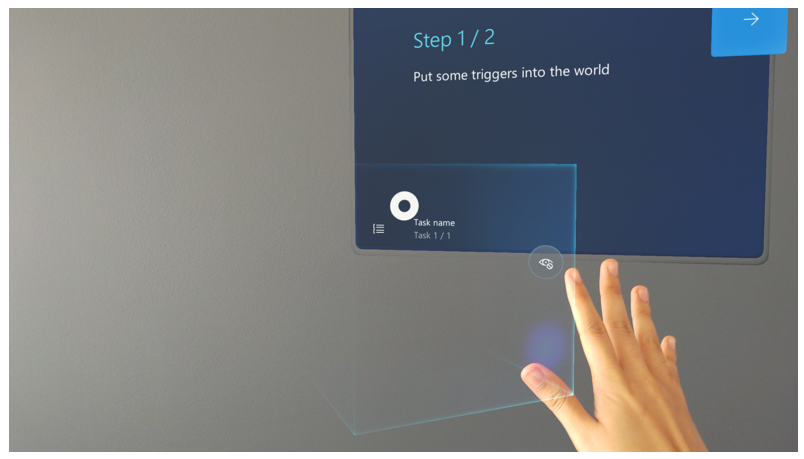
Select an empty box in the bin.
In the Asset gallery, select the Triggers category.

Select the type of trigger (Back, Invisible, or Next) you want to create.
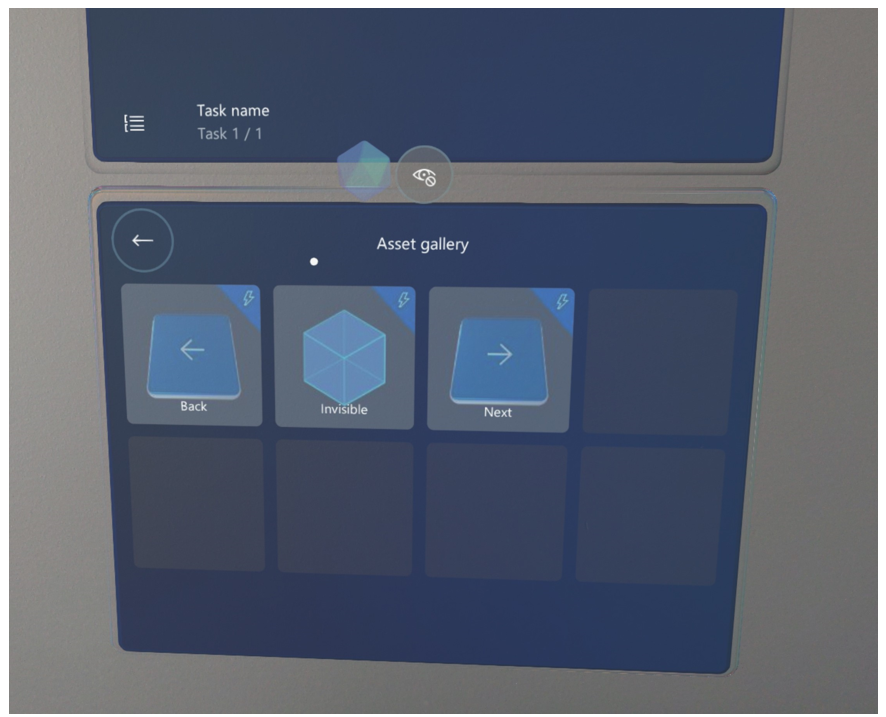
The item is added to the bin and is ready to place in the real world.
Tips for placing and sizing triggers
You can place and size a trigger just like any other hologram in the HoloLens app. When placing a trigger, keep the following in mind:
Position - Place the trigger where the work happens at "working height" (above the belt). You’ll need to test the trigger in Operate mode to make sure it behaves the way you expect.
- Avoid placing triggers in drawers or under counters. If you can't see your hand, HoloLens 2 can't see it either.
- Avoid placing triggers on a flat surface, such as a table top. It's best to allow at least 5 cm between any flat surface and the trigger.
Size - It’s important to make the trigger cube the right size. If you make the trigger too big, the operator might activate the trigger unexpectedly at the wrong time. If you make the trigger too small, the operator might miss it completely. The trigger needs to be big enough to place hands inside.
Using multiple triggers - As triggers always have a cube shape, in some cases, you may want to use multiple triggers to make sure the operator activates the trigger. For example, if the area you want to cover for a trigger is rectangular in shape, you could put multiple duplicate triggers next to each other if you don’t know the exact spot where the operator’s hand will exit the trigger area. You can add as many triggers as you want for each step.
On-enter vs. on-exit triggers - You can activate a trigger when the operator's hand enters the trigger area or when it exits the trigger area.
Delete or duplicate a trigger
You can edit a trigger the same way you edit any other hologram in the HoloLens app.
Select the trigger hologram.
Select Edit Hologram (pencil).
Select Duplicate or Delete.
You can’t use styles or animations with visible or invisible triggers.