Complete and activate your rule
After you've created your rule items, you can activate your rule so that it can be used. One final decision that you should make is if you want to send an email to the customer after a condition has been matched and a case is created. For example, after the system identifies and creates a case for a gold customer, you can send an email notifying them that a case was created. This process is done as part of step three on the rule. You can set the Automatically reply to email field to Yes and then specify the email template that you want to use. By default, a New Case Acknowledgment email template is available. Otherwise, more email templates can be added under the templates group in Service Management.
Change the rule order
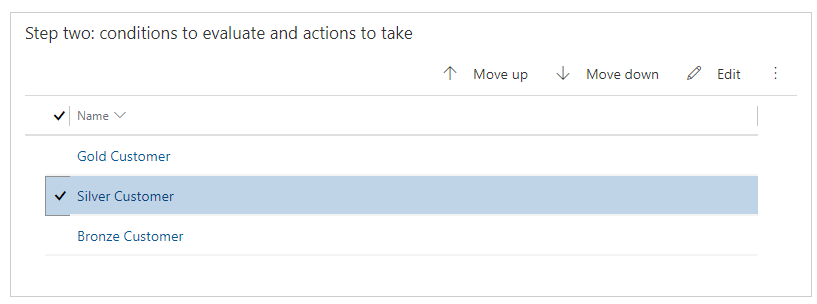
Another step that you'll want to take is to make sure that your rule items are being implemented in the proper order. As mentioned previously, rule items are checked in the order that is defined in the rule. When the rule finds a matching rule item, it will apply that rule item and stop checking for more matches. You can control the order in which it checks rule items, so it's best to place the most specific rules first and then work your way down the list.
When you're ready to make your rule live, you can select the Activate button on the command bar. After the rule is activated, it will start defining cases for email activities that are sent to a specific queue.
For more information, see Activate a rule for creating or updating records automatically.

