Exercise - Create an Azure Cache for Redis instance
Note
The first time you activate a sandbox and accept the terms, your Microsoft account is associated with a new Azure directory named Microsoft Learn Sandbox. You're also added to a special subscription named Concierge Subscription.
You have been tasked with validating if Azure Cache for Redis can serve as your overall communication middleware for your solutions for your retail development team.
In this exercise, you create a new Azure Cache for Redis instance. You then use this instance in the remaining exercises throughout this module.
Create an Azure Cache for Redis instance
Use the Azure portal to create a new Azure Cache for Redis instance.
Sign in to the Azure portal using the same account you used to activate the sandbox.
Within the Azure services category, select Create a resource, select the Databases category and then select Azure Cache for Redis.
Tip
Alternatively; expand the ≡ menu, select All Services, in the Databases category, select Azure Cache for Redis, and then select Create.
Within the Basics tab of the New Redis Cache pane, enter the following values for each setting:
Setting Value Subscription Concierge Subscription Resource group [sandbox resource group name] DNS name Enter any globally unique name. The portal checks the name in real time. Location Select a region Cache type Basic C0 (250 MB Cache, No SLA) Select the Advanced tab.
Within the Advanced tab of the New Redis Cache pane, enter the following values for each setting:
Setting Value Redis version Latest - 6 Select Review + Create to navigate to the Review + Create tab, and then select Create.
Note
It can take upwards of fifteen minutes to create a new Azure Cache for Redis instance.
Observe the Deployment pane. When the deployment is complete, the pane updates with a Deployment successful message.
View the Azure Cache for Redis instance
At this point, Azure Cache for Redis is running. Use the Azure portal to view details about the instance.
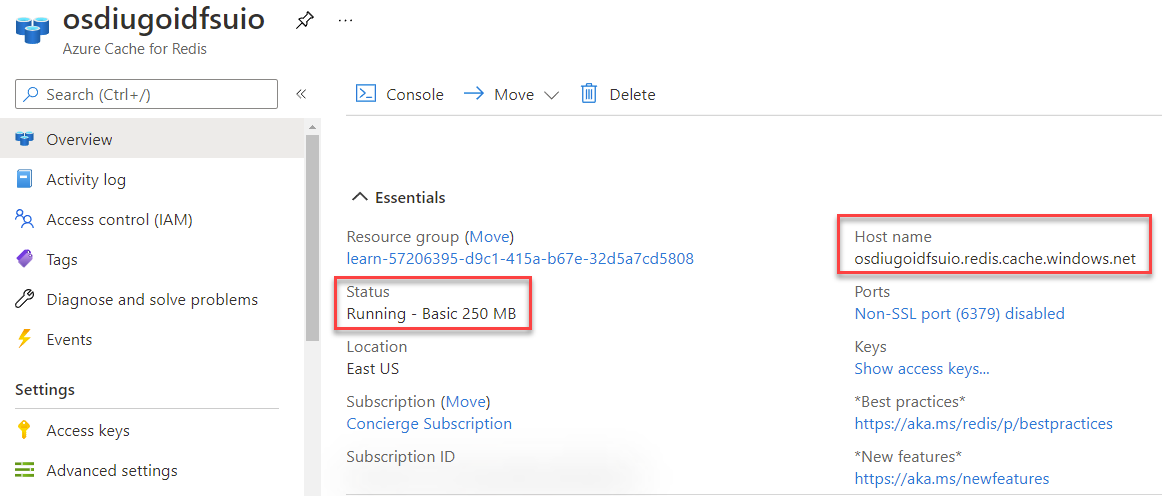
Within the Deployment pane, select Go to resource to view the Azure Cache for Redis instance.
Observe the Host name and Status properties. The host name should have a valid URI for your instance and the status should be Running.
Warning
Do not delete the instance after you have created it. This Azure Cache for Redis instance will be used for the remaining exercises in this module.
