Exercise - Integrate and use speech recognition and transcription
In this module, you'll create a Mixed Reality application that explores the use of Azure Speech Services with the HoloLens 2. When you complete this series, you'll be able to use your device's microphone to transcribe speech to text in real time, translate your speech into other languages, and use the Intent recognition feature to understand voice commands using artificial intelligence.
Create and prepare the Unity project
In this section, you'll create a new Unity project and get it ready for MRTK development.
As a prerequisite, make sure you've completed the steps below to initialize your project and application:
- Creating the Unity project and give it a suitable name, for example, MRTK Tutorials
- Switching the build platform
- Importing the TextMeshPro Essential Resources
- Importing the Mixed Reality Toolkit
- Configuring the Unity project
- Creating and configuring the scene and giving it a suitable name; for example, AzureSpeechServices
Note
You can learn how to set up your mixed-reality project in the Introduction to Mixed Reality Toolkit module.
Configure the capabilities
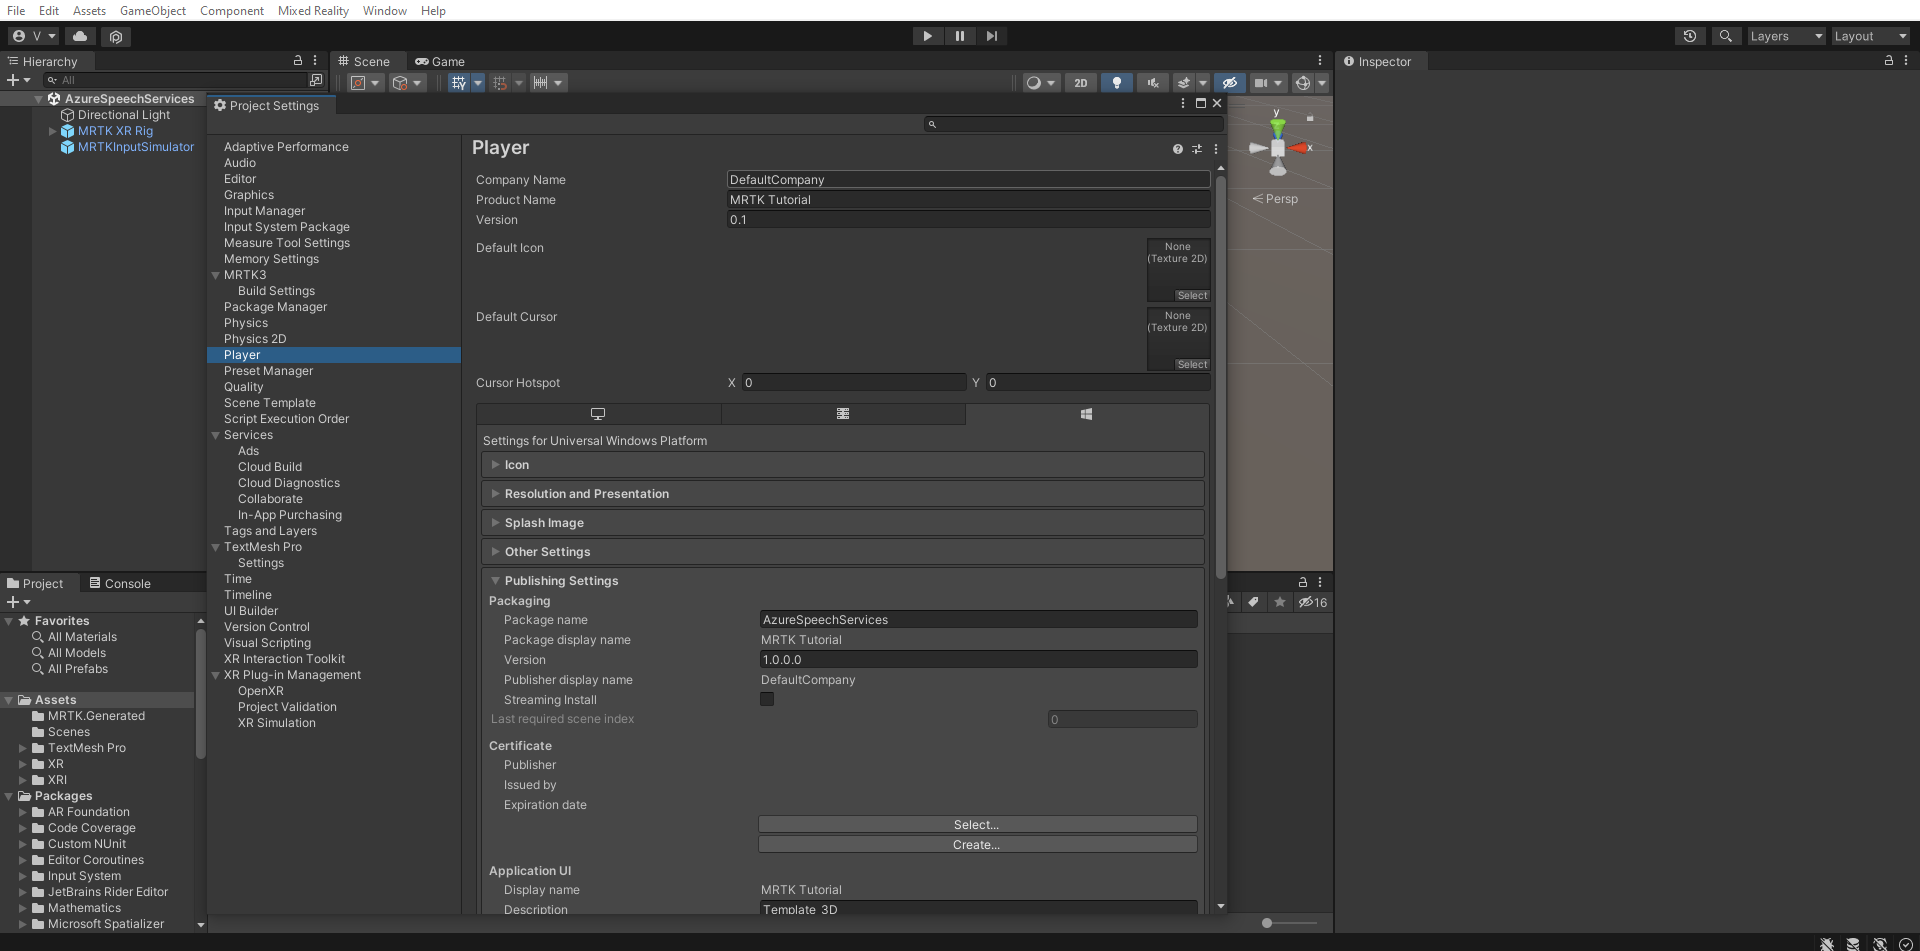
In the Unity menu, select Edit > Project Settings... to open the Player Settings window, then locate the Player > Publishing Settings section:
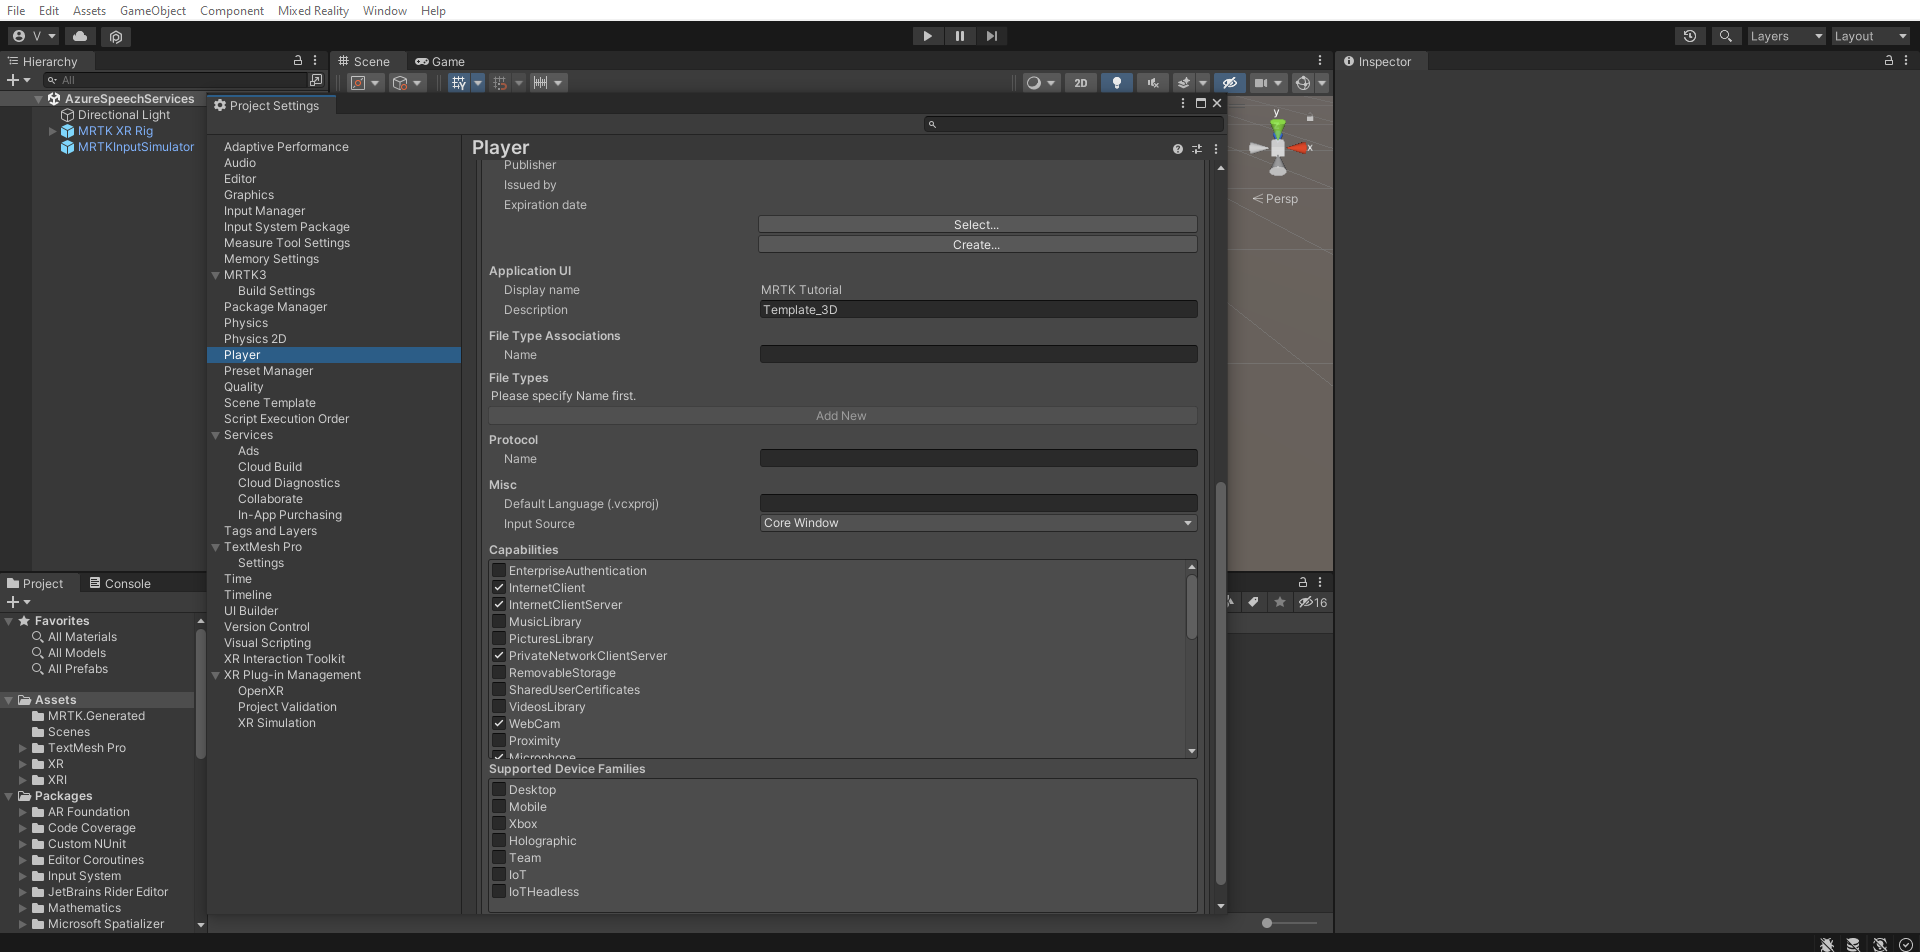
In the Publishing Settings, scroll down to the Capabilities section and double-check that the InternetClient, Microphone, and SpatialPerception capabilities (which you enabled when you created the project at the beginning of the tutorial) are still enabled. Then, enable the InternetClientServer and PrivateNetworkClientServer capabilities.


Import the tutorial assets
Download and import the following Unity custom packages in the order they're listed:
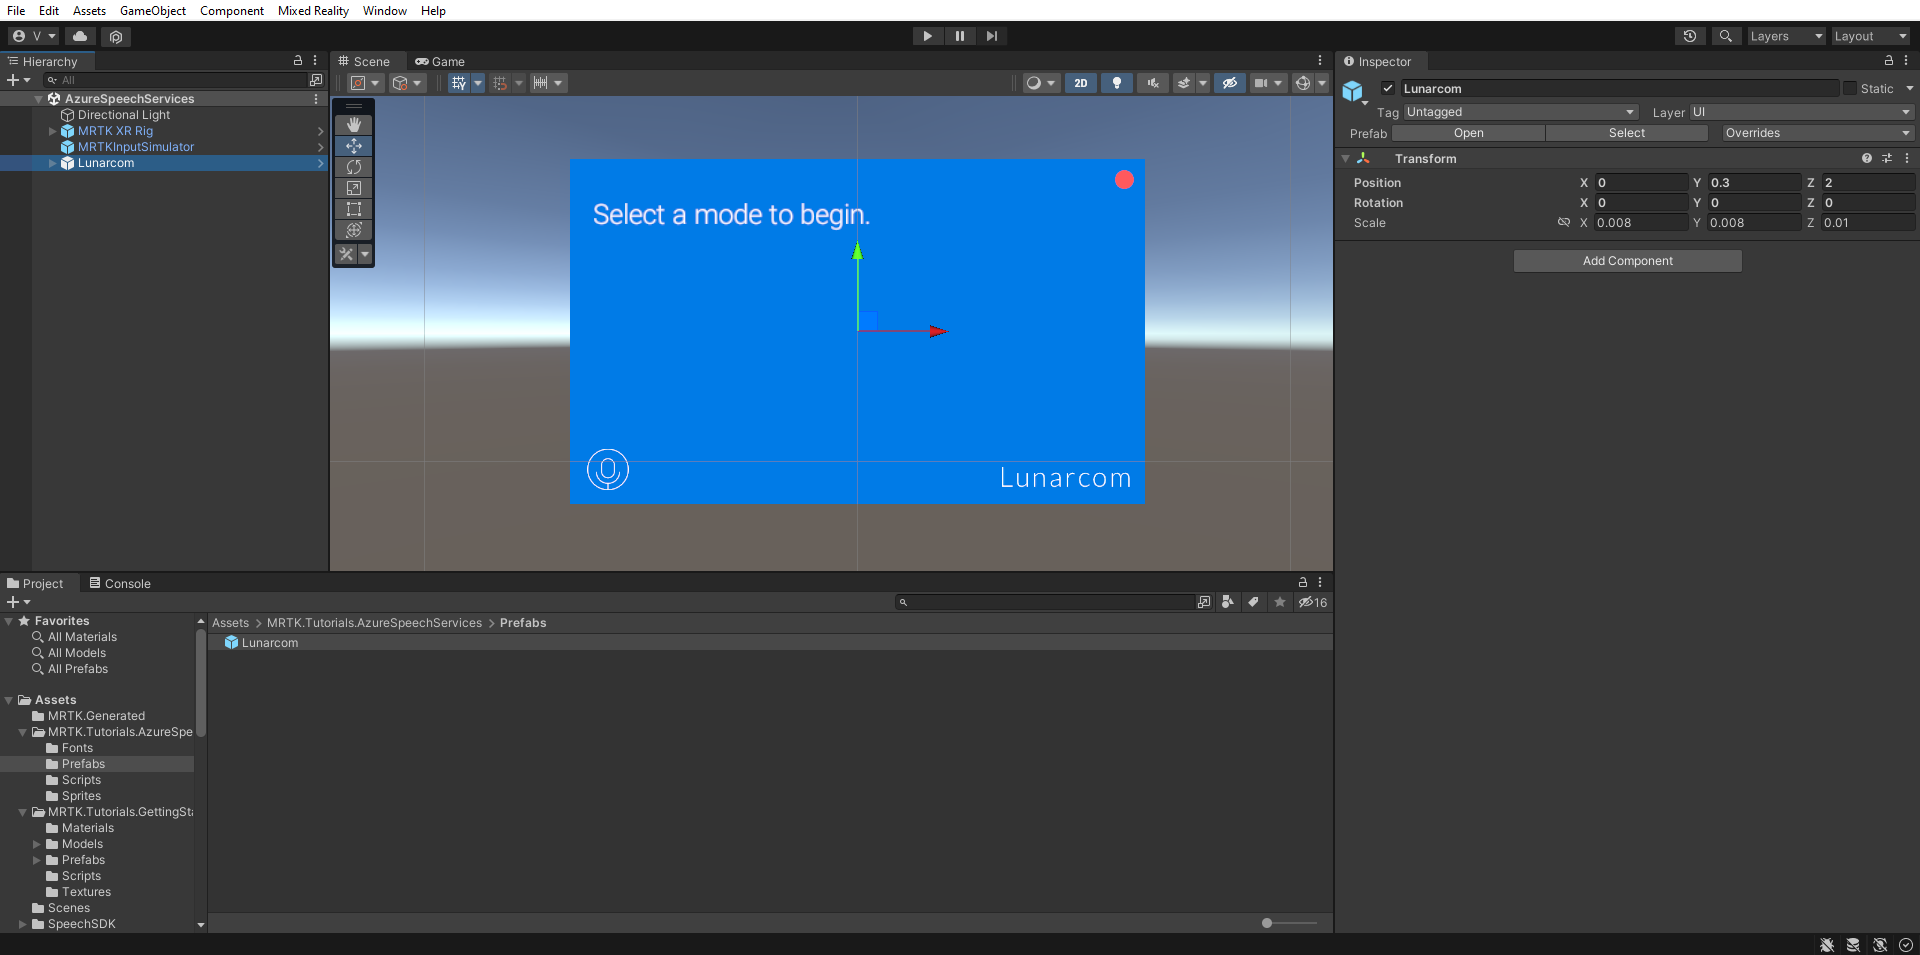
Once you import the tutorial assets, your Project window should look like this:


Prepare the scene
In this section, you'll prepare the scene by adding the tutorial prefab and configure the Lunarcom Controller (Script) component to control your scene.
In the Project window, navigate to the Assets > MRTK.Tutorials.AzureSpeechServices > Prefabs folder and drag the Lunarcom prefab into the Hierarchy window to add it to your scene.
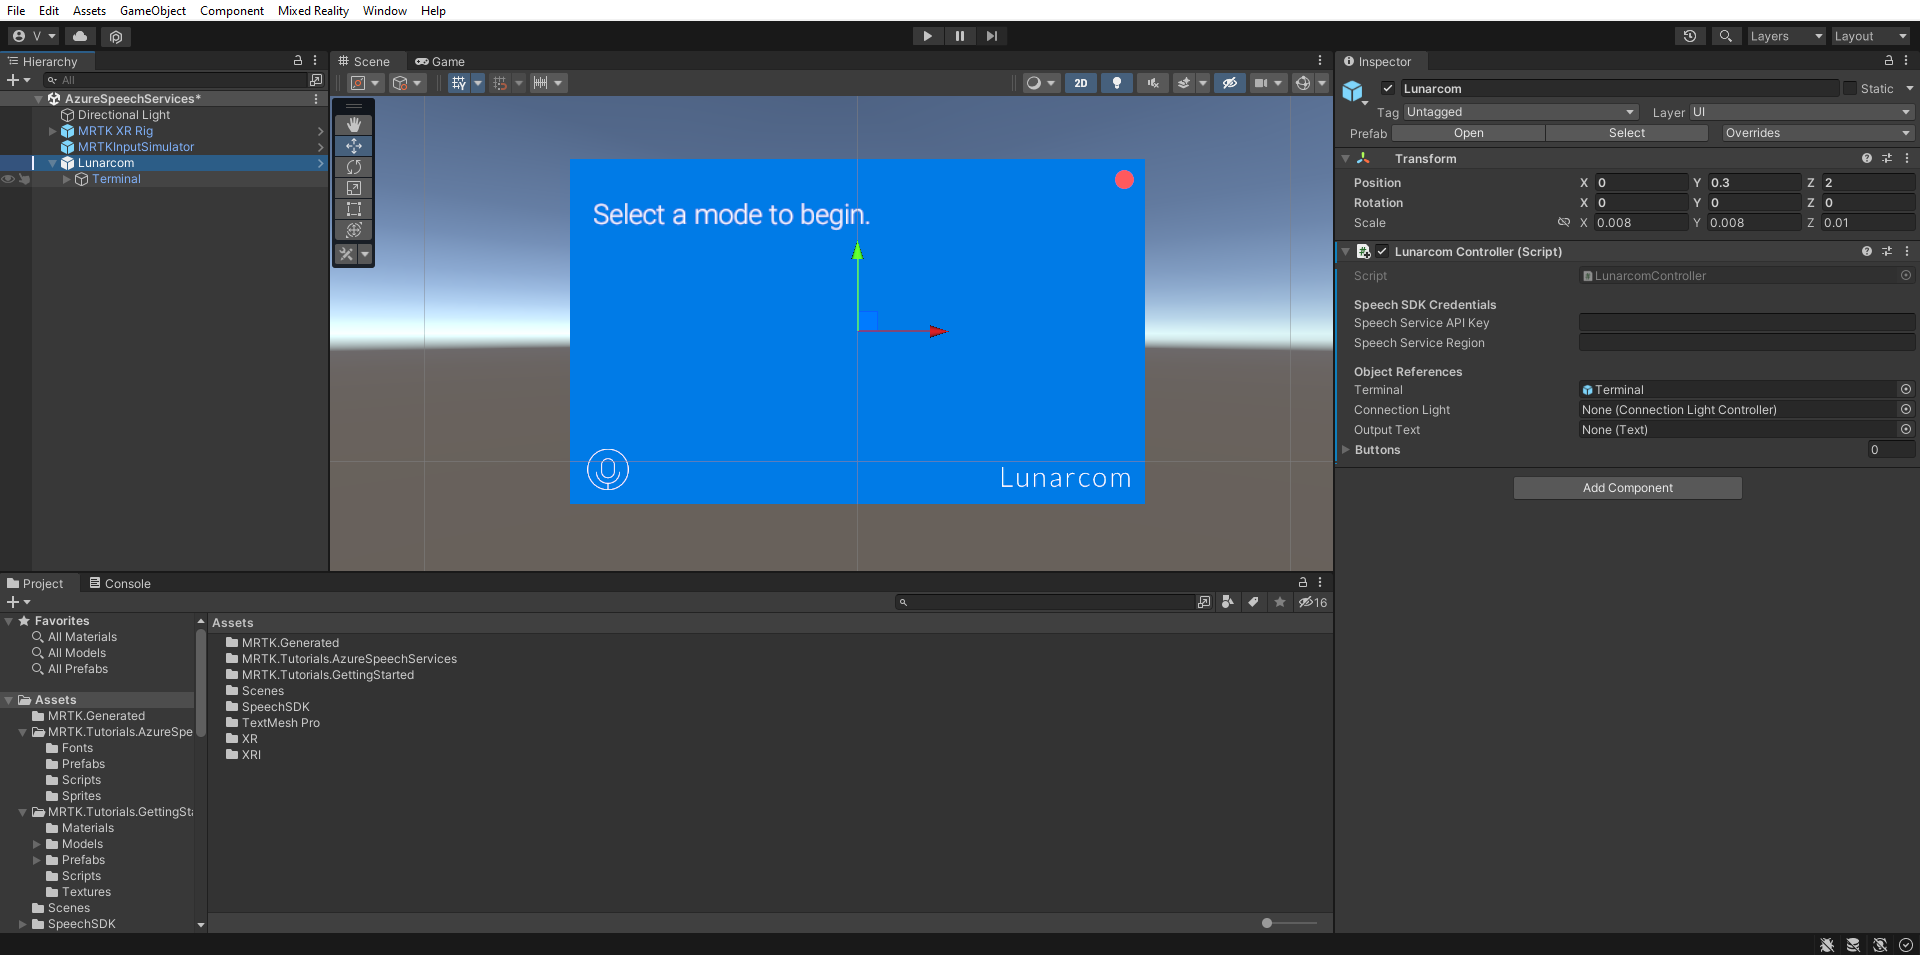
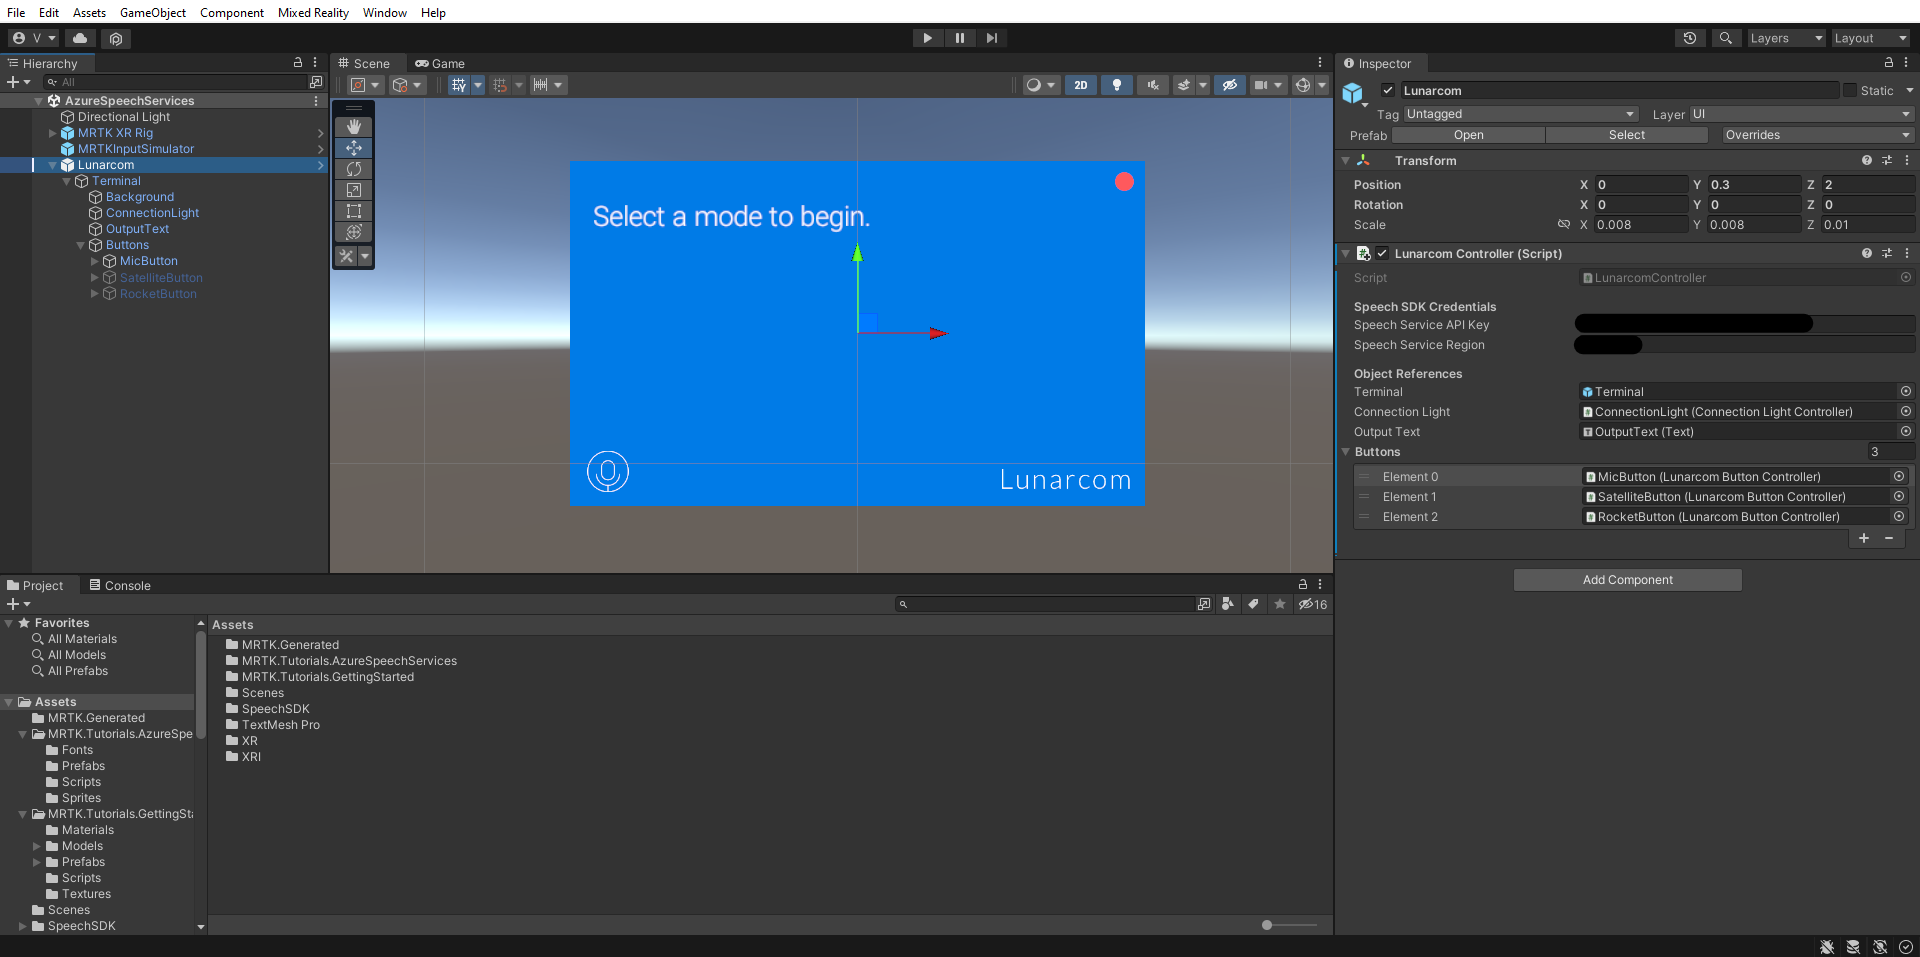
With the Lunarcom object still selected in the Hierarchy window, in the Inspector window, use the Add Component button to add the Lunarcom Controller (Script) component to the Lunarcom object.

With the Lunarcom object still selected, expand it to reveal its child objects, then drag the Terminal object into the Lunarcom Controller (Script) component's Terminal field.
With the Lunarcom object still selected, expand the Terminal object to reveal its child objects, then drag the ConnectionLight object into the Lunarcom Controller (Script) component's Connection Light field and the OutputText object into the Output Text field.

With the Lunarcom object still selected, expand the Buttons object to reveal its child objects, and then in the Inspector window, expand the Buttons list, set the Buttons field to 3, and drag the MicButton, SatelliteButton, and RocketButton objects into the Element 0, 1, and 2 fields respectively.


Connect the Unity project to the Azure resource
To use Azure Speech Services, you need to create an Azure resource and obtain an API key for the Speech Service. Follow the quickstart instructions and make a note of your service region (also known as Location) and API key (also known as Key1 or Key2).
In the Hierarchy window, select the Lunarcom object, then in the Inspector window, locate the Lunarcom Controller (Script) component's Speech SDK Credentials section and configure it as follows:
- In the Speech Service API Key field, enter your API key (Key1 or Key2).
- In the Speech Service Region field, enter your service region (Location) using lowercase letters and spaces removed.

Use speech recognition to transcribe speech
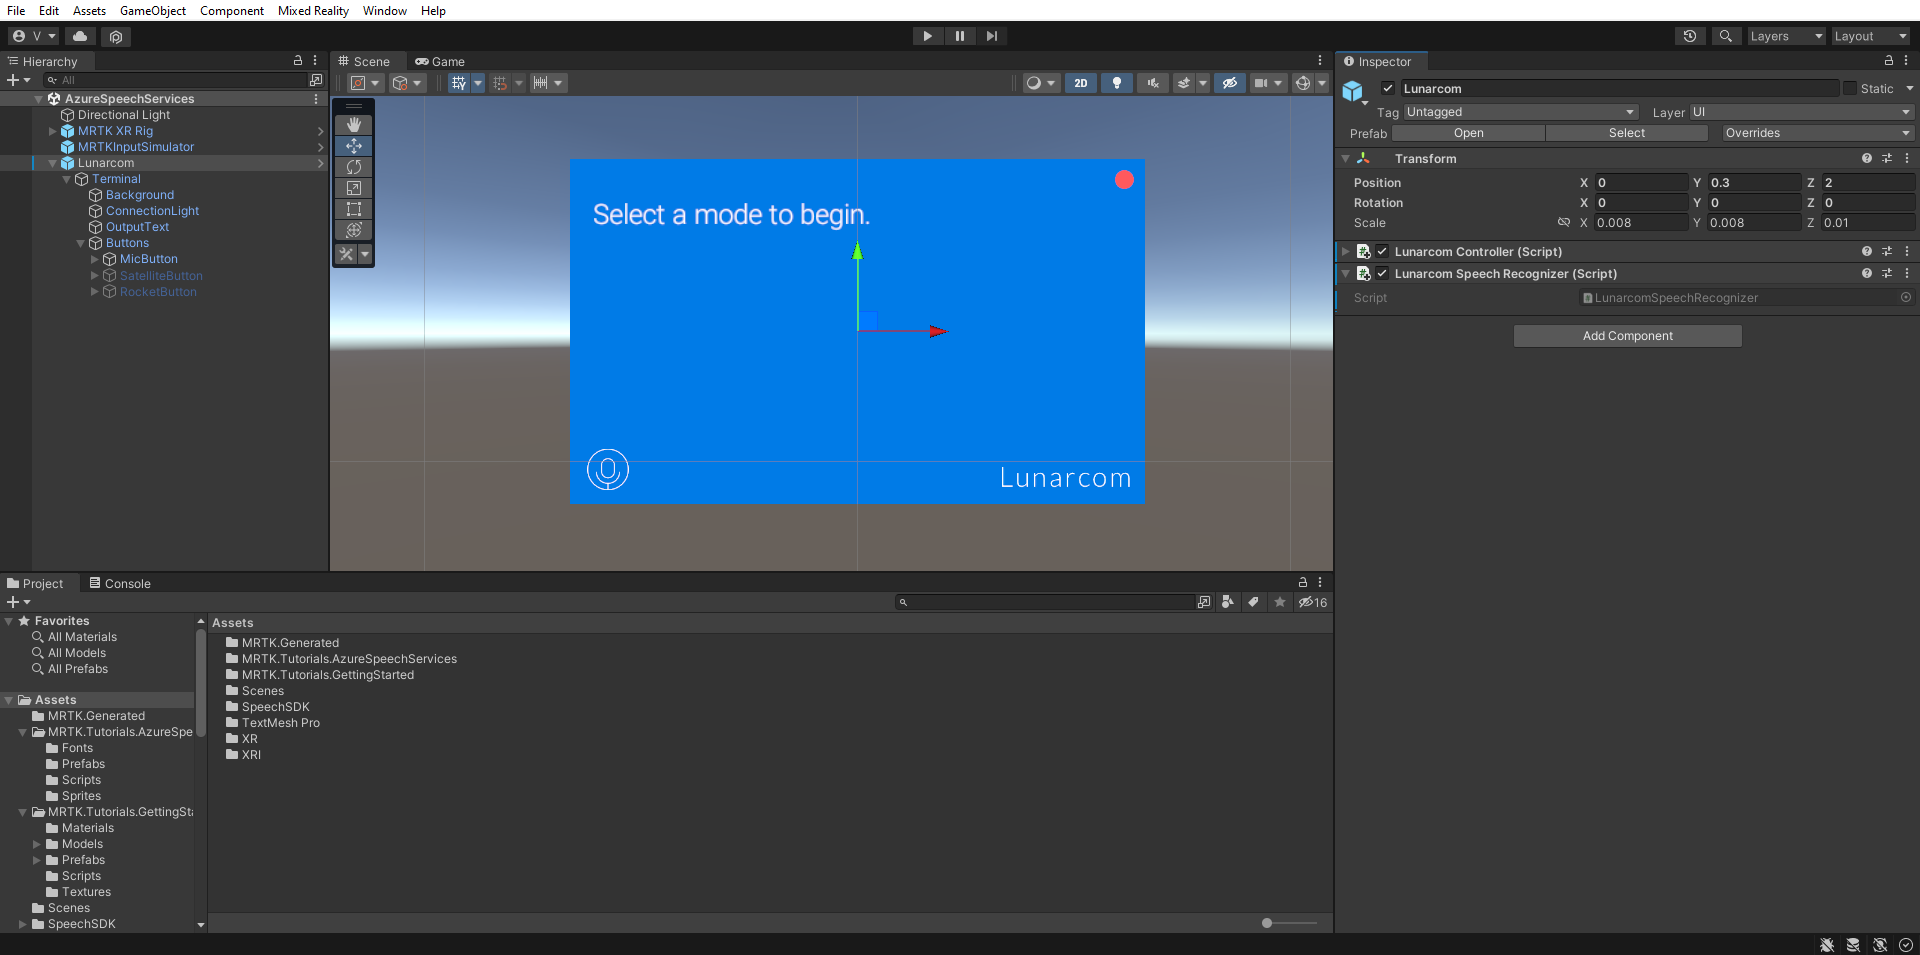
In the Hierarchy window, select the Lunarcom object, then in the Inspector window, use the Add Component button to add the Lunarcom Speech Recognizer (Script) component to the Lunarcom object.
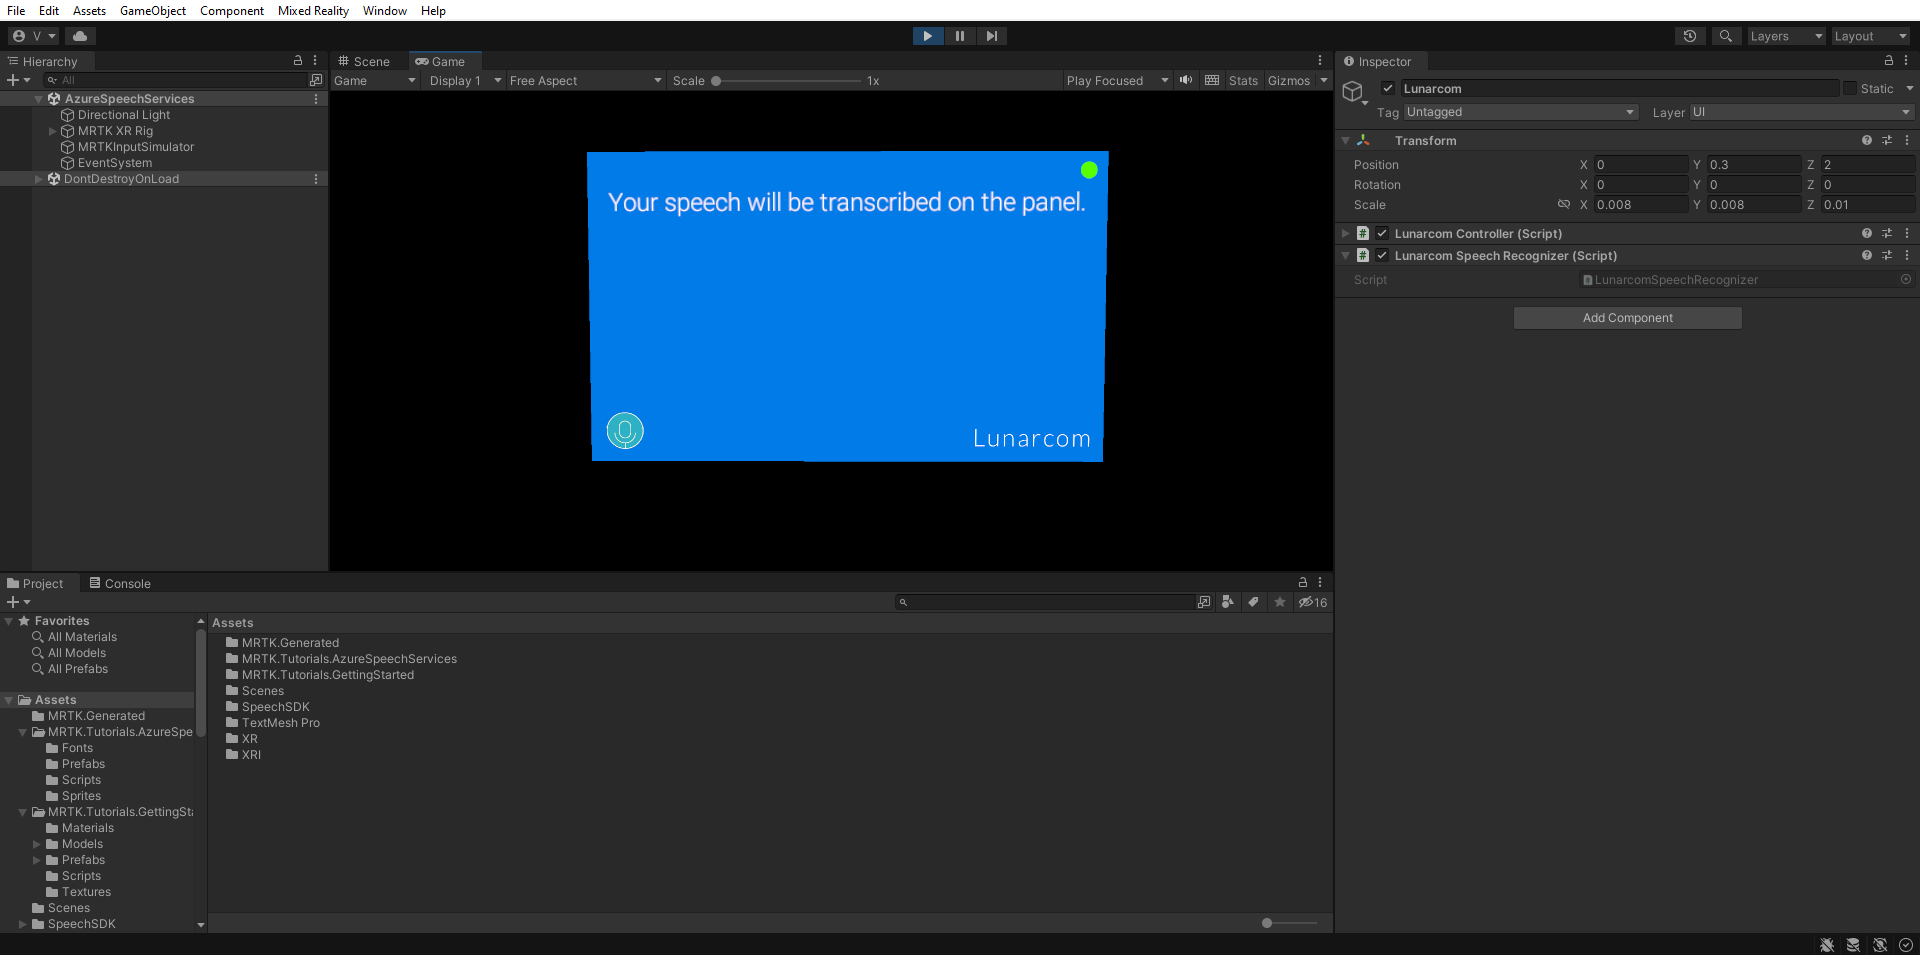
If you now enter Game mode and select the Play button, you can test the speech recognition by first pressing the microphone button:

Then, assuming your computer has a microphone, when you say something, your speech will be transcribed on the terminal panel:
Caution
The application needs to connect to Azure, so make sure your computer/device is connected to the internet.


