Exercise - Set up intent and natural language understanding
In this module, you'll explore the Azure Speech Service's intent recognition. Intent recognition allows you to equip your application with AI-powered speech commands, where users can say nonspecific speech commands and still have the system understand their intent.
Prepare the scene
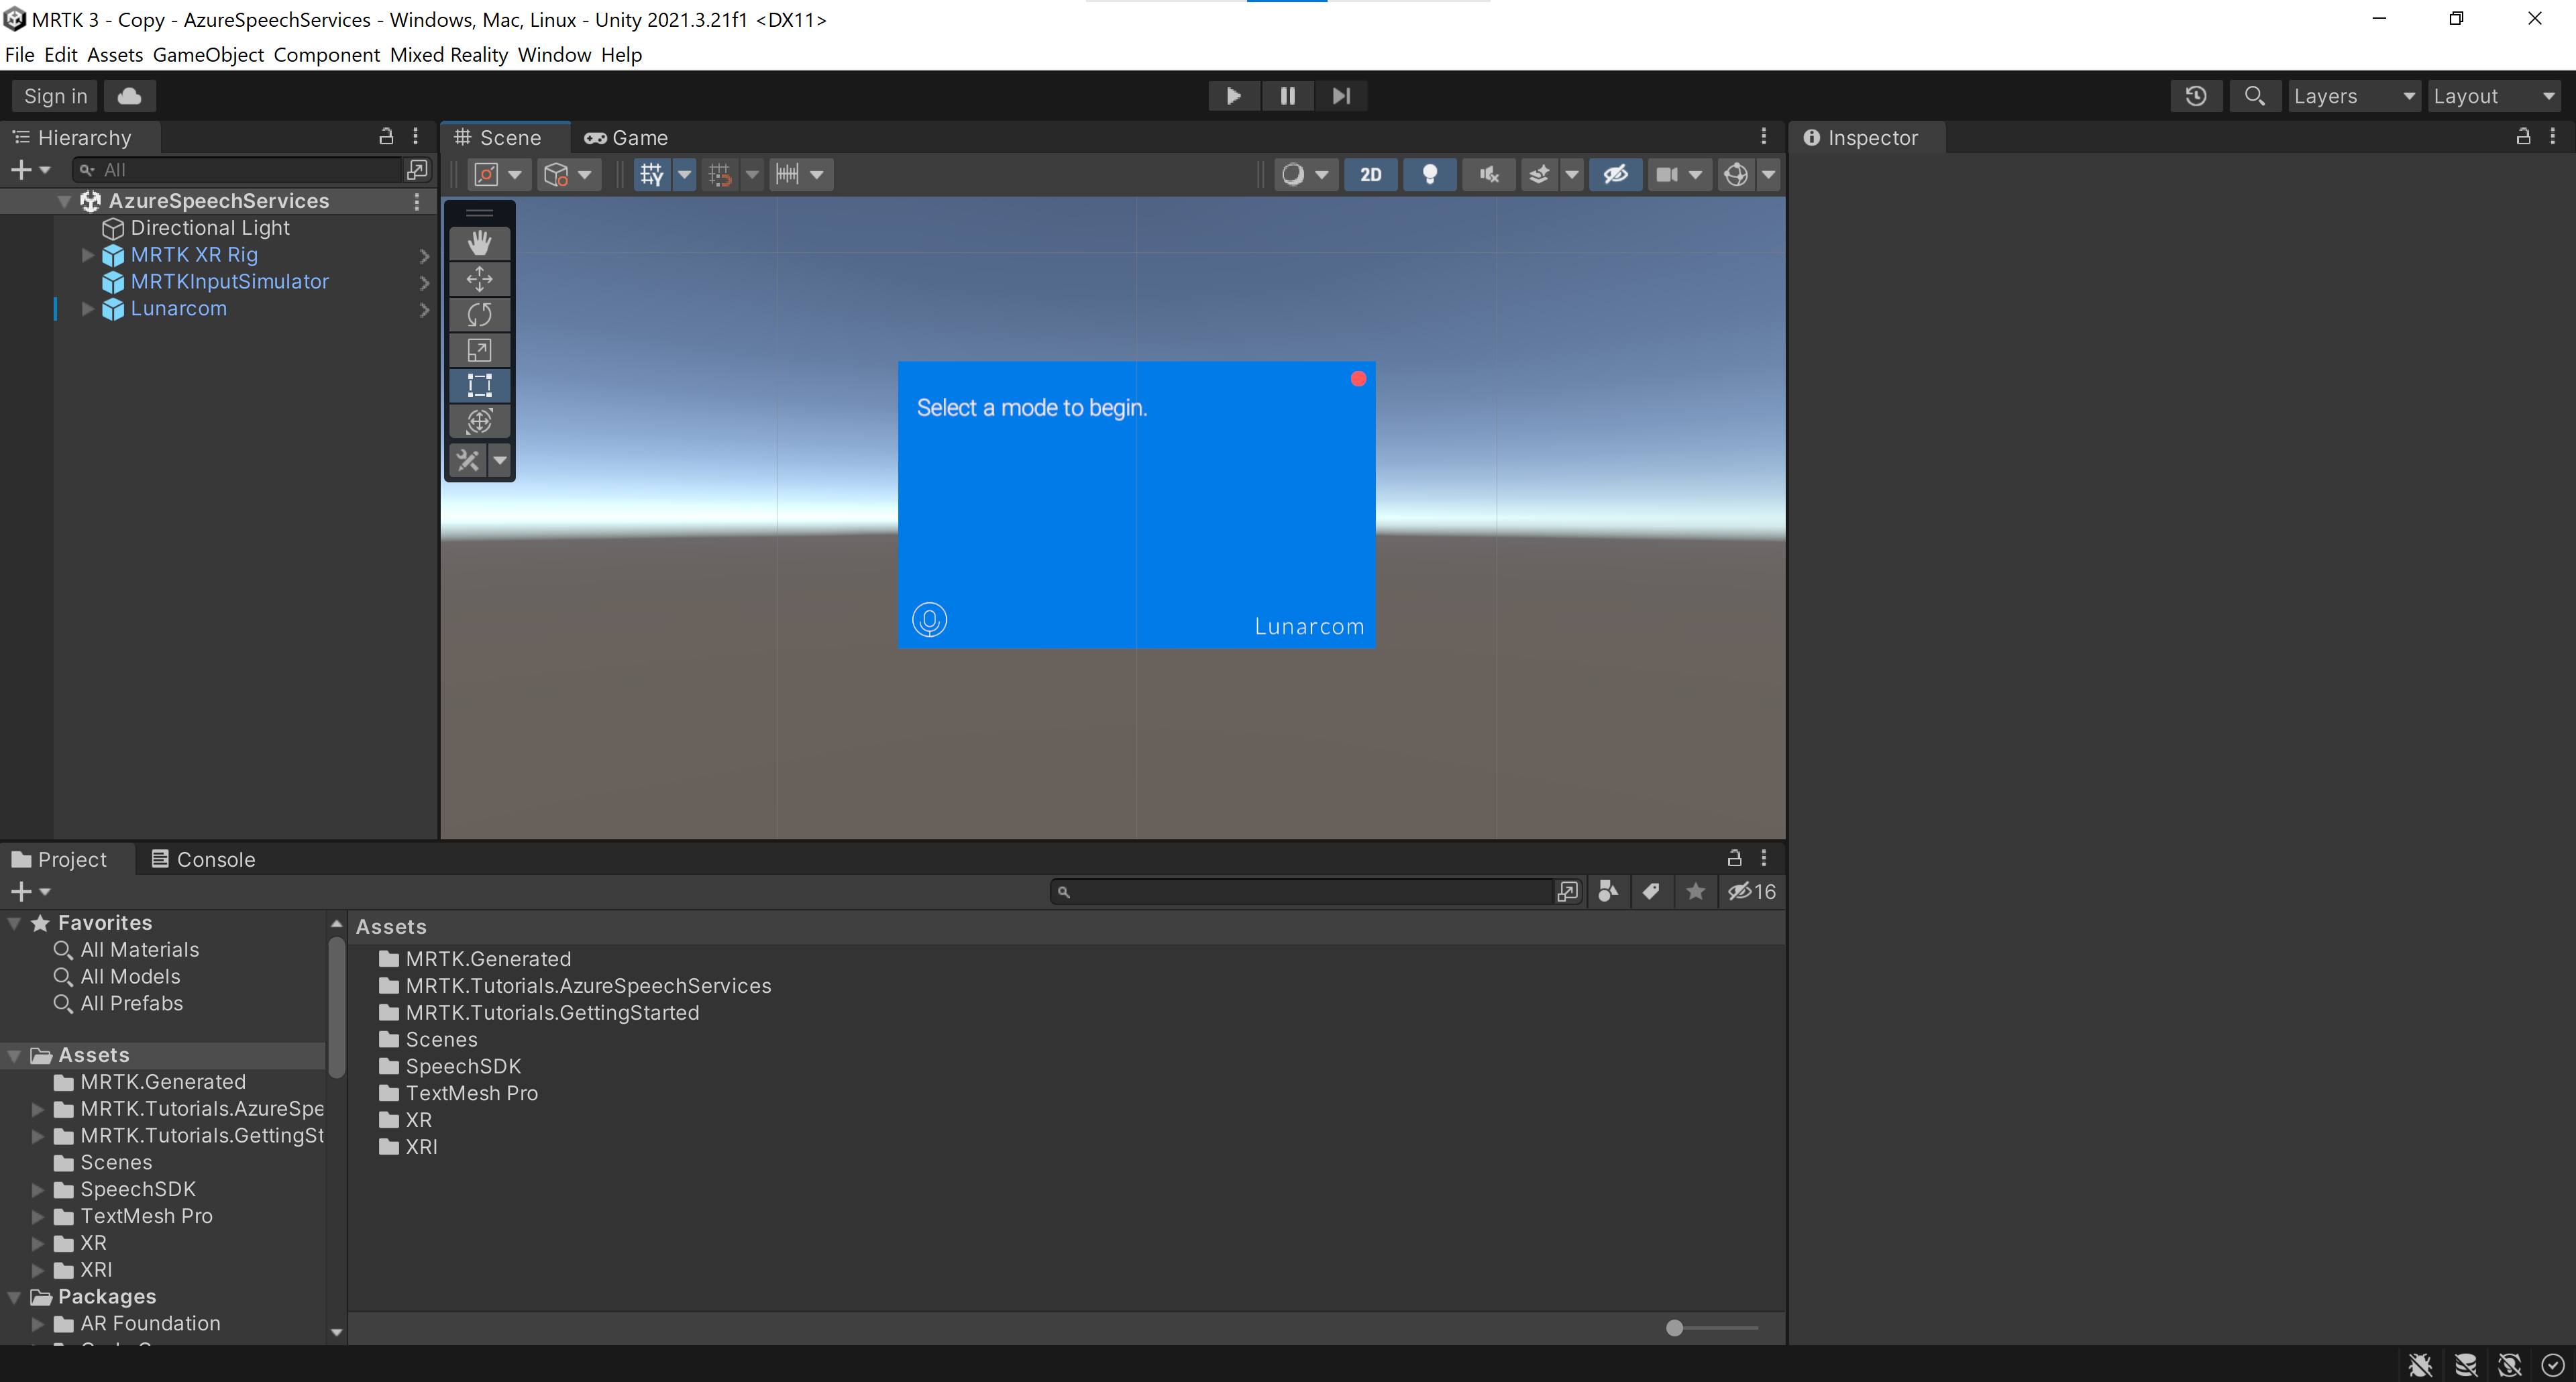
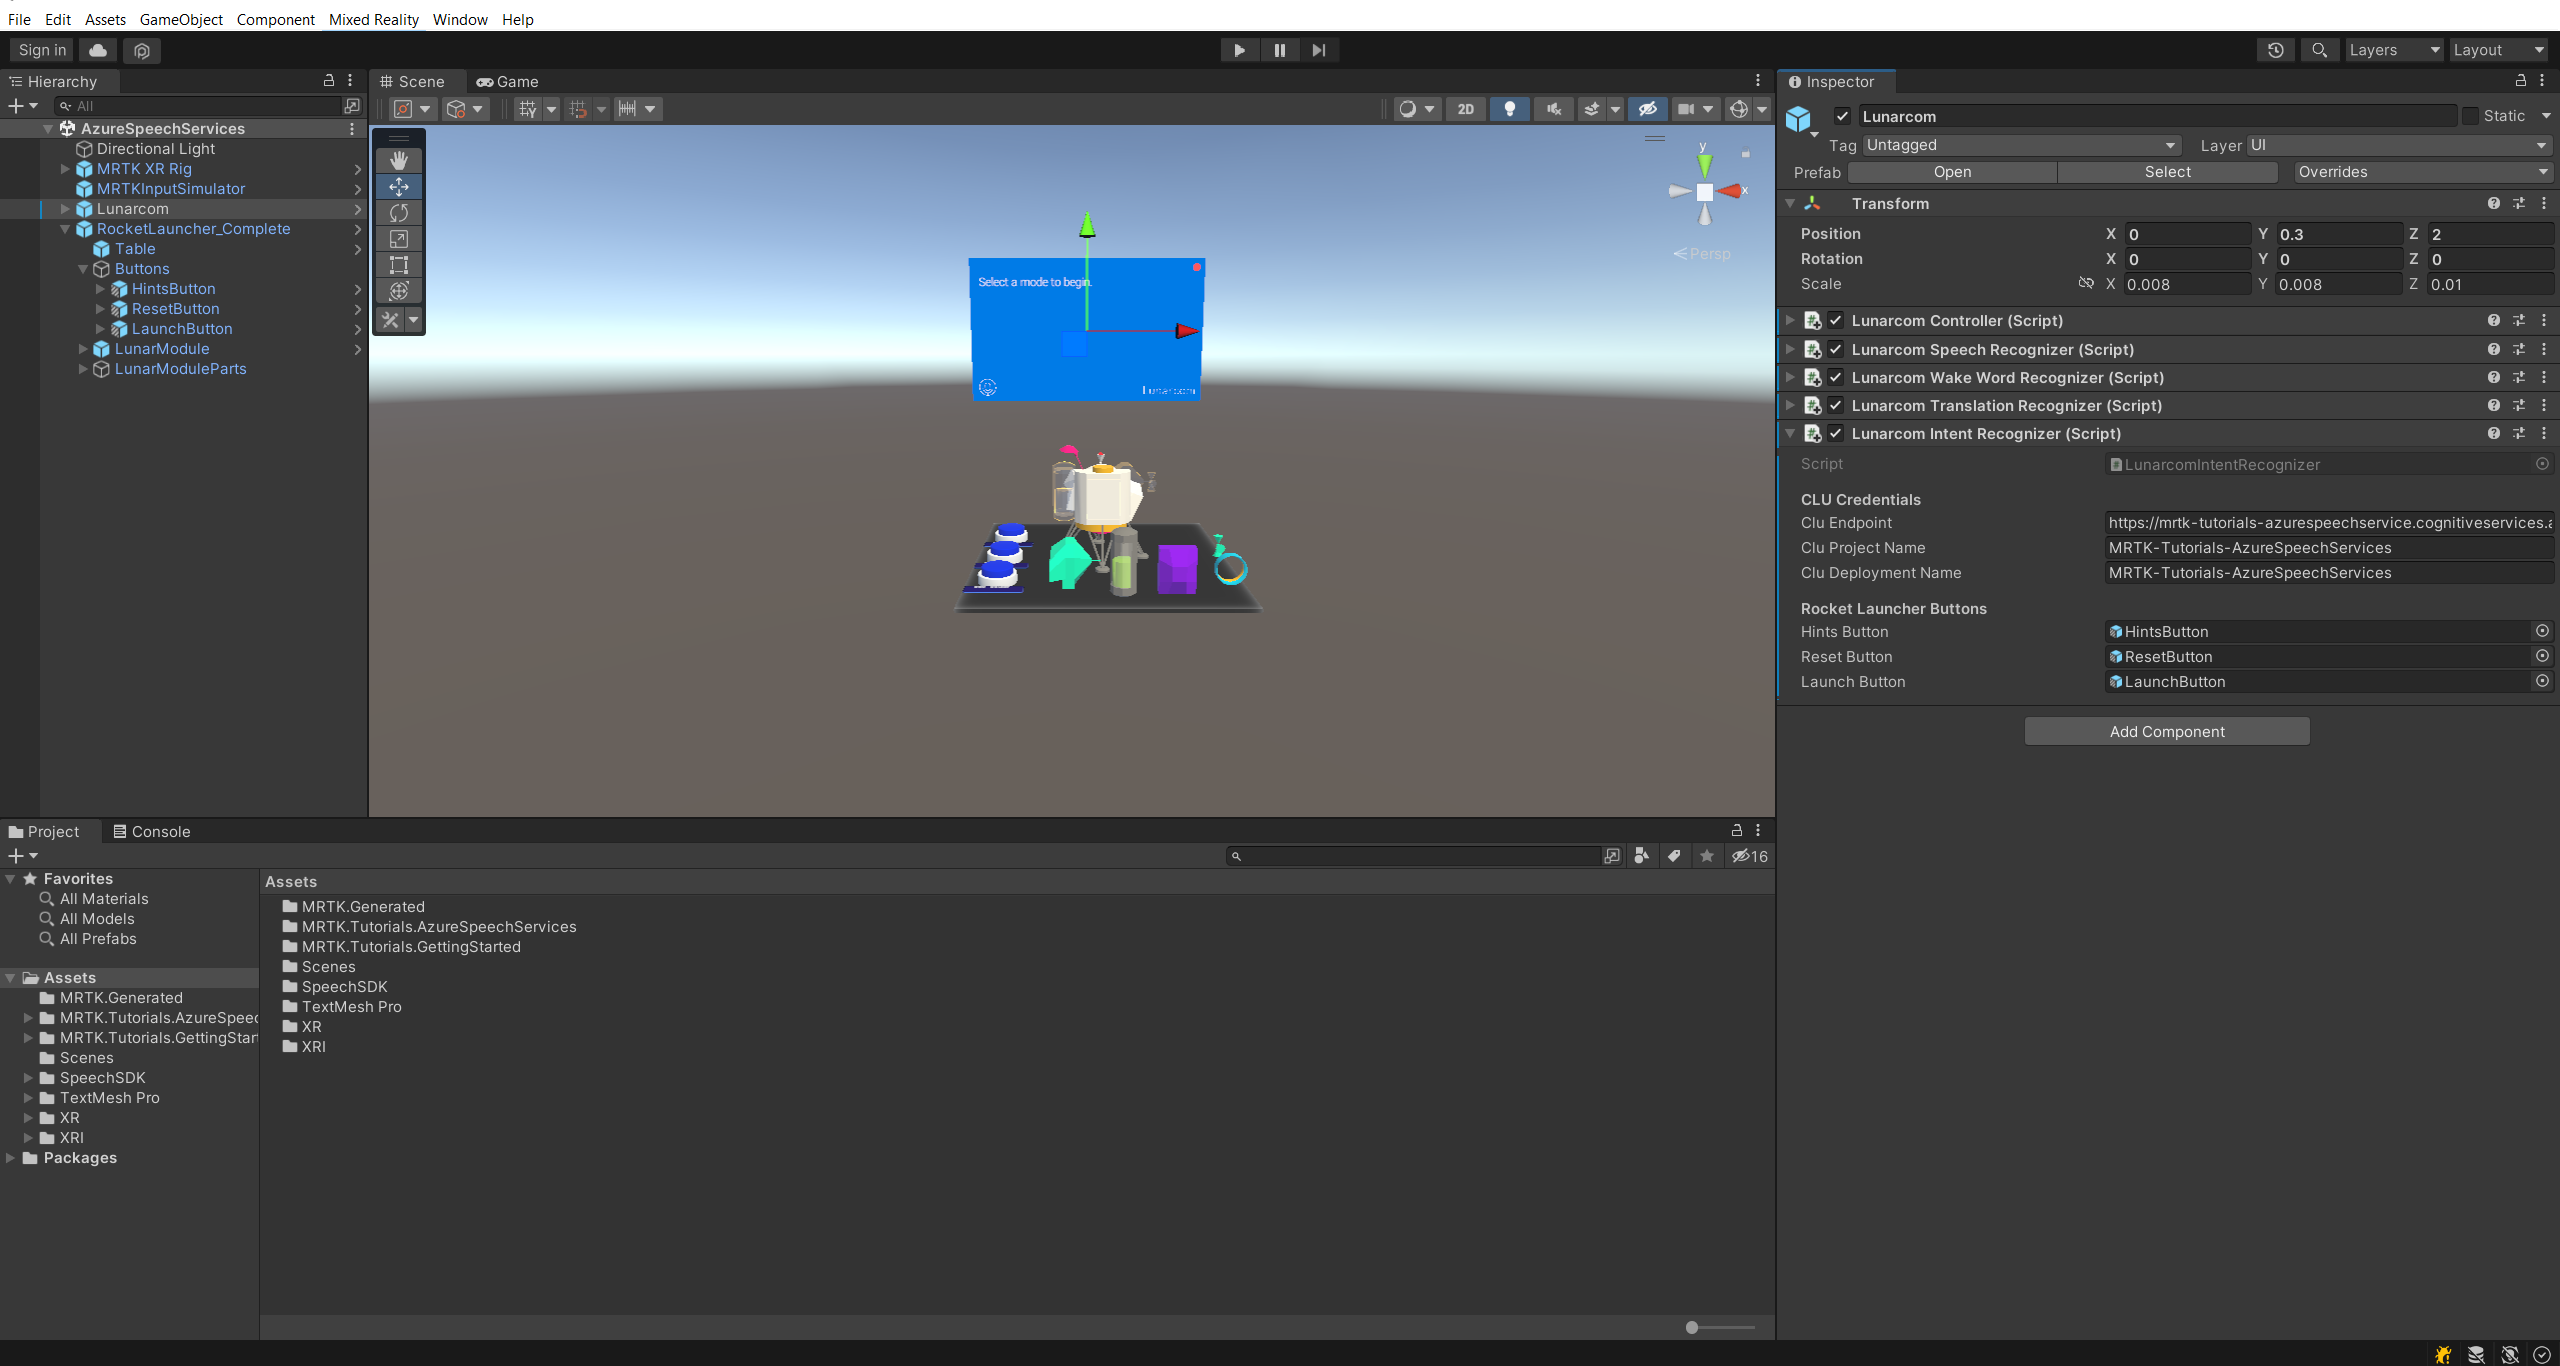
In the Hierarchy window, select the Lunarcom object, then in the Inspector window, use the Add Component button to add the Lunarcom Intent Recognizer (Script) component to the Lunarcom object.
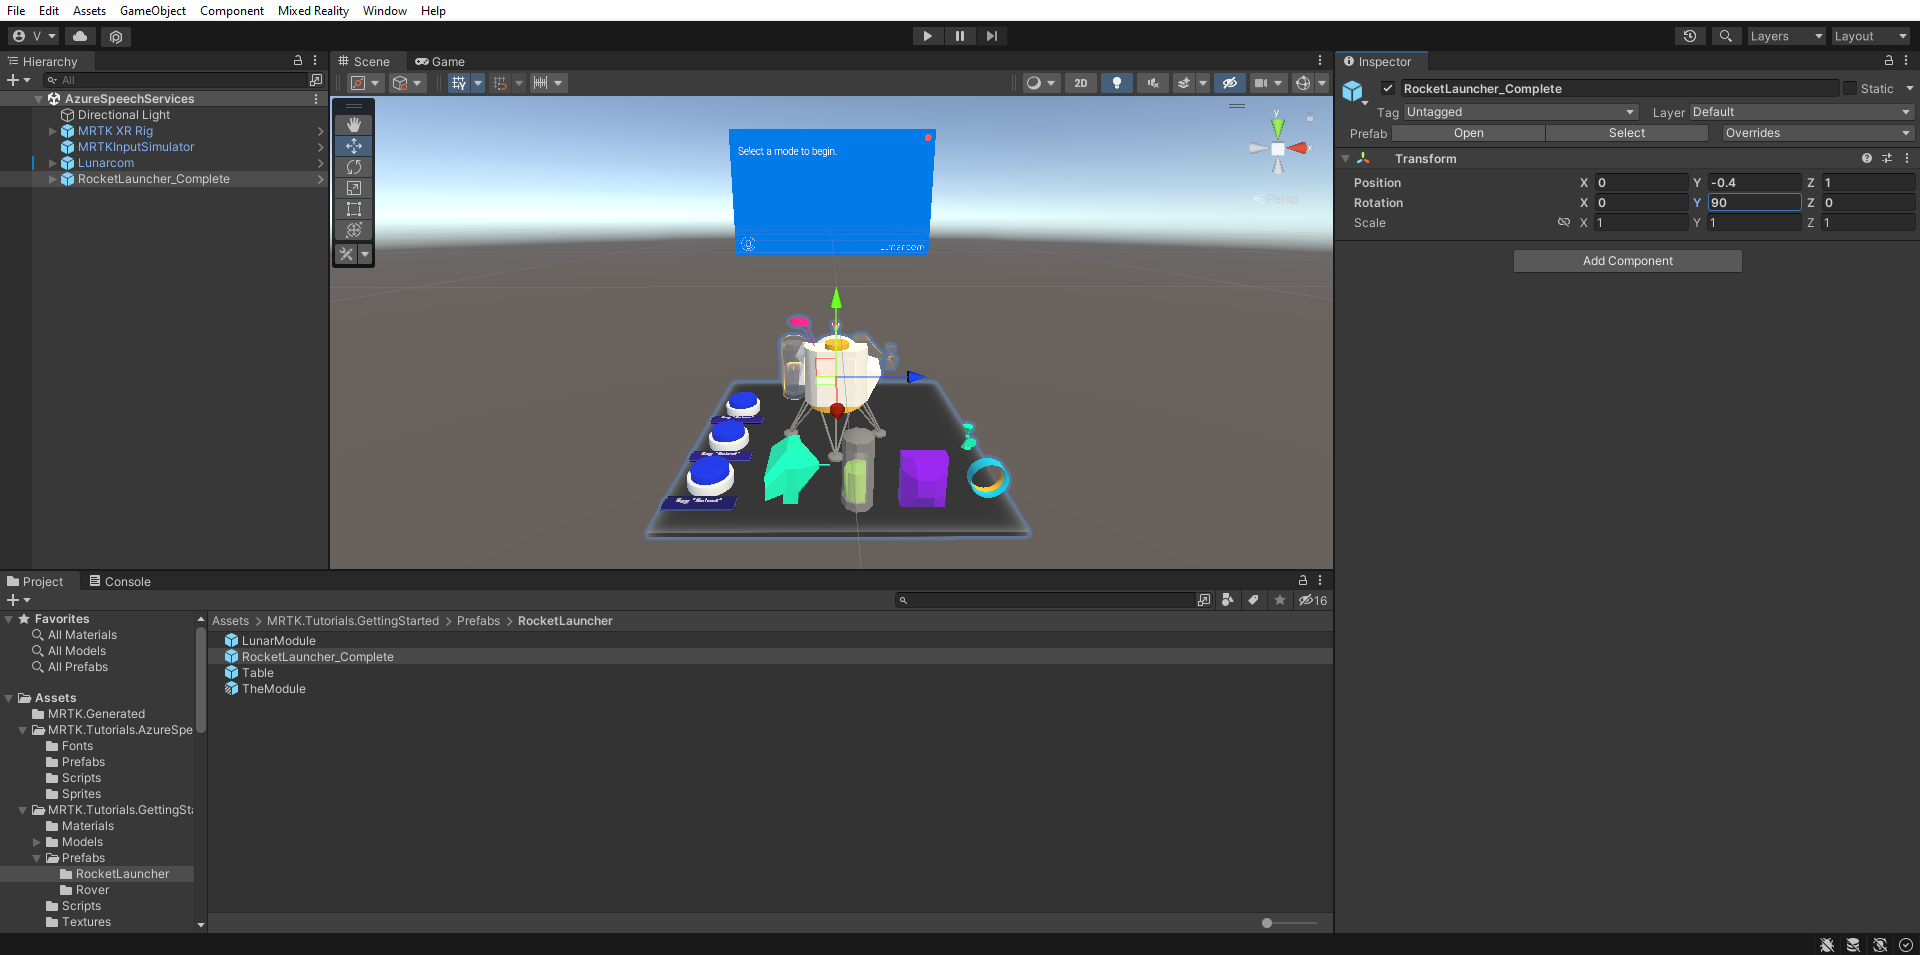
In the Project window, navigate to the Assets > MRTK.Tutorials.GettingStarted > Prefabs > RocketLauncher folder, drag the RocketLauncher_Complete prefab into your Hierarchy window, and place it at a suitable location in front of the camera. For example:
- Transform Position X = 0, Y = 1, Z = 1.5
- Transform Rotation X = 0, Y = 90, Z = 0
In the Hierarchy window, select the Lunarcom object again, then expand the RocketLauncher_Complete > Buttons object and assign each of the Buttons object's child objects to the corresponding Lunar Launcher Buttons field.


Create the Azure language service resource
In this section, you'll create an Azure language service resource for the Conversational language understanding (CLU) app you'll create in the next section.
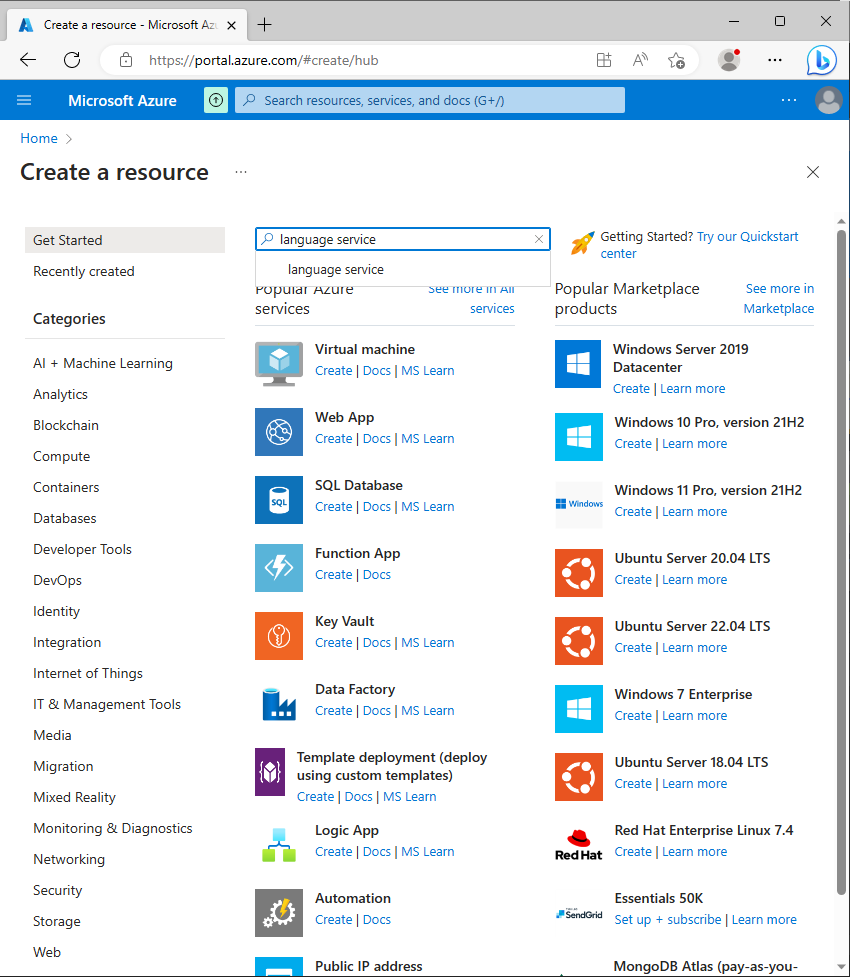
Sign in to Azure portal and select Create a resource, then search for and select Language Service:
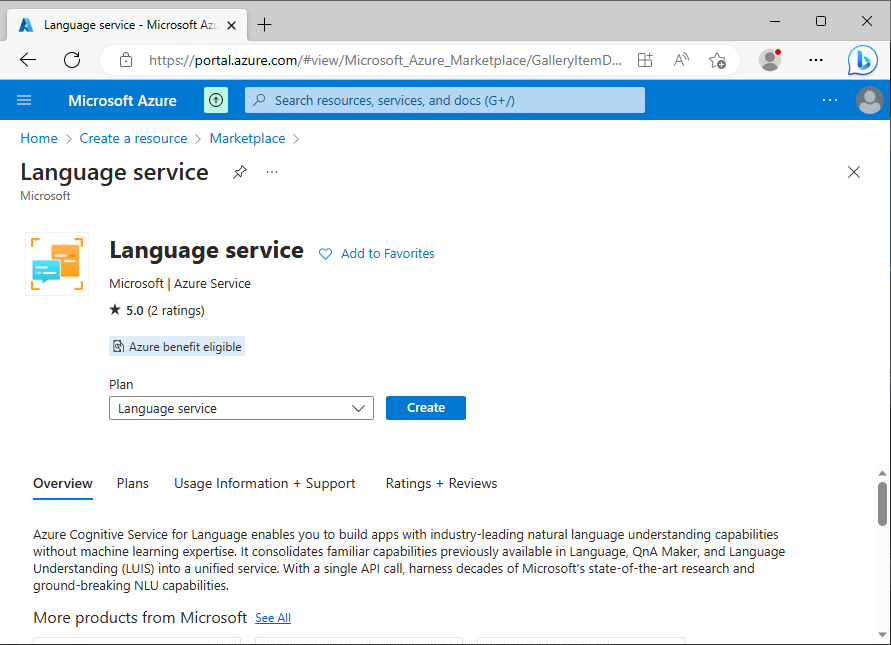
Select the Create button to create an instance of this service:
On the Create Language page, enter the following values:
- For Subscription, select Free Trial if you have a trial subscription. If you don't have a trial subscription, select one of your other subscriptions.
- For the Resource group, select the Create new link, then enter a suitable name; for example, MRTK-Tutorials. Select OK.
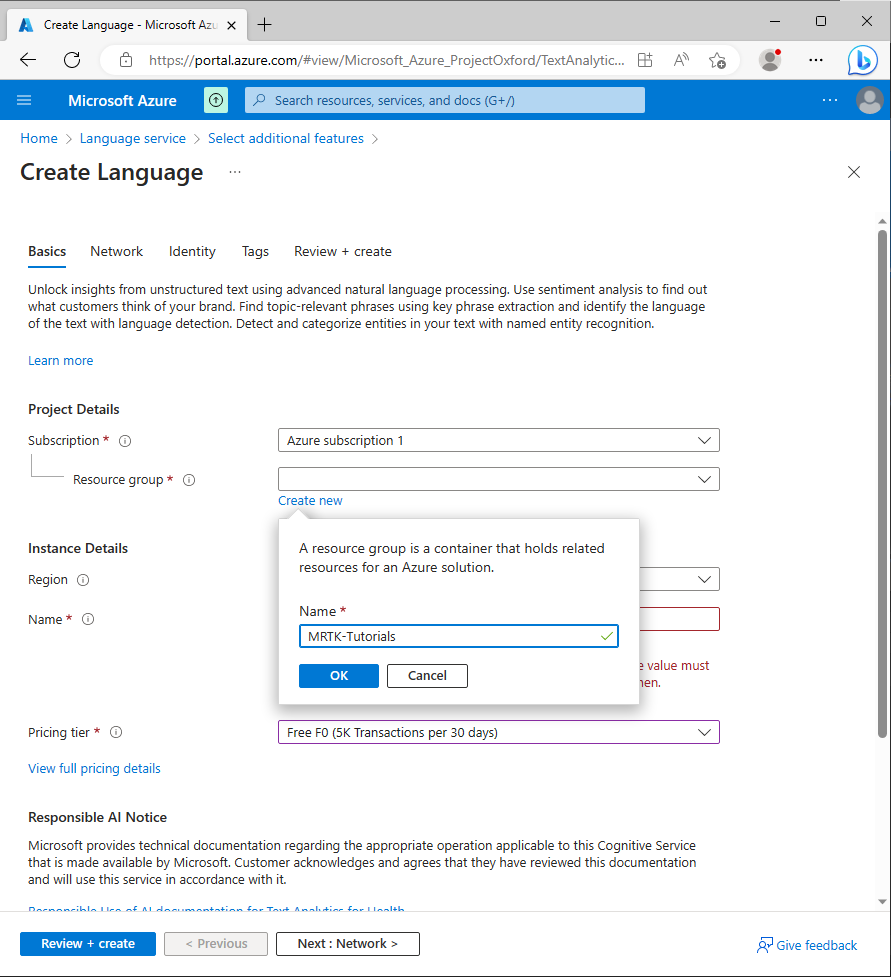
Tip
If you already have another suitable resource group in your Azure account, you can use this resource group instead of creating a new one.
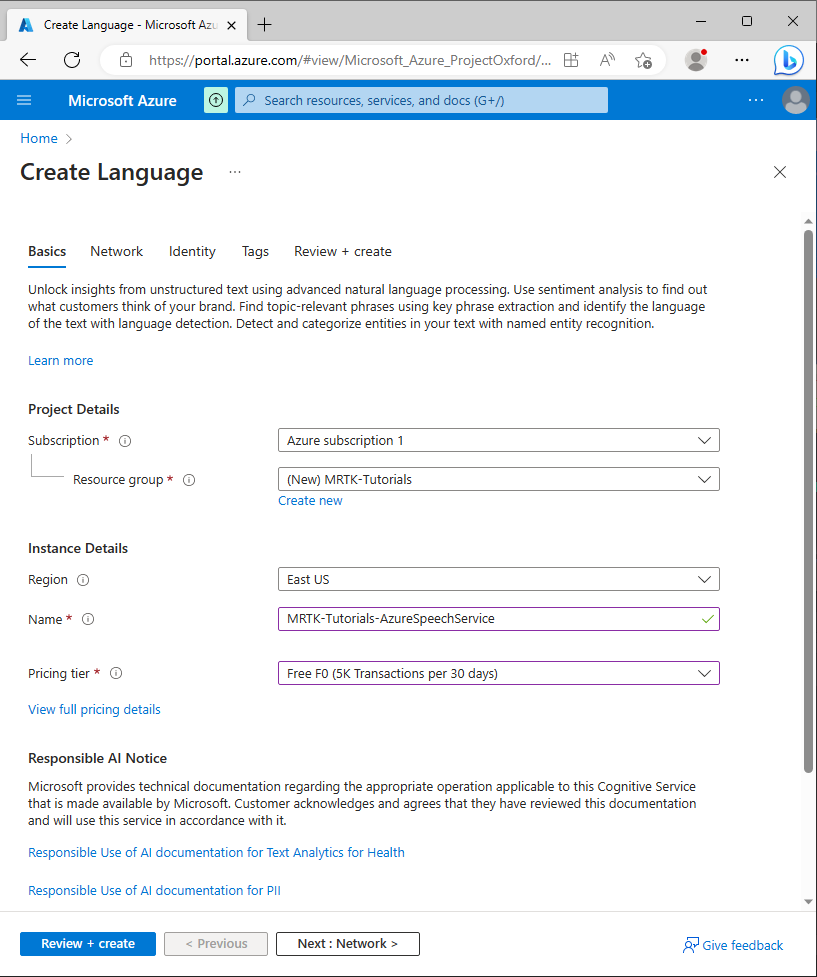
While still on the Create page, enter the following values:
- For Name, enter a suitable name for the service; for example, MRTK-Tutorials-AzureSpeechServices
- For Region, choose a location close to your app users' physical location; for example, East US
- For Pricing tier, in this tutorial, select F0 (5k transactions per 30 days)
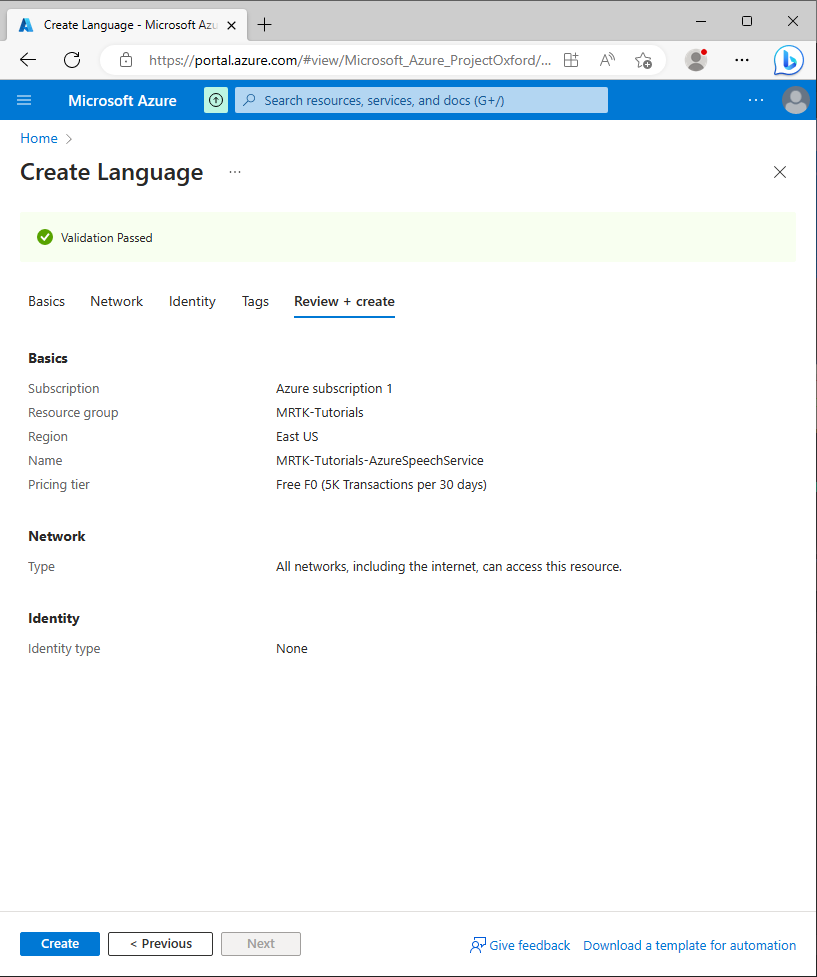
Next, select Review + create, review the details, then select the Create button at the bottom of the page to create the resource (and the new resource group if you configured one to be created):
Once the resource creation process is completed, you'll see the message Your deployment is complete:


Create the Conversational language understanding app (CLU)
In this section, you'll create a CLU app, configure and train its prediction model, and connect it to the Azure language resource you created in the previous step.
Specifically, you'll create an intent that if the user says an action should be taken, the app triggers the PressableButton.OnClicked() event on one of the three blue buttons in the scene, depending on which button the user references.
For example, if the user says go ahead and launch the rocket, the app predicts that go ahead means some action should be taken, and that the PressableButton.OnClicked() event to target is on the launch button.
The main steps you'll take to achieve this are:
- Create a CLU app
- Create intents
- Create example utterances
- Create entities
- Assign entities to the example utterances
- Train, test, and publish the app
1. Create a CLU app
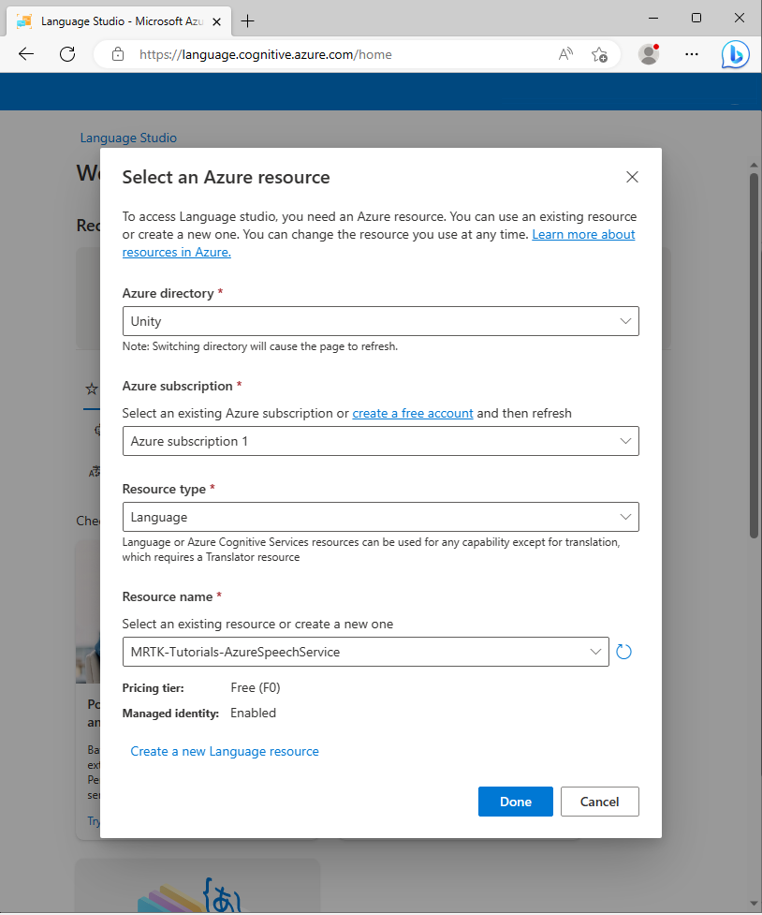
Using the same user account you used when creating the Azure resource in the previous section, sign in to Language Studio.
Once signed in, you'll be prompted to select an Azure resource. Select the values you used when creating the Azure Language service resource, then select Done.
After you connect the Azure resource, select Create new > Conversational Language Understanding and enter the following values in the Create a project popup window:
- For Name, enter a suitable name, for example: MRTK-Tutorials-AzureSpeechServices. Note down the name you selected, you'll need it later in the tutorial.
- For Utterances primary language, select a language.
- For Description, optionally enter a suitable description.
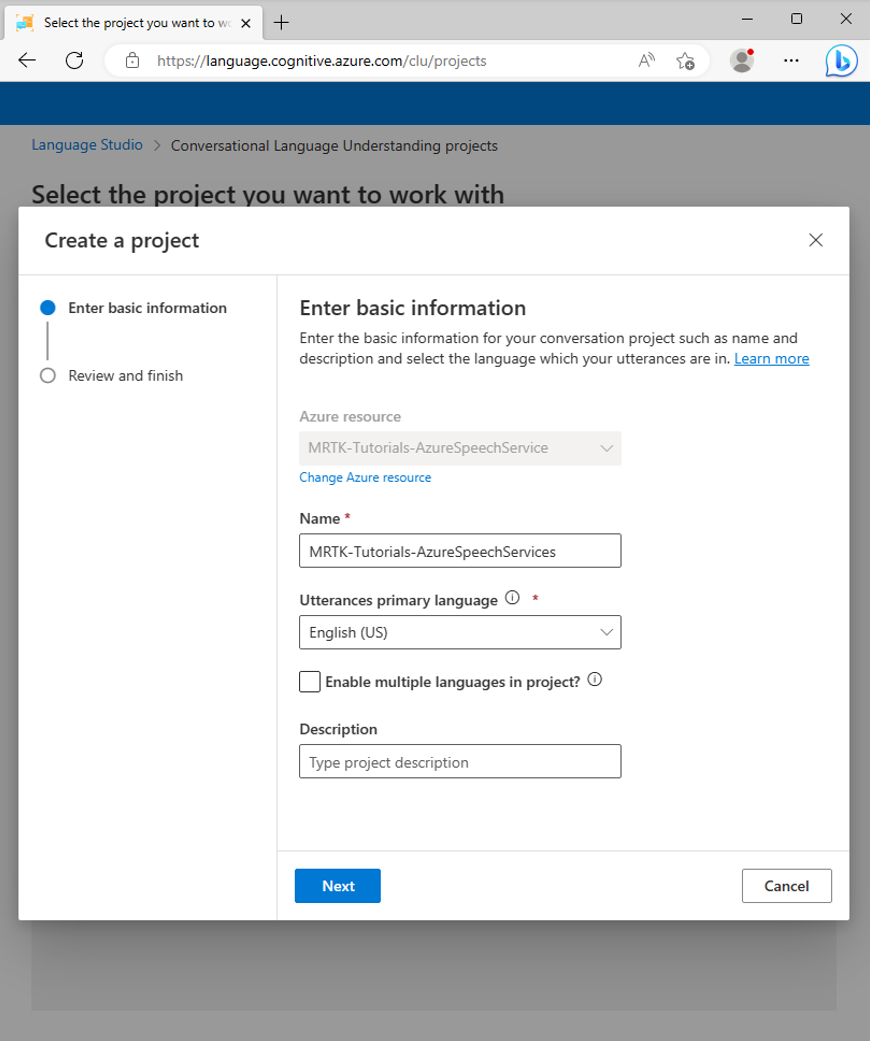
Select Next to review the project configuration. Select Create to create the project.
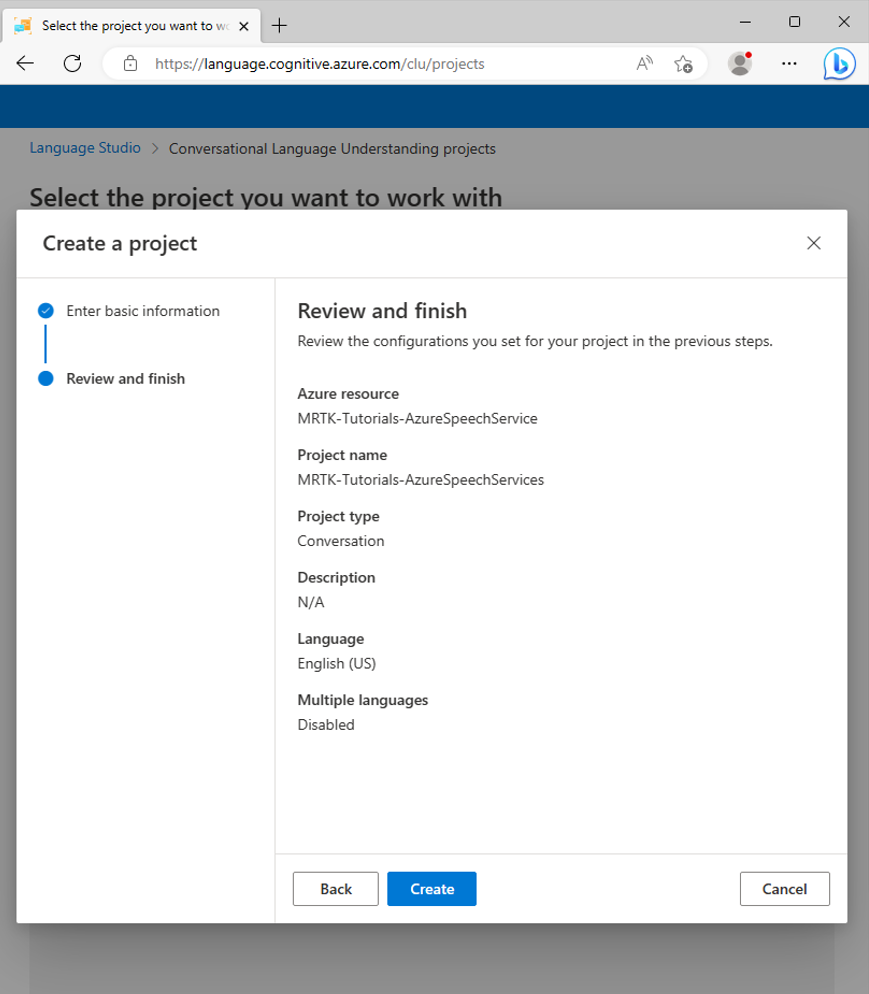
When the new app has been created, you're taken to that app's Schema definition page.


2. Create intents
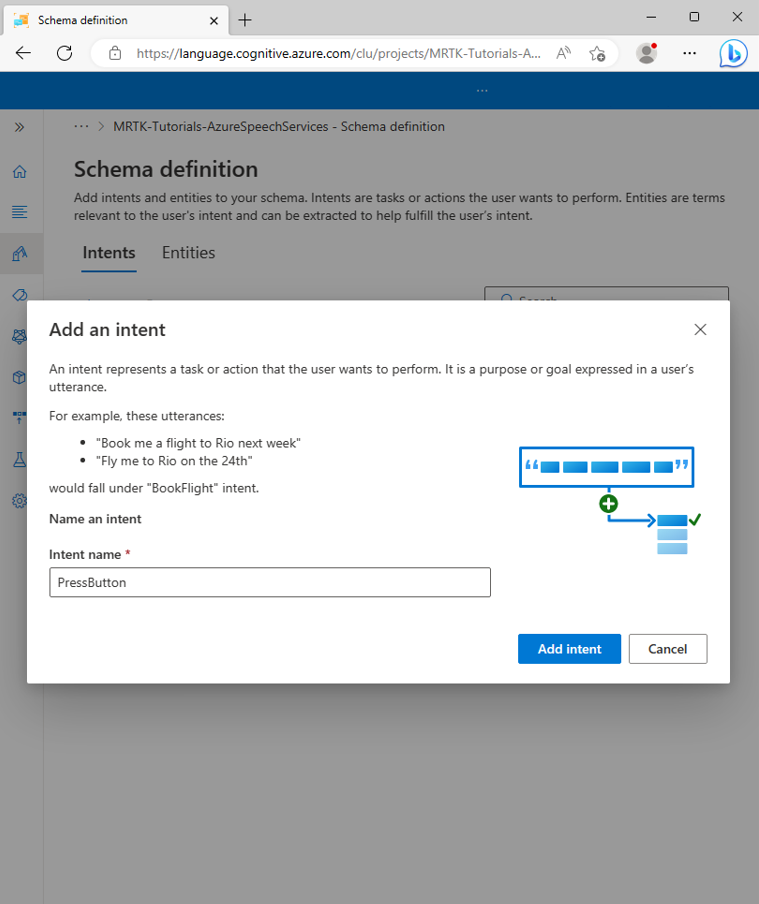
From the Schema definition page, select Add and enter the following value in the Add an intent popup window:
- For Intent name, enter PressButton
Select Add intent to create the new intent:
Caution
For the purpose of this tutorial, your Unity project will reference this intent by its name (
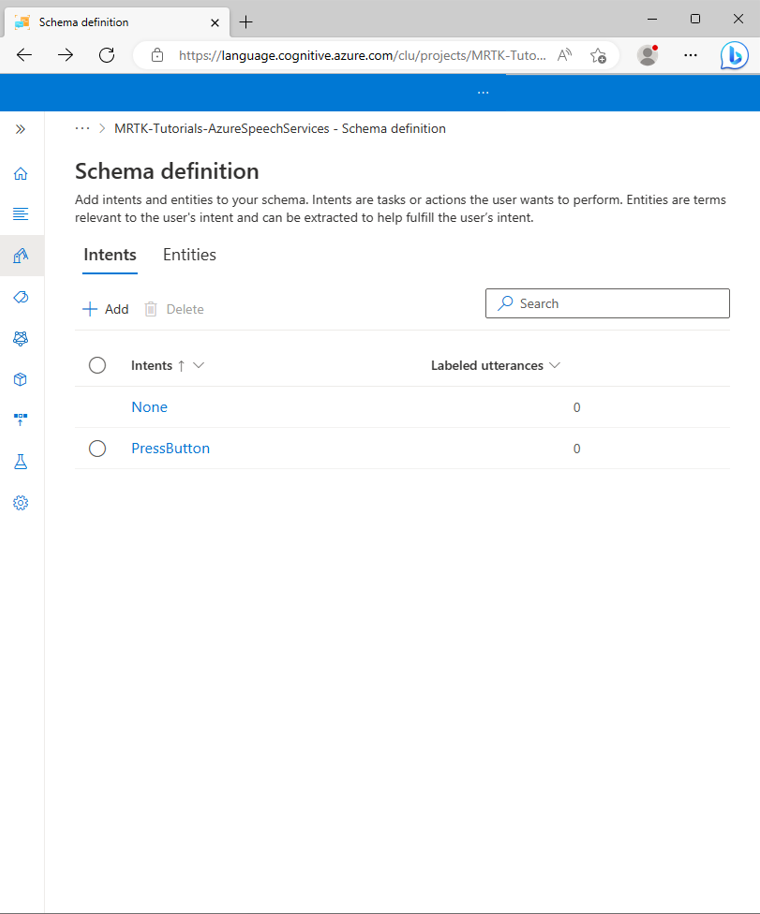
PressButton). It's extremely important that you name your intent exactly the same.When the new intent has been created, you'll be taken back to the Schema definition page. The PressButton intent will show up in the list of intents.


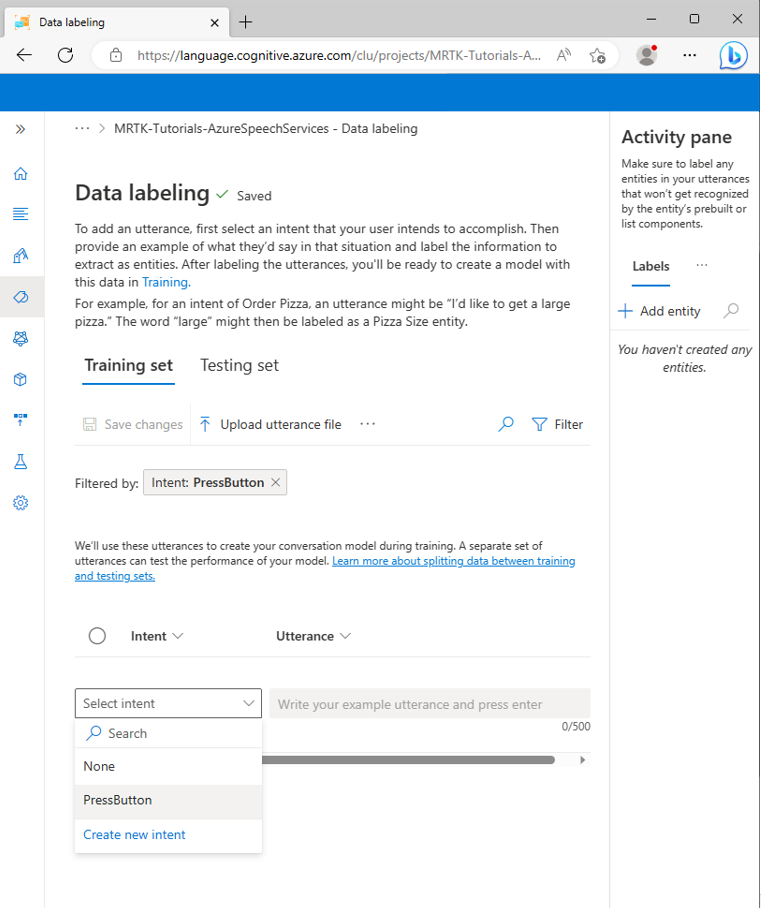
3. Create example utterances
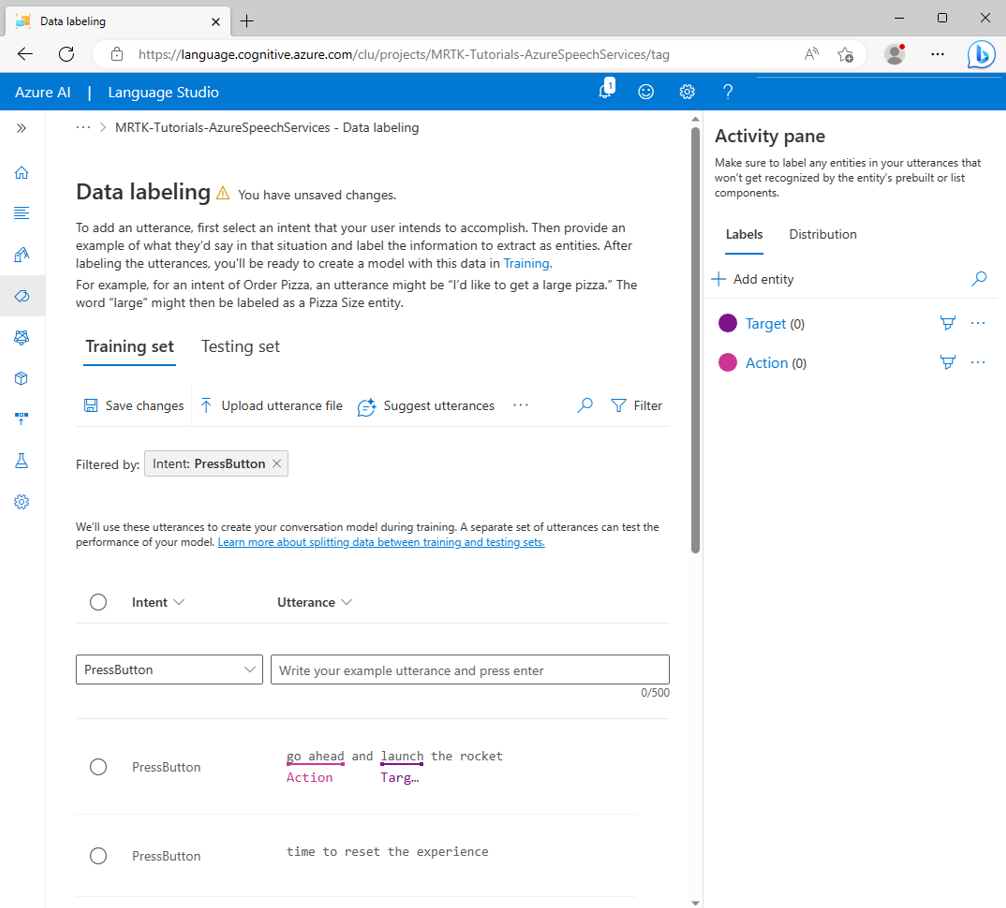
On the left-hand sidebar, select the Data labeling button. On the Data labeling screen, select PressButton from the Select intent drop-down.
To the PressButton intent's Utterances list, add the following example utterances:
- activate launch sequence
- show me a placement hint
- initiate the launch sequence
- press placement hints button
- give me a hint
- push the launch button
- i need a hint
- press the reset button
- time to reset the experience
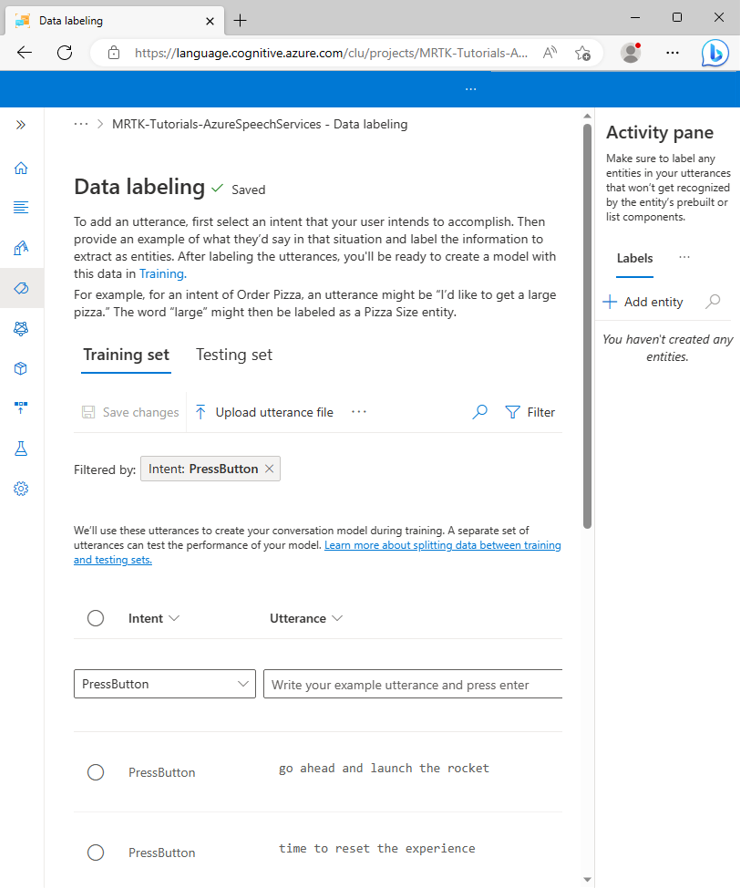
- go ahead and launch the rocket
When you've added all the example utterances, your Data labeling page should look like this:
Caution
For the purpose of this tutorial, your Unity project will reference the words "hint," "hints," "reset," and "launch." It's extremely important that you spell these words in the exact same way in all instances.


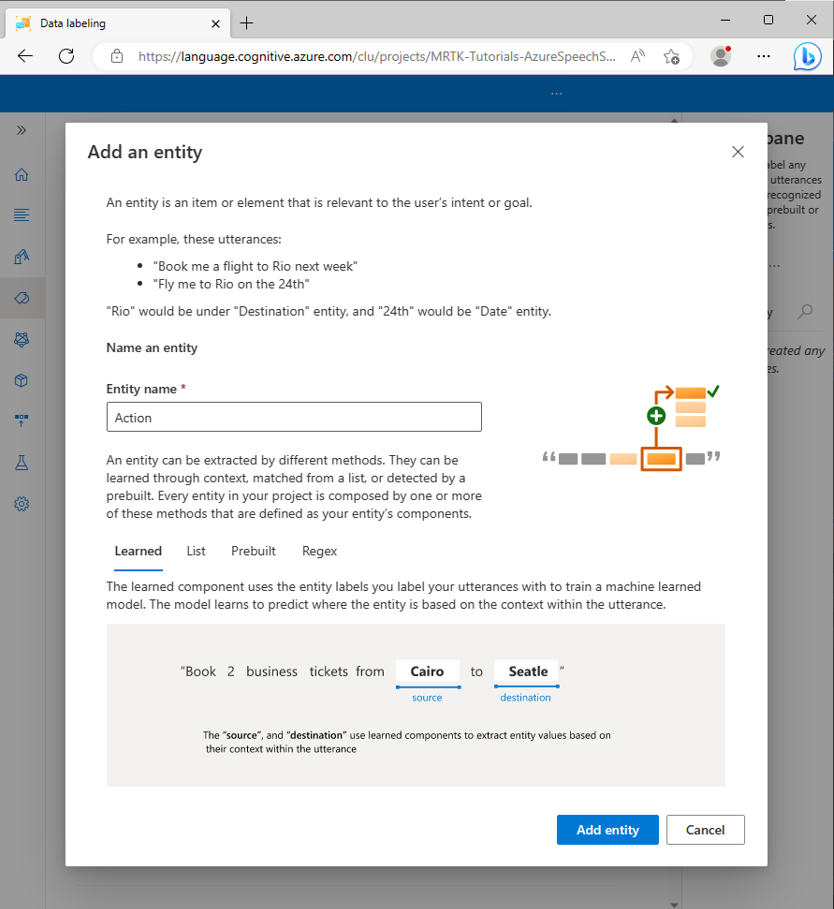
4. Create entities
While on the Data labeling page, select Add entity in the right-hand Activity pane and enter the following values in the Add an entity popup window:
- For Entity name, enter Action
Select Add entity to create the new entity.
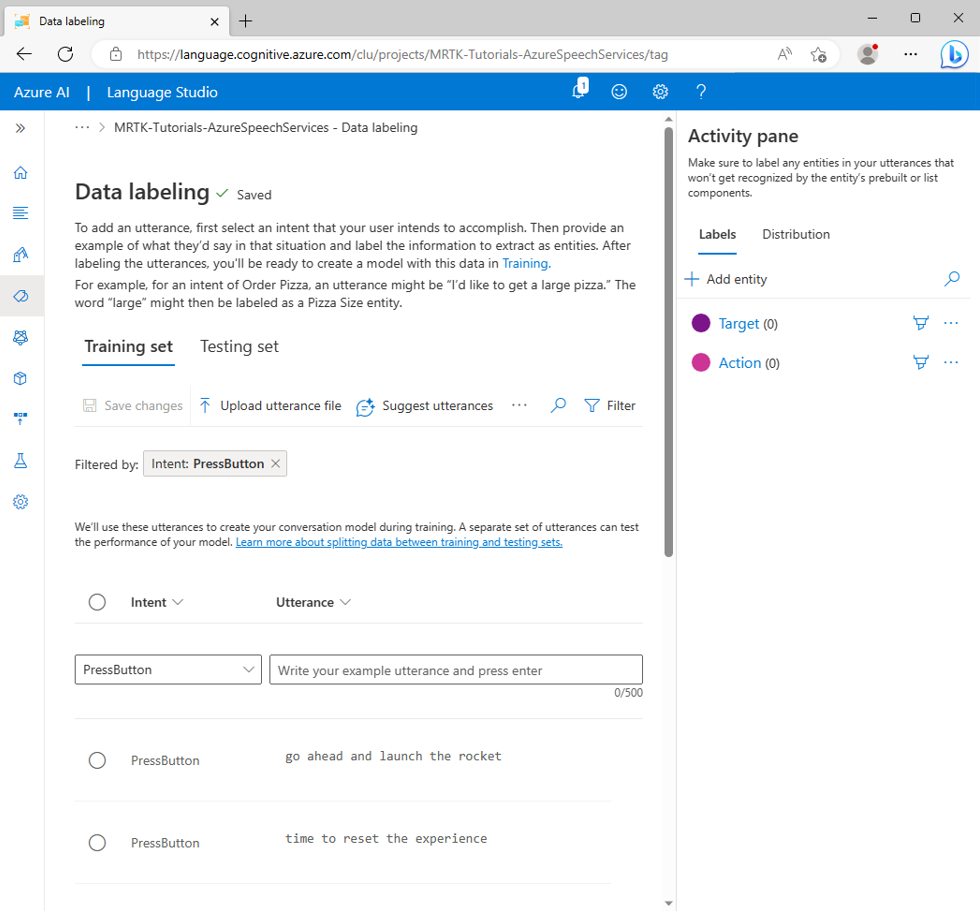
Repeat the previous step to create another entity named Target, so you have two entities named Action and Target.
Caution
For the purpose of this tutorial, your Unity project will reference these entities by their names,
ActionandTarget. It's extremely important that you name your entities exactly the same.


5. Assign entities to the example utterances
Select the word go and then on the word ahead, then select Action (Simple) from the contextual popup menu to label go ahead as an Action entity value.

The go ahead phrase is now defined as an Action entity value. There's now an action entity value under the words "go ahead".

Note
The red line you see under the label in the image indicates that the entity value hasn't been predicted; this will be resolved when you train the model in the next section.
Next, select the word launch, then select Target from the contextual popup menu to label launch as a Target entity value.

The launch word is now defined as a Target entity value. There's now a Target entity value under the word "launch".
The PressButton intent example utterance
go ahead and launch the rocketis now configured to be predicted as follows:- Intent: PressButton
- Action entity: go ahead
- Target entity: launch
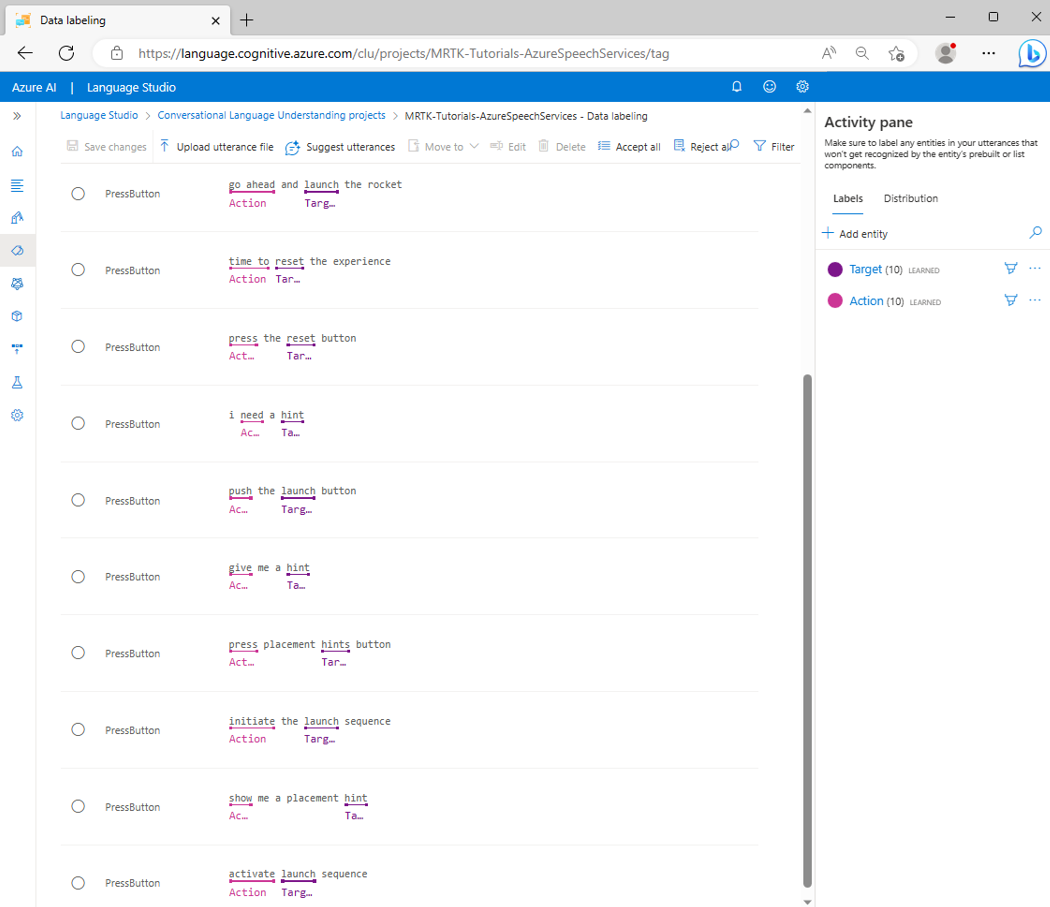
Repeat the previous process to assign an Action and a Target entity label to each of the example utterances, keeping in mind that the following words should be labeled as Target entities:
- hint (targets the HintsButton in the Unity project)
- hints (targets HintsButton in the Unity project)
- reset (targets the ResetButton in the Unity project)
- launch (targets the LaunchButton in the Unity project)
Select Save changes. When you've labeled all the example utterances, your PressButton intent page should look like this:


6. Train, test and publish the app
To train the app, select the Train button from the left-hand sidebar. You should see the Training jobs page.
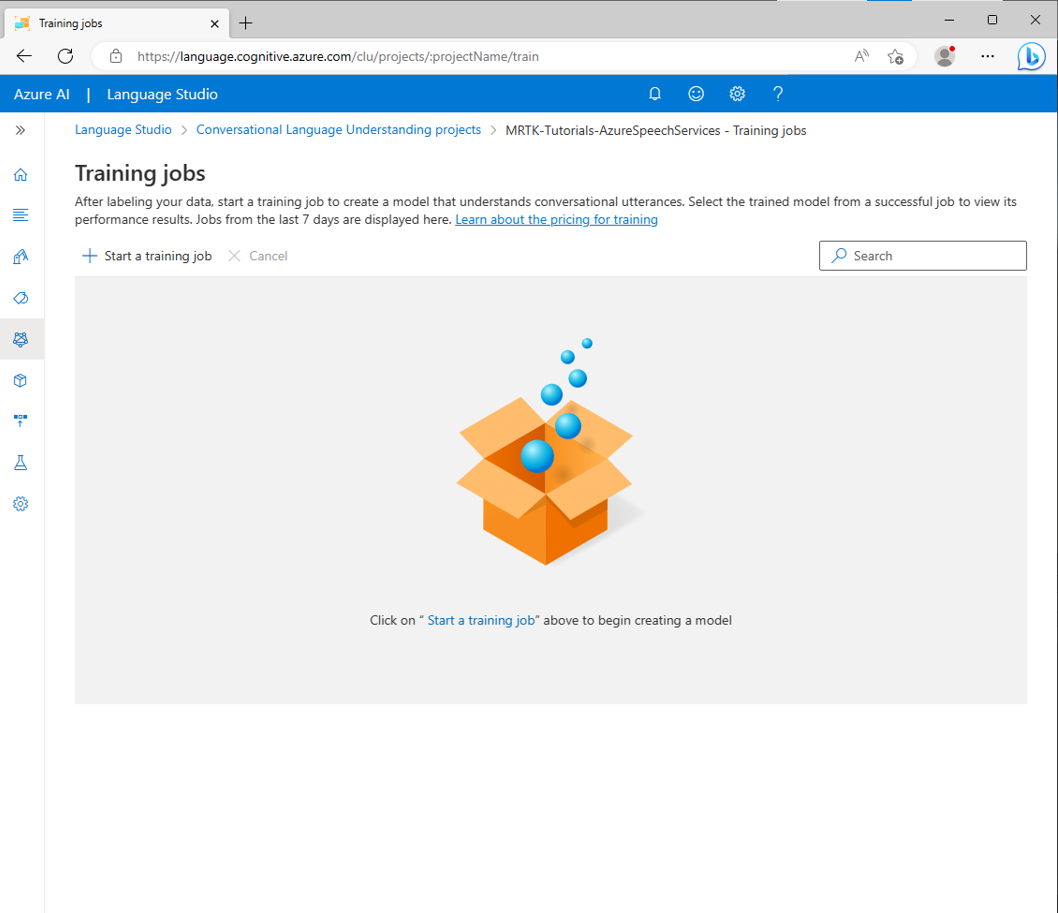
Select Start a training job and select the following values:
- Select Train a new model and enter a suitable name; for example, MRTK-Tutorials-AzureSpeechServices.
- Select Standard training.
- Select Automatically split the testing set from training data.
Select Train to start the training process. When the training is finished processing, you'll see a Finished training notification.
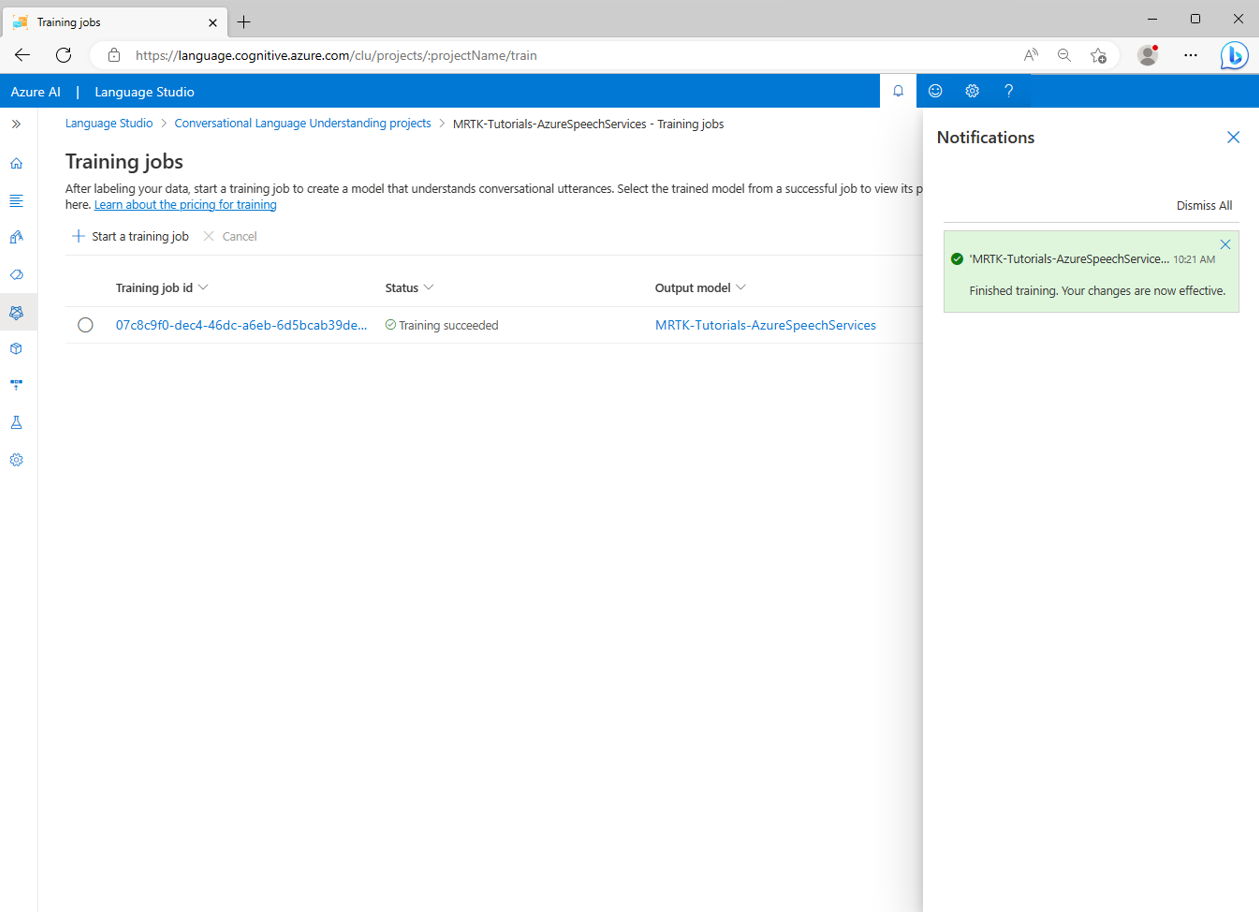
To review the results of the training, select your Output model on the Training jobs screen, then select the Model Performance tab.

To deploy the app, select the Deploying a model button in the left-hand sidebar. You should see the Deploying a model page.
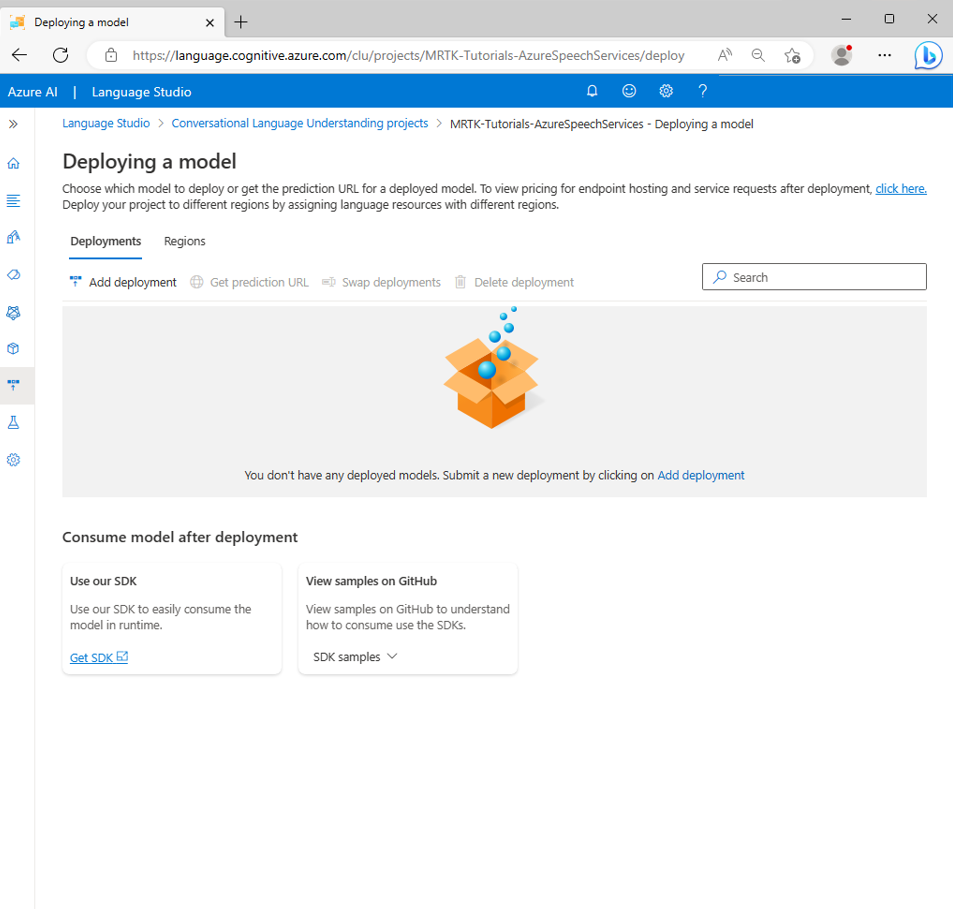
Select Add deployment and enter the following values in the Add deployment popup:
- Select Create a new deployment name and enter a suitable name. Note down the name you selected, you will need it later in the tutorial.
- Select the model you have previously created from the Select a trained model drop-down.
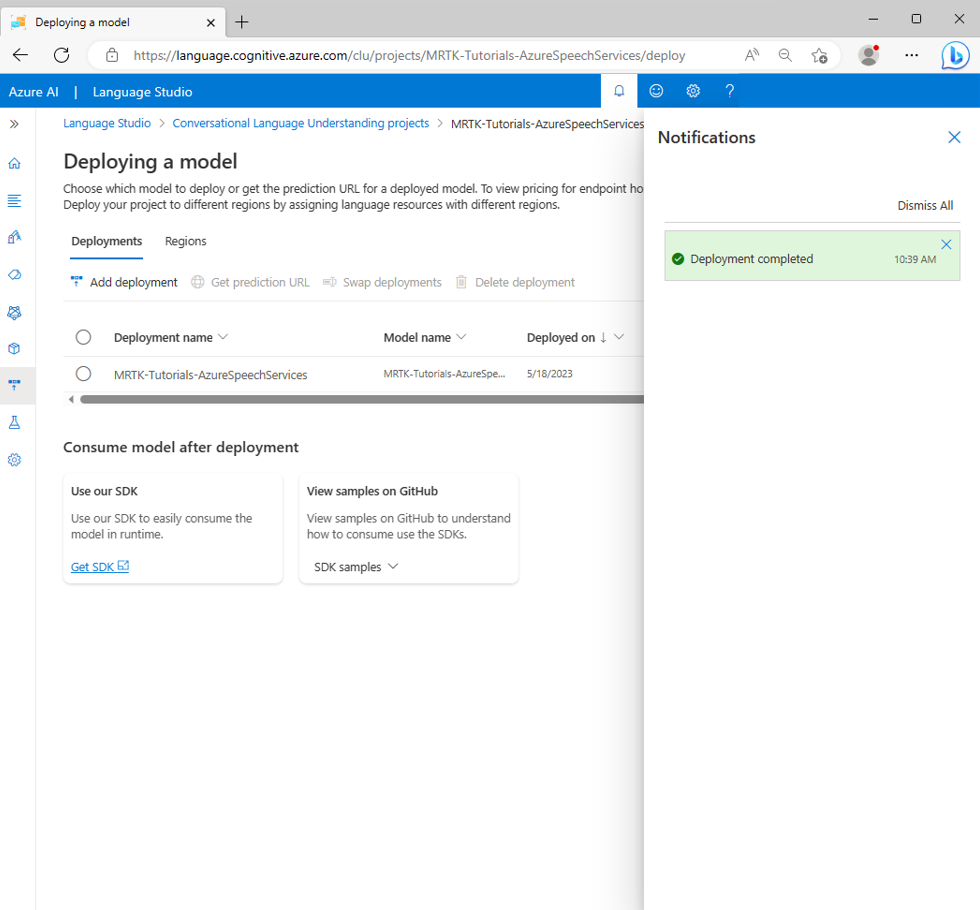
Select Deploy and wait for the publishing process to complete.
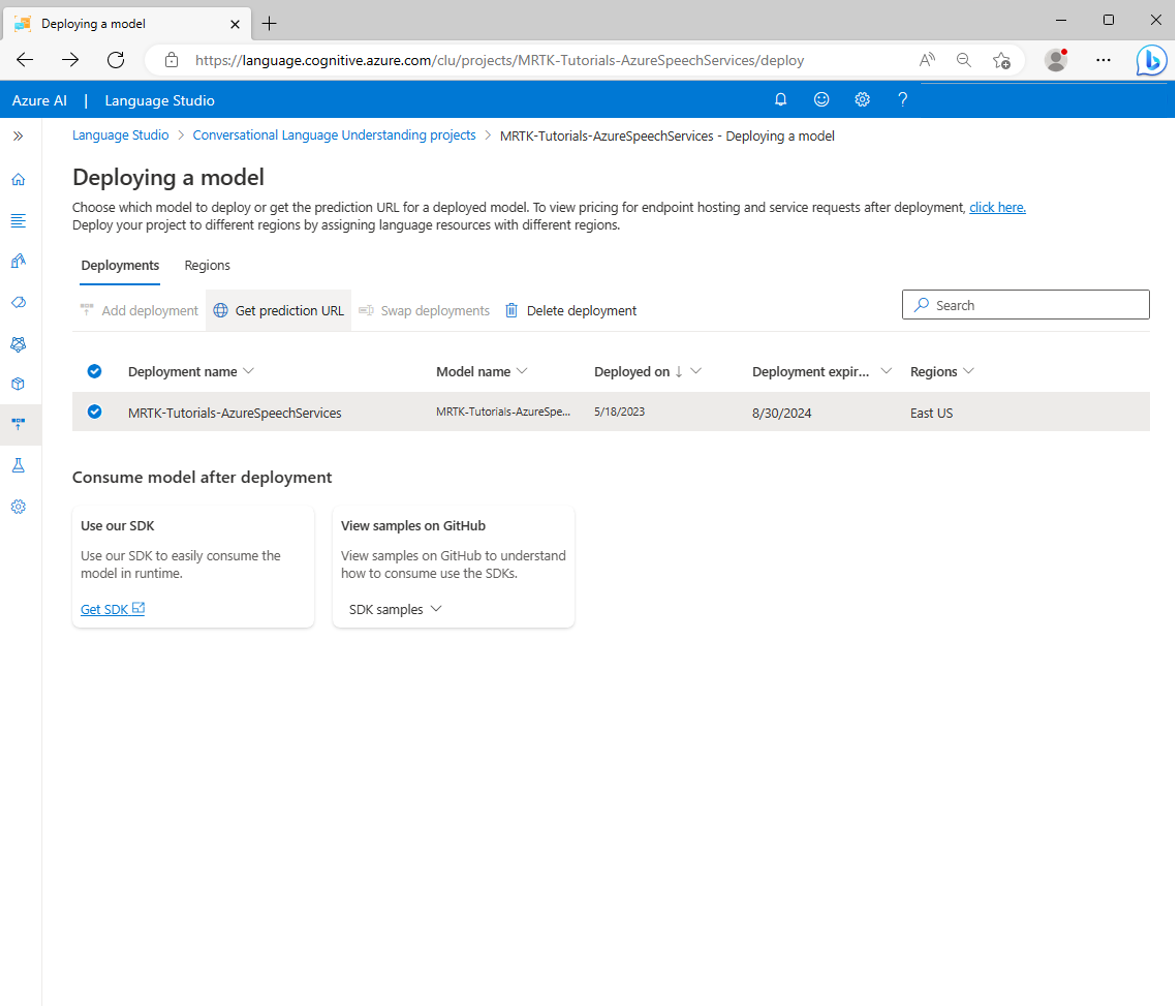
Select the new deployment and select the Get prediction URL button.


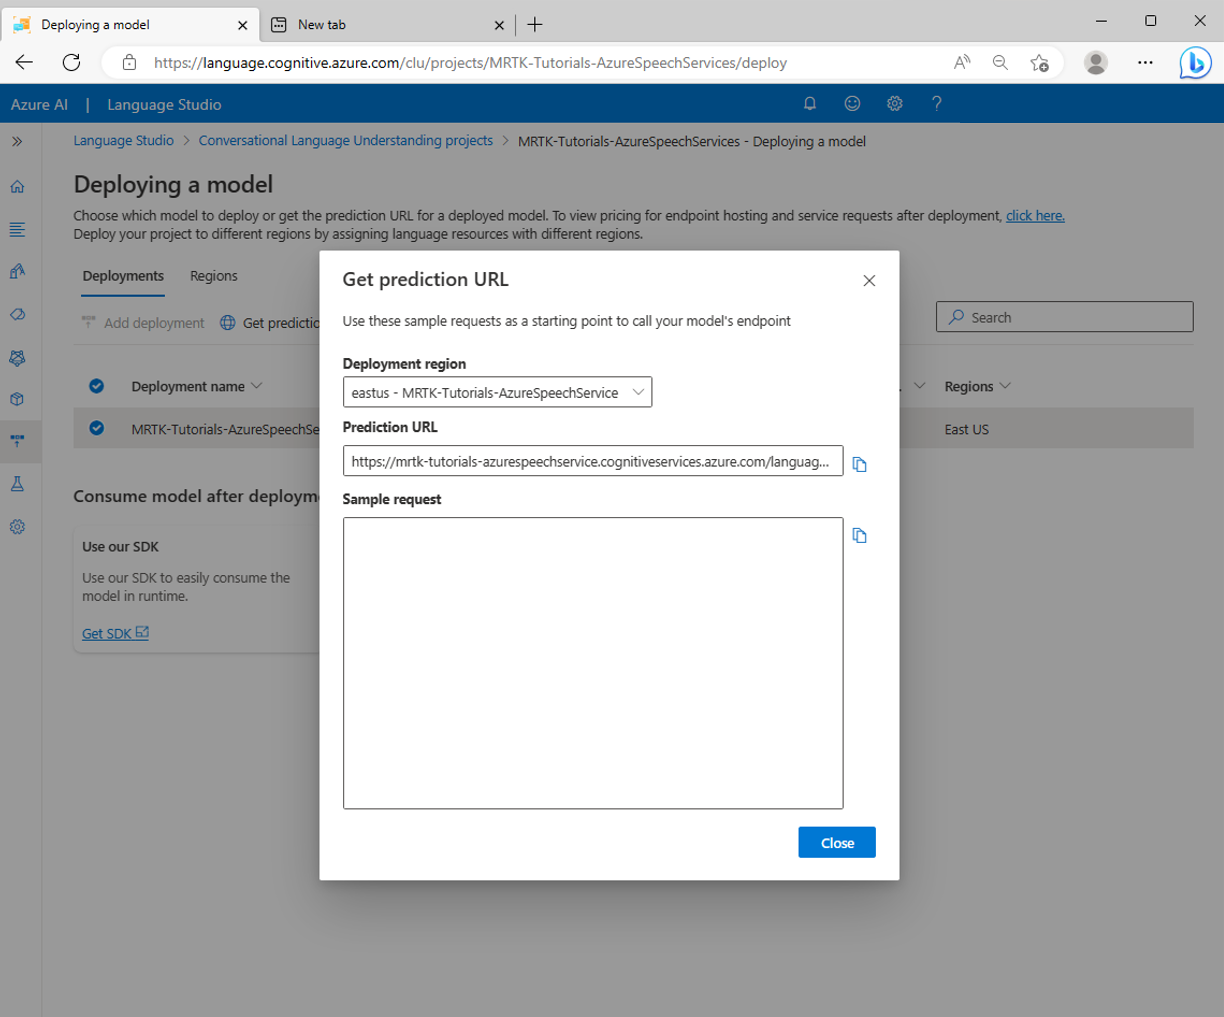
Connect the unity project to the CLU app
While on the Get prediction URL popup, select the Copy icon to copy the Prediction URL.
Back in your Unity project, in the Hierarchy window, select the Lunarcom object, then in the Inspector window, locate the Lunarcom Intent Recognizer (Script) component and configure it as follows.
- In the CLU Endpoint field, pass the Prediction URL you copied in the previous step.
- In the CLU Project Name field, pass the Project Name you noted down when creating a CLU app.
- In the CLU Deployment field, pass the Deployment Name you noted down when creating a new deployment.
- In the Language Service API Key field, pass the API key (Key1 or Key2) for your Language Service. You can find this in the Azure portal by selecting your language service, then selecting Keys and endpoint in the left menu.


Test the intent recognition
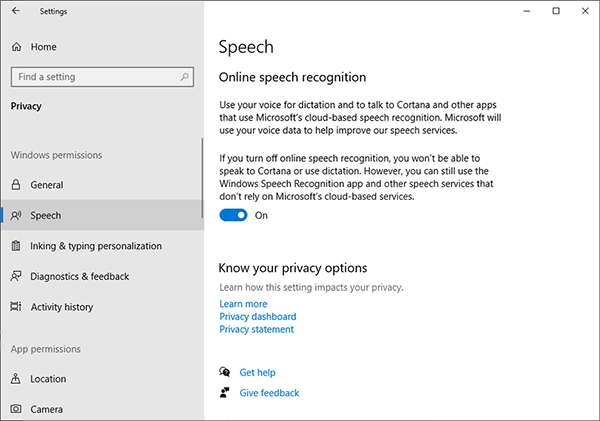
To use intent recognition directly in the Unity editor, you must allow your development computer to use dictation. To verify this setting, open Windows Settings, then choose Privacy > Speech and ensure Online speech recognition is turned on.
If you enter Game mode, you can test the intent recognition by first pressing the rocket button. Then, when you say the first example utterance, go ahead and launch the rocket, you'll see the LunarModule launch into space.
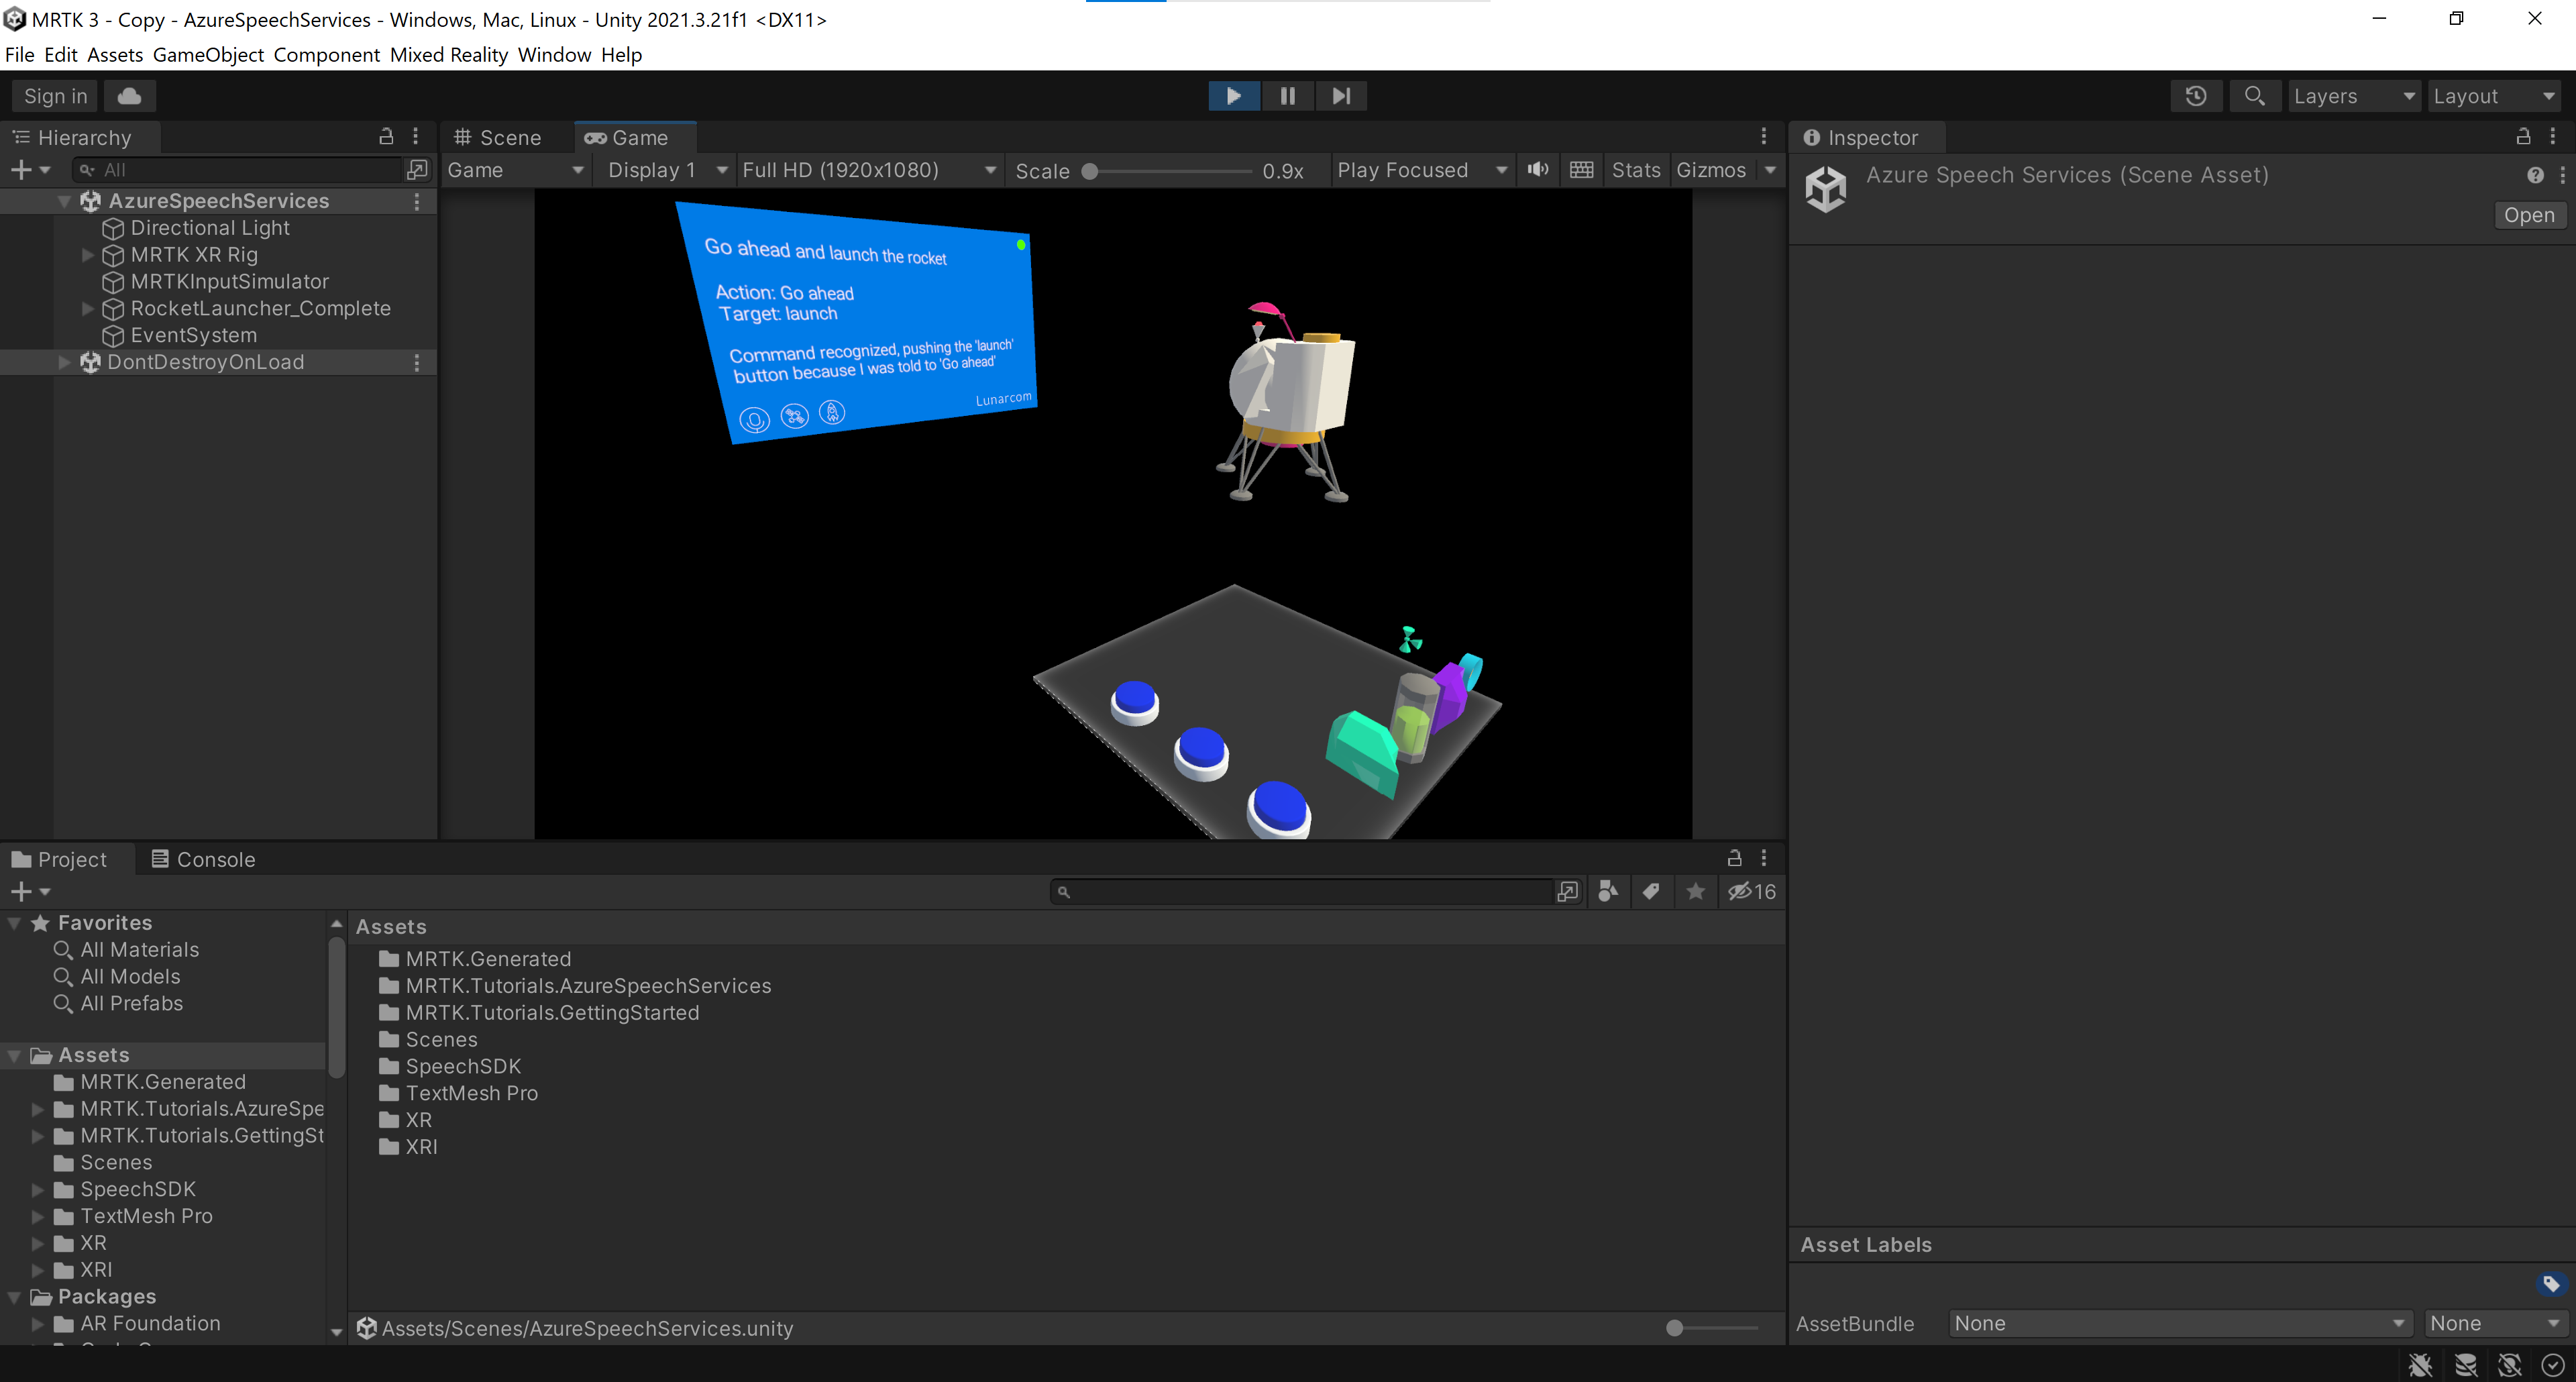
Try all the example utterances, then some variation of the example utterances, then a few random utterances.

