Exercise - Create and configure a static web app
This module uses a GitHub template repository to make it easy for you to get started. The template features a starter app that you'll deploy to Azure Static Web Apps.
Set up a GitHub repo
Go to https://github.com/Azure/awps-swa-sample/generate to create a new repo for this tutorial.
Select yourself as Owner and use the default name for your repository: awps-swa-sample. If you choose a different name, make sure you update the repo name used in the following GitHub commands.
You can create a Public or Private repo according to your preference. Either works for this module.
Select Create repository from template.
Create a static web app
Now that the repository is created, you can create a static web app from the Azure CLI.
Create a variable to hold your GitHub user name.
GITHUB_USER_NAME=<Your_GitHub_user_name>Create a new static web app from your repository. When you run this command, the CLI starts a GitHub interactive sign-in. Follow the message to complete authorization.
az staticwebapp create \
    --name my-awps-swa-app \
    --resource-group "<rgn>[sandbox resource group name]</rgn>" \
    --source https://github.com/$GITHUB_USER_NAME/awps-swa-sample \
    --location $LOC \
    --branch main \
    --app-location "src" \
    --api-location "api" \
    --login-with-github
A GitHub user code is displayed in the command output. This code is used in the next step to activate and retrieve your GitHub personal access token.
Important
The URL passed to the
--sourceparameter must not include the.gitsuffix.Enter the user code as displayed in your console's output. Select Continue.
In the page that appears, select Authorize AzureAppServiceCLI. If prompted, retrieve and enter a two-factor authentication code.
Configure the static web app settings.
az staticwebapp appsettings set \
  --name my-awps-swa-app \
  --setting-names WebPubSubConnectionString=$AWPS_ACCESS_KEY WebPubSubHub=sample_swa
View the website
There are two aspects to deploying a static app: The first creates the underlying Azure resources that make up your app. The second is a GitHub Actions workflow that builds and publishes your application.
Before you can navigate to your new static site, the deployment build must first finish running.
Return to your console window and run the following command to list the GitHub repository URL associated with your app.
az staticwebapp show \
  --name  my-awps-swa-app \
  --query "repositoryUrl"
The output of this command returns the URL to your GitHub repository.
Copy the repository URL and paste it into the browser.
In the GitHub repository, select the Actions tab.
At this point, Azure is creating the resources to support your static web app. Wait until the icon next to the running workflow turns into a check mark with green background ✅. This operation may take a few minutes to complete.
Once the operation succeeds, the workflow is complete and you can return to your console window.
Run the following command to query for your website's URL and store the value in the
STATIC_WEB_APPvariable.STATIC_WEB_APP=$(az staticwebapp show \ --name my-awps-swa-app \ --query "defaultHostname" \ --output tsv)
Configure the Web PubSub event handler
You're very close to complete. The last step is to configure Web PubSub to transfer client requests to your backend APIs. For more information about the event handler in Web PubSub service, see Event handler.
Run the following command to configure Web PubSub service events. It maps functions under the
apifolder in your repo to the Web PubSub event handler.az webpubsub hub create \ --name $WPS_NAME \ --resource-group "<rgn>[sandbox resource group name]</rgn>" \ --hub-name "sample_swa" \ --event-handler url-template=https://$STATIC_WEB_APP/api/{event} user-event-pattern="*" \ --event-handler url-template=https://$STATIC_WEB_APP/api/{event} system-event="connect"
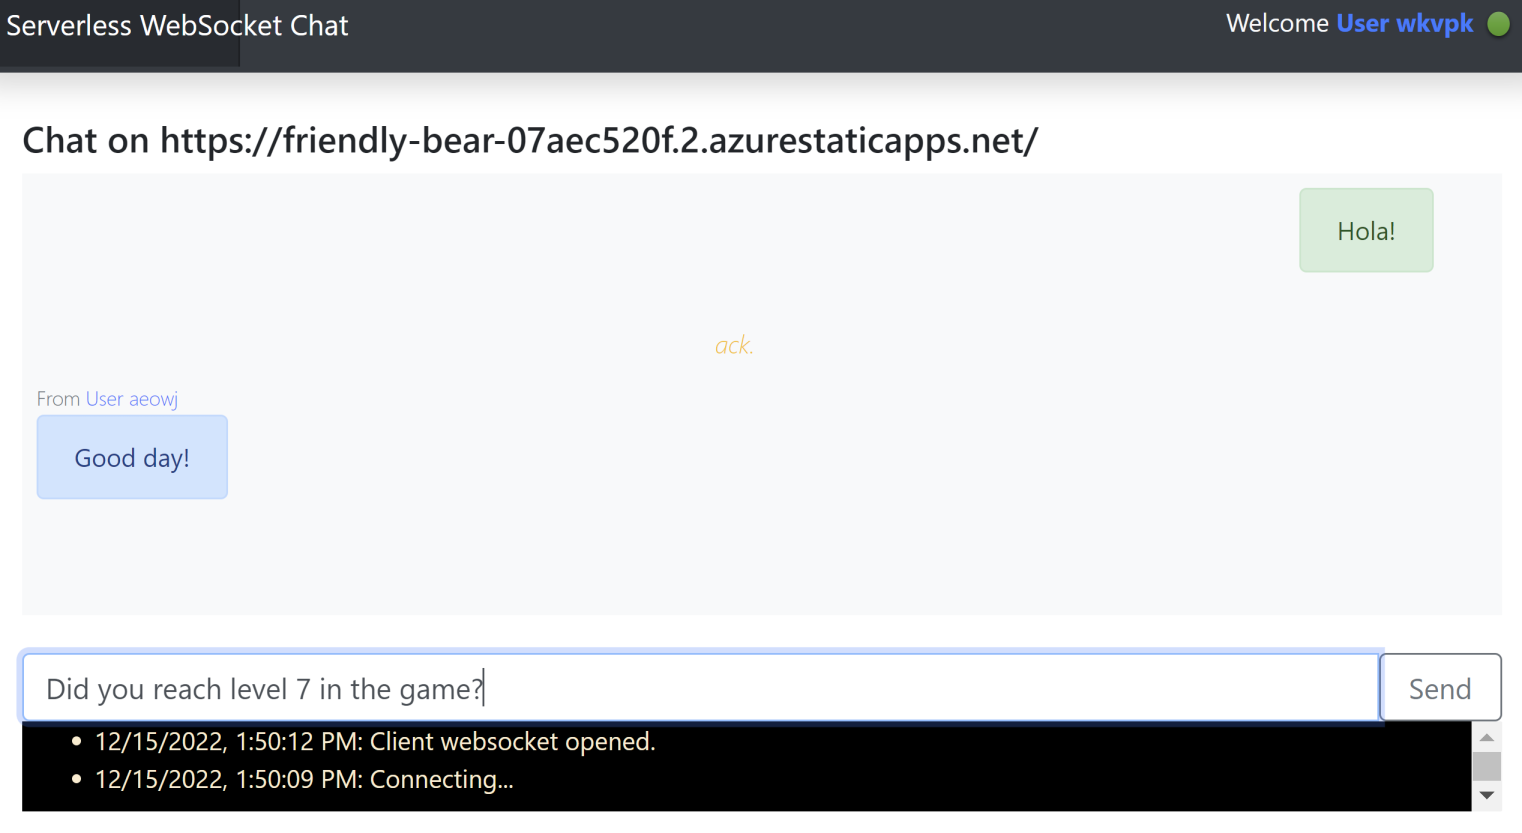
Try the chat app
Now you're ready to try the chap app. Copy the STATIC_WEB_APP URL to a browser and select Continue to start chatting. If you want to simulate chatting with another user, open the URL in two or more browser tabs and send messages from the different tabs.