Deploy and configure your environment
To provide an end to end data technology stack, we create many resources and integrate them together to create a flow of data. This exercise includes setting up Azure Data Factory, Microsoft Purview, CluedIn, a service principal, an Azure Storage account, and Azure Key Vault. If you have these components already, you can move on to the next section.
Create an Azure Data Factory
In this exercise, we use Azure Data Factory as our mechanism to pull data from source systems into storage accounts, and pull data registered in Microsoft Purview to CluedIn to be processed.
If you don't have an Azure Data Factory instance, you can use the following guide to create one:
Launch a Microsoft Edge or Google Chrome web browser. Currently, only Microsoft Edge and Google Chrome web browsers support the Azure Data Factory UI.
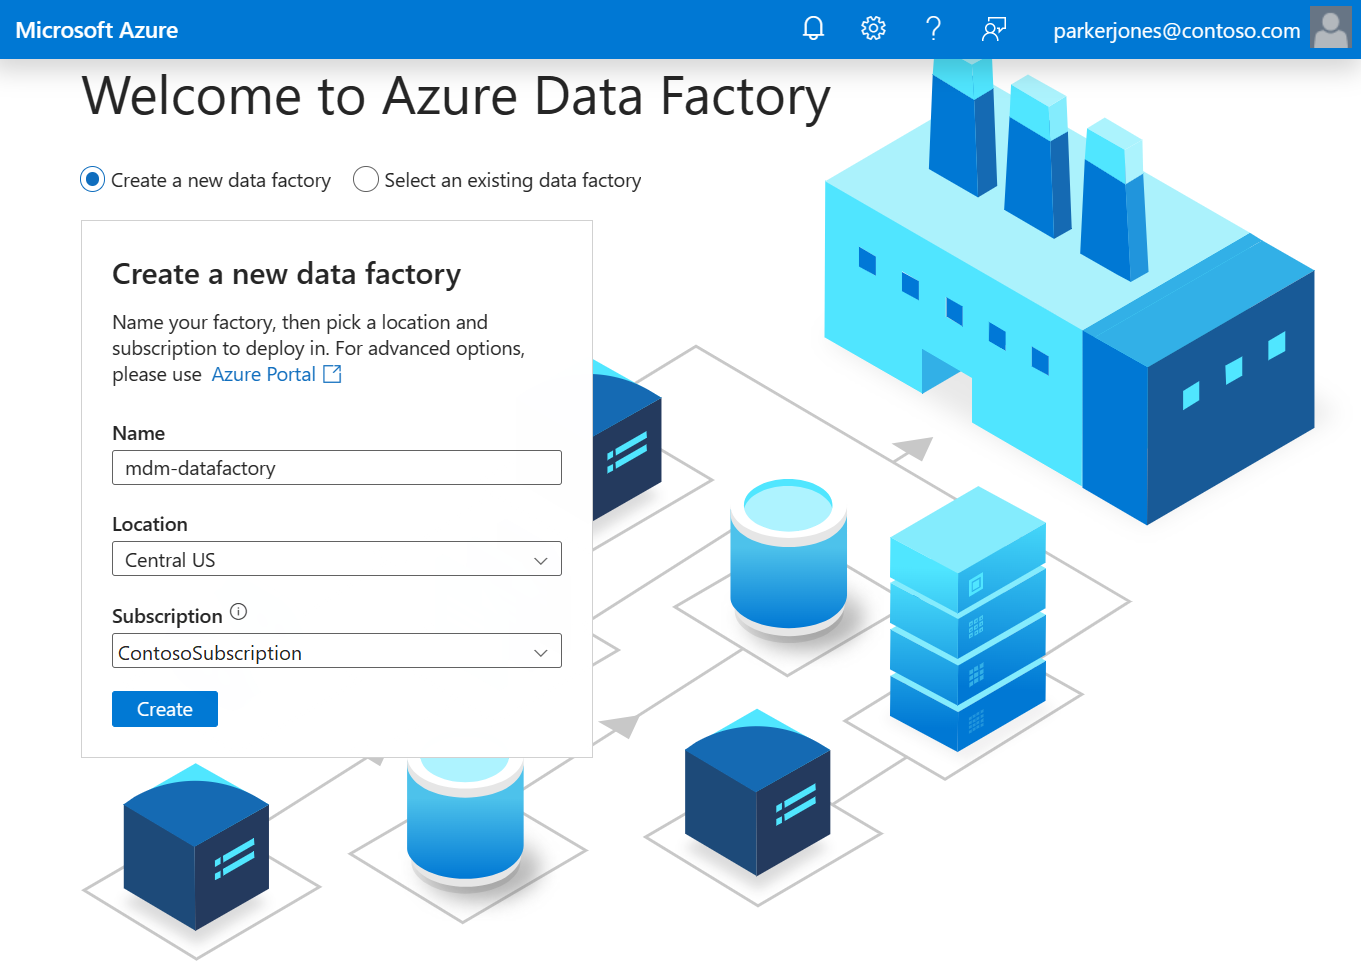
Go to the Azure Data Factory Studio and choose the Create a new data factory radio button.
You can use the default values to create an instance, or enter a unique name and choose a preferred location and subscription and select Create.
Create a Microsoft Purview instance
You need your own Microsoft Purview instance for this learning module, or you can create one using these steps:
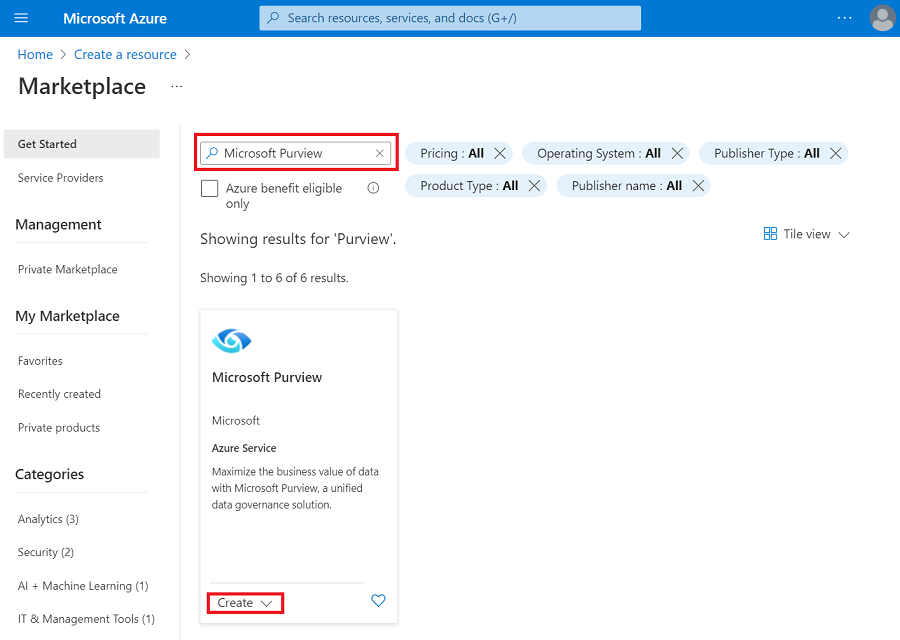
Select Create a resource in the Azure portal. Search for and select Microsoft Purview. Select Create to create a new Microsoft Purview account.
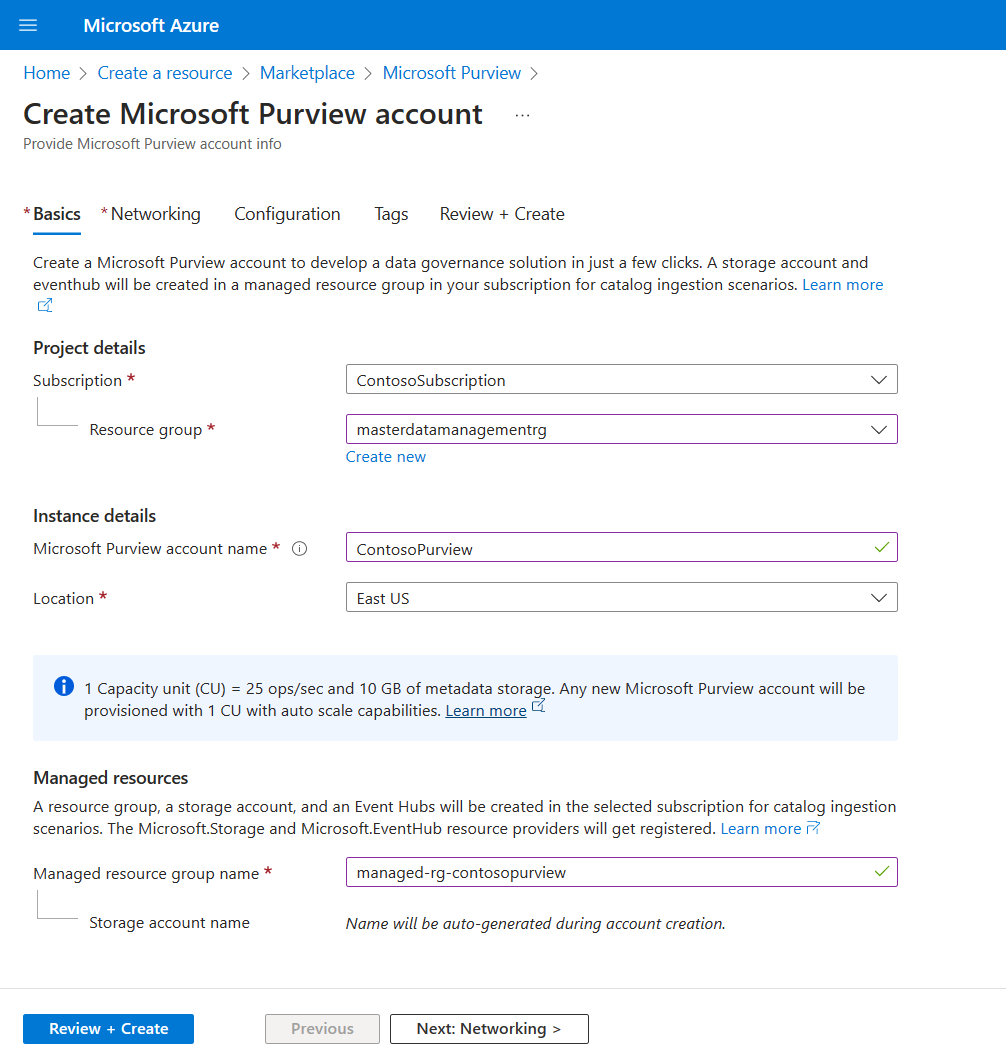
On the new Create Microsoft Purview account page under the Basics tab, select your Azure subscription, resource group, enter a name, and choose a location.
Tip
The list shows only locations that support the Microsoft Purview governance portal. The location you choose will be the region where your Microsoft Purview account and metadata will be stored. Sources can be housed in other regions.
Select Review & Create, and then select Create.
Create a service principal
Tip
Even if you already have a security principal, confirm you have the correct permissions in the set up authentication using a service principal section.
You also need to set up a Service Principal to generate the right credentials for all the components to talk with each other.
To create a new service principal:
Sign in to the Azure portal.
From the portal, search for and select Microsoft Entra ID.
From the Microsoft Entra ID page, select App registrations from the left pane.
Select New registration.
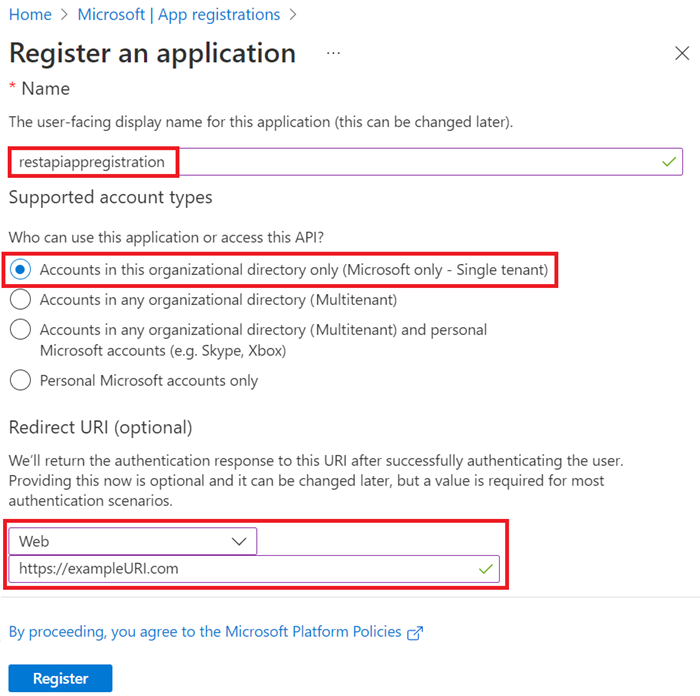
On the Register an application page:
- Enter a Name for the application (the service principal name).
- Select Accounts in this organizational directory only (<your tenant's name> only - Single tenant).
- For Redirect URI (optional), select Web and enter a value. This value doesn't need to be a valid endpoint. For example,
https://exampleURI.com. - Select Register.
On the new service principal page, copy the values of the Display name and the Application (client) ID to save for later.

To use the service principal (application), you need to know the service principal's password that can be found with these steps:
From the Azure portal, search for and select Microsoft Entra ID, and then select App registrations from the left pane.
Select your service principal (application) from the list.
Select Certificates & secrets from the left pane.
Select New client secret.
On the Add a client secret page, enter a Description, select an expiration time under Expires, and then select Add.
On the Client secrets page, the string in the Value column of your new secret is your password. Save this value for use later.

Set up authentication using service principal
Once the new service principal is created, or if you're bringing your own, you need to assign the data plane roles of your Microsoft Purview account to the service principal:
Navigate to your Microsoft Purview governance portal.
Select the Data Map in the left menu.
Select Collections.
Select the root collection in the collections menu. The root collection is the top collection in the list, and has the same name as your Microsoft Purview account.
Note
You can also assign your service principal permission to any sub-collections, instead of the root collection. However, all APIs will be scoped to that collection (and sub-collections that inherit permissions), and users trying to call the API for another collection will get errors.
Select the Role assignments tab.
Assign the following roles to the service principal created previously to access various data planes in Microsoft Purview.
- Data Curator role to access Catalog Data plane.
- Data Source Administrator role to access Scanning Data plane.
- Collection Admin role to access Account Data Plane and Metadata policy Data Plane.
Note
Only members of the Collection Admin role can assign data plane roles in Microsoft Purview.
Create a CluedIn instance
You can also create a CluedIn instance directly through the Azure Marketplace or Azure portal. Make sure that you check and validate that you have all the prerequisites for installing the trial, available here: https://documentation.cluedin.net/deployment/azure-marketplace.
To create a CluedIn instance, go to the Azure portal and follow these steps:
Search CluedIn in your Azure portal and select the application under the Marketplace section.
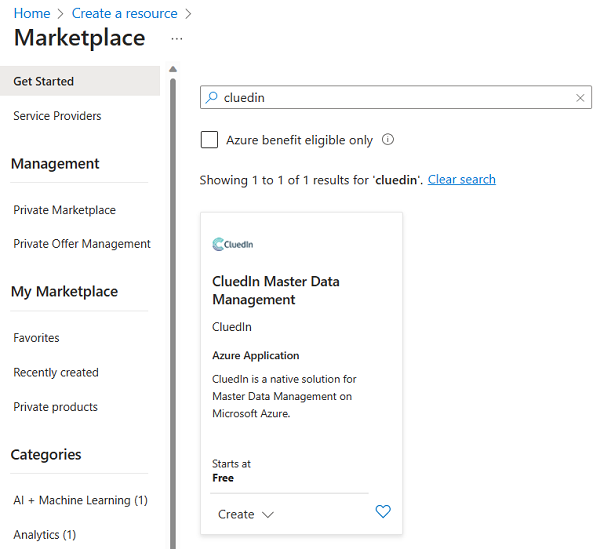
On the form, choose the type of plan. CluedIn provides a seven-day trial that is cost-free from CluedIn, but charges you for the underlying Azure infrastructure used to install within your environment. You can also choose the CluedIn Platform plan that uses hourly based pricing. In this module, we walk you through using the CluedIn seven-day trial.
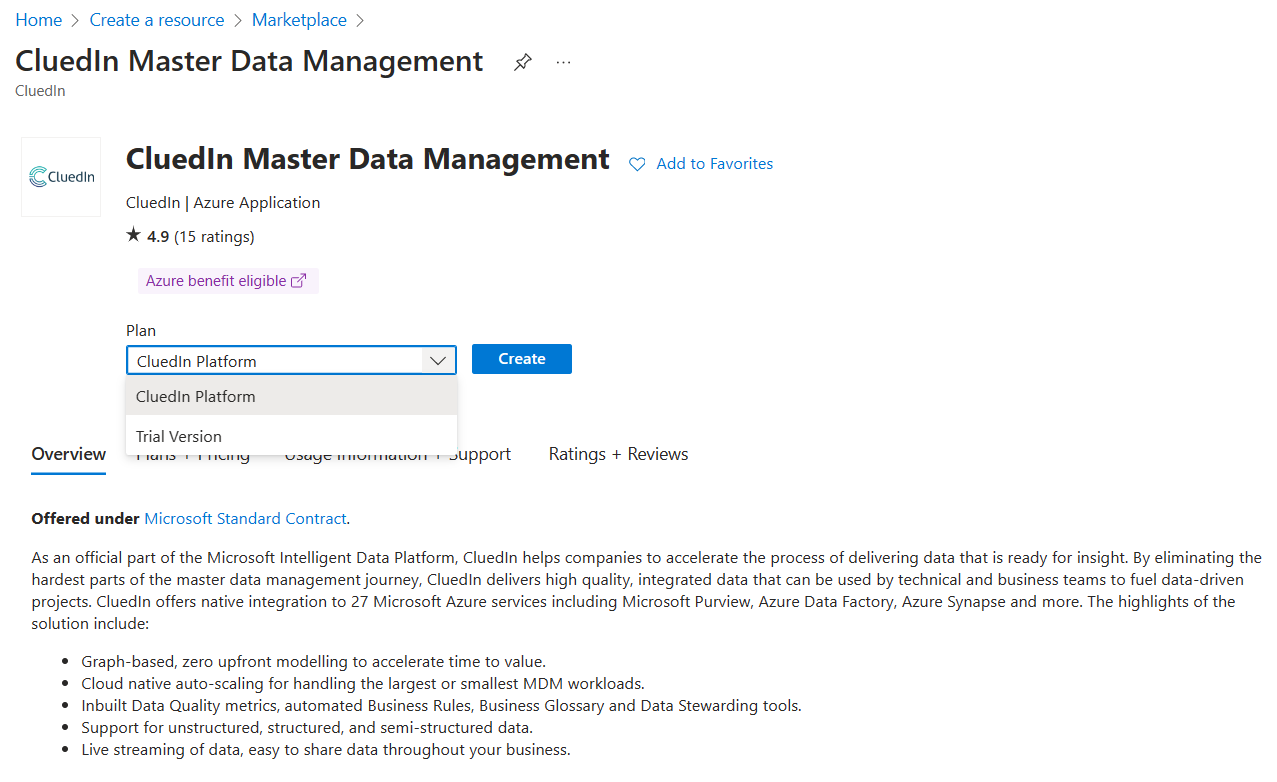
Choose Trial Version from the dropdown and select Create.
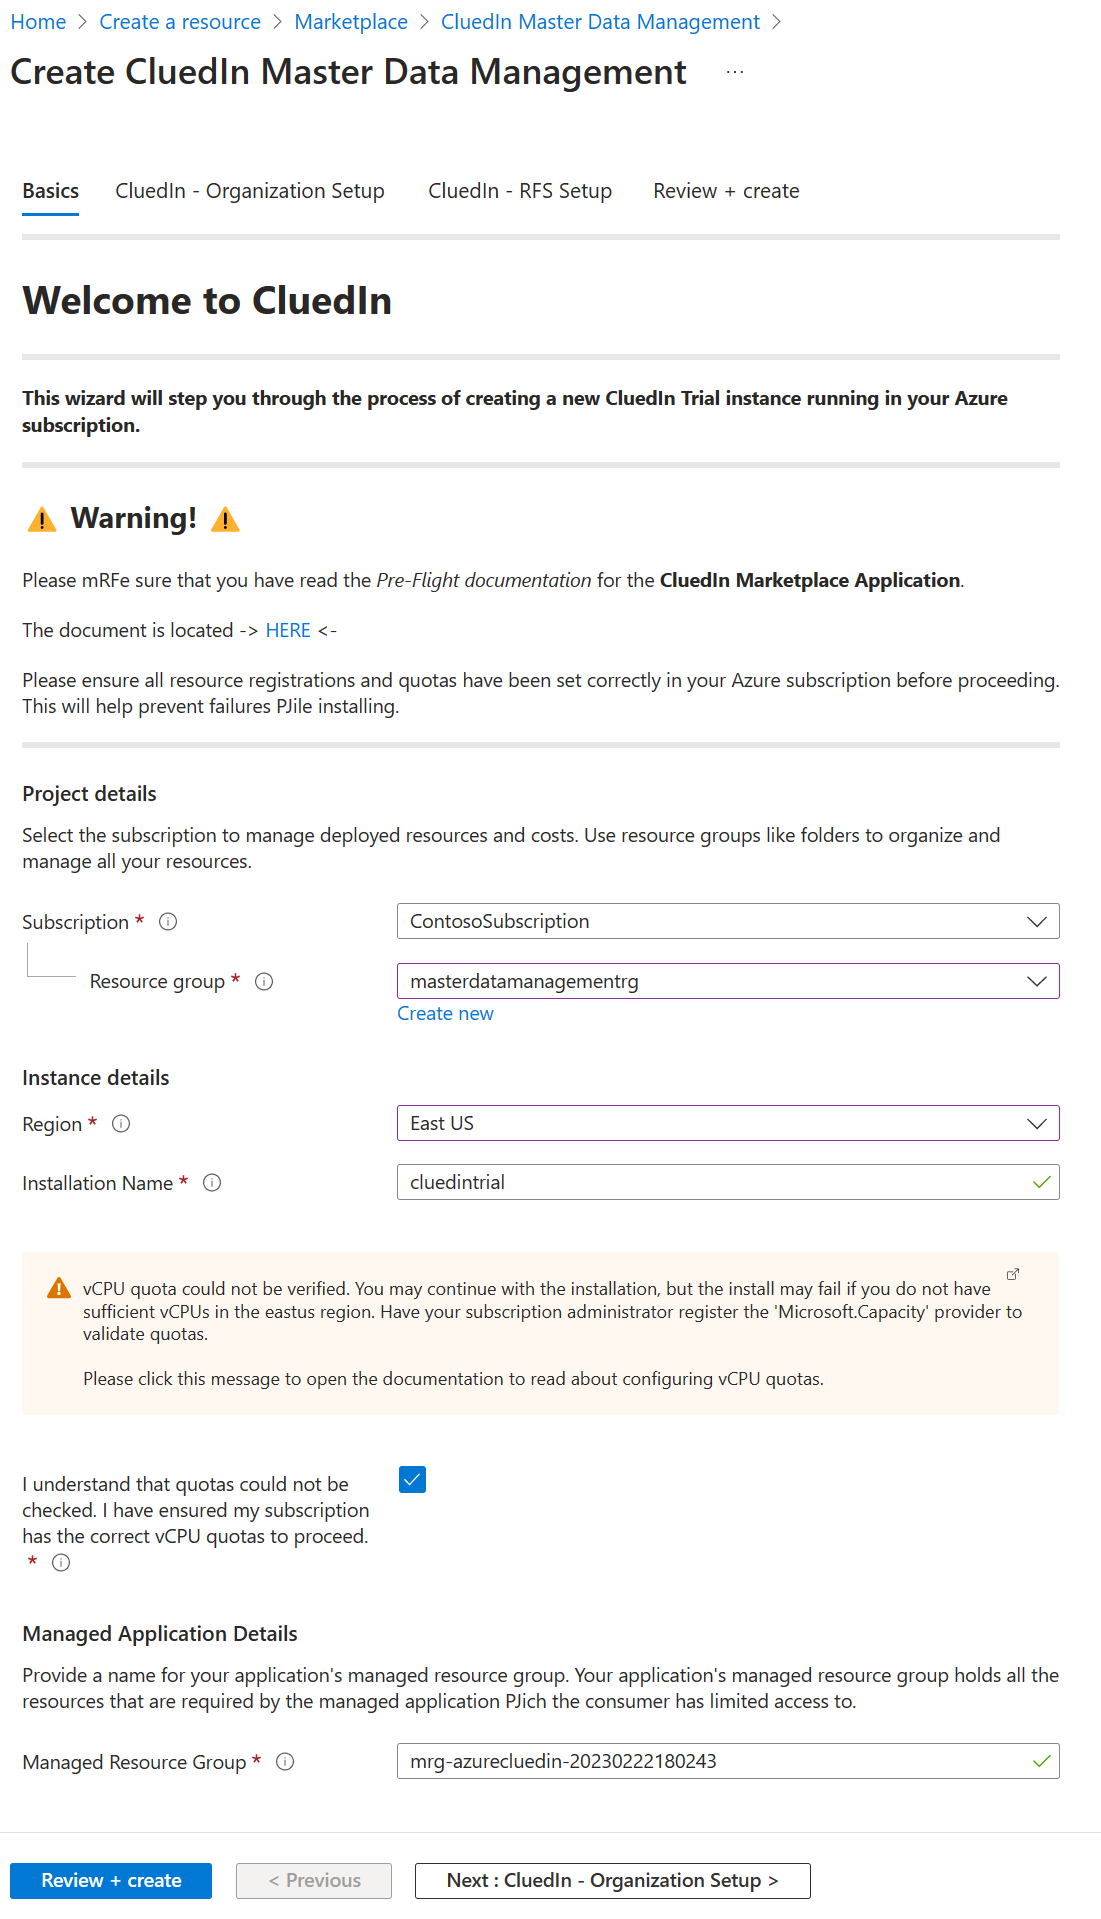
Fill in the Subscription and Resource Group you would like to use. For the region, make sure you choose a region where you're able to create infrastructure and that you have enough of a quota to spin up the required infrastructure. If you are in doubt, there's a handy PowerShell script that you can run that tells you if you have enough quota and all required prerequisites before running the installation.
Note
The Managed Resource Group name is autogenerated for you, there is no need to rename this. Call your Installation Name something that is easy for you to remember through the rest of the module.
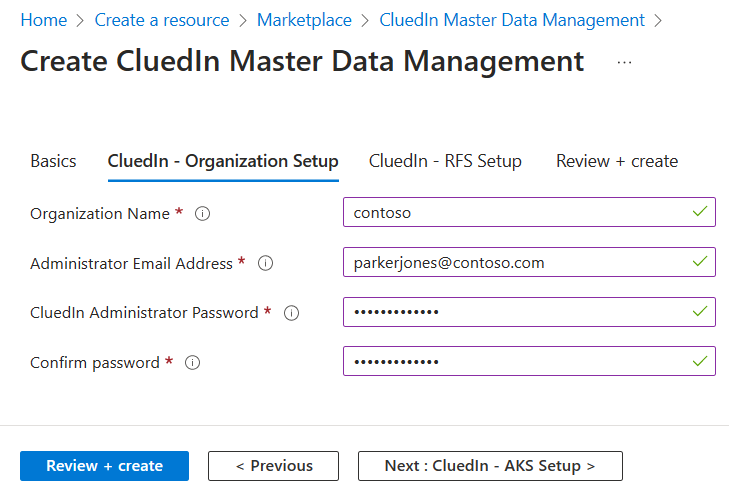
Select Next : CluedIn - Organization Setup > to set the Organization Name, Administrator Email Address, CluedIn Administrator Password, and Confirm Password. The Organization Name is the name for your new instance of CluedIn and the subdomain that is used to access your CluedIn Studio in the browser. Provide an email address that is valid and that you have access to, and provide a strong Password in the CluedIn Administration Password and Confirm password fields.
Note
If you are required to use Single Sign On for your Learning Module then you will need to use the "CluedIn Platform" plan. The Trial does not support SSO setup and uses simple OAuth 2 / JWT authentication.
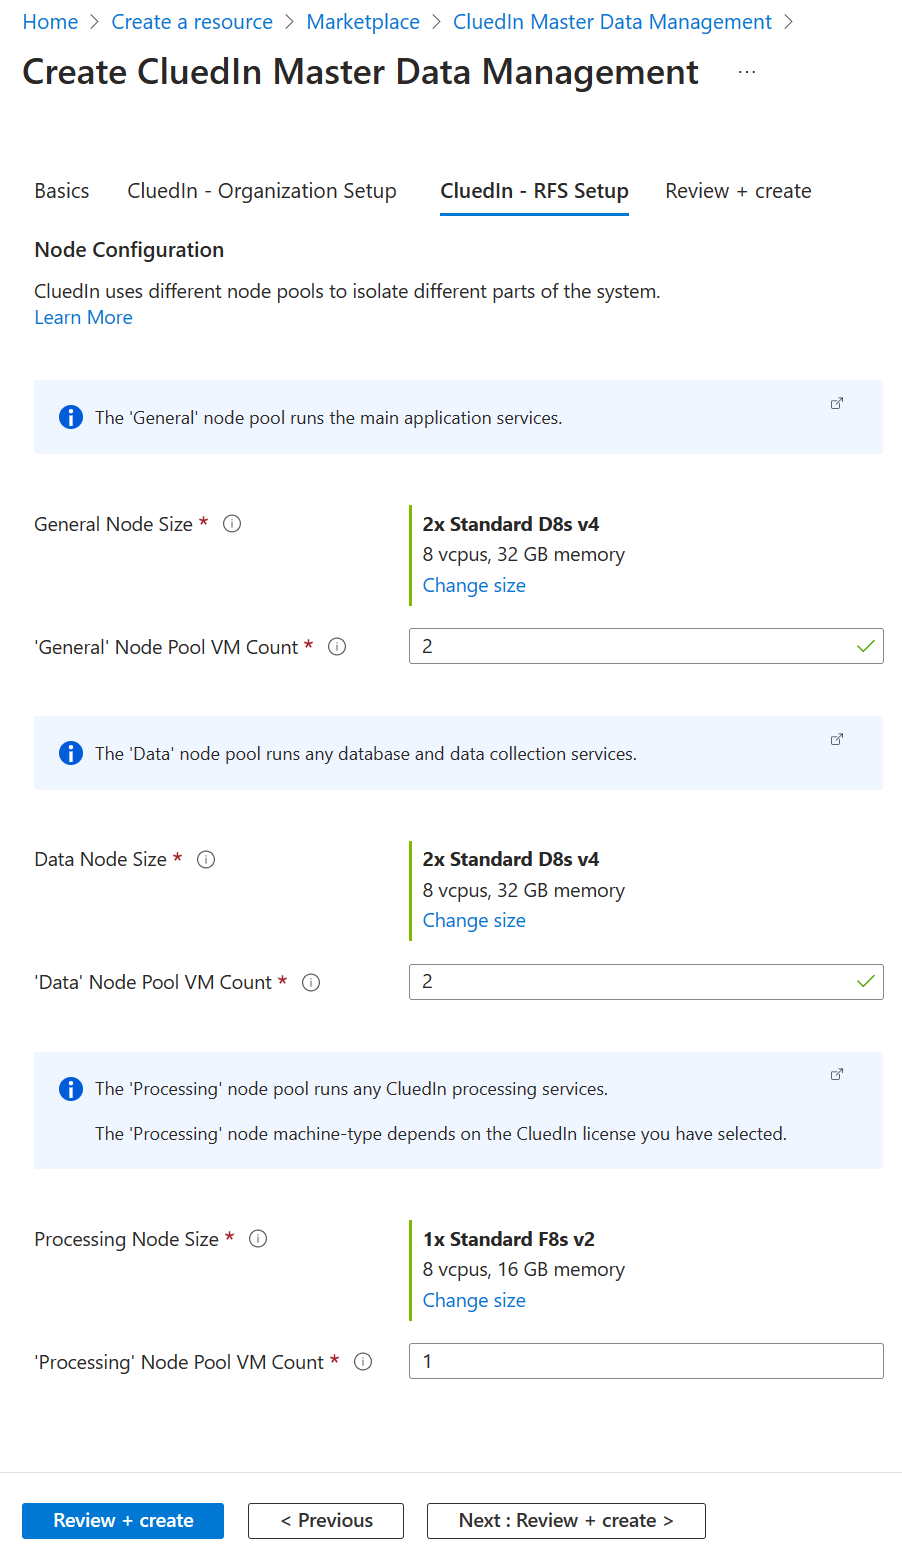
Select Next : CluedIn - AKS Setup > and leave all of the values as the default.
Select Next : Review + create >. On this next page, you'll need to check the checkbox to agree to the terms and conditions.

In approximately 15 to 20 minutes, your newly created instance of CluedIn is able to access your new CluedIn environment. We'll show you how in the next section.
Create an Azure Storage Account
You need an ADLS (Azure Data Lake Storage) Gen2 Storage Account to host all of the data used for the module.
You can bring an account you already have or use this guide to create one:
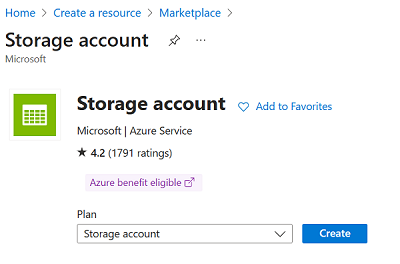
In the Azure portal, search Storage account, select it, and select Create.
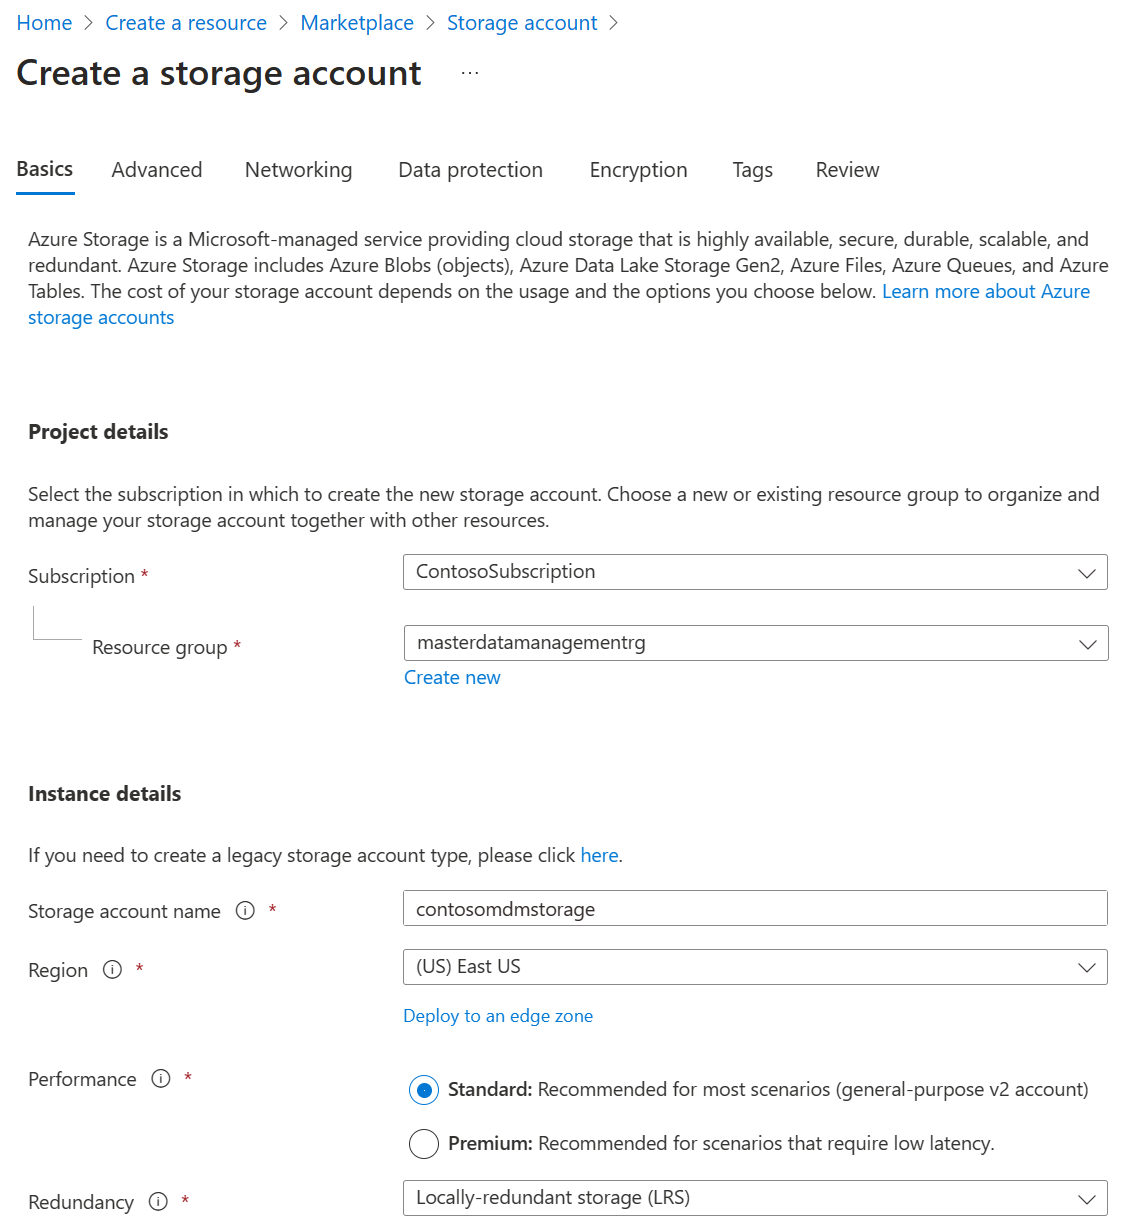
In the basics tab, provide your subscription, resource group, a name, performance (for this module we use standard), and redundancy (for this module we use local redundancy.)
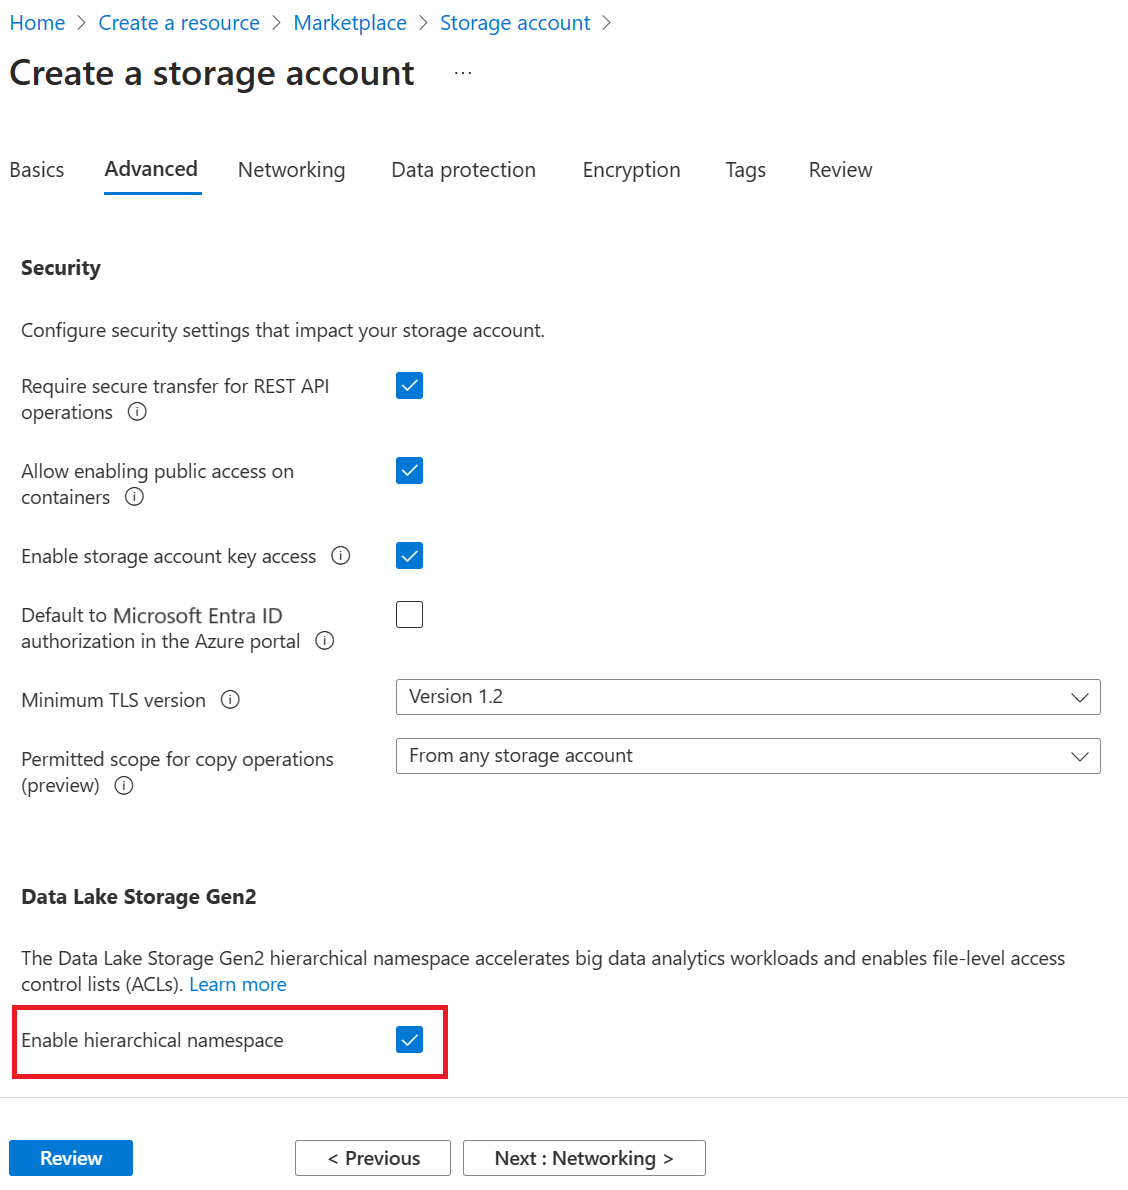
Select the Advanced tab, and select Enable hierarchical namespace.
Select Review and after validation passes, select Create.

Create an Azure Key Vault
- From the Azure portal menu, or from the Home page, select Create a resource.
- In the Search box, enter Key Vault.
- From the results list, choose Key Vault.
- On the Key Vault section, choose Create.
- On the Create key vault section provide the following information:
- Name: A unique name is required.
- Subscription: Choose a subscription.
- Under Resource Group, choose Create new and enter a resource group name.
- In the Location pull-down menu, choose a location.
- Leave the other options to their defaults.
- Select Create.
Next unit: Roles and responsibilities
Having an issue? We can help!
- For issues related to this module, explore existing questions using the #Windows Training tag or Ask a question on Microsoft Q&A.
- For issues related to Certifications and Exams, post on Certifications Support Forums or visit our Credentials Help.