Exercise: Troubleshoot business continuity issues
You've been asked to make a backup of a virtual machine. The backup must be application consistent.
Important
You need your own Azure subscription to complete the exercises in this module. If you don't have an Azure subscription, you can still view the demonstration video at the bottom of this page.
Create the exercise environment
Using the Cloud Shell on the right, run these commands to create the example topology. The environment will take approximately 5 minutes to build.
Clone the setup script from GitHub.
git clone https://github.com/MicrosoftDocs/mslearn-business-continuity networkingRun the setup script.
networking/setup.ps1The script will create all the resources. Wait until it completes, you should see a Lab Environment Created message.
Create a backup
Sign in to the Azure portal using your own subscription.
Select the portal menu on the top left, select Virtual machines, and then select labvm.
If the VM is running, select Stop, and wait for the Status to show Stopped (deallocated).
In the left navigation pane, under Operations, select Backup.
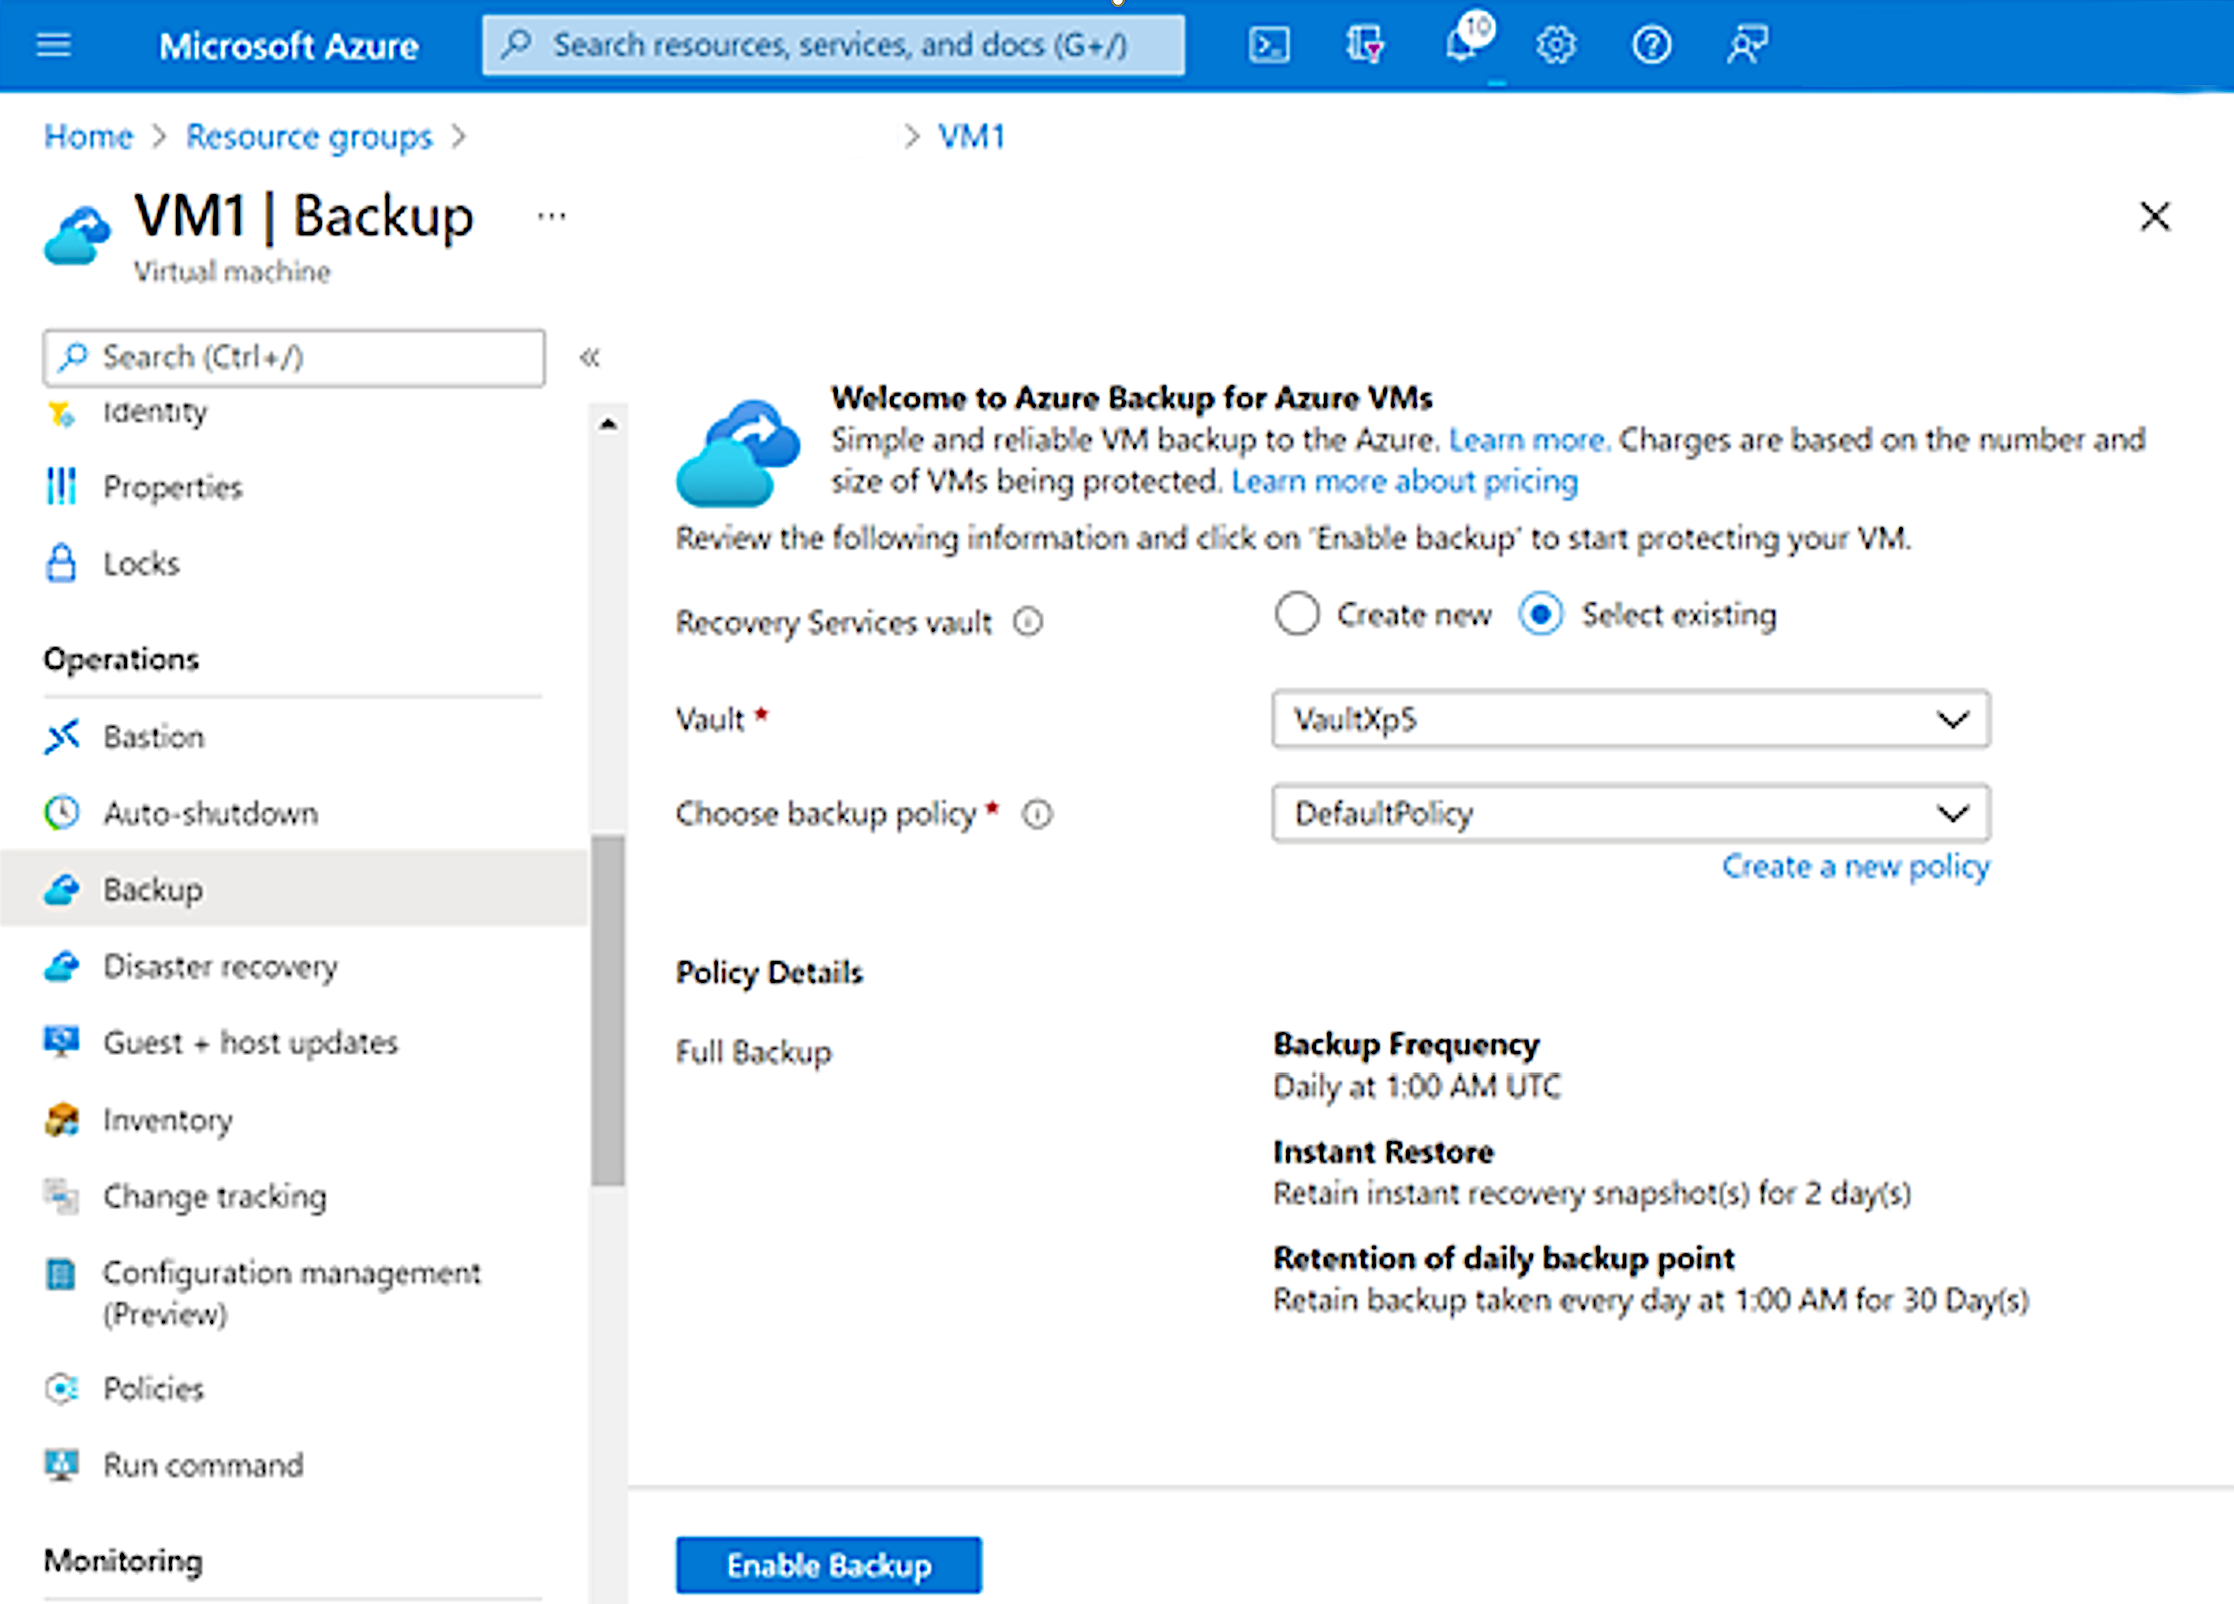
Enter the following settings, and then select Enable Backup.
Recovery Services vault: Create new
Backup vault: labdemo
Choose backup policy: DefaultPolicy-labdemo
This takes you back to the Virtual machines page, select labvm.
In the left navigation pane, under Operations, select Backup.
Select Backup now, and then select OK.
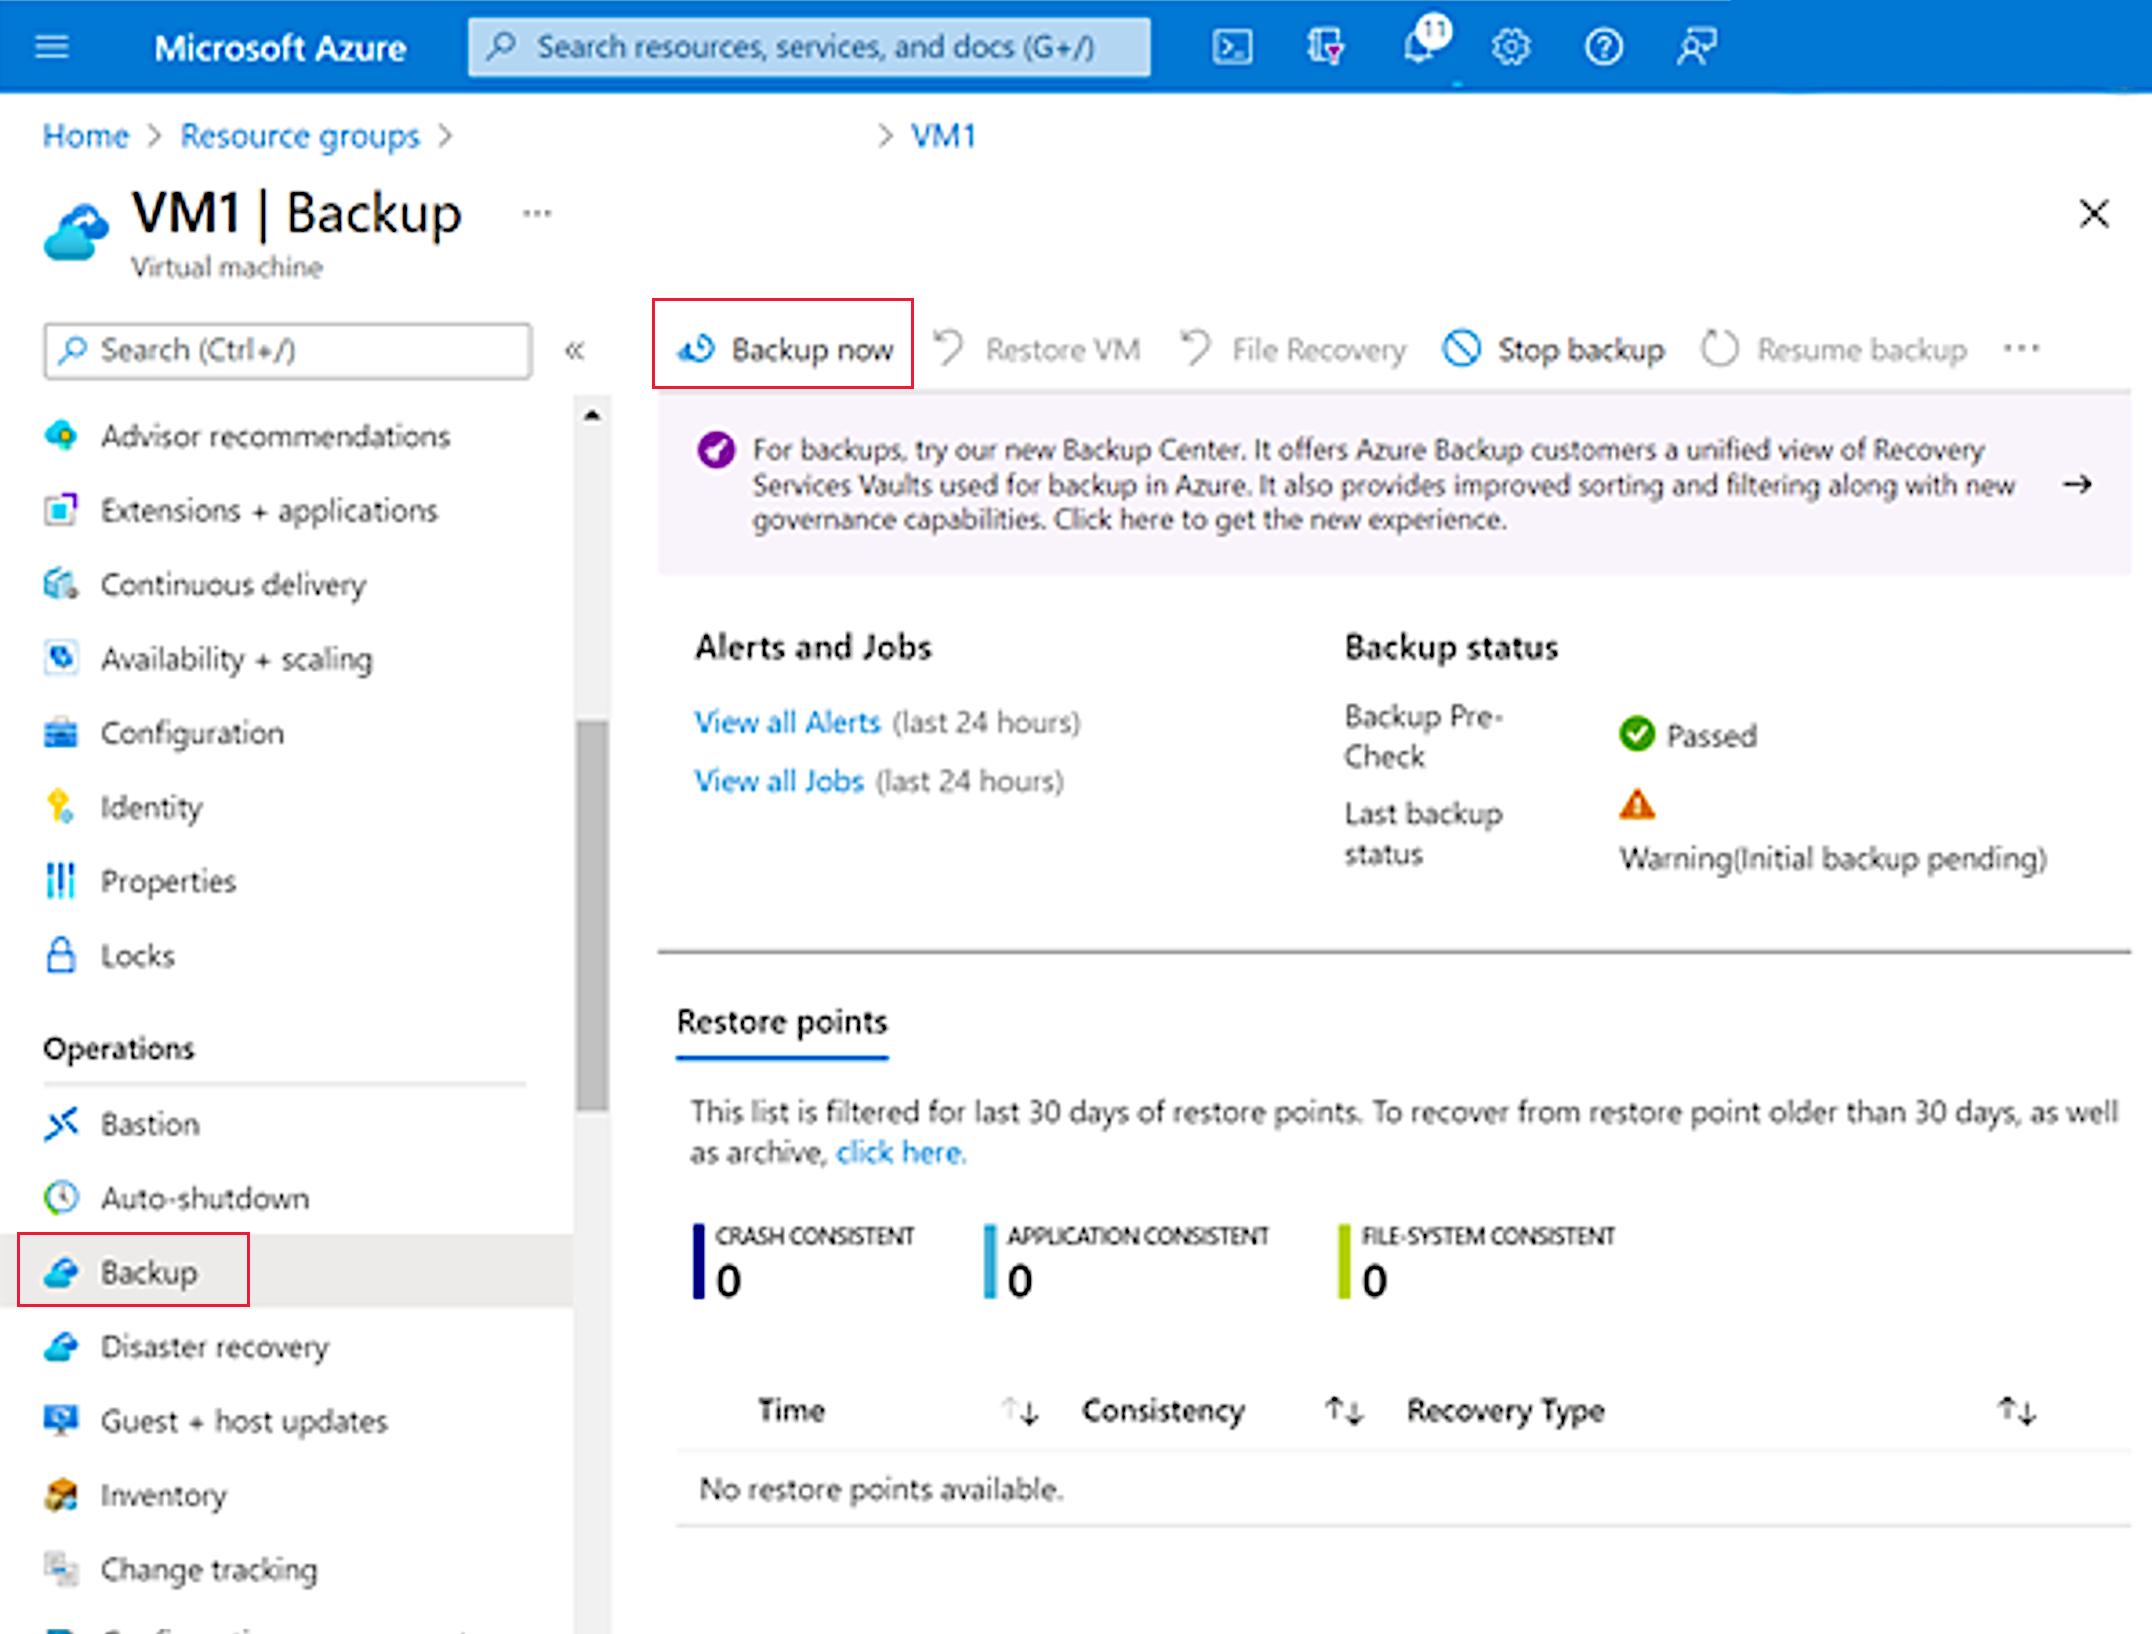
The backup starts, and runs in two phases.
In the first phase, it takes a snapshot of the VM. This takes about 10 minutes.
In the second phase, it moves the data into the recovery services vault. This takes about 50 minutes.
Monitor progress of the first phase
You won't see anything in the Backup page of the VM until the backup has completed. However, you can monitor it in the Backup center.
In the Azure portal, search for backup center, and then under Services, select Backup center.
In the left navigation pane, under Monitoring + reporting, select Backup jobs. You should see your job running.
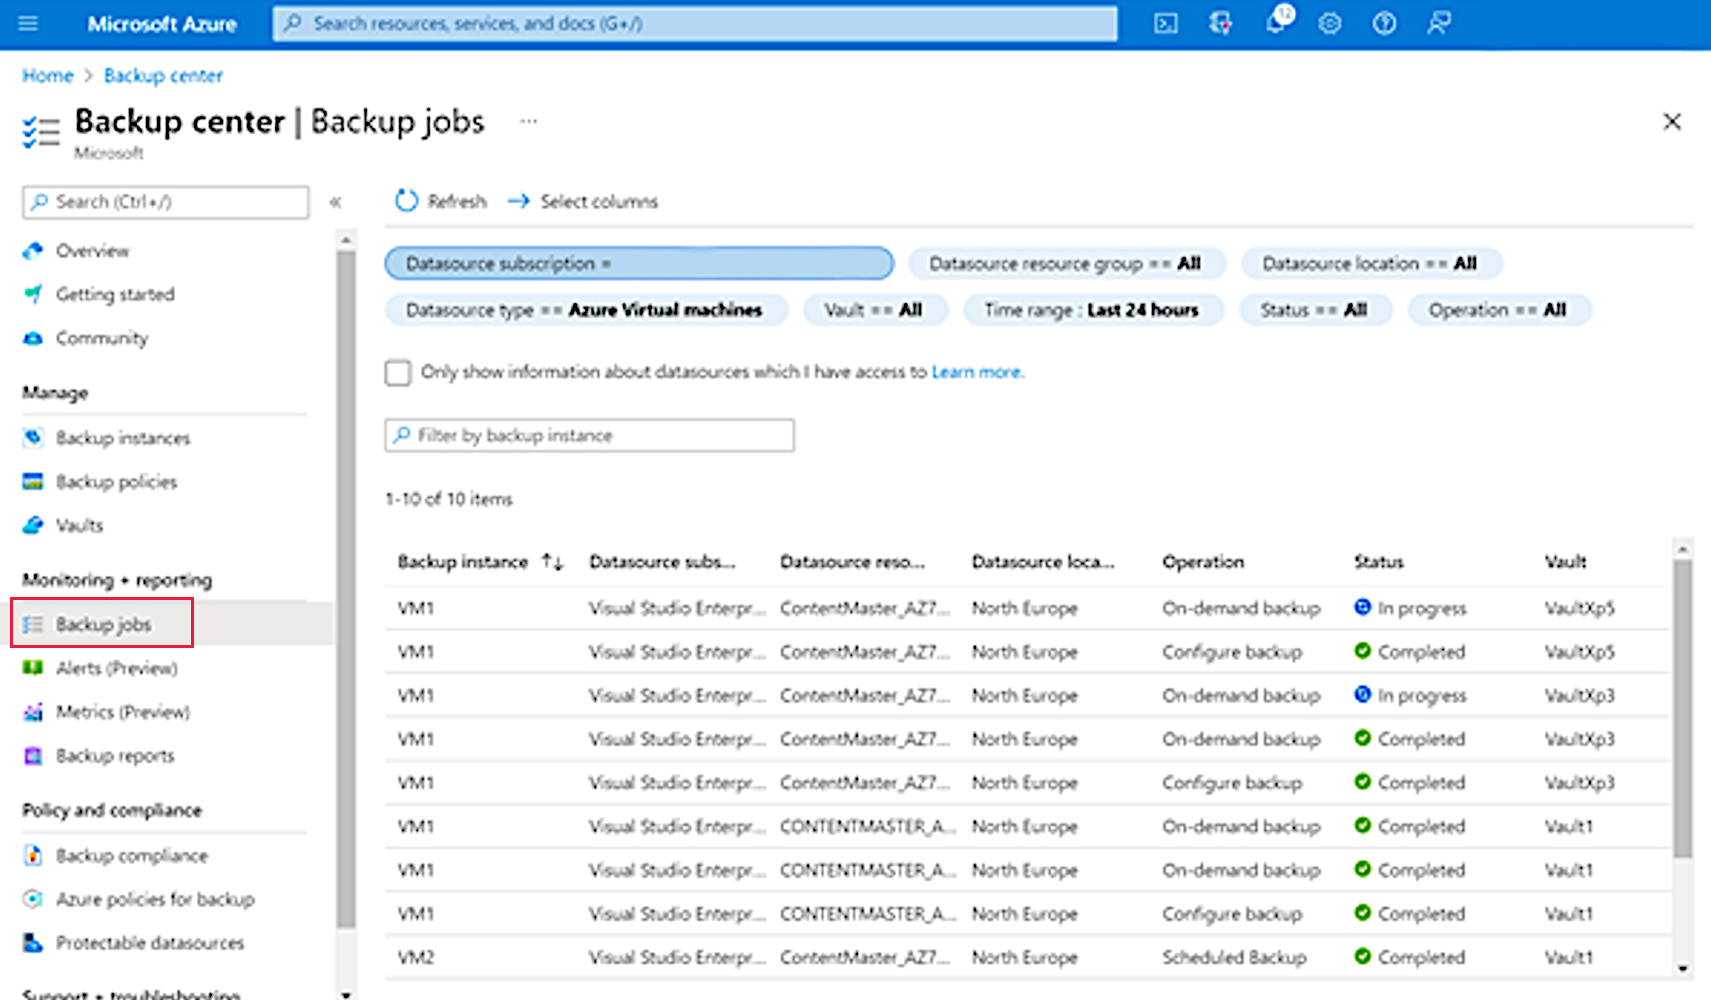
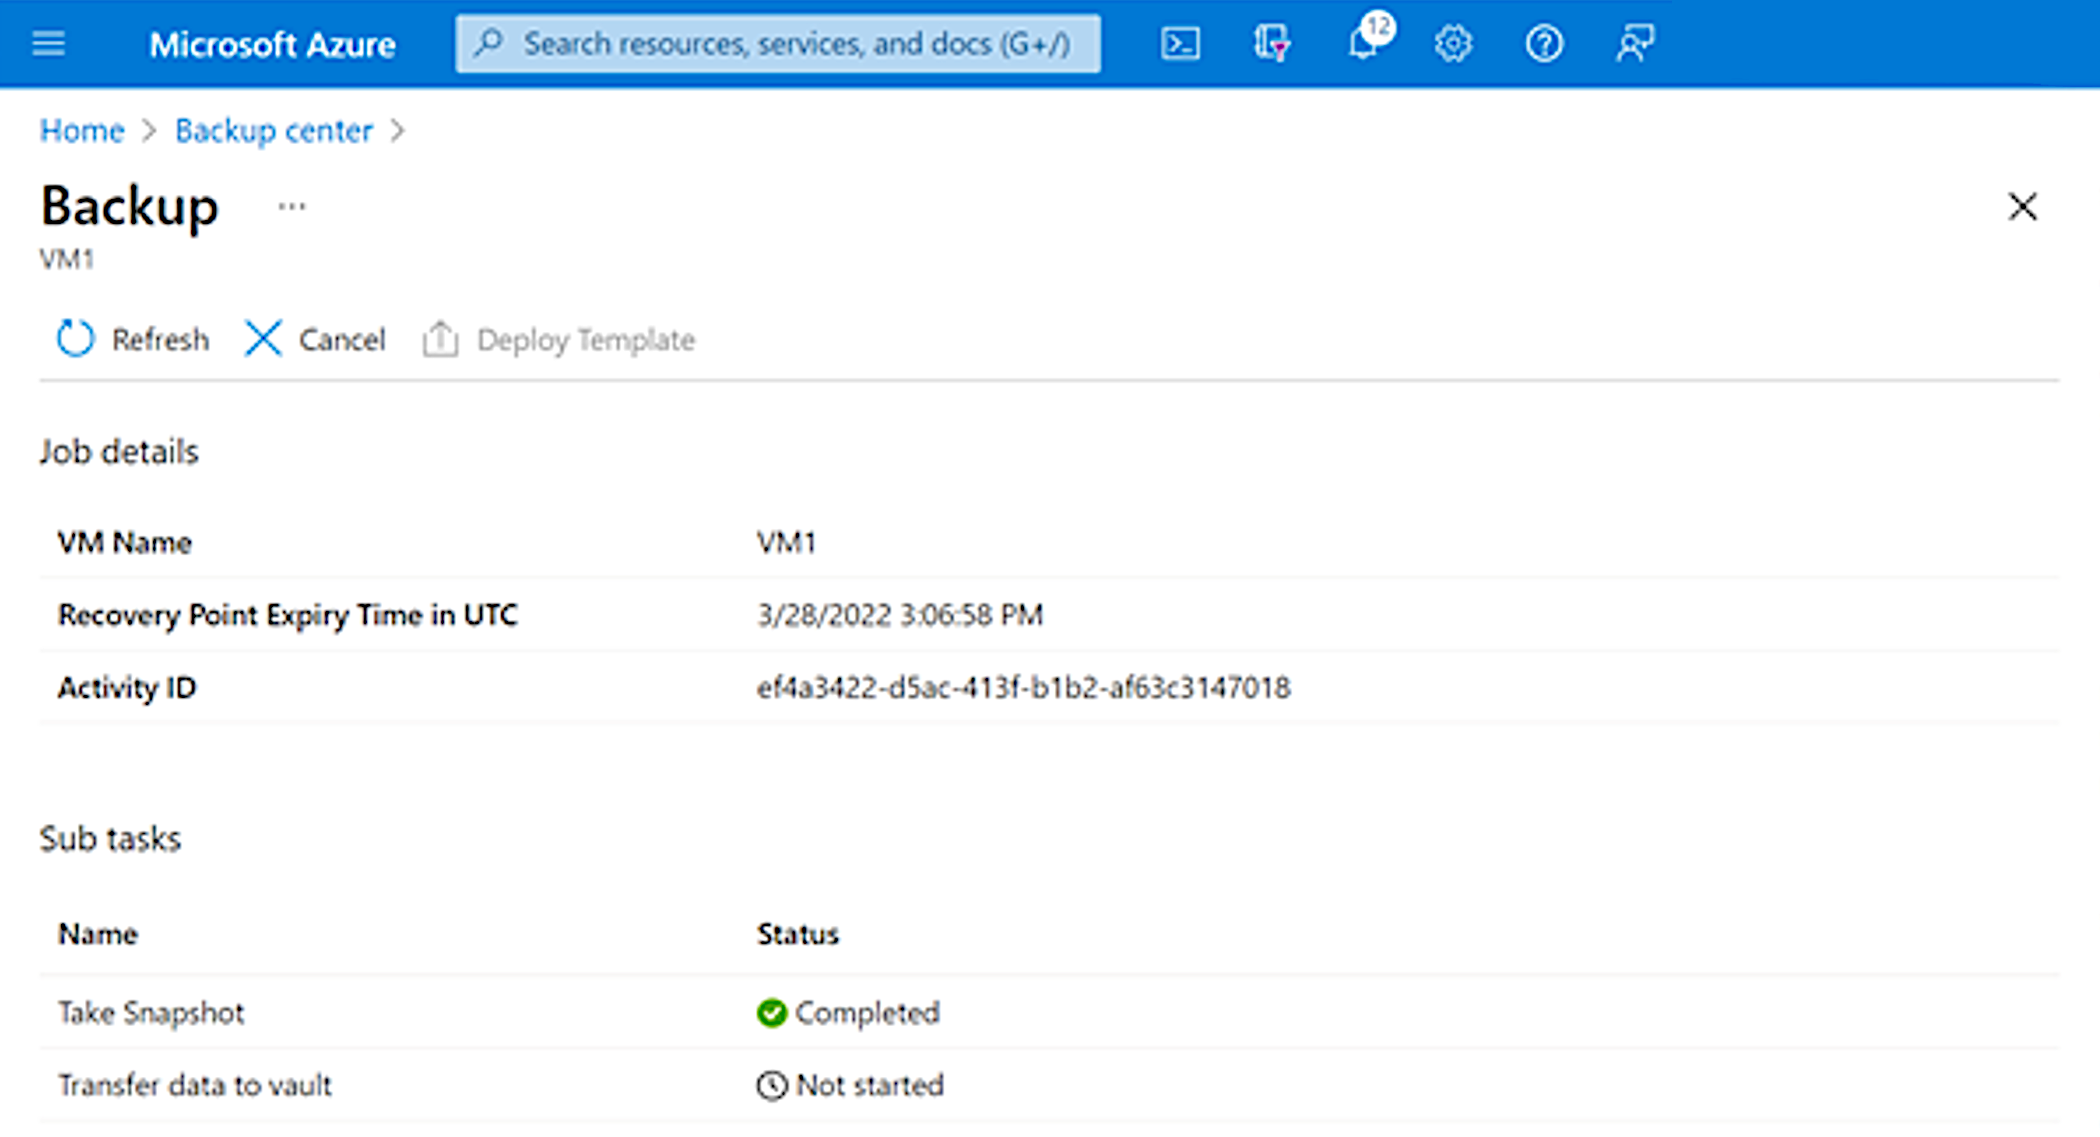
Select the backup job to see more info. You can see in the screen picture that the first phase has completed.
View results of first phase
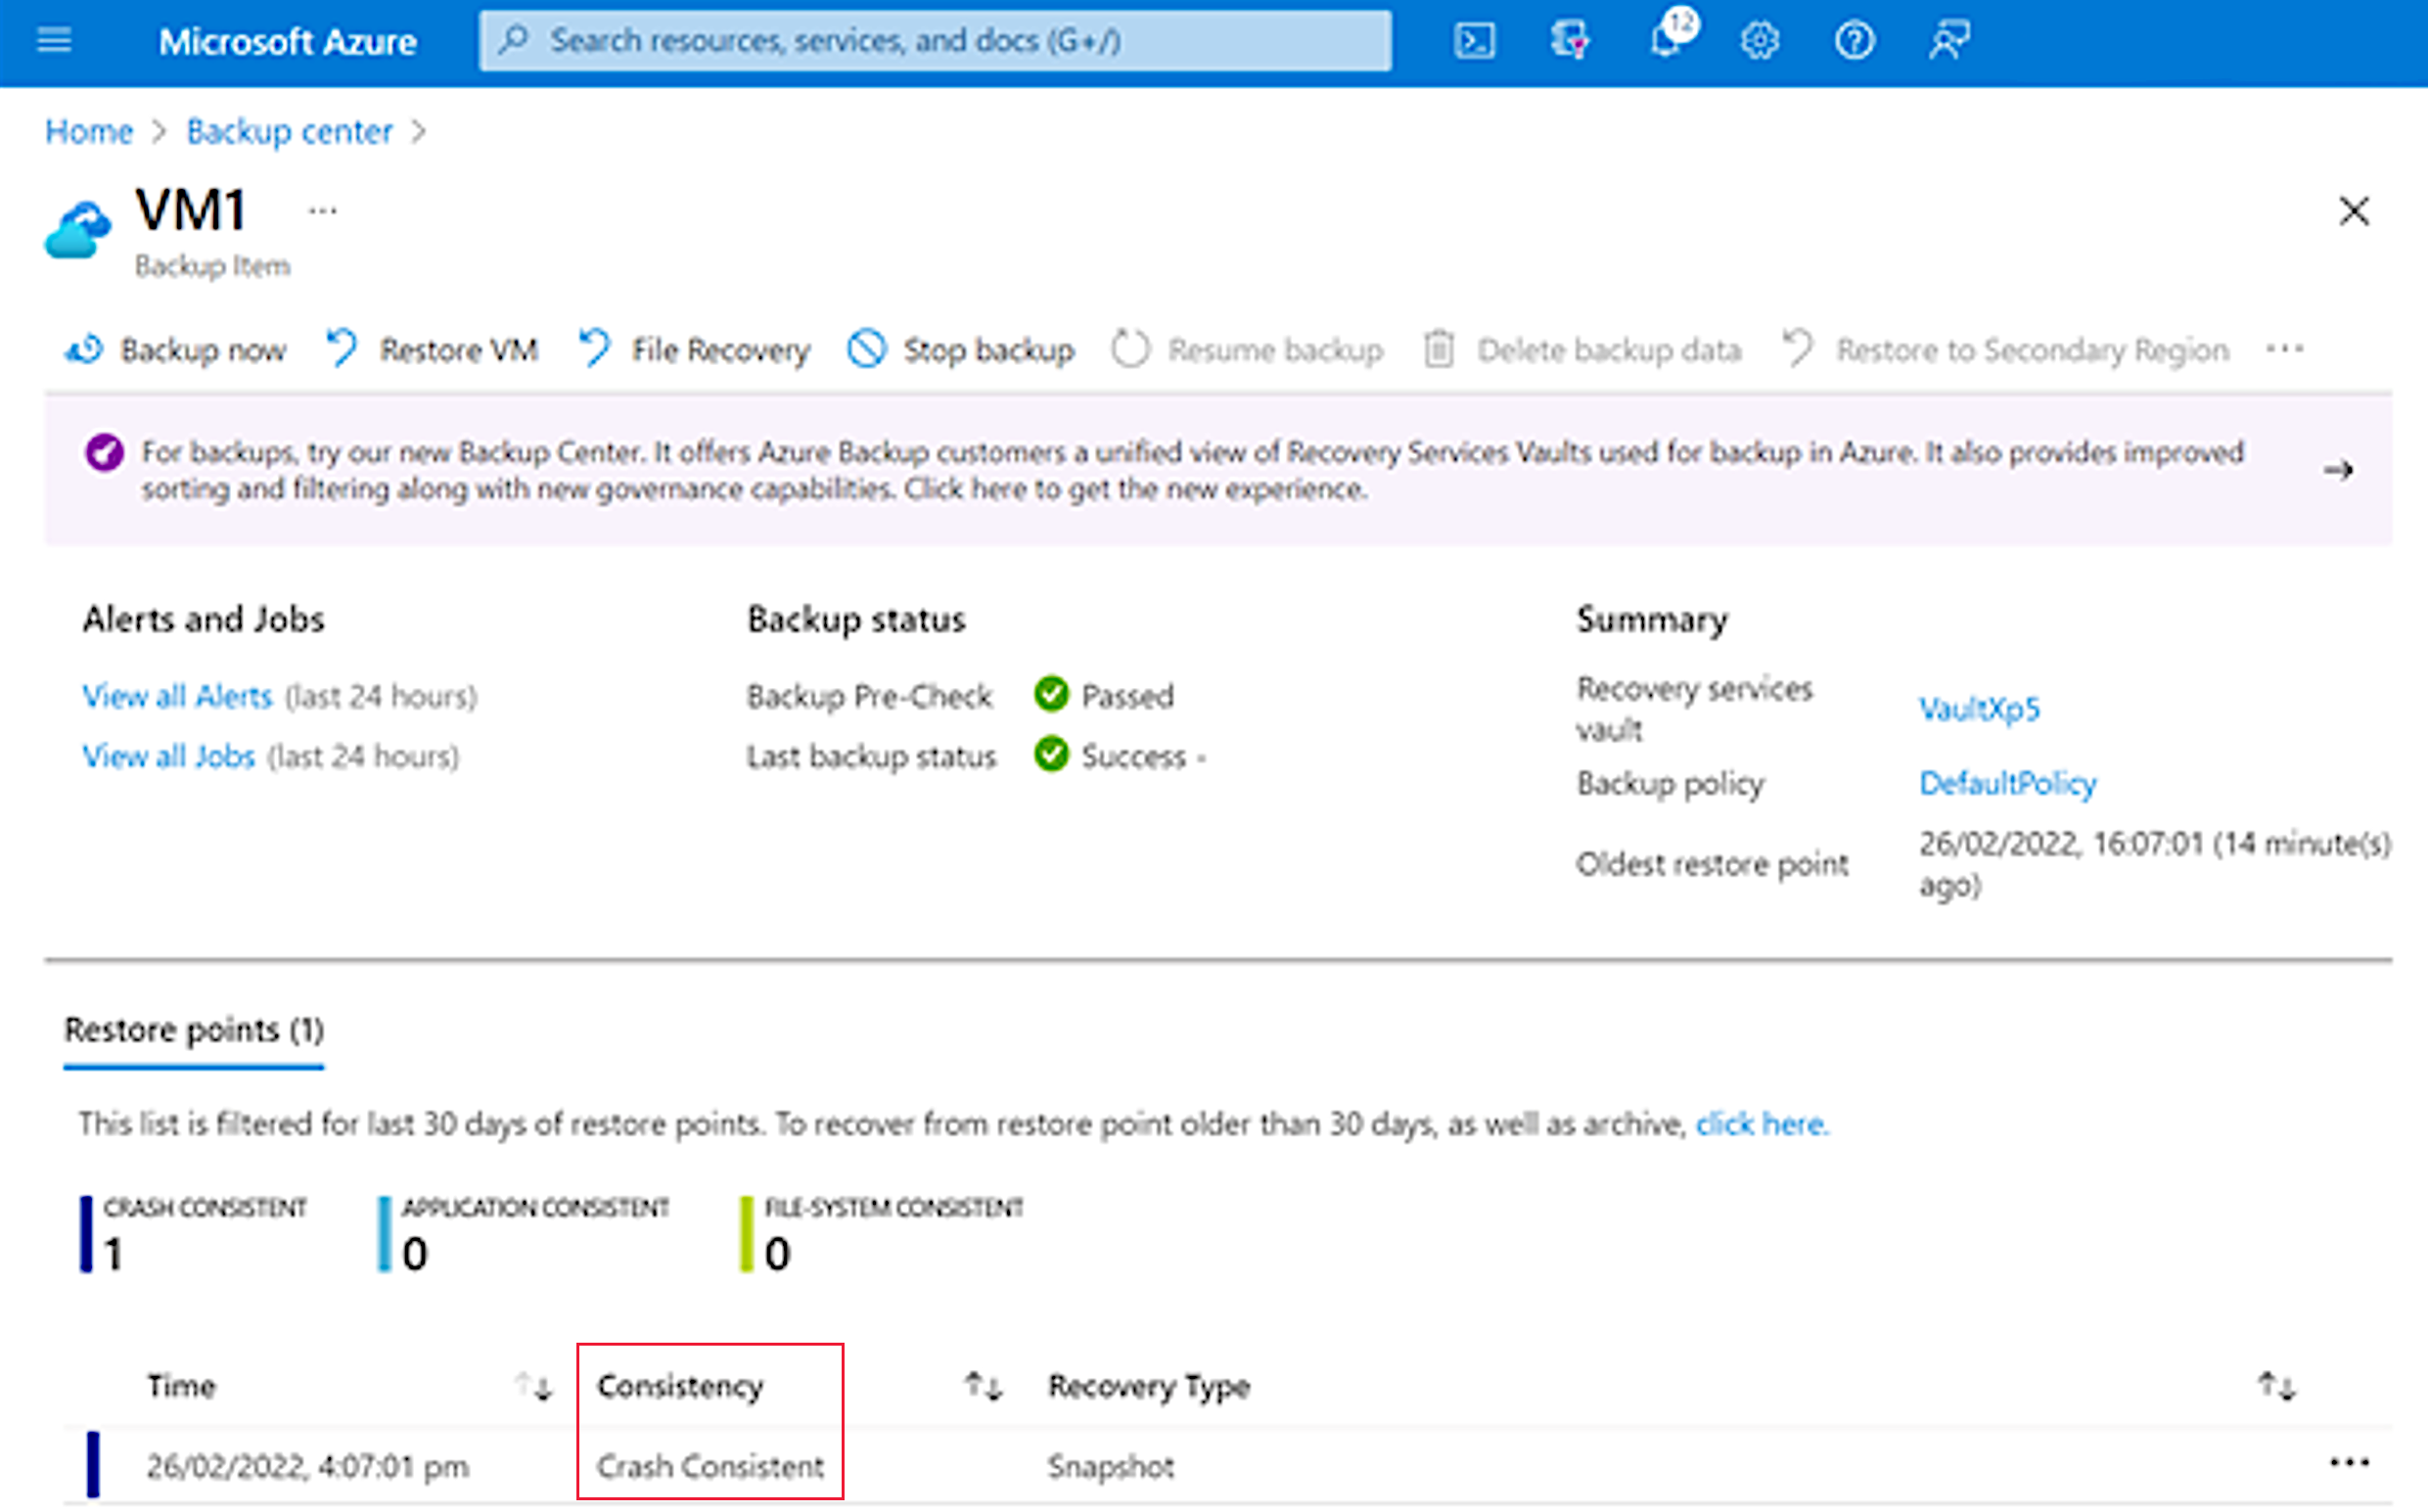
When the first phase has completed, you can see that it is Crash Consistent.
In the breadcrumb trail, select Backup center.
In the left navigation pane, under Manage, select Backup instances.
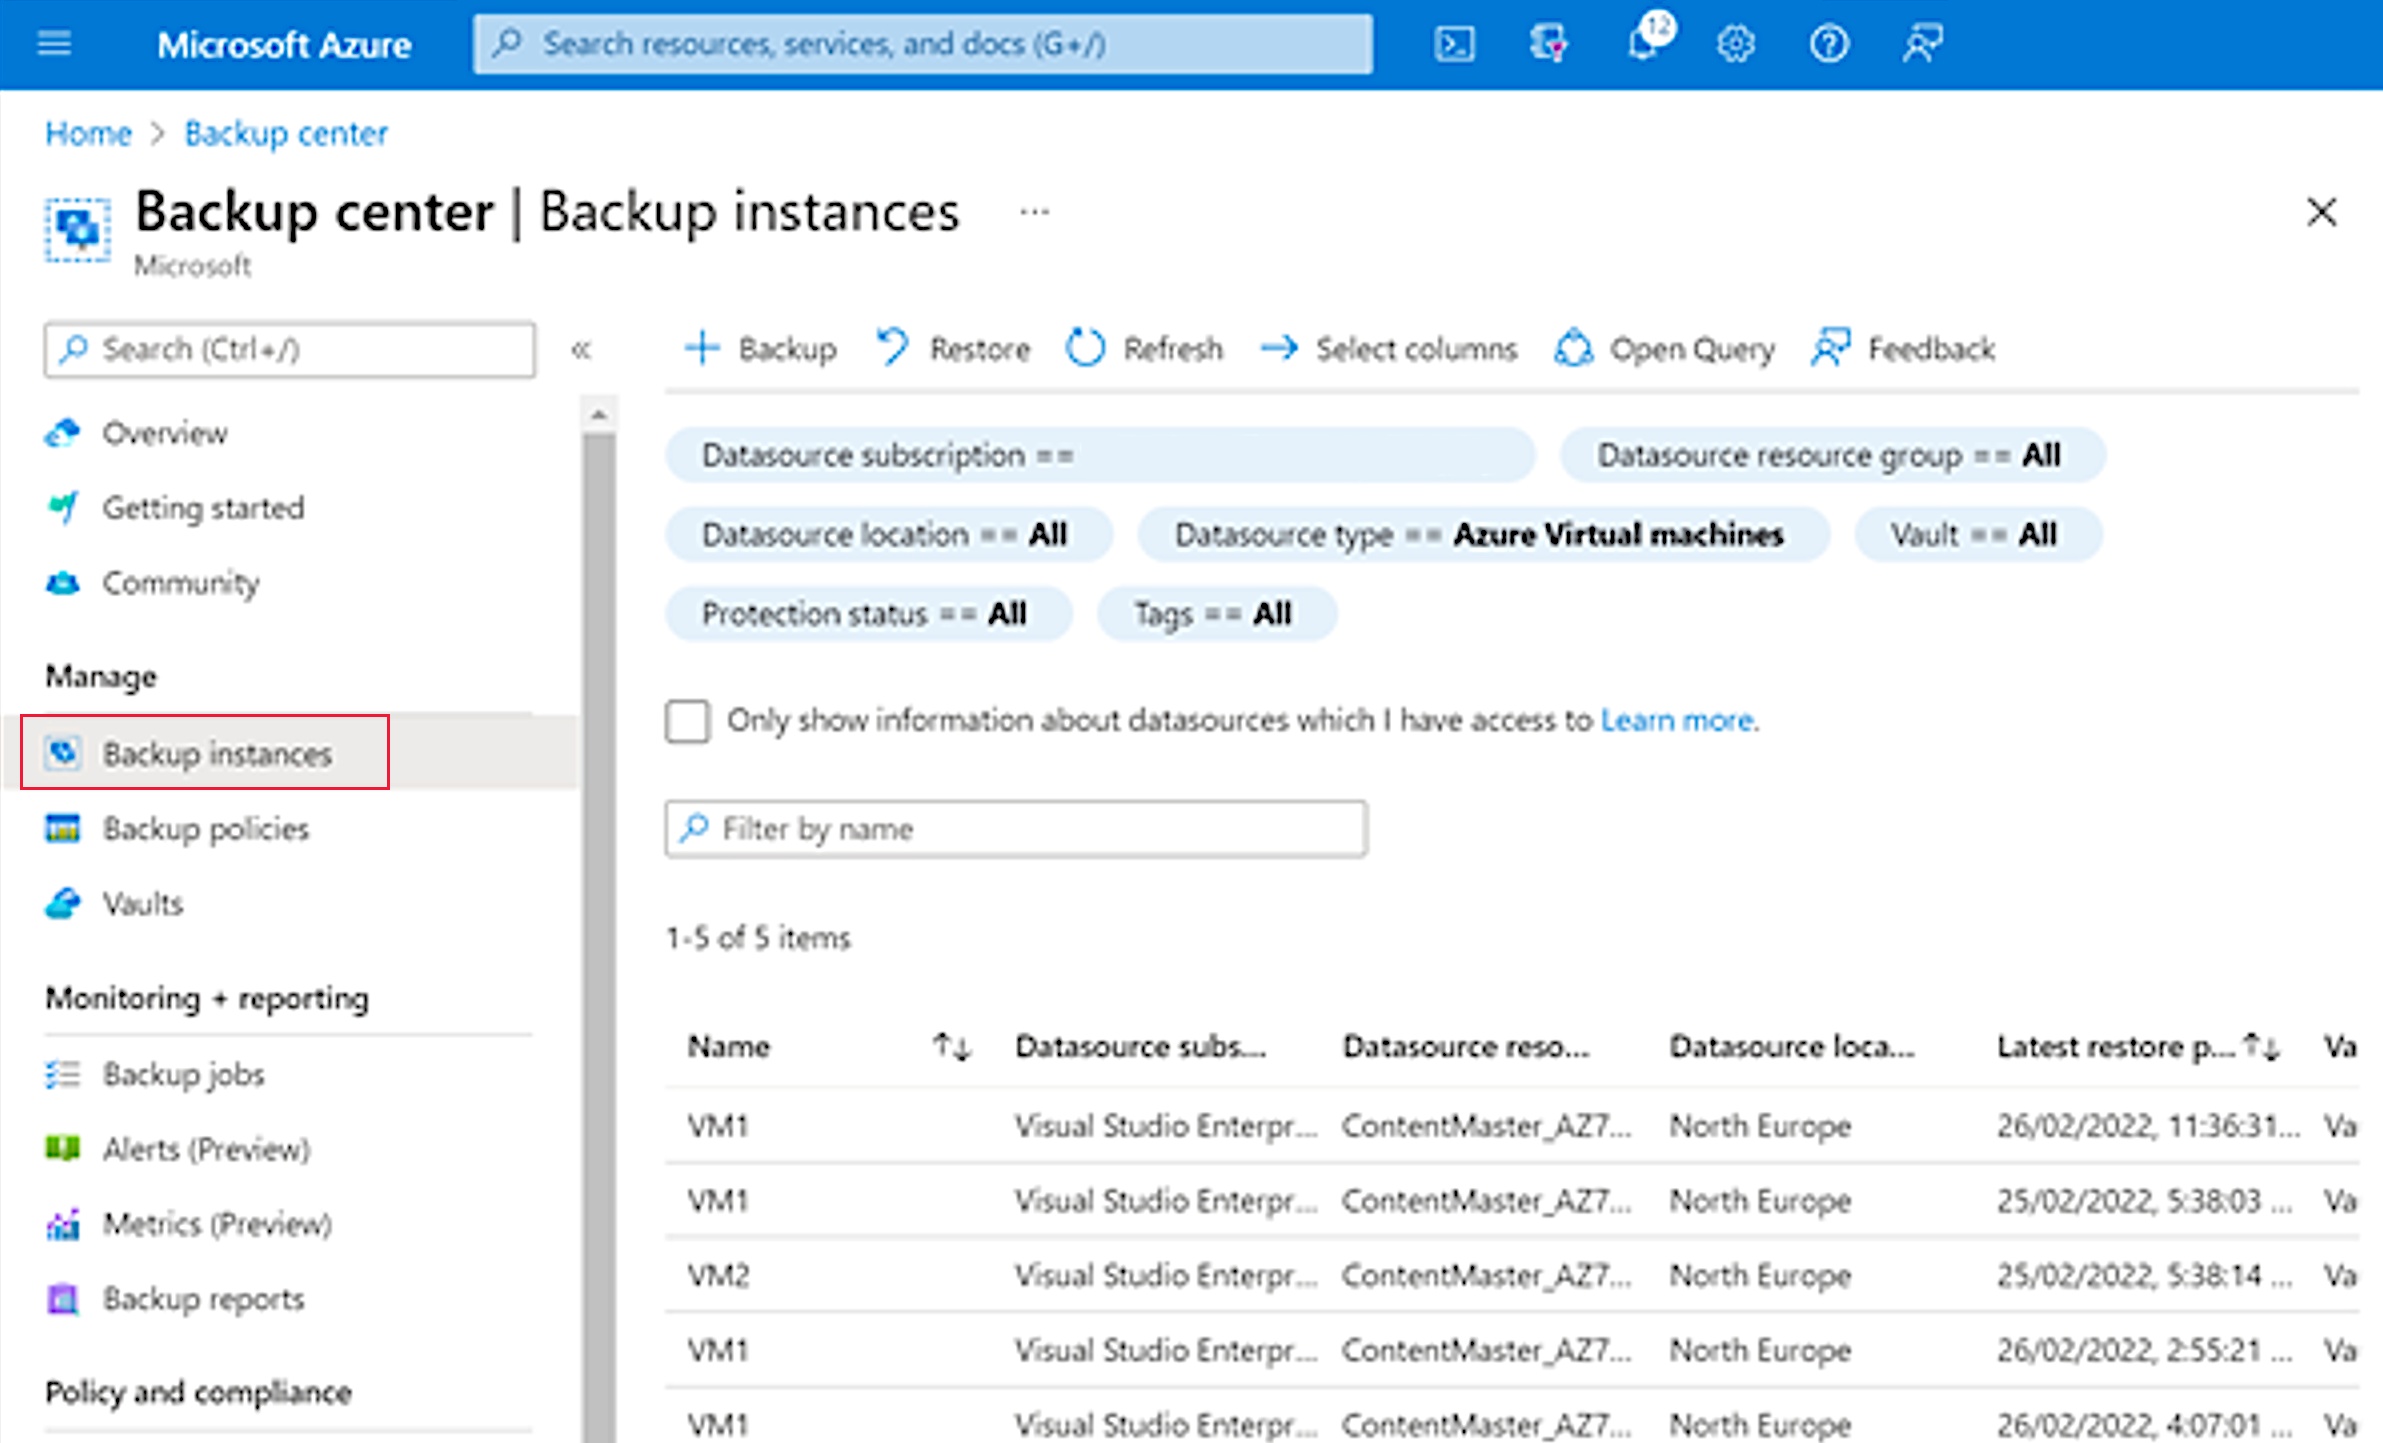
Scroll down until you see labvm and select labvm. This shows that the backup is Crash Consistent. This is incorrect, the backup should be Application Consistent. You need to find out why and fix the problem.
Note
Only the first phase has completed, and the data will now be transferring to the vault. You can continue with the lab; you don't have to wait for this to complete.
Resolution
The VM was in a Stopped state. You need to start the VM and wait for it to be in a running state before making another backup.
Select the portal menu on the top left, select Virtual machines, and then select labvm.
Select Start, and wait for the Status to show Running.
In the left navigation pane, under Operations, select Backup.
On the labvm page, you should see that there is one Crash Consistent restore point.
Select Backup now.
On the Backup now page, select OK. The second backup will be an incremental backup and should take less time than the first backup.
You can monitor progress in the Backup center.
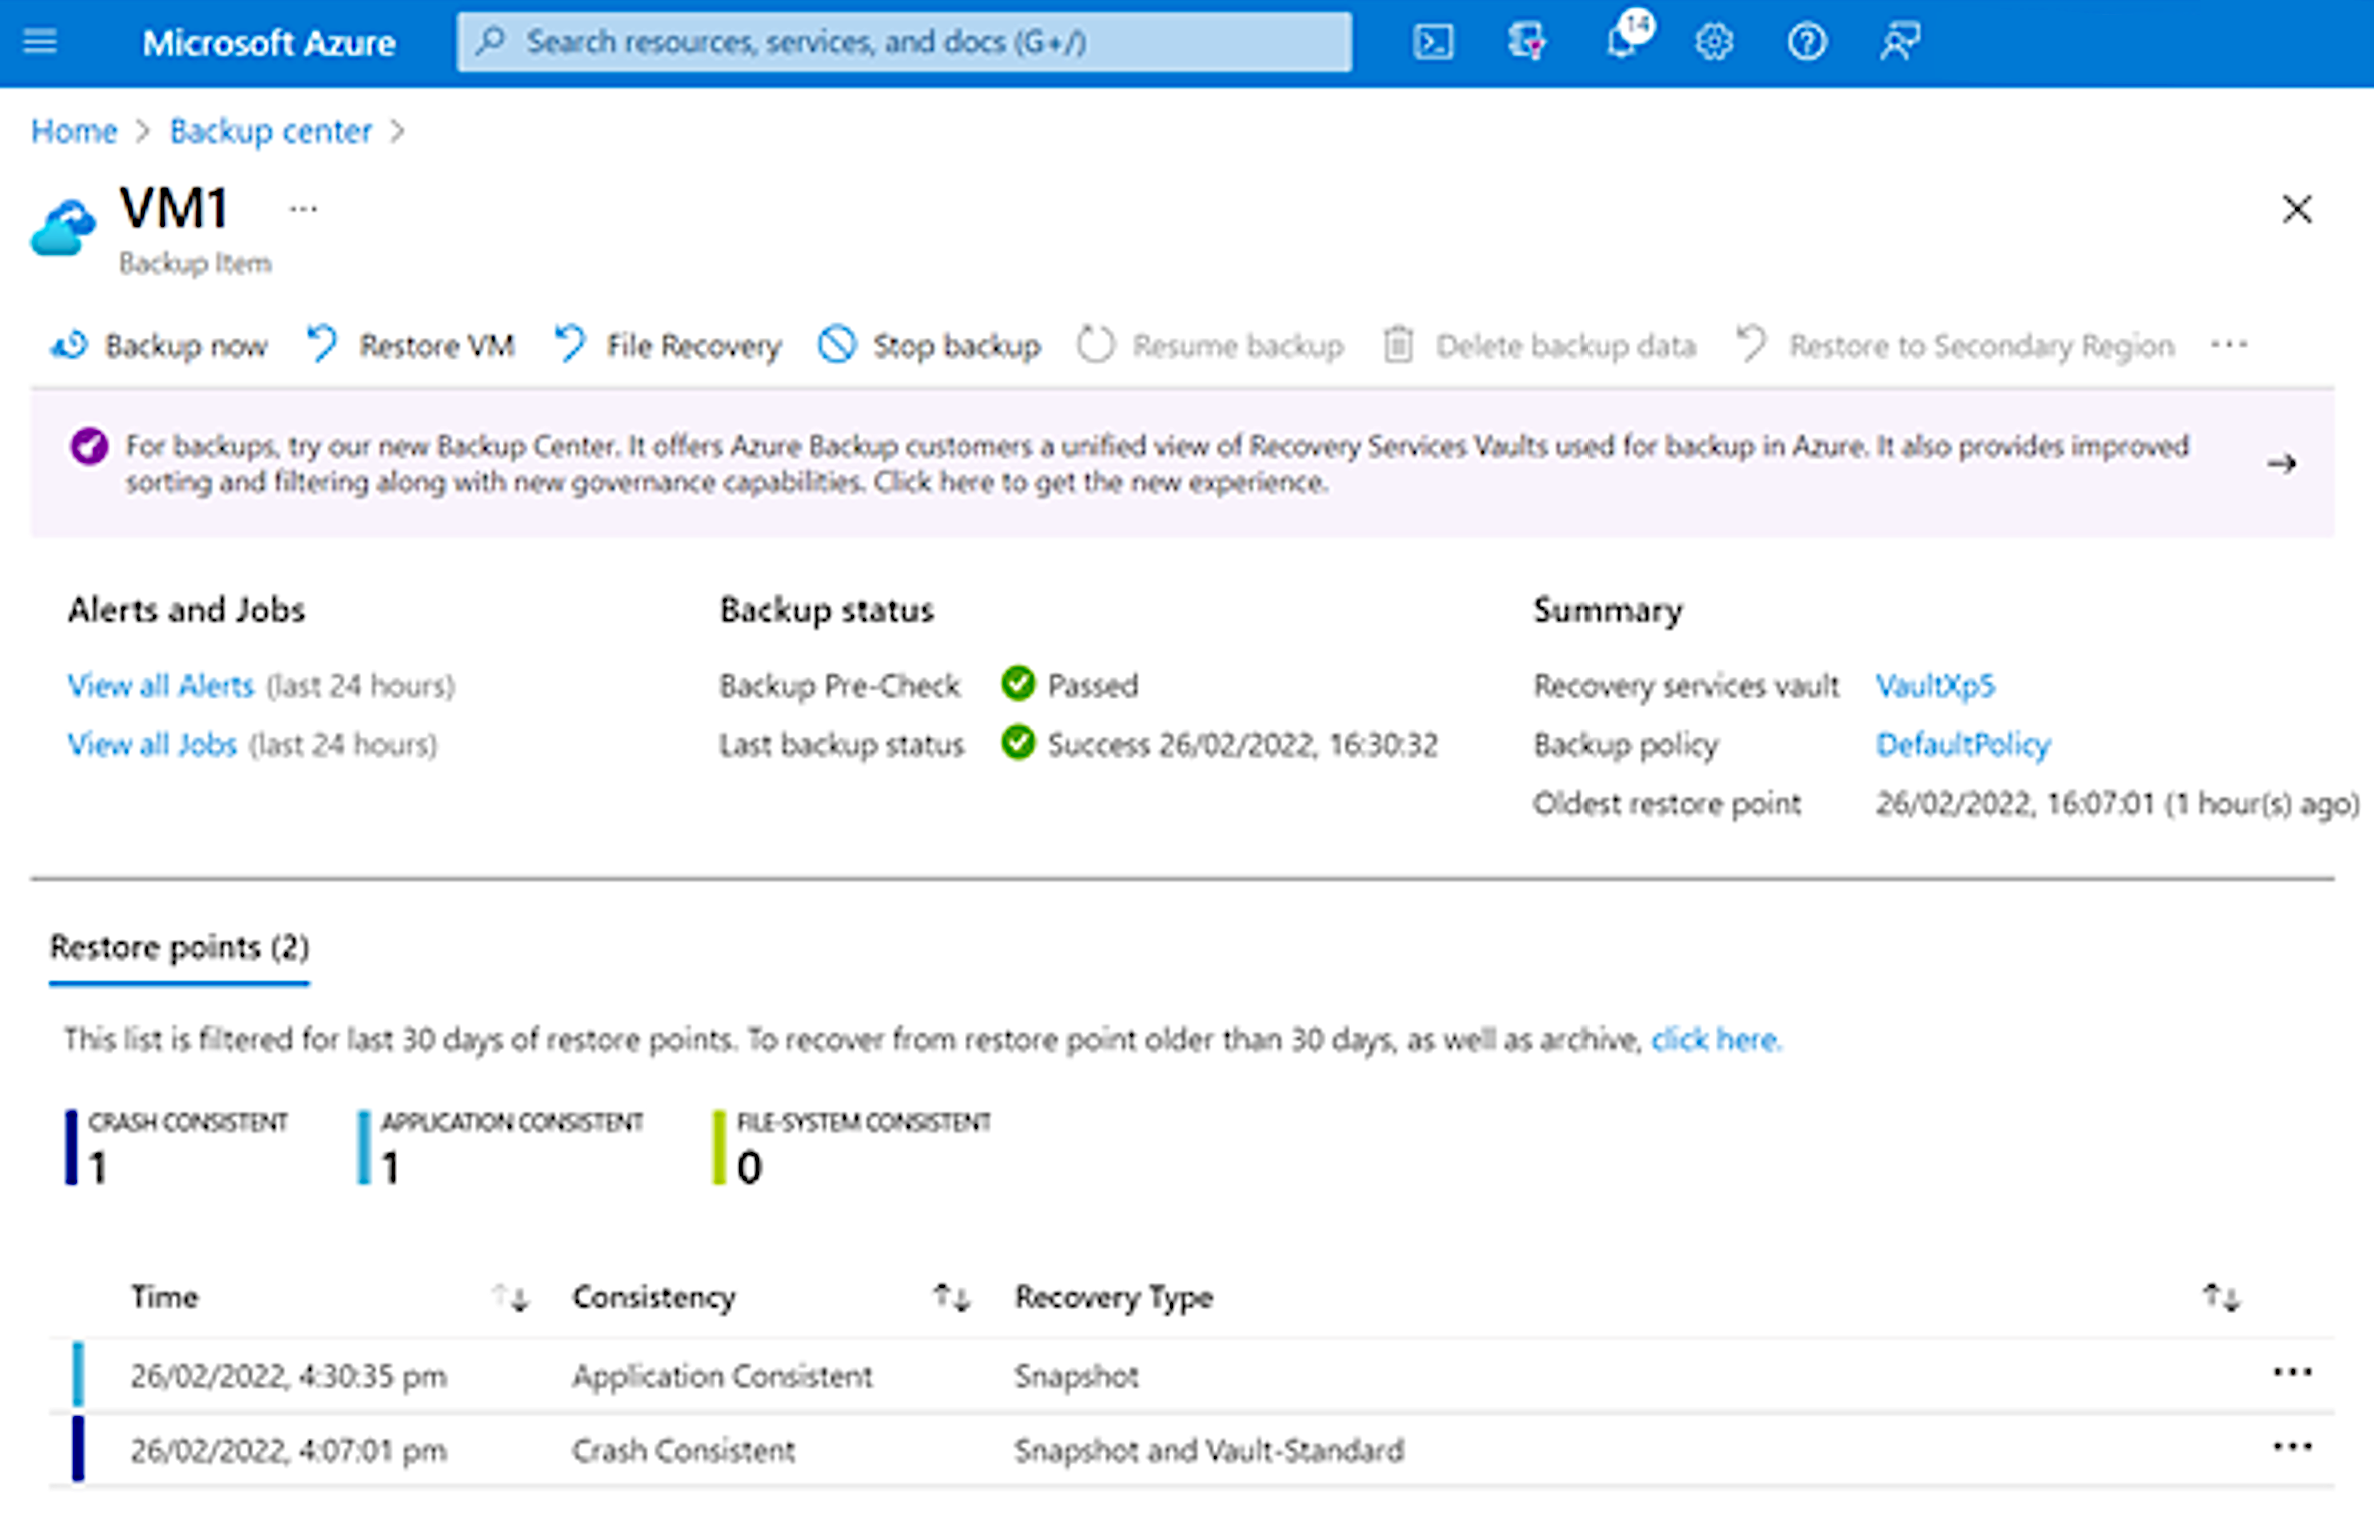
When the first phase is complete, navigate to the Backup page of the VM. The send backup is Application Consistent.
In this demonstration you will see how to proactively troubleshoot Conditional Access policies using the What if tool in the Azure portal: