Exercise - Integrate Next.js web app with the IoT data pipeline
This exercise provides an overview of integrating a Next.js with an IoT data pipeline.
In this exercise, you:
- Configure a Next.js application.
- Deploy an Azure web app hosting the Next.js application.
- Verify the functionality of the Azure web app.
Prerequisites
To perform this exercise, you need:
- An Azure subscription.
- A Microsoft account or a Microsoft Entra account with the Global Administrator role in the Microsoft Entra tenant. The tenant must be associated with the Azure subscription and with the Owner or Contributor role in the Azure subscription.
- To complete the exercise units Set up Azure Cosmos DB and Integrate Azure Cosmos DB with the IoT data pipeline.
In this exercise, you use an existing Next.js application code that retrieves IoT telemetry data from the Cosmos DB collection you implemented in the previous exercise unit of this module.
Configure a Next.js application
Configure a sample Next.js application that retrieves data from a Cosmos DB collection.
Start a web browser, navigate to the Azure portal and sign in to the Azure subscription you're using for this module.
In the Azure portal, in the toolbar, select the Cloud Shell icon located next to the search box.
Note
Alternatively, you can access Cloud Shell directly by navigating to https://shell.azure.com.
If you're prompted to select either Bash or PowerShell, select Bash.
Note
If this is the first time you're starting Cloud Shell and you're presented with the You have no storage mounted message, select the subscription you're using in this lab, and then select Create storage.
Run the following command to clone the GitHub repo containing the sample Next.js application code for this exercise.
git clone https://github.com/MicrosoftDocs/mslearn-cloud-native-apps.gitRun the following command to switch to the directory containing the clone of the GitHub repo.
cd ./mslearn-cloud-native-apps/m05u08/Run the following command to display the content of the index.js file. This file contains the Next.js script that establishes a connection to the Cosmos DB account you created in the first exercise of this module. It also queries the content of the iotcollection in the iotdb database that you created in the second exercise of this module.
cat ./pages/index.jsRun the following command to display the content of the config.js file. This file stores the values representing the Cosmos DB SQL API endpoint. It also stores the corresponding access key, and the target database and container hosting the IoT data you collected in the previous exercise of this module.
cat ./config.jsNote
The names of the database and container are already prepopulated. Next, you'll set the values of the endpoint and the corresponding access key.
Run the following commands to retrieve the values of the Cosmos DB SQL API endpoint and the corresponding access key, and then store them in temporary variables.
RG1NAME=cosmos-db-RG
ACCOUNTNAME=$(az cosmosdb list --resource-group $RG1NAME --query "[0].name" --output tsv)
ENDPOINT=$(az cosmosdb show --name $ACCOUNTNAME --resource-group $RG1NAME --query "locations[0].documentEndpoint" --output tsv)
KEY=$(az cosmosdb keys list --name $ACCOUNTNAME --resource-group $RG1NAME --query "primaryMasterKey" --output tsv)
From the Bash session in the Cloud Shell pane, run the following commands to replace the placeholders in the config.js file with the values you retrieved in the previous step.
 ENDPOINT="$(echo $ENDPOINT | sed -e 's/\\/\\\\/g; s/\//\\\//g; s/&/\\\&/g')"
 sed -i 's/"COSMOS_DB_SQL_API_ENDPOINT"/"'"$ENDPOINT"'"/' ./config.js

 KEY="$(echo $KEY | sed -e 's/\\/\\\\/g; s/\//\\\//g; s/&/\\\&/g')"
 sed -i 's/"COSMOS_DB_ACCESS_KEY"/"'"$KEY"'"/' ./config.js
From the Bash session in the Cloud Shell pane, run the following command to validate that the config.js file contains the actual values of the Cosmos DB SQL API endpoint and the corresponding access key.
cat ./config.jsNote
At this point, you should know more about how to install the dependency packages and build the application. Because of versioning issues, you won't be able to run the build in Azure Cloud Shell. Instead, you'll perform this task following the deployment.
Deploy an Azure web app hosting the Next.js application
Deploy the newly configured Next.js application to an Azure web app and validate its functionality.
Note
You can deploy the same application to any other Azure service that provides a Node.js runtime environment, including Azure Virtual Machines, Azure Container Instances, or Azure Kubernetes Service.
In the Azure Cloud Shell, run the following commands to create a resource group to host the Azure web app, into which you deploy the Next.js application.
RG1NAME=cosmos-db-RG
LOCATION=$(az group show --resource-group $RG1NAME --query location --output tsv)
RG2NAME=nextjs-webapp-RG
az group create --name $RG2NAME --location $LOCATION
Run the following commands to create an Azure App Service plan that hosts the new Azure web app.
SPNAME=nextjs-webapp-sp
az appservice plan create --name $SPNAME --resource-group $RG2NAME --sku S1
Run the following commands to create the new Azure web app.
WEBAPPNAME=nextjs$RANDOM$RANDOM
az webapp create --name $WEBAPPNAME --resource-group $RG2NAME --plan $SPNAME
Run the following commands to reinitialize the local Git repository and commit all changes in the main branch.
git config --global user.email "user1@adatum.com"
git config --global user.name "Adatum User"
git init
git add -A
git commit -m "Initial Commit"
Run the following commands to set up user-level deployment credentials.
DEPLOYMENTUSER=m05u08User$RANDOM
DEPLOYMENTPASS=m05u08Pass$RANDOM$RANDOM
az webapp deployment user set --user-name $DEPLOYMENTUSER --password $DEPLOYMENTPASS
Run the following commands to identify the user-level deployment credentials. Make sure to record their value, because you need them later in this exercise.
echo $DEPLOYMENTUSER
echo $DEPLOYMENTPASS
Run the following commands to identify the Azure web app deployment URL that you use as the target of the
git pushcommand.RG2NAME=nextjs-webapp-RG WEBAPPNAME=$(az webapp list --resource-group $RG2NAME --query "[0].name" --output tsv) DEPLOYMENTURL=$(az webapp deployment source config-local-git --name $WEBAPPNAME --resource-group $RG2NAME --output tsv)Run the following command to configure the remote repo named azure, which represents the deployment URL you identified in the previous step.
git remote add azure $DEPLOYMENTURLRun the following commands to create the master branch based on the main branch and push its content to the Azure Web app. You're prompted for the password that's part of the user-level deployment credentials you recorded earlier.
git checkout -b master
git push --set-upstream azure master
Note
Wait for the deployment to complete. You should receive a message stating that the deployment was successful.
Close the Cloud Shell pane.
Validate the functionality of the Azure web app
Validate the functionality of the Azure web app hosting the Next.js application.
In the web browser window displaying the Azure portal, use the Search resources, services, and docs text box at the top of the Azure portal page to search for App Services.
On the App Services pane, in the list of App Service instances, select the entry representing the Azure web app you deployed in the previous task of this exercise. The name should consist of the nextjs prefix followed by a string of digits.
On the pane displaying the properties of the web app, under the Development Tools section, select the App Service Editor (Preview) entry. Then, select Open editor.
Select the Open Console icon.
From the console prompt, run the following command.
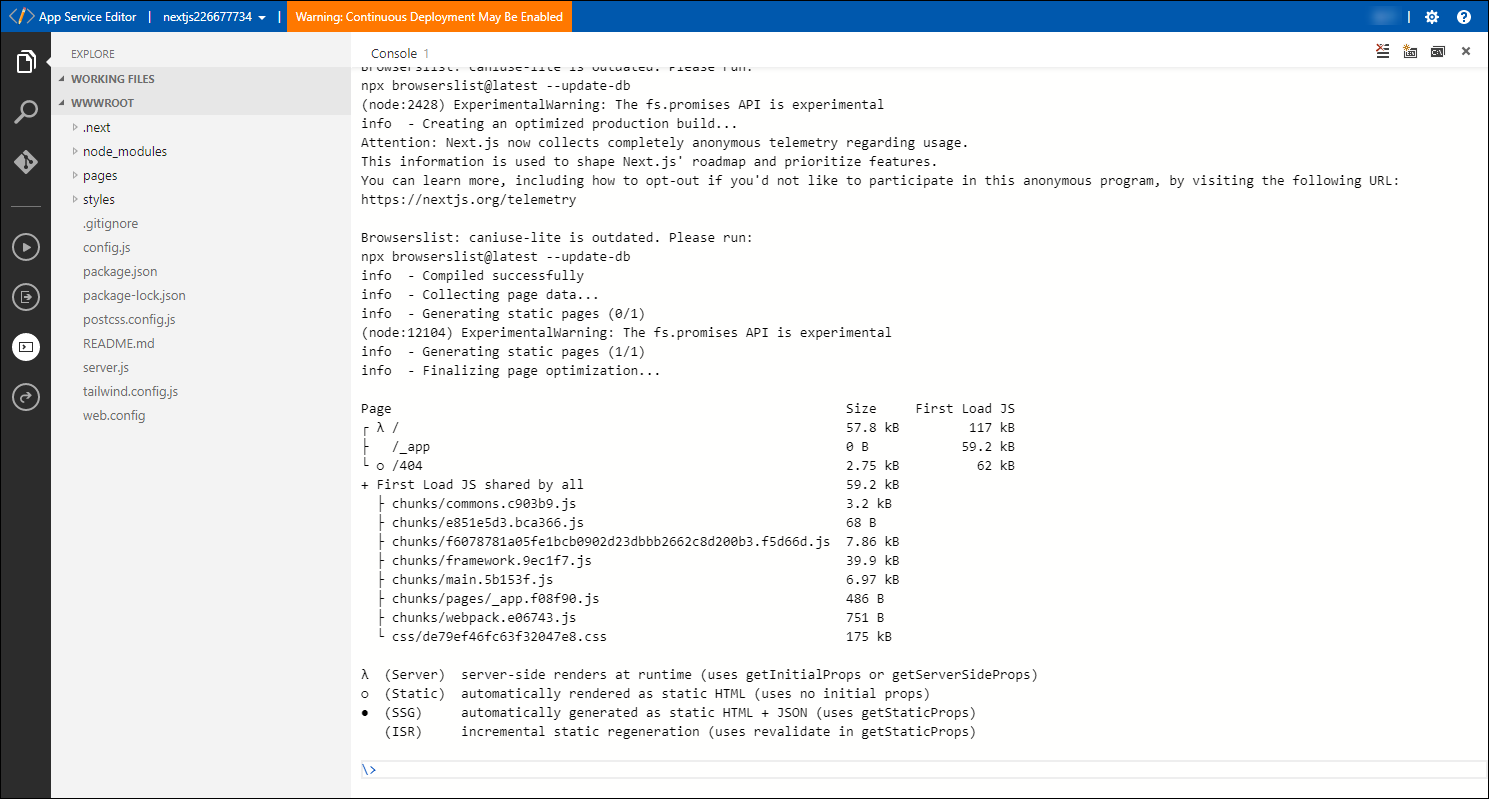
npm run buildThis command builds the Next.js application you pushed to the Azure web app.
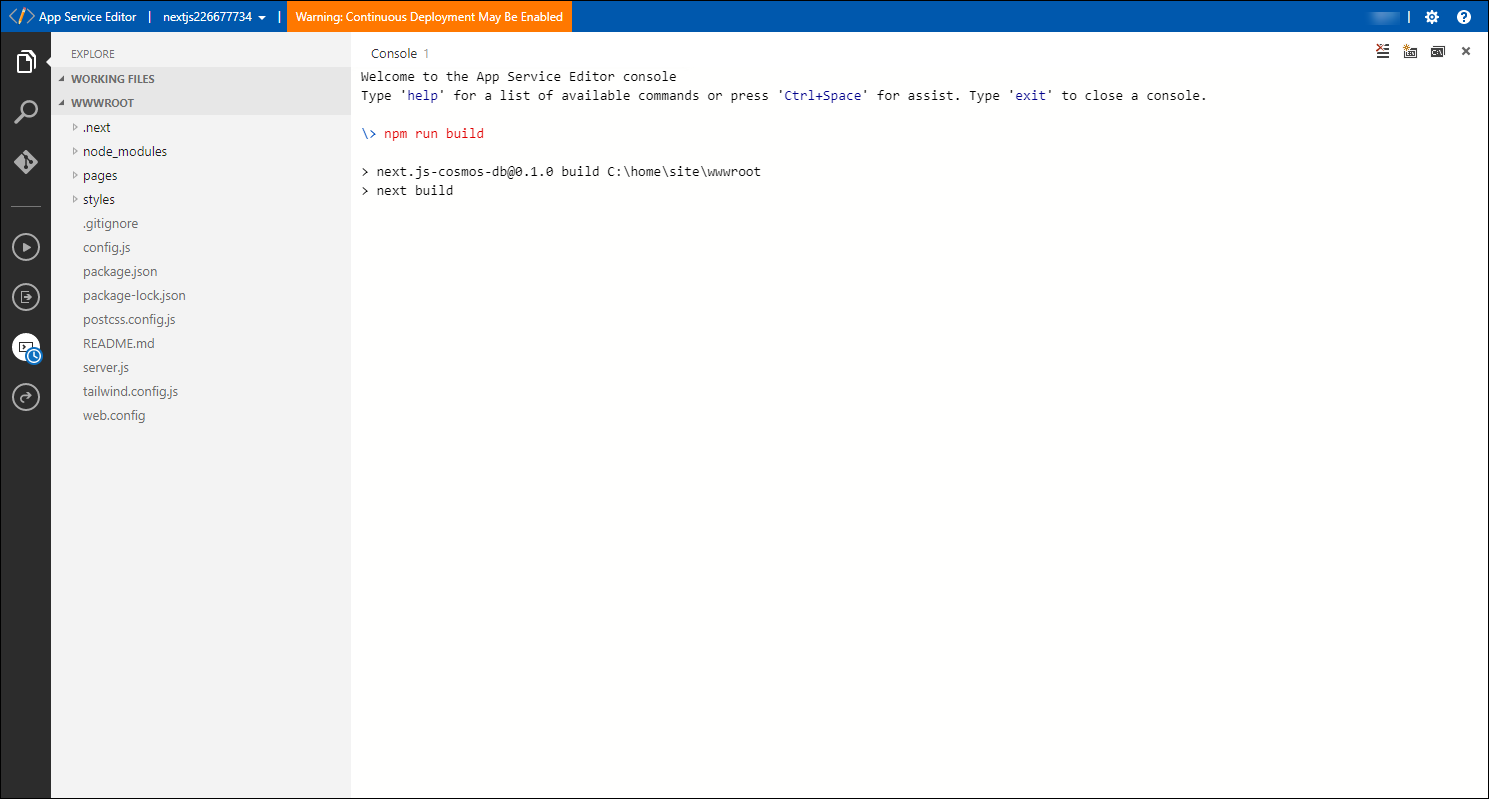
Wait for the build process to complete. This process might take about 5 minutes.
Close the web browser tab for the App Service Editor page.
On the Web App pane, select Overview. On the Essentials pane, select the link labeled URL.
Note
A new web browser tab that displays the Azure web app opens.
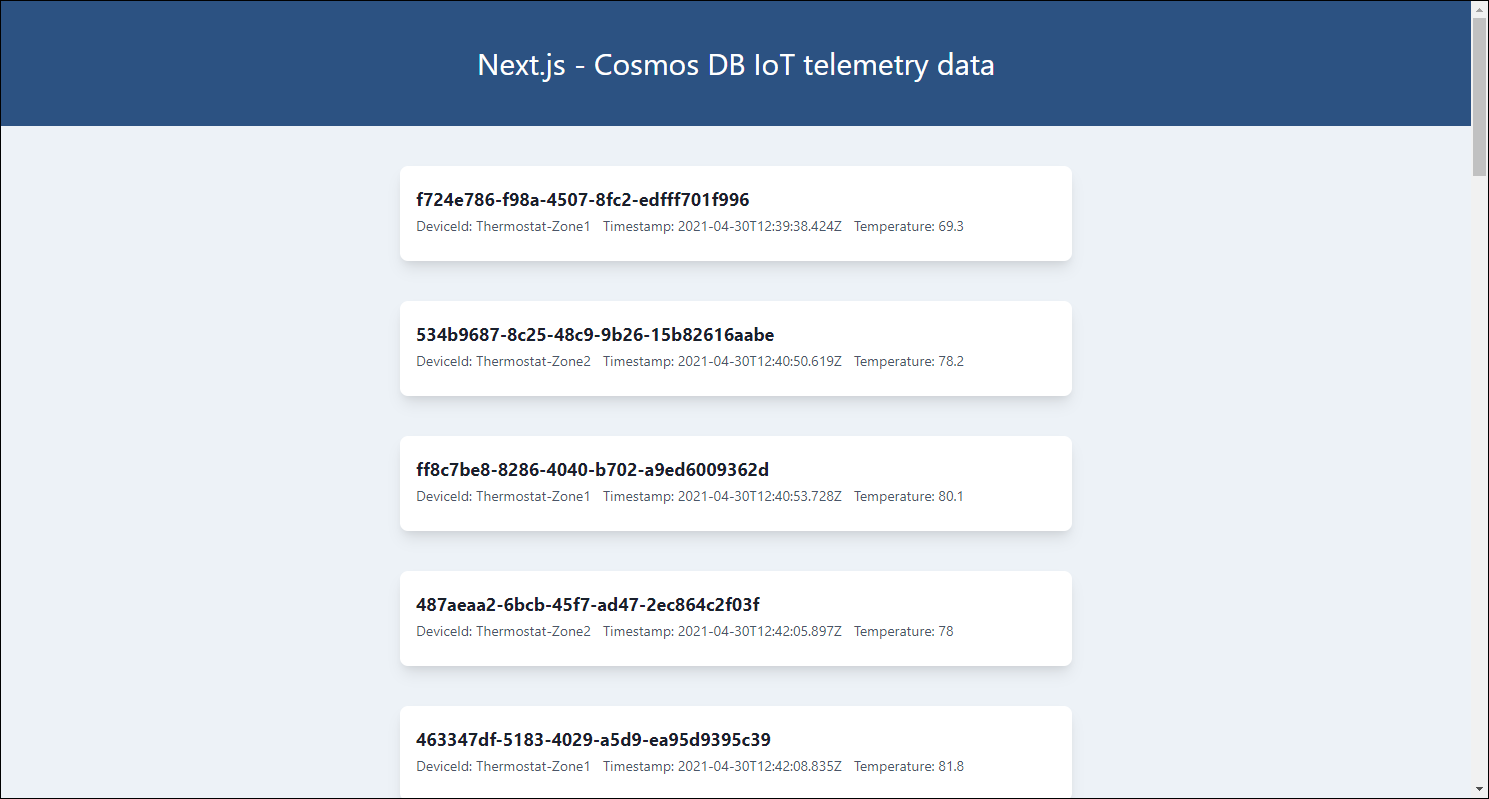
Verify that the web browser page displays the Next.js - Cosmos DB IoT telemetry data page with the listing of the IoT telemetry data points retrieved from the Azure Cosmos DB collection.
Results
Congratulations! You completed the third exercise of this module. In this exercise, you created an Azure function that logs an HTTP request payload. Then, you configured and validated the IoT telemetry rules of an Azure IoT Central application. Finally, you created an Azure Storage account that stores IoT telemetry, and configures and validates the data export of an Azure IoT Central application.
Clean up the resources
To avoid unnecessary charges from using Azure resources, delete the cosmos-db-RG, nextjs-webapp-RG, and function-app-RG resource groups that you created in this exercise. In the Azure portal, navigate to each of these resource groups, and then select the Delete resource group entry in the toolbar. In the TYPE THE RESOURCE GROUP NAME text box, enter the name of the resource group, and then select Delete.