Deploy your copilot
Because a copilot is made up of multiple topics, it's important to ensure that each topic is working appropriately and can be interacted with as intended. For example, if you want to make sure that your Store Hours topic triggers when someone enters text asking about store hours, you can test your copilot to ensure that it responds appropriately.
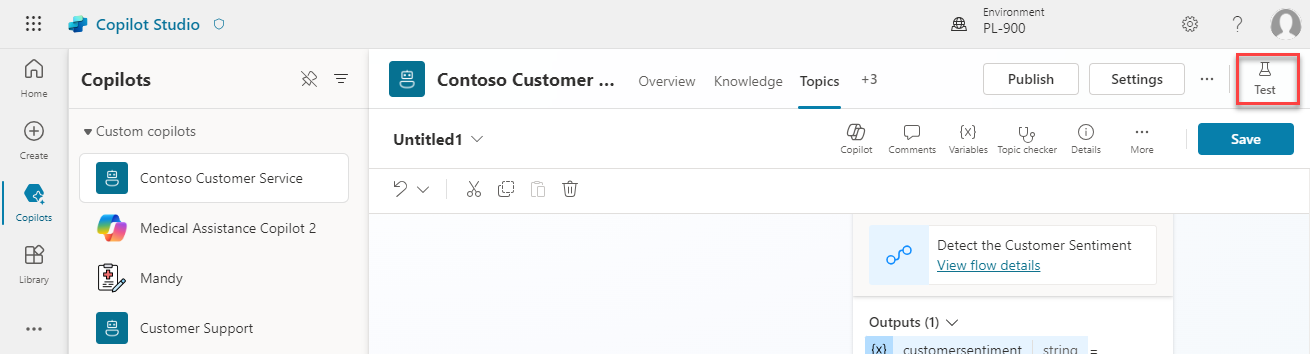
You can test your copilot in real time by using the test copilot panel, which you can enable by selecting Test button in the upper right part of the application. When the test panel is on, the icon appears to be full. Selecting the Test button again will hide it if you need more space during the design process.
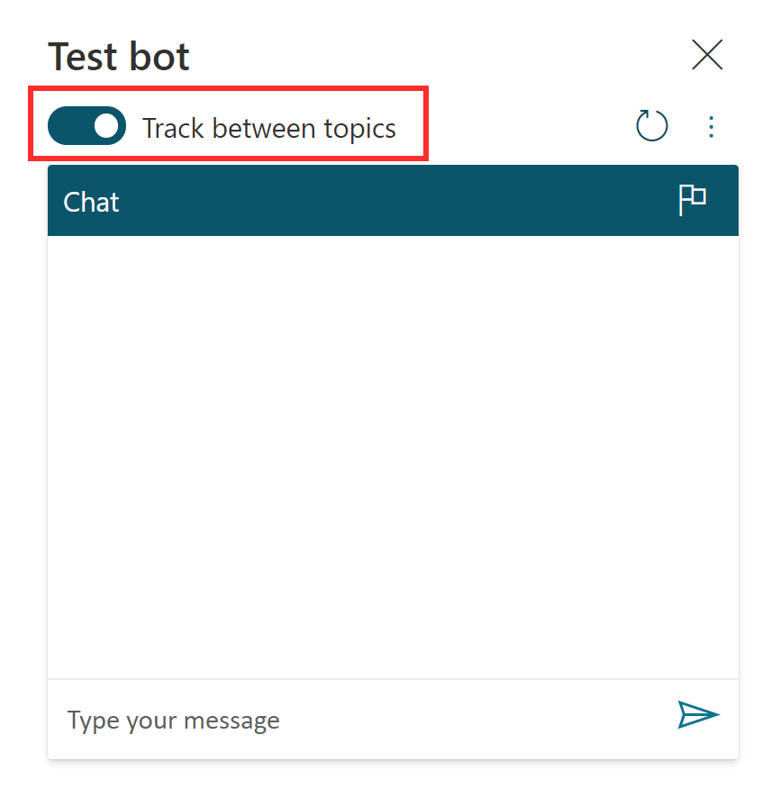
The Test copilot window interacts with your copilot topics as a user would. As you enter text into the test copilot window, information will be presented as it would to a user. Your copilot will likely contain multiple topics. As you engage with a specific topic, it might be handy to have the application take you to that topic. You can accomplish this task by turning on the Track between topics option at the top. This option follows along with the copilot as it implements the different topics. For example, typing "hello" would trigger the Greeting topic, and then the application will open the Greeting topic and display its conversation path in the window. If you type the "When are you open?" question, the application will switch to display the Store Hours topic. As each topic is displayed, you can observe how the path progresses, which will help you evaluate how your topics are doing.
The following image shows that the "When are you open?" message has been sent to the copilot. Notice that you're automatically taken to the Store Hours topic. The conversation path is highlighted in green. The copilot will wait for you to respond and has provided two suggestion buttons on how to respond. These suggestion buttons reflect the Seattle and Bellevue user options that were defined when the topic was previously created. In the test copilot, you can select either button to continue.
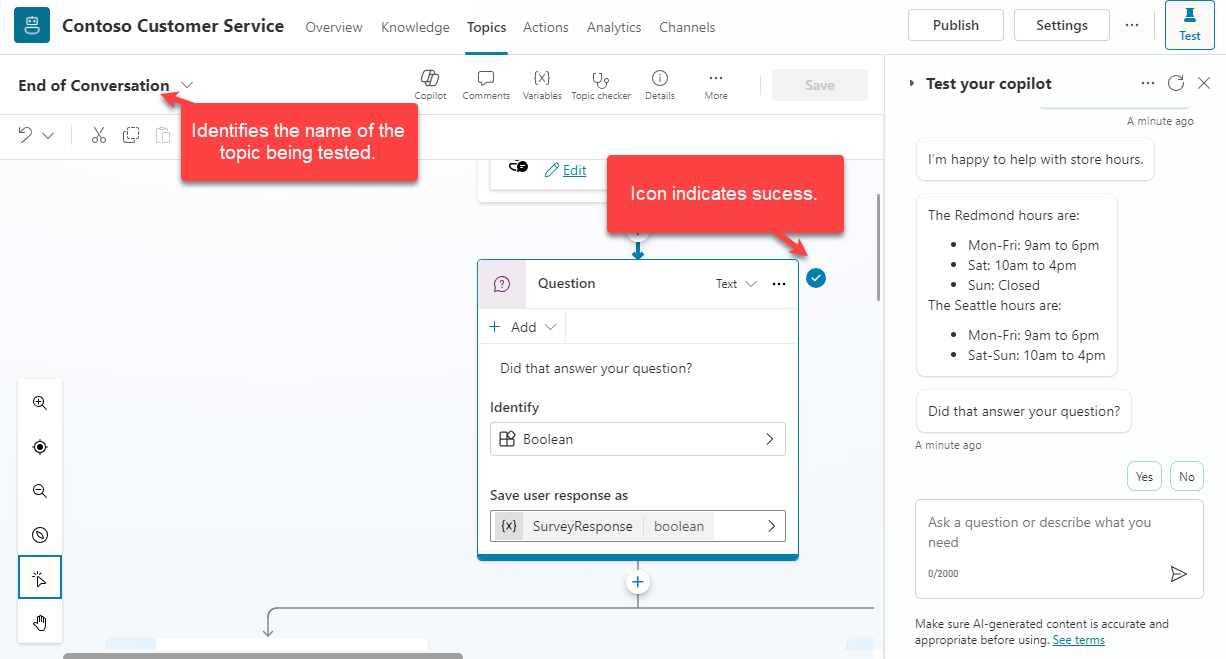
As you select an option, you'll continue down the conversation path until you reach the end. The chat will stop when you reach the bottom of this branch.
By testing your copilots often throughout the creation process, you can ensure that the conversation will flow as anticipated. If the dialog doesn't reflect your intention, you can change the dialog and save it. The latest content will be pushed into the test copilot, and you can try it out again.
After your copilot content has been created, it needs to be published so that customers can engage with it. Published copilots can be made available across multiple platforms and channels. Before a copilot can be added to channels, interacted with, or used by team members, you'll need to publish it at least once. For example, you can deploy a copilot to organizational websites, mobile applications, and messaging platforms such as Microsoft Teams or Facebook.
Publishing copilots as you make changes also ensures that customers engage with the latest copilot content. For example, if your organization's store hours change, after you've edited the Store Hours topic to reflect the changes, you'll need to publish it again from within the Microsoft Copilot Studio portal. After the copilot has been published again, the updated content will be used by all channels that the copilot is set up on.
Publish a copilot
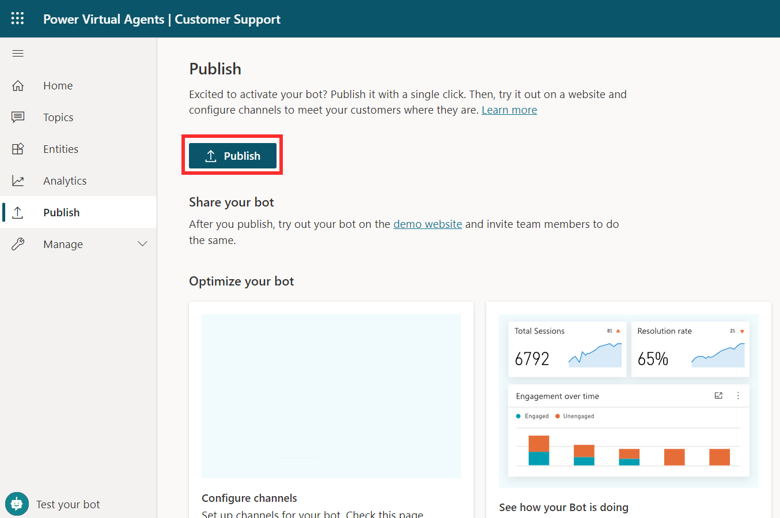
When you're ready to publish your copilot, select the Publish button. During the publishing process, the copilot will be checked for errors. Copilot publishing typically takes a few minutes. When the publish is successful, the top of the page will display a green banner indicating that everything worked correctly. If errors are detected, you'll be notified through a message that's displayed in the application.
Before the copilot is deployed to the different channels that use it, you might want to gain feedback from other team members. When a copilot is first published, you can make it available on the demo website. You can provide the demo website's URL to team members or stakeholders to try it out. The advantage of using the demo website is that the experience is different than testing the copilot during the design process. Because the test copilot experience is only intended to allow copilot authors to test it, the demo website link increases the pool of users who can test and provide feedback that's related to the overall experience of the copilot.
Now that the copilot is published, you can deploy it to different channels.
For more information, see Publish your copilot to other channels.