Lab - Configure accounts payable components
Read this first - before you start the lab!
Important
For this lab, you CANNOT sign in with your own credentials. Use the following steps to sign in to your lab environment with the correct credentials.
Ensure that you are signed in to Microsoft Learn.
Select Launch VM mode or Sign in to launch VM mode in this unit.
In the Resources tab on the lab side bar, select the T icon next to Password in the MININT box, to have the administrator password for the Virtual Machine entered for you.
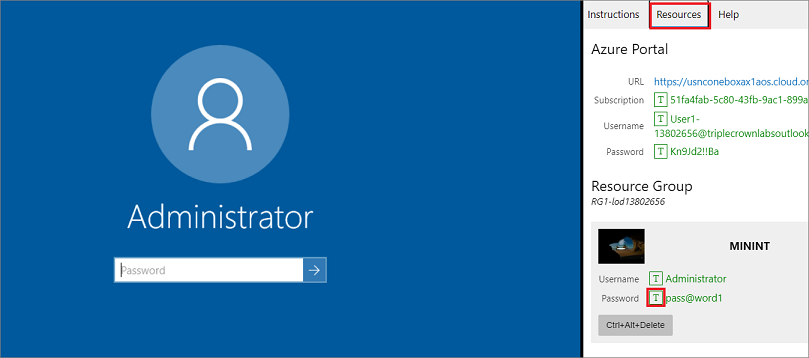
Select Enter.
Microsoft Edge will open. Wait for it to navigate to the Sign in page for finance and operations.
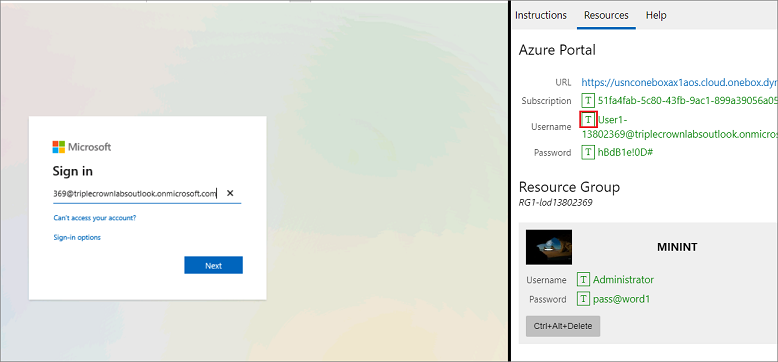
On the Microsoft Sign in page in finance and operations, place your mouse cursor into the Username field.
On the Resources tab of the lab side bar, below the Azure portal heading, select the T icon next to Username, then press Enter.
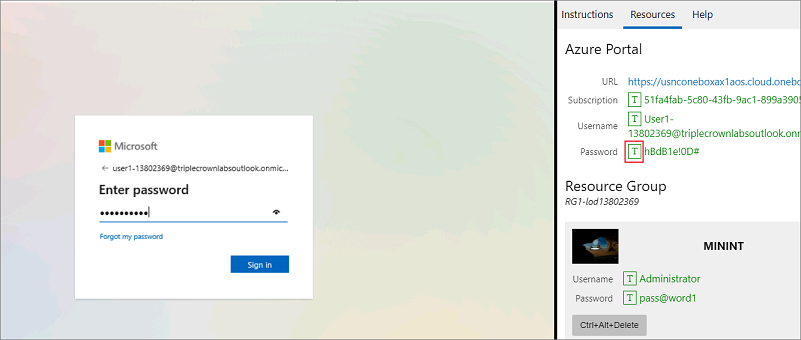
Your mouse cursor will now be in the Password page.
On the Resources tab of the lab side bar, below the Azure portal heading, select the T icon next to select Password, then press Enter.
Don't stay signed in or store the password on the virtual machine.
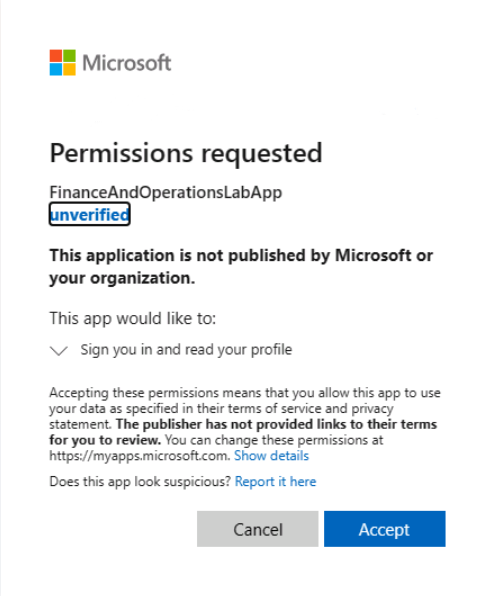
Select Accept in the Permissions requested page.
To see the lab instructions, select the Instructions tab on the lab side bar.
You can now begin your work on this lab.
Scenario
You will configure the components of Accounts payable in the USMF demo company. You will perform the following tasks:
- Define vendor payment fees.
- Set up charge codes for Accounts payable.
- Create charges groups for vendors.
- Create item charges groups.
- Define auto charges.
Define vendor payment fees
- Go to Accounts payable > Payment setup > Payment fee.
- Select New.
- In the Fee ID field, enter EFT_Fee.
- In the Name field, enter EFT Fee.
- In the Fee description field, enter a description that provides more detail about the fee such as Electronic Transfer Fee.
- In the Charge field, select Vendor. Note: Vendor is used when the fee will be assessed to the vendor. Ledger is used when the fee will be expensed to your organization.
- Leave Main account blank as this option is only available when selecting Ledger as the Charge option.
- Select the Journal type on which this fee can be used. Since this is a vendor payment fee select Vendor disbursement.
- Select Save.
- On the Action Pane, select Payment fee setup.
- In the Groupings field, select Group.
- In the Bank relation field, select BankUSA.
- Select the Method of payment as Electronic.
- Select the Payment currency USD - US Dollar.
- Select the Payment specification as CCD - Electronic.
- Select Amount for the Percentage/Amount.
- Enter the fee amount as 2.95.
- In the Fee currency field, select USD as the currency in which the fee will be assessed.
- Select Save.
Set up charge codes for Accounts payable
- Go to Accounts payable > Charges setup > Charges code.
- Select New.
- In the Charges code field, enter EXPEDITE.
- In the Description field, enter Expedite.
- On the Posting FastTab, under the DEBIT section, select Customer/Vendor from the Type drop down menu.
- Under the CREDIT section, select Ledger account from the Type drop down menu.
- Under the Posting drop-down menu, select Ledger journal.
- From the Account drop down menu, select 110110 - Bank account USD.
- To enable the comparison of charges values for an invoice that contains the charges from the corresponding purchase order header or lines, select Yes on the Compare purchase order and invoice values toggle bar.
- Select Save.
Create charges groups for vendors.
- Go to Accounts payable > Charges setup > Vendor charges group.
- Select New
- In the Charges group field, enter 02. The code can contain both letters and numbers.
- In the Description field, enter a description of the charges group such as Vendor charge group No. 2.
- Select Save and close the page to save your changes.
Create item charges groups
- Go to Accounts payable > Charges setup > Item charge groups.
- Select New to create an item charges group.
- In the Charges group field, enter a code for the group. Enter 02.
- In the Description field, enter Item charges group No. 2.
- Close the page to save your changes.
Define auto charges
- Go to Accounts payable > Charges setup> Automatic charges.
- Select New to define a new auto charge.
- In the Level field, select Header to apply the auto charge to the order header.
- From the Account code drop-down menu, select Table to assign charges to a specific vendor.
- From the Vendor relation drop-down menu, select 1001 - ACME Office Supplies.
- The Item code field defaults to All since we are applying the automatic charges to the vendor.
- The Item relation field is left blank.
- Expand the Lines Fast Tab to define the charges and the charges rates to use when the current auto charge is applied.
- Select Save.
- In the Currency drop-down menu, select USD as the currency to use to calculate the charge.
- From the Charges code drop-down menu, select Handling as the code for the charge.
- From the Category drop-down menu, select Percent to specify how to calculate the charge.
- Enter 5.00 in the Charges value field.
- Select Save in the Action Pane.
- Close the page.
Close the lab environment
- Select Done in the Instructions pane in the lab side bar.
- In the Lab is complete window, select Continue, and then select Leave to return to the next unit in the module.