Lab - Configure customer posting profiles and create a new customer
Read this first - before you start the lab!
Important
For this lab, you CANNOT sign in with your own credentials. Use the following steps to sign in to your lab environment with the correct credentials.
Ensure that you are signed in to Microsoft Learn.
Select Launch VM mode or Sign in to launch VM mode in this unit.
In the Resources tab on the lab side bar, select the T icon next to Password in the MININT box, to have the administrator password for the Virtual Machine entered for you.
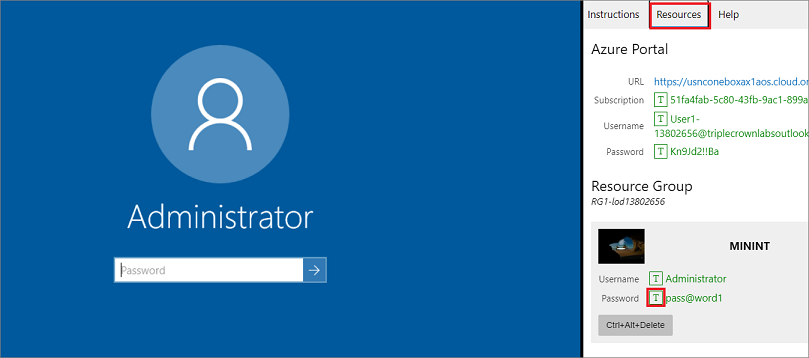
Select Enter.
Microsoft Edge will open. Wait for it to navigate to the Sign in page for finance and operations.
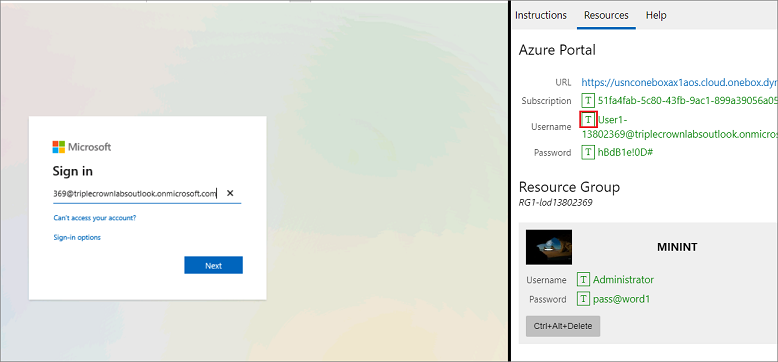
On the Microsoft Sign in page in finance and operations, place your mouse cursor into the Username field.
On the Resources tab of the lab side bar, below the Azure portal heading, select the T icon next to Username, then press Enter.
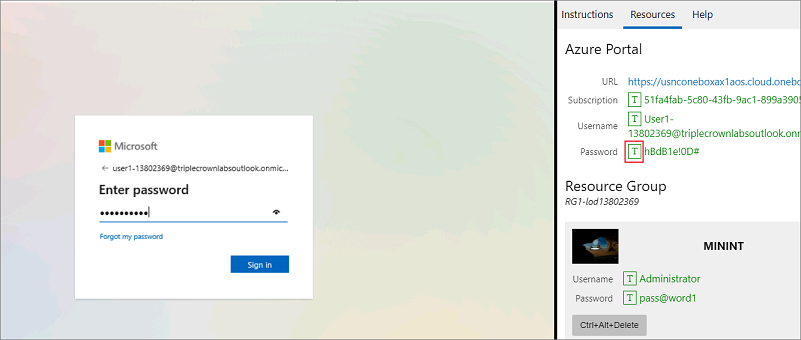
Your mouse cursor will now be in the Password page.
On the Resources tab of the lab side bar, below the Azure portal heading, select the T icon next to select Password, then press Enter.
Don't stay signed in or store the password on the virtual machine.
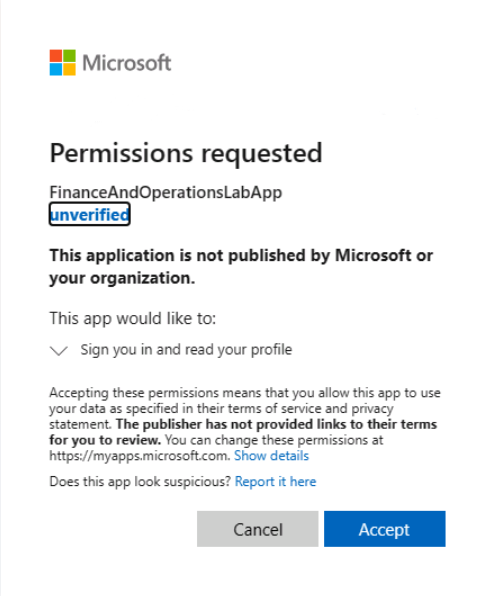
Select Accept in the Permissions requested page.
To see the lab instructions, select the Instructions tab on the lab side bar.
You can now begin your work on this lab.
In this lab you will practice configuring customer posting profiles, and creating a new customer.
Scenario - Configure customer posting profiles
The Accounting Manager at Contoso has asked the Accounts receivable clerk to set up a new posting profile for a group of retail customers.
Select the appropriate options to ensure the following:
- Entries will be created using this profile for automatic settlement.
- The application will calculate interest on outstanding balances for customers who have this profile.
- A collection letter might be issued for customers who have this profile.
- When transactions are settled in full, the transactions should not change to another posting profile.
- Transactions for the retail customers group will post to summary account 130100 and settle account 110110.
Set up a customer posting profile
To set up a customer posting profile, follow these steps.
- In the USMF company, go to Accounts receivable > Setup > Customer posting profiles.
- Select New.
- In the Posting Profile field, type Prom.
- In the Description field, type Promotion.
- On the Table restrictions FastTab, make sure that the following option has Allow automatic settlement set to Yes.
- Set the Interest and Collection letter options to Yes.
- Verify that the Close field is blank.
- In the Setup FastTab, select Add to create and set up a new Account.
- In the Account code field, select Group.
- In the Account/Group Number field, select 30 Retail customers.
- In the Summary account field, select 130100.
- In the Liquidity account for payments field, select 110110.
- In the Collection letter sequence field, select High.
- Select Save.
- Close the page.
Establish customer payment terms
To establish customer payment terms, follow these steps.
- In USMF, go to Accounts receivable > Payments setup > Payment days.
- Select New.
- In the Payment day field, enter 17.
- In the Description field, enter 17th of the month.
- In the Week/Month field, select Month.
- In the Day of month field, enter 17.
- Select Save.
- Close the page.
- Go to Accounts receivable > Payments setup > Terms of payment.
- Select New.
- In the Terms of payment field, enter GTL-45.
- In the Description field, enter Net 45 days.
- In the Payment method field, select Current month.
- In the Payment day field, enter 17.
- Select Save.
- Close the page.
- Go to Accounts receivable > Payments setup > Cash discounts.
- Select New.
- In the Cash discount field, enter GLS-15D5%.
- In the Description field, enter Offer 5% if paid within 15 days.
- Enter the number of days used to calculate the cash discount date. In the Days field, enter 15.
- In the Discount percentage field, enter 5.
- In the Main account for customer discounts field, select 403300.
- In the Discount offset accounts field, select Use main account for Vendor discounts.
- In the Main account for vendor discounts, select 212160.
- Select Save.
- Close the page.
Create a method of payment for customer payments
To create a method of payment for customer payments, follow these steps.
- Open Accounts receivable > Payments setup > Methods of payment.
- Select New.
- In the Method of payment field, enter GTL-EP. The Method of payment ID is shown on invoices and payments, so make it descriptive enough to understand what type of payment is being recorded and for what bank account.
- In the Description field, enter Electronic payments.
- In the Payment status field, select Approved.
- In the Period field, select Total.
- In the Payment type field, select the type of payment as Electronic payment.
- In the Account type field, select Bank.
- In the Payment account field, select USMF OPER.
- In the Bank transaction type field, select Deposit.
- Selecting this payment will temporarily post to a bridging account. Set the Bridging posting option to Yes.
- In the Bridging account field, select 130730. This is the main account to which the payment will temporarily post if you are using bridging.
- Use the File formats Fast tab to define the setting for electronic payments.
- Select the Setup button.
- On the Export tab, in the AVAILABLE list, select NACHA (US) and use the arrow to move it to the SELECTED group.
- On the Import tab, select JBA(JP)- Format A and move it to the SELECTED group.
- On the Return tab, in the AVAILABLE list, select the Configurable layout file and move it to the SELECTED group.
- Select Save.
- Close the page.
- On the File formats Fast tab in the INVOICE UPDATE group, set the slider to Yes for Create and post draw journal automatically when posting invoices.
- In the Name field, select CustPay.
- In the FILE FORMATS group, for Export format select NACHA (US)
- In the Import format, select JBA(JP) – Format A.
- In the Return format, select Configurable layout file.
- Use the Payment control Fast tab to define mandatory fields. Select all fields in the Enabled column.
- Use the Payment attributes Fast tab to define which payment attributes you want to use for this method of payment. Select Payment account and Payment ID in the Enabled column.
- Select Save.
- Close the page.
Create payment fees for customer payments.
To create payment fees for customer payments, follow these steps.
- In USMF, go to Accounts receivable > Payments setup > Payment fee.
- Select New.
- In the Fee ID field, enter W01. The Fee ID displays on payment journals, so make it descriptive enough to understand what fee is being assessed.
- In the Name field, enter Wire.
- In the Fee description field, enter Bank fee for wire transfer.
- In the Charge field, select Customer.
- In the Journal type field, select Customer payment.
- Select Save.
- Select Payment fee setup. The Payment fee setup is used to define the criteria for when the payment fee will be assessed. For example, you can define that the fee will be calculated if the bank account is USMF OPER, and the method of payment is check.
- In the Groupings field, select Table.
- In the Bank relation field, select USMF OPER.
- In the Method of payment field, select GTL-EP Electronic payments.
- In the Payment currency field, enter USD.
- In the Percentage/Amount field select Percent.
- In the Fee currency field, select USD.
- Select Save.
- Close all pages.
Scenario - Create a new customer
The USMF company has started to work with a new customer, Fourth Coffee. The Accounts receivable clerk must set up this new customer.
- Go to Accounts receivable > Customers > All customers.
- Select New
- In the Customer account field, enter US-069
- In the Type field, select Organization.
- In the Name field, type Fourth Coffee.
- Select Use match when the Match found dialog box opens.
- In the Customer group field, select customer group 20.
- Select Save.
- Select the Credit and collections FastTab.
- In the Credit limit field, enter 10000.
- Select the Invoice and delivery FastTab.
- In the Mode of delivery field, select 20, Air.
- In the Sales tax group field, select CA.
- Select the Payment defaults FastTab.
- In the Terms of payment field, select Net10.
- In the Method of payment field, select CHECK.
- Select Save.
- Close the pages.
Close the lab environment
- Select Done in the Instructions pane in the lab side bar.
- In the Lab is complete window, select Continue, and then select Leave to return to the next unit in the module.