Exercise - Deploy a sample application to the cluster with GitOps and Flux
In this exercise, we deploy a containerized Linux application to your Arc-enabled AKS Edge Essentials cluster using GitOps and Flux.
Fork the demo application GitHub repository
If you don't have a GitHub account already, create one now.
Navigate to the Azure Arc Jumpstart Apps repository and fork it to your own GitHub account by selecting Fork and then Create fork.
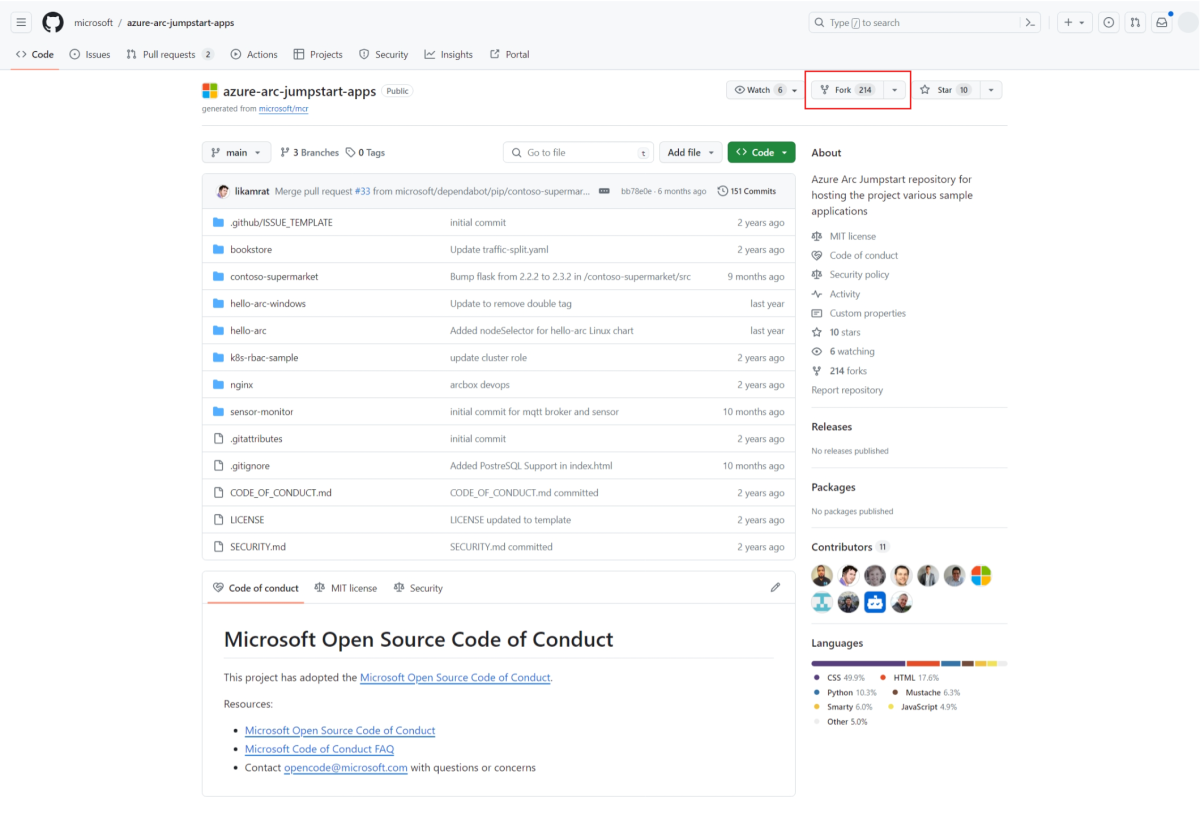
Confirm that the fork was successfully created by navigating to your account repositories and selecting the azure-arc-jumpstart-apps repository. The repository url should look like:
Outputhttps://github.com/<your-github-username>/azure-arc-jumpstart-apps

Deploy the application
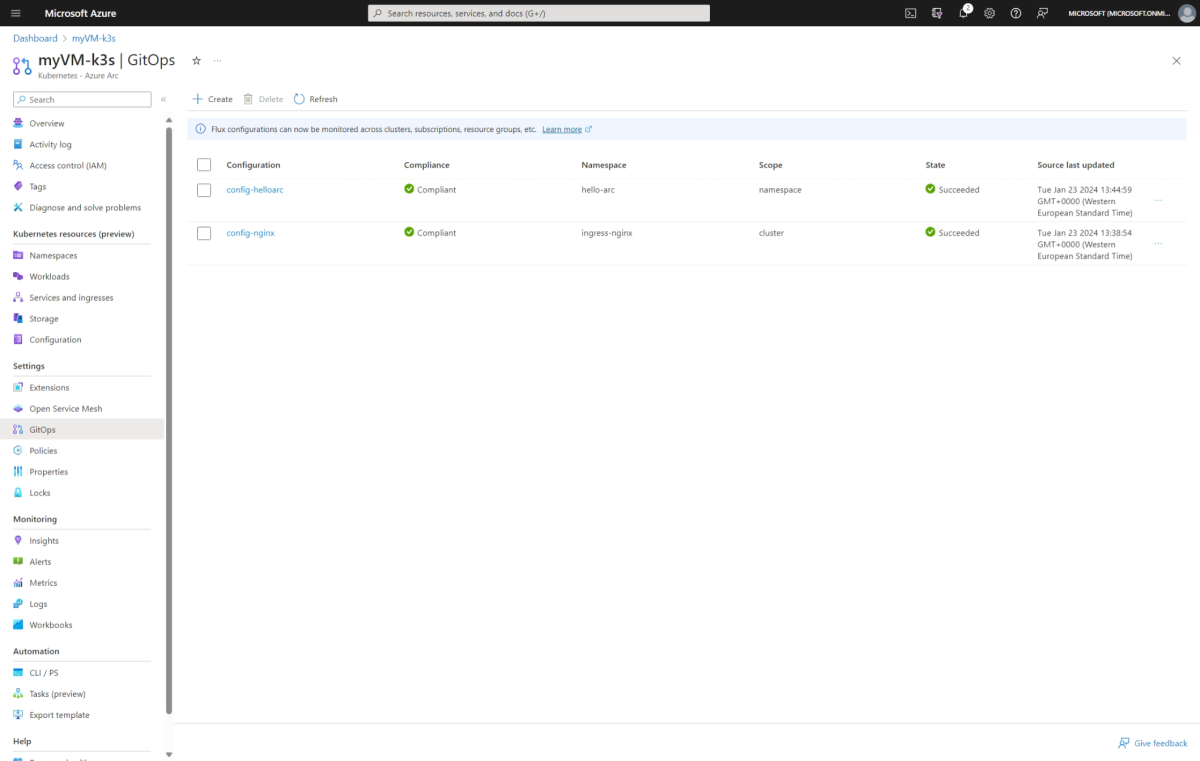
In the Azure portal, navigate to your Arc-enabled AKS Edge Essentials cluster and select GitOps under Settings. Let's create a cluster-level configuration and a namespace-level configuration.

Select Create and use the following values for the cluster-level configuration:
Attribute Input Basics Configuration name config-nginxNamespace ingress-nginxScope Cluster Type Flux v2 Source Source kind Git repository Repository URL <URL of your fork> Reference type Branch Branch main Repository type Public Sync interval 1 Sync timeout 10 Kustomizations Kustomizations Select Create Instance name nginxPath ./nginx/releaseSync interval 10 Sync timeout 10 Prune Enabled Force Not enabled Note
Wait until the
config-nginxhas successfully been created and visible on your Azure portal GitOps before creating the namespace-level configuration (you can move on to creating the next configuration if the compliance is in a pending state).Select Create and use the following values for the namespace-level configuration:
Attribute Input Basics Configuration name config-helloarcNamespace hello-arcScope Namespace Type Flux v2 Source Source kind Git repository Repository URL <URL of your fork> Reference type Branch Branch main Repository type Public Sync interval 1 Sync timeout 10 Kustomizations Kustomizations Select Create Instance name appPath ./hello-arc/releases/appSync interval 10 Sync timeout 10 Prune Enabled Force Not enabled Refresh your configuration table and wait for the configurations to be installed and compliant.
In your VM, use
kubectlto check that the service is running:PowerShellkubectl get svc -n ingress-nginx kubectl get pods -n hello-arcThe following example output shows the service is running:
OutputPS C:\akseeLearn> kubectl get svc -n ingress-nginx NAME TYPE CLUSTER-IP EXTERNAL-IP PORT(S) AGE ingress-nginx-controller LoadBalancer 10.43.136.240 192.168.0.4 80:31838/TCP,443:30386/TCP 18m ingress-nginx-controller-admission ClusterIP 10.43.11.51 <none> 443/TCP 18m PS C:\akseeLearn> kubectl get pods -n hello-arc NAME READY STATUS RESTARTS AGE hello-arc-7c66864f8d-662b7 1/1 Running 0 12m hello-arc-7c66864f8d-fdbkc 1/1 Running 0 12m hello-arc-7c66864f8d-prb2v 1/1 Running 0 12mTo view the application, open a browser and navigate to the EXTERNAL-IP address assigned to the
ingress-nginx-controllerservice. In the previous example, the IP address assigned to the service is 192.168.0.4.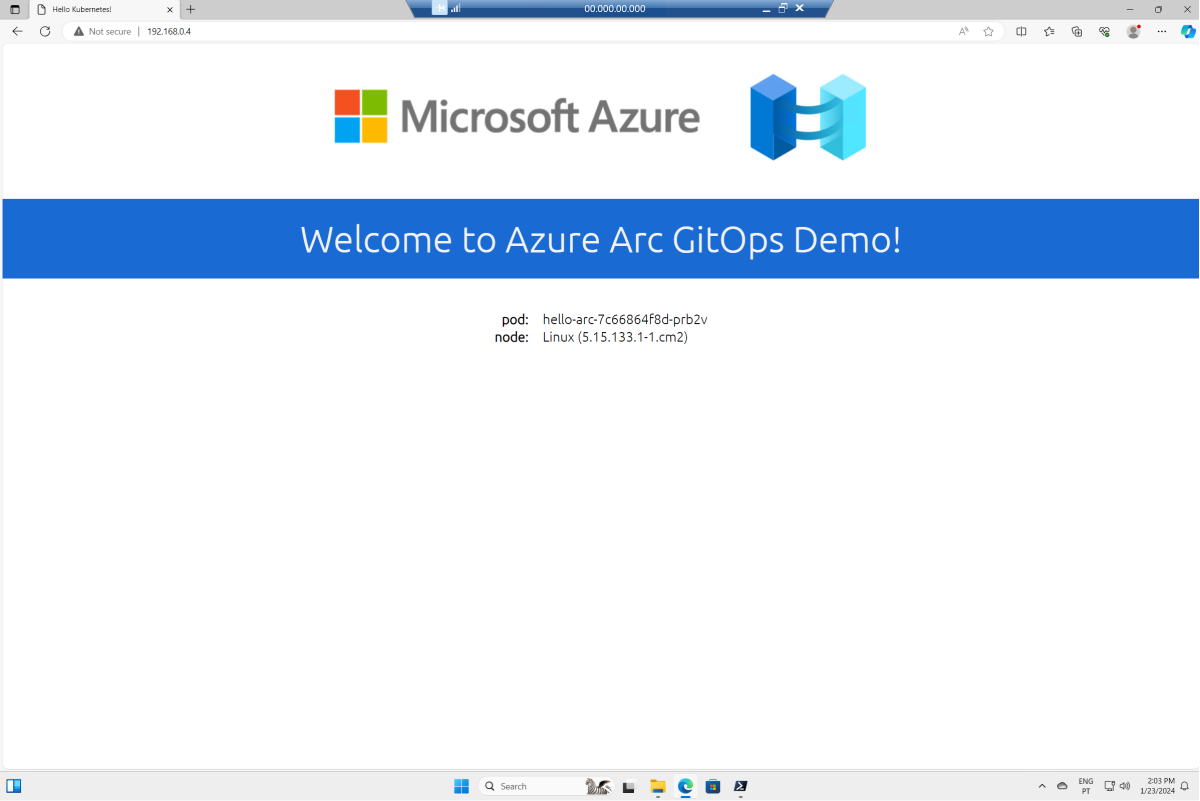


Update the application
We configured GitOps and Flux to watch for changes in the main branch of your forked repository. Let's make a change to the application and see how GitOps responds.
In your fork of the azure-arc-jumpstart-apps repository, navigate to hello-arc > releases > app > hello-arc.yaml.
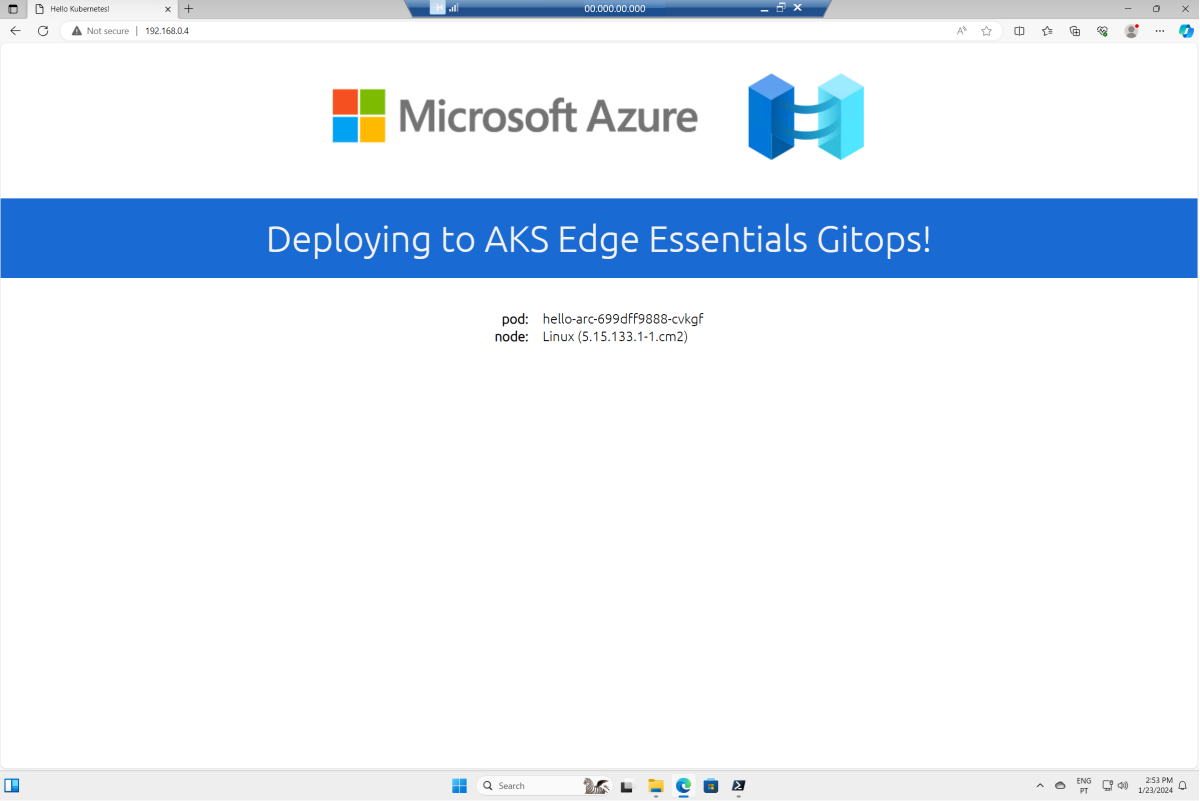
Make a change to this YAML file by selecting Edit. Change the replicaCount to 5. Change the value to Deploying to AKS Edge Essentials GitOps!.
Commit the change by selecting Commit changes... and then Commit changes.

Use
kubectlto see the old pods terminating and new pods coming online:PowerShellkubectl get pods -n hello-arc -wThe following example output shows the old pods terminating and new pods coming online:
OutputPS C:\akseeLearn> kubectl get pods -n hello-arc -w NAME READY STATUS RESTARTS AGE hello-arc-699dff9888-5mcjs 1/1 Running 0 19m hello-arc-699dff9888-qrsfw 1/1 Running 0 19m hello-arc-699dff9888-xm82r 1/1 Running 0 19m hello-arc-699dff9888-mpdxt 0/1 Pending 0 0s hello-arc-699dff9888-mpdxt 0/1 Pending 0 0s hello-arc-699dff9888-cvkgf 0/1 Pending 0 0s hello-arc-699dff9888-cvkgf 0/1 Pending 0 0s hello-arc-699dff9888-mpdxt 0/1 ContainerCreating 0 0s hello-arc-699dff9888-cvkgf 0/1 ContainerCreating 0 0s hello-arc-699dff9888-cvkgf 0/1 Running 0 1s hello-arc-699dff9888-mpdxt 0/1 Running 0 1s hello-arc-699dff9888-mpdxt 1/1 Running 0 2s hello-arc-699dff9888-cvkgf 1/1 Running 0 2sNote
Because we set the sync interval to 1 min when creating the configuration, Flux pulls down changes from GitHub every minute.
Refresh your application to see this change reflected as a rolling update.


Clean up your Azure resources
In the course of this module, you created Azure resources. If you don't expect to need these resources in the future, delete the resource group and Service Principal by running az group delete and az ad sp delete commands in Azure Cloud Shell:
az group delete --name "aksedge-training" --force-deletion-types Microsoft.Compute/virtualMachines
az ad sp delete --id "<your-service-principal-ID>"
Important
To avoid accruing unwanted charges, you must remove the Azure resources and Service Principal that you used in this module.