Exercise - Import external content
In this exercise, you extend the custom Copilot connector with the code to import local markdown files to Microsoft 365.
Before you start
Before you do this exercise, be sure to complete the previous exercise in this module.
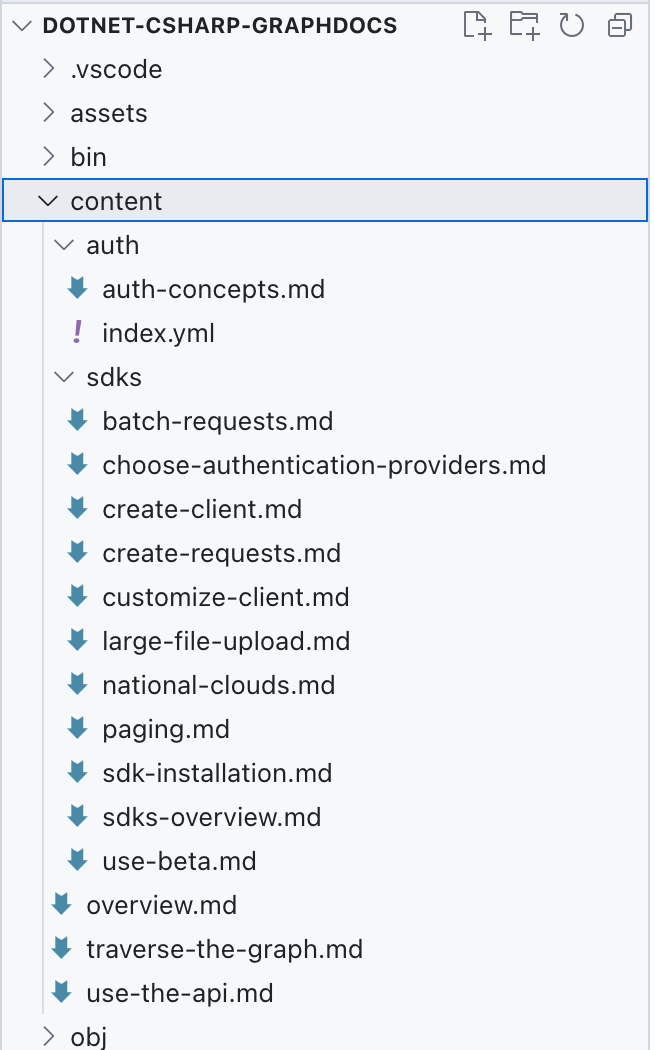
To follow this exercise, copy the sample content files used in this exercise from GitHub and store them in your project, in a folder named content.
For the code to work correctly, the content folder and its contents must be copied to the build output folder.
In the code editor:
Open the .csproj file and before the
</Project>tag, add the following code:<ItemGroup> <ContentFiles Include="content\**" CopyToOutputDirectory="PreserveNewest" /> </ItemGroup> <Target Name="CopyContentFolder" AfterTargets="Build"> <Copy SourceFiles="@(ContentFiles)" DestinationFiles="@(ContentFiles->'$(OutputPath)\content\%(RecursiveDir)%(Filename)%(Extension)')" /> </Target>Save your changes.
Add libraries to parse Markdown and YAML
The Copilot connector that you're building imports local Markdown files to Microsoft 365. Each of these files contains a header with metadata in the YAML format, also known as frontmatter. Additionally, the contents of each file are written in Markdown. To extract metadata and convert the body to HTML, you use custom libraries:
- Open a terminal and change the working directory to your project.
- To add the Markdown processing library, run the following command:
dotnet add package Markdig. - To add the YAML processing library, run the following command:
dotnet add package YamlDotNet.
Define class to represent imported file
To simplify working with imported markdown files and their contents, let's define a class with the necessary properties.
In the code editor:
Open the ContentService.cs file.
Add the
usingstatement, and update theDocumentclass as follows:using YamlDotNet.Serialization; public interface IMarkdown { string? Markdown { get; set; } } class Document : IMarkdown { [YamlMember(Alias = "title")] public string? Title { get; set; } [YamlMember(Alias = "description")] public string? Description { get; set; } public string? Markdown { get; set; } public string? Content { get; set; } public string? RelativePath { get; set; } public string? IconUrl { get; set; } public string? Url { get; set; } }The
IMarkdowninterface represents the contents of local markdown file. It needs to be defined separately to support deserializing file contents. TheDocumentclass, represent the final document with parsed YAML properties and HTML content.YamlMemberattributes map properties to metadata in each document's header.Save your changes.
Implement loading Markdown files
The next step is to implement the logic that loads the local Markdown files, extracts metadata, and converts the content to HTML.
First, add helper methods to easily use the Markdig and YamlDotNet libraries.
In the code editor:
Create a new file named MarkdownExtensions.cs.
In the file, add the following code:
// from: https://khalidabuhakmeh.com/parse-markdown-front-matter-with-csharp
using Markdig;
using Markdig.Extensions.Yaml;
using Markdig.Syntax;
using YamlDotNet.Serialization;

public static class MarkdownExtensions
{
  private static readonly IDeserializer YamlDeserializer =
      new DeserializerBuilder()
      .IgnoreUnmatchedProperties()
      .Build();

  private static readonly MarkdownPipeline Pipeline
      = new MarkdownPipelineBuilder()
      .UseYamlFrontMatter()
      .Build();
}
The
YamlDeserializerproperty defines a new deserializer for the YAML block in each of the markdown files you're extracting. You configure the deserializer to ignore all properties that aren't a part of the class to which the file is deserialized.The
Pipelineproperty defines a processing pipeline for the markdown parser. You configure it to parse the YAML header. Without this configuration, the information from the header would be discarded.Next, extend the
MarkdownExtensionsclass with the following code:public static T GetContents<T>(this string markdown) where T : IMarkdown, new() { var document = Markdown.Parse(markdown, Pipeline); var block = document .Descendants<YamlFrontMatterBlock>() .FirstOrDefault(); if (block == null) return new T { Markdown = markdown }; var yaml = block // this is not a mistake // we have to call .Lines 2x .Lines // StringLineGroup[] .Lines // StringLine[] .OrderByDescending(x => x.Line) .Select(x => $"{x}\n") .ToList() .Select(x => x.Replace("---", string.Empty)) .Where(x => !string.IsNullOrWhiteSpace(x)) .Aggregate((s, agg) => agg + s); var t = YamlDeserializer.Deserialize<T>(yaml); t.Markdown = markdown.Substring(block.Span.End + 1); return t; }The
GetContentsmethod converts a markdown string with YAML metadata in the header into the specified type, which implements theIMarkdowninterface. From the markdown string, it extracts the YAML header and deserializes it into the specified type. Then, it extracts the body of the article, and sets it to theMarkdownproperty for further processing.Save your changes.
Extract markdown and YAML content
With the helper methods in place, implement the Extract method to load the local markdown files and extract information from them.
In the code editor:
Open the ContentService.cs file.
On the top of the file, add the following using statement:
using Markdig;Next, in the
ContentServiceclass, implement theExtractmethod using the following code:static IEnumerable<Document> Extract() { var docs = new List<Document>(); var contentFolder = "content"; var baseUrl = new Uri("https://learn.microsoft.com/graph/"); var contentFolderPath = Path.Combine(Directory.GetCurrentDirectory(), contentFolder); var files = Directory.GetFiles(contentFolder, "*.md", SearchOption.AllDirectories); foreach (var file in files) { try { var contents = File.ReadAllText(file); var doc = contents.GetContents<Document>(); doc.Content = Markdown.ToHtml(doc.Markdown ?? ""); doc.RelativePath = Path.GetRelativePath(contentFolderPath, file); doc.Url = new Uri(baseUrl, doc.RelativePath!.Replace(".md", "")).ToString(); doc.IconUrl = "https://raw.githubusercontent.com/waldekmastykarz/img/main/microsoft-graph.png"; docs.Add(doc); } catch (Exception ex) { Console.WriteLine(ex.Message); } } return docs; }The method starts with loading markdown files from the content folder. For each file, it loads its contents as a string. It converts the string into an object with the metadata and content stored in separate properties using the
GetContentsextension method defined earlier in theMarkdownExtensionsclass. Next, it converts the markdown string into HTML. It builds its URL on the internet using the file's relative path. Finally, it stores the relative path to file and adds the object to a collection for further processing.Save your changes.
Transform content into external items
After you read the external content, the next step is to transform it into external items, which will be loaded to Microsoft 365.
Start, with implementing the GetDocId method that generates a unique ID for each external item based on its relative file path.
In the code editor:
Confirm that you're editing the ContentService.cs file.
In the
ContentServiceclass, add the following method:static string GetDocId(Document doc) { var id = doc.RelativePath! .Replace(Path.DirectorySeparatorChar.ToString(), "__") .Replace(".md", ""); return id; }The
GetDocIdmethod uses the document's relative file path and replaces all directory separators with a double underscore. This is necessary because path separator characters can't be used in an external item ID.Save your changes.
Now, implement the Transform method, which converts objects that represent local markdown files into external items from Microsoft Graph.
In the code editor:
Confirm that you're in the ContentService.cs file.
Implement the
Transformmethod using the following code:static IEnumerable<ExternalItem> Transform(IEnumerable<Document> documents) { return documents.Select(doc => { var docId = GetDocId(doc); return new ExternalItem { Id = docId, Properties = new() { AdditionalData = new Dictionary<string, object> { { "title", a.Title ?? "" }, { "description", a.Description ?? "" }, { "url", new Uri(baseUrl, a.RelativePath!.Replace(".md", "")).ToString() } } }, Content = new() { Value = a.Content ?? "", Type = ExternalItemContentType.Html }, Acl = new() { new() { Type = AclType.Everyone, Value = "everyone", AccessType = AccessType.Grant } } }; }); }First, you define a base URL. You use this URL to build a full URL for each item, so that when the item is displayed to users, they can navigate to the original item. Next, you transform each item from a
DocsArticleinto anExternalItem. You start, by getting a unique ID for each item based on its relative file path. Then you create a new instance ofExternalItemand fill its properties with information from theDocsArticle. Then, you set the item's content to the HTML content extracted from the local file and set the item content type to HTML. Finally, you configure the item's permission so that it's visible to everyone in the organization.Save your changes.
Load external items into Microsoft 365
The last step of processing the content is loading the transformed external items into Microsoft 365.
In the code editor:
Verify that you're editing the ContentService.cs file.
In the
ContentServiceclass, implement theLoadmethod using the following code:static async Task Load(IEnumerable<ExternalItem> items) { foreach (var item in items) { Console.Write(string.Format("Loading item {0}...", item.Id)); try { await GraphService.Client.External .Connections[Uri.EscapeDataString(ConnectionConfiguration. ExternalConnection.Id!)] .Items[item.Id] .PutAsync(item); Console.WriteLine("DONE"); } catch (Exception ex) { Console.WriteLine("ERROR"); Console.WriteLine(ex.Message); } } }For each external item, you use the Microsoft Graph .NET SDK to call the Microsoft Graph API and upload the item. In the request, you specify the ID of the previously created external connection, the ID of the item to upload and the full item's contents.
Save your changes.
Add the content load command
Before you can test the code, you need to extend the console application with a command that invokes the content loading logic.
In the code editor:
Open the Program.cs file.
Add a new command to load content using the following code:
var loadContentCommand = new Command("load-content", "Loads content   into the external connection");
loadContentCommand.SetHandler(ContentService.LoadContent);
Register the newly defined command with the root command so that it can be invoked, using the following code:
rootCommand.AddCommand(loadContentCommand);Save your changes.
Test the code
The last thing left is to test that the Copilot connector correctly imports external content.
- Open a terminal.
- Change the working directory to your project.
- Build the project by running the
dotnet buildcommand. - Start loading the content by running the
dotnet run -- load-contentcommand. - Wait for the command to complete and load the content.