Exercise - Create a basic survey
In this exercise, you'll build on the exercise from the Work with Dynamics 365 Customer Voice projects module and add a new survey to your project. Also, you'll create a survey that will be sent to customers after a case is resolved.
Note
You can complete this exercise with or without having Microsoft Dynamics 365 Sales enabled in your environment. However, if you want to complete the exercise in the next module, you'll need to complete these steps in an environment that also has Dynamics 365 Sales enabled.
Exercise 1: Create a new survey
To create a new survey, follow these steps:
Go to Dynamics 365 Customer Voice and sign in with your credentials.
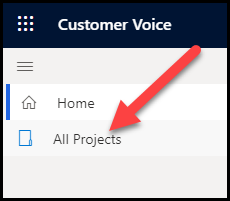
Select All Projects from the navigation menu.
From the list of projects, select the one from the list that you created in the Work with Dynamics 365 Customer Voice projects module of this learning path.

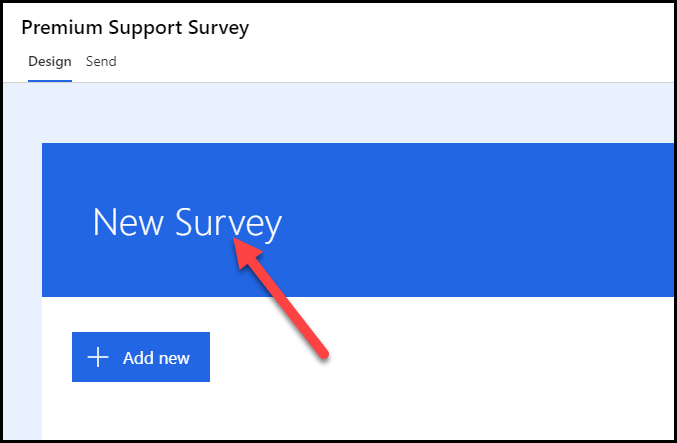
The project will open, and the existing default survey for that project will be displayed. Select New survey.

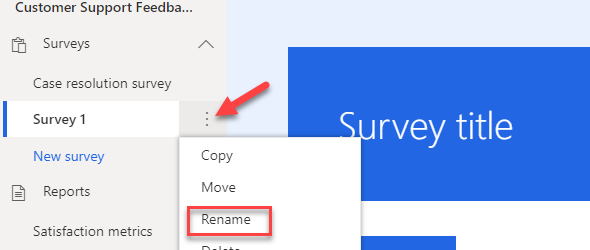
After the survey has been created, select the ellipsis (...) next to the new survey and then select Rename.
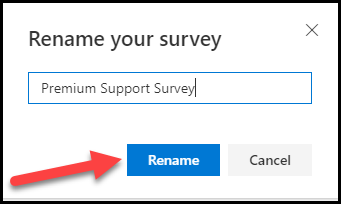
Enter Premium Support Survey as the new name and then select Rename.
Select the New Survey title.
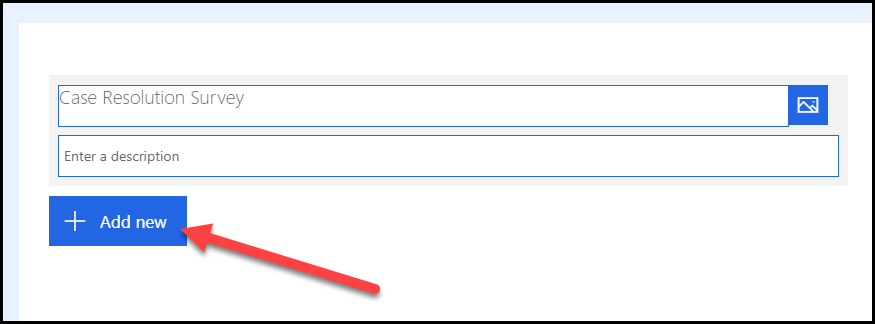
Enter Case Resolution Survey as a Title.
Select + Add new.
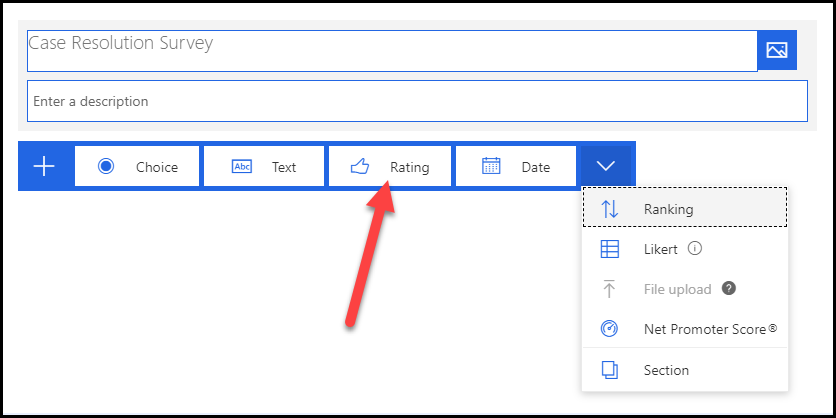
Select the More button.
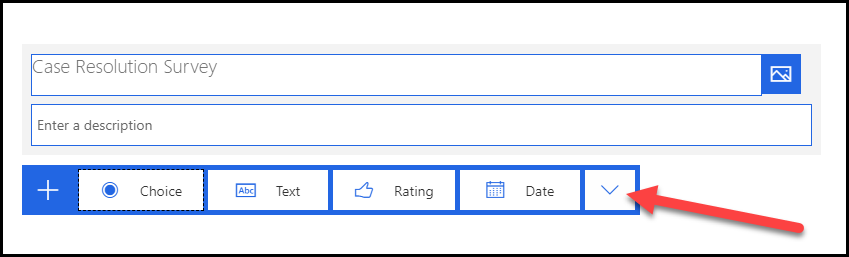
All available survey question types will display. Select Rating.
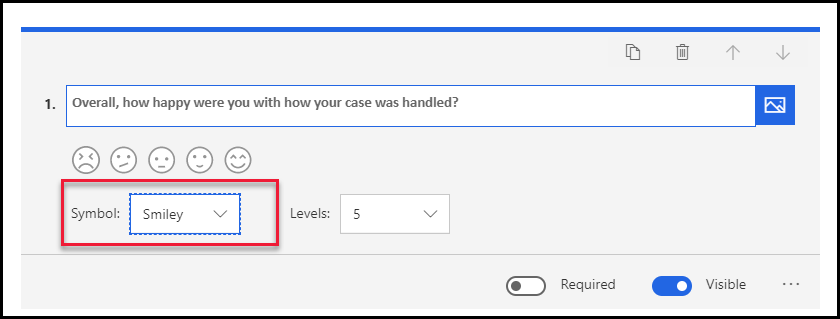
Enter Overall, how happy were you with how your case was handled? for a question and then select Smiley for the Symbol.
Select + Add new again.
Select the More button and then select Likert.

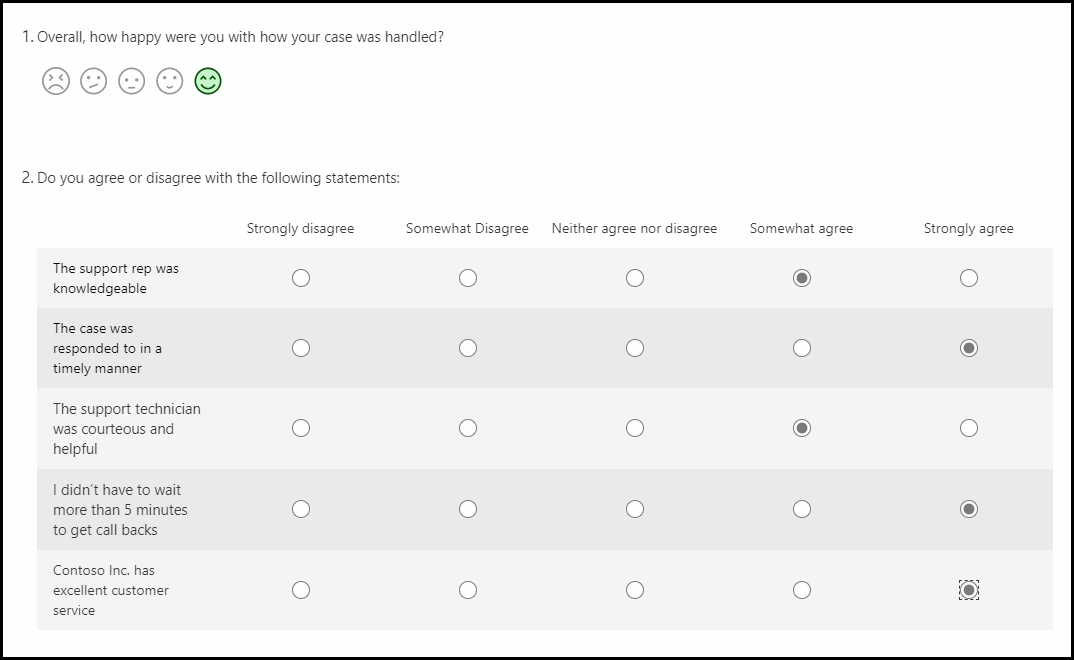
Enter Do you agree or disagree with the following statements: for a question and then change Option 1 to Strongly disagree.
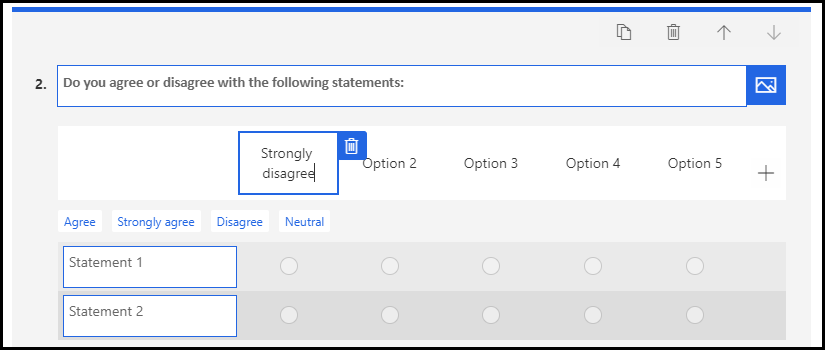
Replace Option 2 with Somewhat disagree, Option 3 with Neither agree nor disagree, Option 4 with Somewhat agree, and Option 5 with Strongly agree. Your options should resemble the following image.

Select Statement 1 and enter The support rep was knowledgeable.
Select Statement 2 and enter The case was responded to in a timely manner.
Select + Add statement.
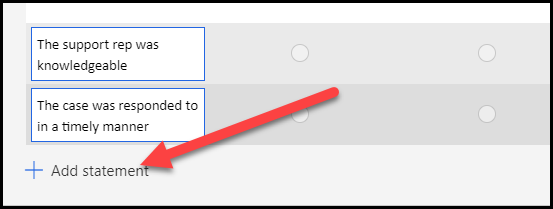
Enter The support technician was courteous and helpful.
Select + Add statement.
Enter I didn't have to wait more than 5 minutes to get call backs.
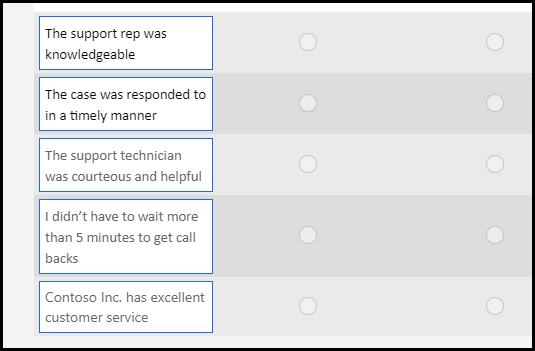
Select + Add statement one more time.
Enter Contoso Inc. has excellent customer service. Your statements should now resemble the following image.
Select + Add new.
Select Text.
Enter Please tell us about your experience with our support team for a question and then select Long answer.

Select + Add new again.
Select the More button and then select Net Promoter Score.
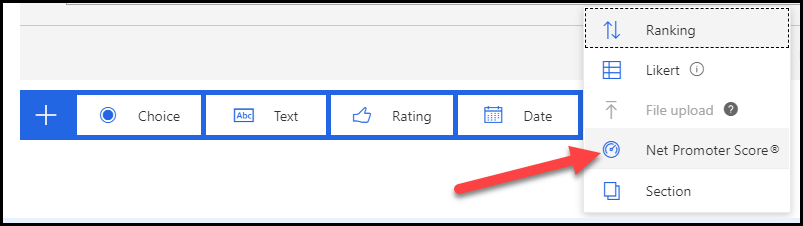
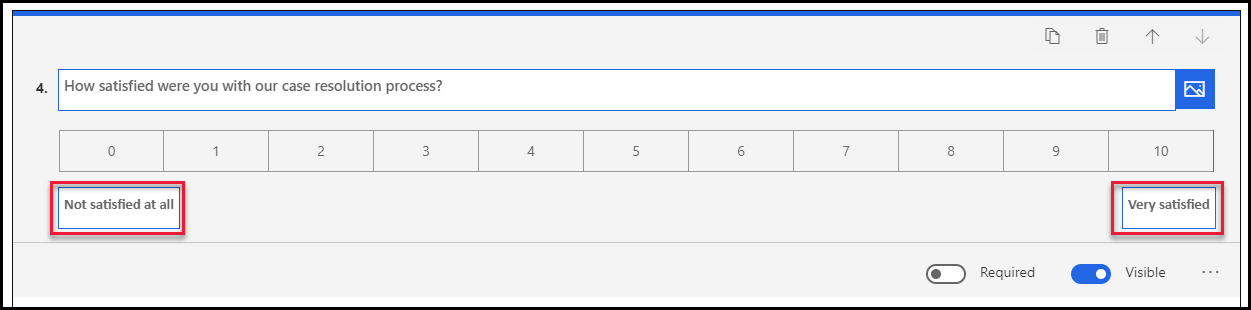
Enter How satisfied were you with our case resolution process? for a question.
Change the lowest rating to Not satisfied at all and the highest to Very satisfied.
Select Preview.
Review your survey and then select the Back button. You may now close the form editor.
Exercise 2: Edit an existing survey
In this exercise, you'll improve your survey by changing the theme, adding branching, and personalizing it.
Task 1: Change the theme
In this task, you'll change the theme of your survey.
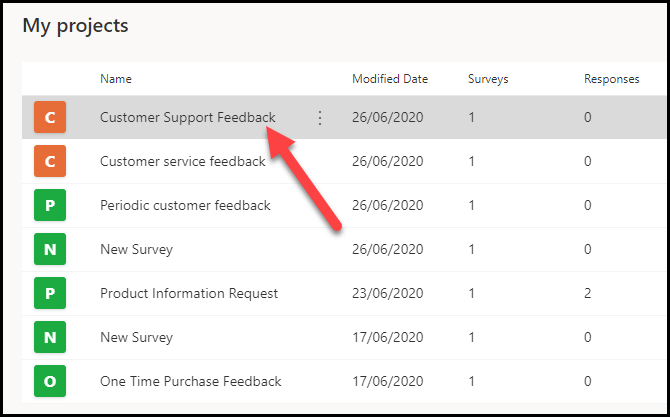
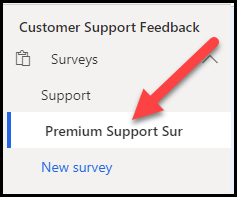
If you no longer have the survey open, locate the Customer Support Feedback project that you created and then select its name.
Select Premium Support Survey from the list.
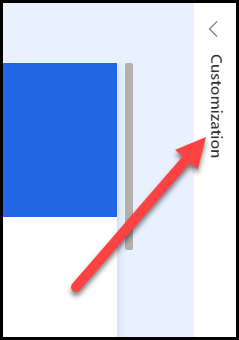
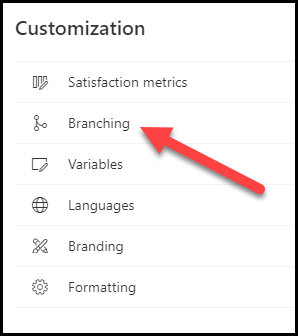
Select Customization from the right of the survey.
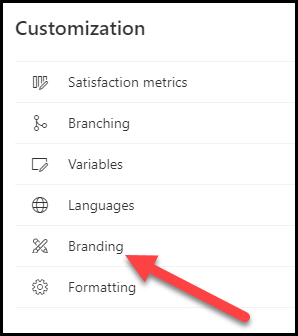
Select Branding from the Customization menu.
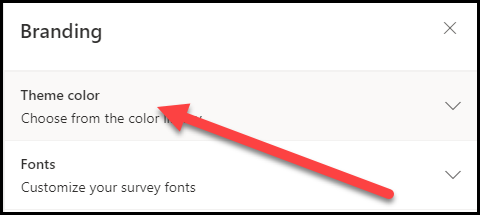
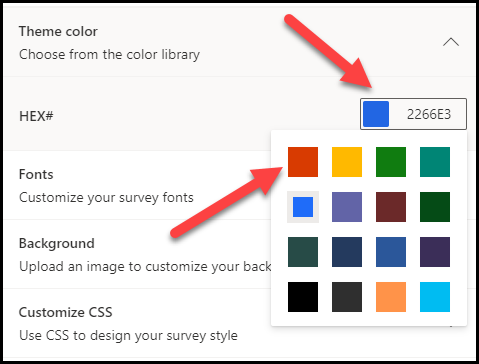
Select Theme color.
Select the blue color and then select dark orange.
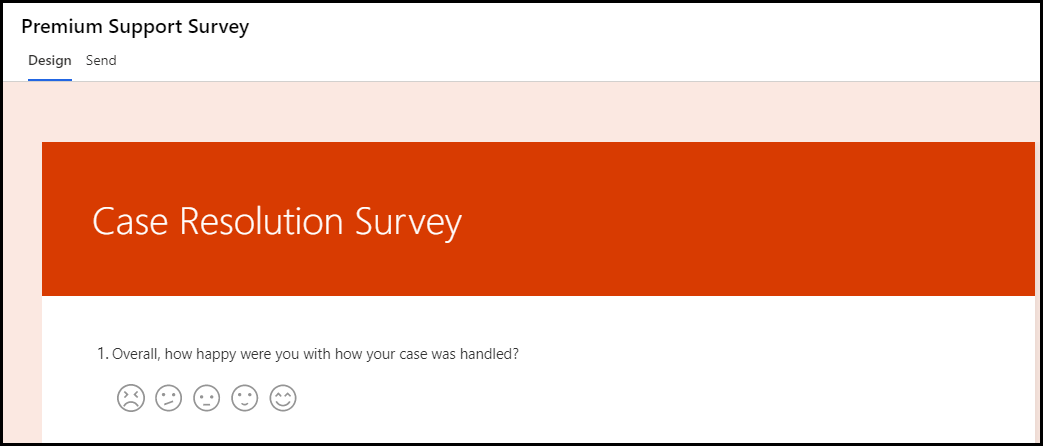
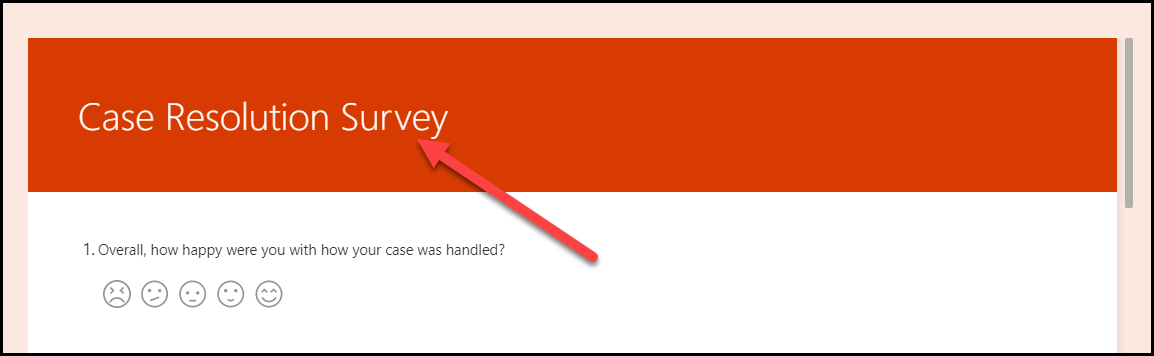
Close the Branding pane by selecting the X in the upper-right corner of the pane.
Your survey should now resemble the following image.
Task 2: Add branching
In this task, you'll add a new text question and then add branching that will show/hide the text question based on the Net Promoter Score (NPS).
Scroll to the bottom of the screen and select + Add new.
Select Text.
Enter What is the primary reason for your score? and then turn off the Visible toggle.

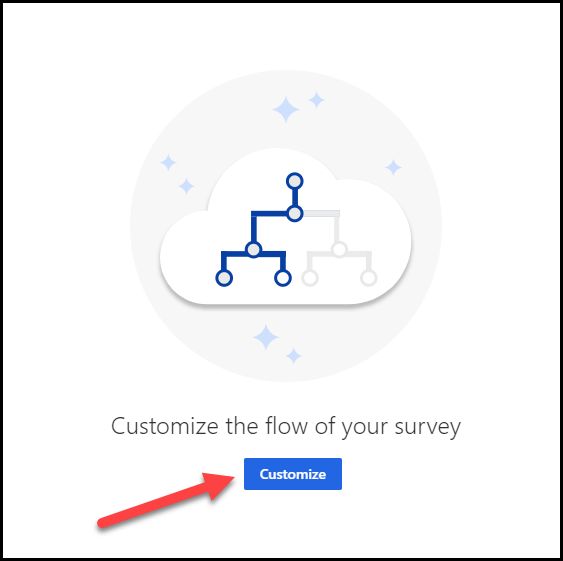
Select the Customization menu from the right of the survey and then select Branching from the options.
Select Customize.
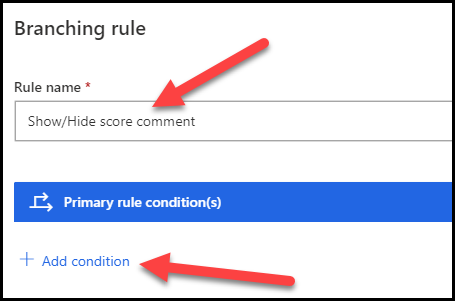
Enter Show/Hide score comment for Rule name and then select Add condition.
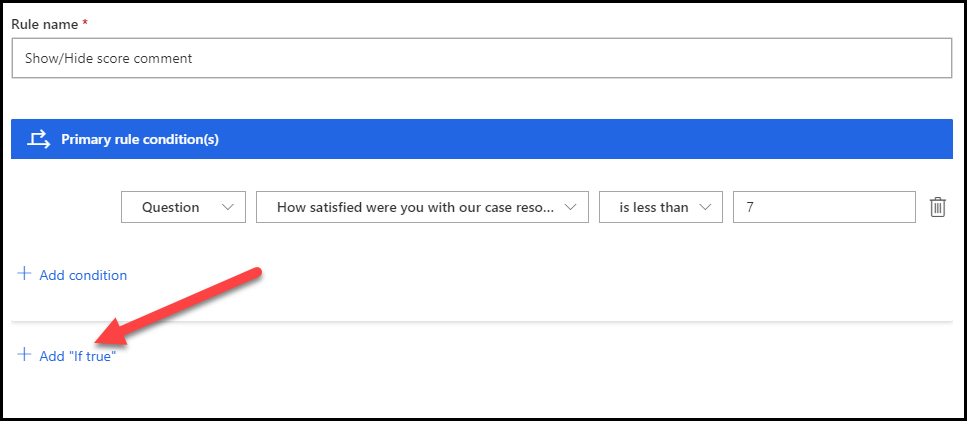
Select How satisfied were you with our case resolution process? for the question, select is less than for the condition, and enter 7 for the value.
Select + Add "if true".
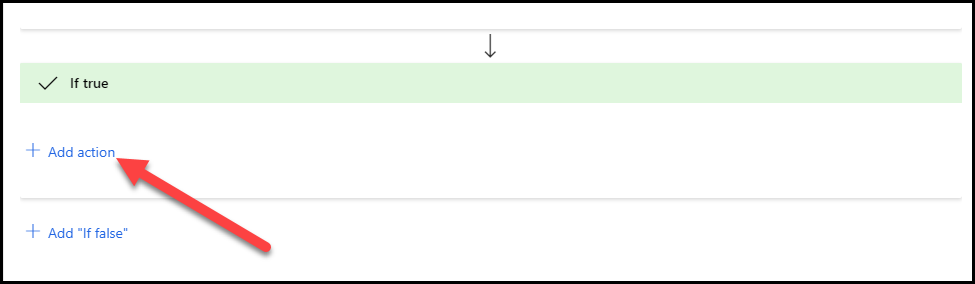
Select Add action.
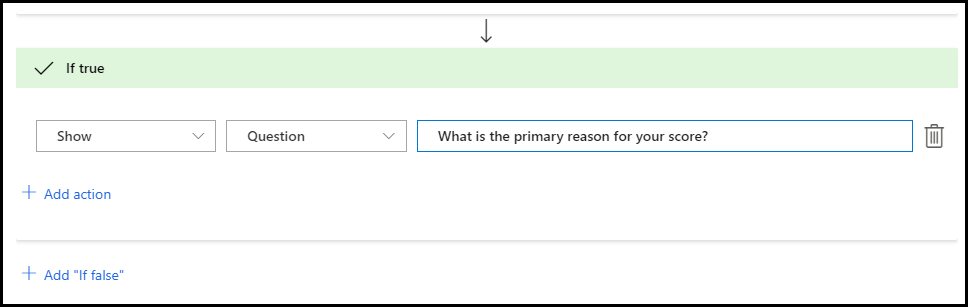
Select Show for Action, Question for Target, and What is the primary reason for your score? for Value.
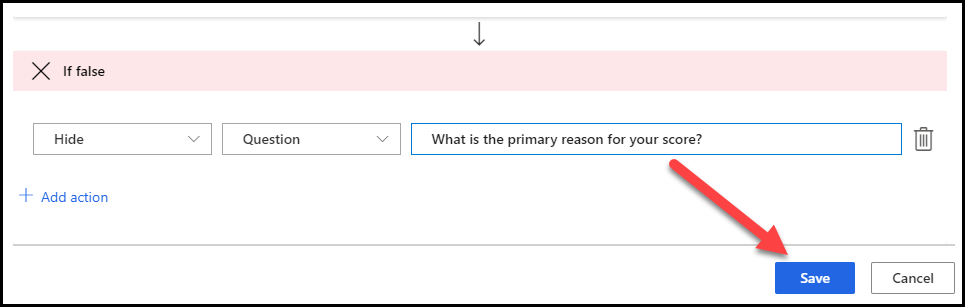
Select + Add "if false".
Select Add action.

Select Hide for Action, Question for Target, and What is the primary reason for your score? for Value.
Select Save.
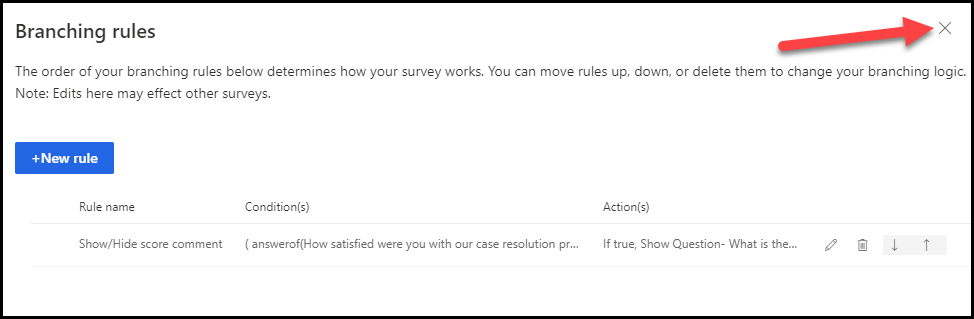
Select the X in the upper-right corner to close the Branching rules screen.
Task 3: Personalize the survey
In this task, you'll add the user's first name to the survey.
Scroll up and select the survey title.
Select the description column.
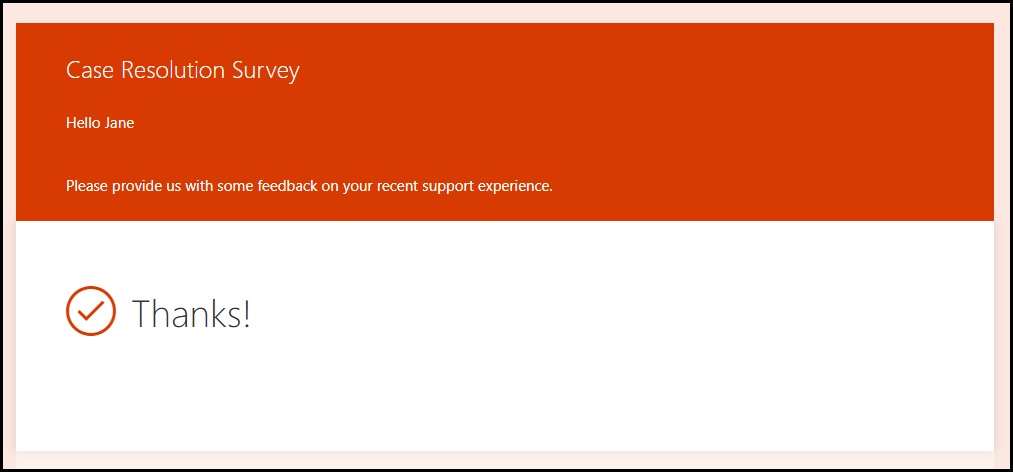
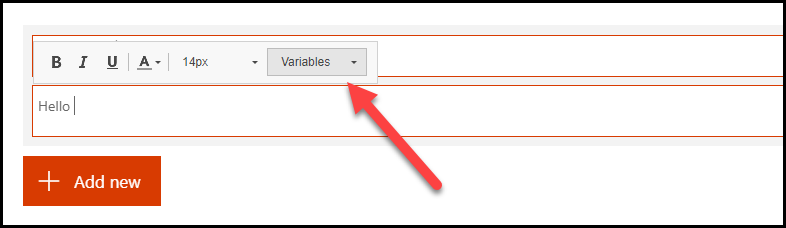
Enter Hello and then select Variables.
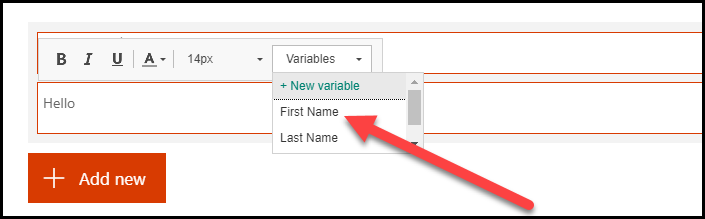
Select First Name.
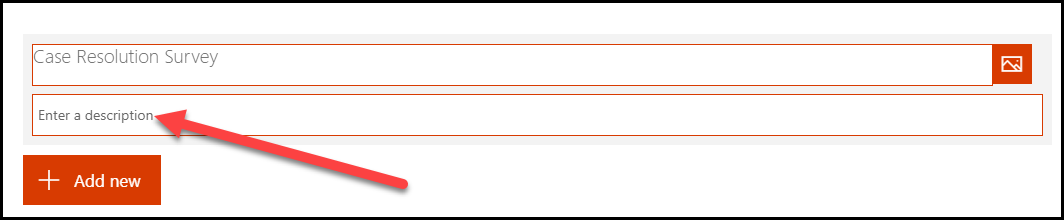
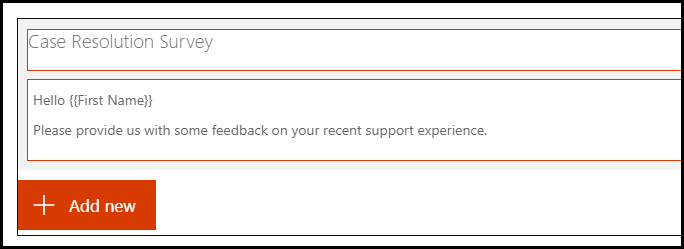
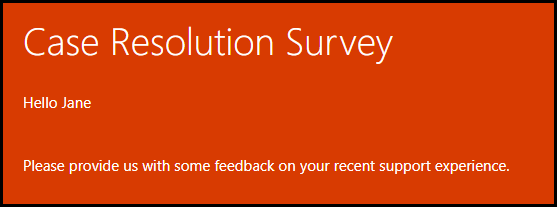
Press the Enter key and then type Please provide us with some feedback on your recent support experience.
Your description should now resemble the following image.
Task 4: Test the survey
In this task, you'll test your survey by sending it to yourself in an email message.
Select the Send tab from the top of your survey.

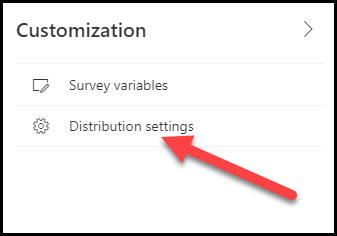
Select the Customization menu and then select Distribution settings.
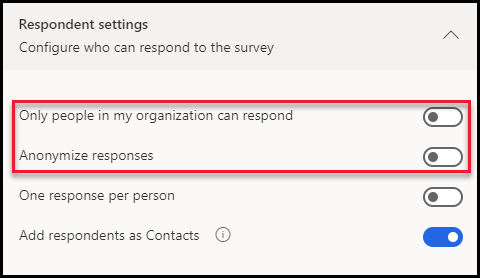
From the Distribution settings screen, select Respondent settings.

Make sure that the Only people in my organization can respond and the Anonymize responses settings are turned off.
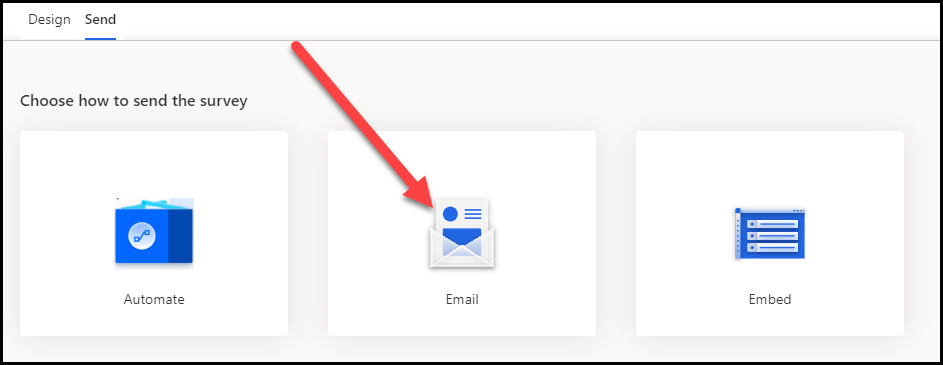
Select Email from the options on the Send tab.
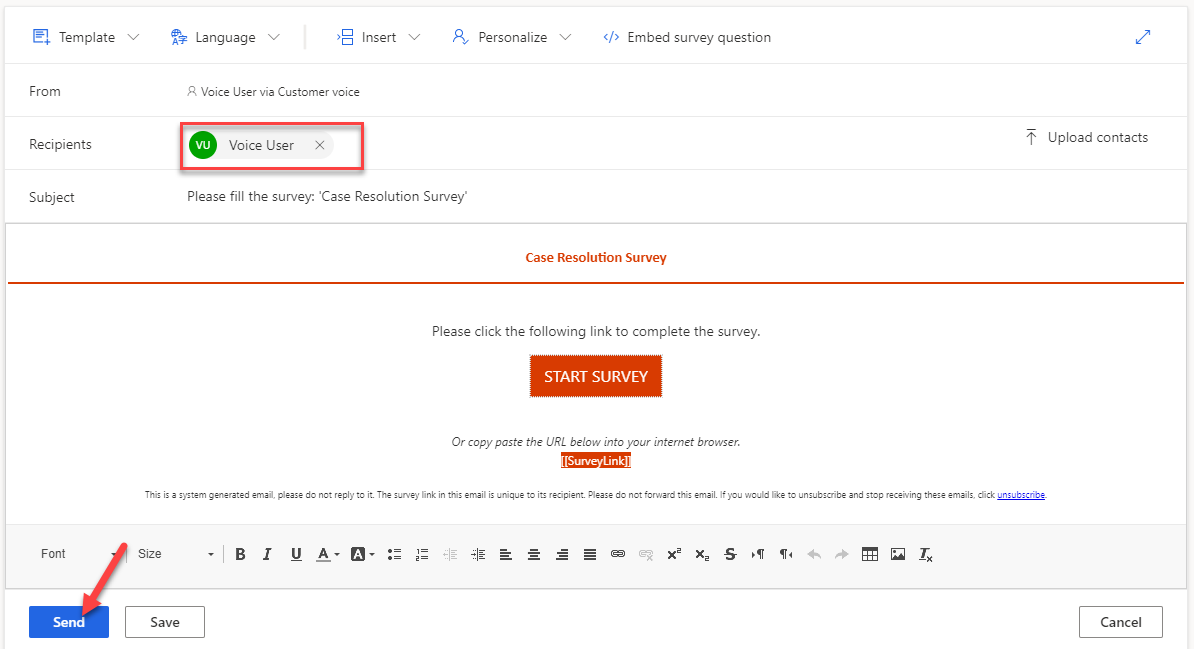
Provide your organization email address for Recipients and then select Send. The first name and last name of the user will only be available to your survey if at least one of the following statements is true for the email that you provided.
It's a contact in Outlook.
It's related to a record in your Dynamics environment.
It's someone who is part of the same organization.
The survey will be sent.

Go to your email, locate the survey email, and open it. Check your junk mail if you can't find it in your inbox.
Select Start Survey.

The survey should load, and your name should show in the description.
Provide a rating and then answer the Likert questions.
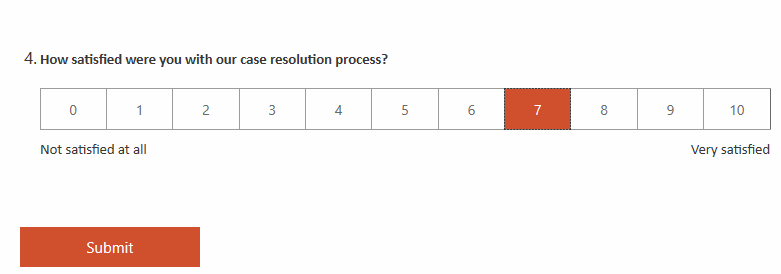
Provide a comment and then select 7 for satisfaction. The last question should stay hidden.
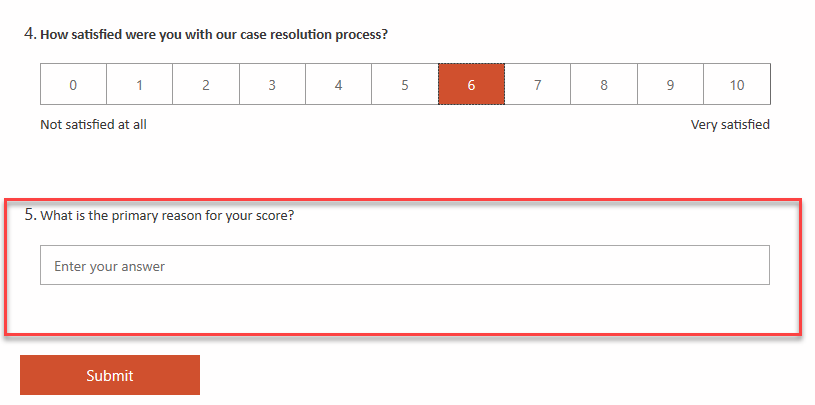
Change the satisfaction rating to 6. The last question should now appear.
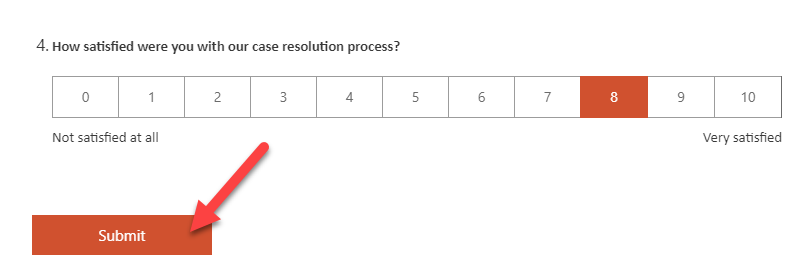
Change the rating to 8. The last question should become hidden again.
Select Submit.
Wait for the survey submission to be completed.