Develop query and page objects for Power BI
When you need to develop a Power BI report, it's a good practice to develop the data sets that your report requires. You can use the development environment to create those datasets. Typically, this process involves creating a small extension that contains the required queries or pages for your report. And in web services, a web service collection to make sure when you install and publish the extension that the queries and pages automatically publish into the Web Services table.
When you develop API queries or pages, they'll be automatically available after the extension is deployed. API queries and pages don’t require a web service collection file and aren't published to the Web Services table.
Now before you start to develop your extension, for Power BI, it's a recommendation to first analyze in more detail your requirements. For example, you might be asked to create a certain Power BI report that requires some specific data and based on that requirement then create your data sets. And the next time you're asked to create another Power BI report you start all over again and create more data sets.
Instead of that approach it would be better to think about the tables you often require in all or most Power BI reports and create them as separate data sets. That way you can reuse them whenever you require. So first you create the building blocks of your typical Power BI reports, and then when creating the reports, you can reuse these building blocks. In the end, you have fewer data sets and you don't always need to start from scratch for every new Power BI report.
In the next module of this learning path, we'll explain how you should think about the data model of a typical report. Based on that data model, typically called the star or snowflake schema, you can create queries (or pages) and publish them as web services.
In the following procedure, I explain how you can create a new extension that includes new pages and queries, to make them available as web services for Power BI.
First you need to download and install Visual Studio Code.
Then after starting Visual Studio Code, add the AL extension for Business Central.
A detailed example of how to do so is available. Use these links to access the information about each subject.
After you install Visual Studio Code and enable the AL Language extension, you need to create a new project, as described here.
Create a new Business Central extension in Visual Studio Code
After you create the new extension in Visual Studio Code, you can edit the launch.json and app.json file, as described here.
Work with JSON configuration files
You're now ready to add new pages and queries in this extension.
As an example, we now create a query based upon the Customer Ledger Entry table and a page based upon the Customer table.
To create a page based upon the Customer table, follow these steps.
In Visual Studio Code, add a new .al file to your project and name it
Customers.Page.al.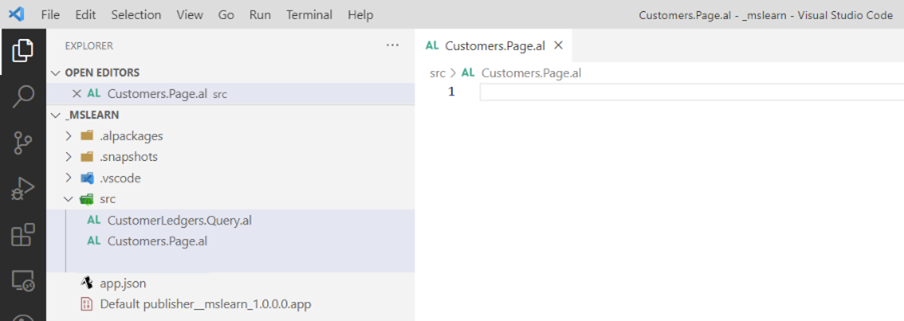
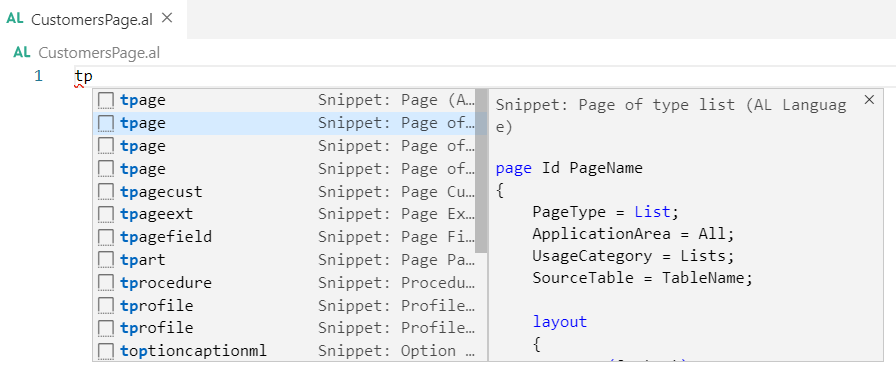
Use the tpage snippet to create the skeleton of the new page.
Change the SourceTable property to Customer.
Now remove all elements other than the repeater. Your code should now look as follows.
page 50101 Customers
{
    PageType = List;
    ApplicationArea = All;
    UsageCategory = Lists;
    SourceTable = Customer;
    SourceTableView = where(Blocked = filter(" "));
    Editable = false;
    InsertAllowed = false;
    DeleteAllowed = false;
    ModifyAllowed = false;

    layout
    {
        area(Content)
        {
            repeater(GroupName)
            {
                field(Name; NameSource)
                {
                    ApplicationArea = All;

                }
            }
        }
    }
}
In the repeater section, you can now add the fields you require from the Customer table. As an example, you can add the following fields.
            repeater(GroupName)
            {
                field(CustomerNo; Rec. "No.")
                {
                    ApplicationArea = All;
                    ToolTip = 'CustomerNo'
                }
                field(CustomerName; Rec.Name)
                {
                    ApplicationArea = All;
                    ToolTip = 'CustomerName'
                }
                field(CustomerCity; Rec.City)
                {
                    ApplicationArea = All;
                    ToolTip = 'CustomerCity'
                }
                field(CustomerCountry; Rec. "Country/Region Code")
                {
                    ApplicationArea = All;
                    ToolTip = 'CustomerCountry'
                }
            }
When you provide names for the fields coming from the customer table, it's a good practice to make sure all names are easy to understand and indicate the information available in the columns.
Optionally you can now also filter the page, so that it only returns the records of interest. You can do this using the SourceTableView property of the page and/or by adding code in the page triggers. As an example, we use the SourceTableView property to remove any blocked customers from the page. To do that, implement the following property.
SourceTableView = where(Blocked = filter(" "));More information about the SourceTableView property is available here: SourceTableView property.
Then, use the Editable property to make the page read only:
Editable = false;.Finally set the following properties to ensure that the page can only read data from the Customer table.
Editable = false;
InsertAllowed = false;
DeleteAllowed = false;
ModifyAllowed = false;
The complete code of the page should resemble the following example.
page 50101 Customers
{
    PageType = List;
    ApplicationArea = All;
    UsageCategory = Lists;
    SourceTable = Customer;
    SourceTableView = where(Blocked=filter(" "));
    Editable = false;
    InsertAllowed = false;
    DeleteAllowed = false;
    ModifyAllowed = false;

    layout
    {
        area(Content)
        {
            repeater(GroupName)
            {
                field(CustomerNo; Rec. "No.")
                {
                    ApplicationArea = All;
                    ToolTip = 'CustomerNo';
                }
                field(CustomerName; Rec.Name)
                {
                    ApplicationArea = All;
                    ToolTip = 'CustomerName';
                }
                field(CustomerCity; Rec.City)
                {
                    ApplicationArea = All;
                    ToolTip = 'CustomerCity';
                }
                field(CustomerCountry; Rec."Country/Region Code")
                {
                    ApplicationArea = All;
                    ToolTip = 'CustomerCountry';
                }
            }
        }
    }
}
Save the .al object by using Ctrl+S.


To create a query based upon the Customer Ledger Entry table, follow these steps:
In Visual Studio Code, add a new
.alfile to your project and name itCustomerLedgers.Query.al.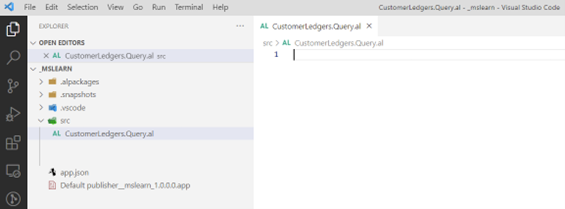
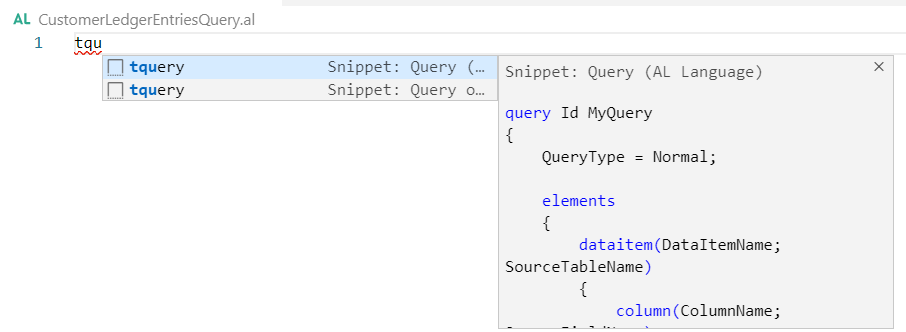
Use the tquery snippet to create the skeleton of the new query:
Change the data item so that it uses the Customer Ledger Entry table and sets the DataAccessIntent property of the query to ReadOnly.
QueryType = Normal;DataAccessIntent = ReadOnly;Add columns to the query. Do it for all fields you want this query to return as columns:
column(CustomerNo; "Customer No.")
{ }
column(PostingDate; "Posting Date")
{ }
column(Amount; "Amount (LCY)")
{ }
Remove everything else that the tquery snippet added to your object.
Your query should now look like:
query 50101 CustomerLedgers
{
    QueryType = Normal;
    DataAccessIntent = ReadOnly;

    elements
    {
        dataitem(CustomerLedgers; "Cust. Ledger Entry")
        {
            column(CustomerNo; "Customer No.")
            { }
            column(PostingDate; "Posting Date")
            { }
            column(Amount; "Amount (LCY)")
            { }
        }
    }
}
You can now apply filters to the query, to remove any rows from the table that aren't required in the data set. You can do so by using the DataItemTableFilter property of the data item, or by adding filter columns or by using the OnBeforeOpen query trigger.
More information about filtering query objects is available here: Query filters


You've now created a new page object and a new query object. You can further fine tune the page and query objects by adding more fields or filters. For this example, we leave them as they are right now.
The next step is to make sure that our page and query objects are automatically published as web services, so that Power BI can connect and import the data. To do that, you need to add a web service collection to the extension. The web service collection then needs a web service entry for every object you want to publish as a web service.
To create the web service collection, follow these steps:
In Visual Studio Code, add a new .al file to your project and name it
webservices.xml.
Use the twebservices snippet to create the skeleton of the web service collection.
The webservices.xml file now looks as follows:
<?xml version="1.0" encoding="UTF-8"?>
<ExportedData>
    <TenantWebServiceCollection>
        <TenantWebService>
            <ObjectType>Page</ObjectType>
            <ServiceName>serviceName</ServiceName>
            <ObjectID>objectId</ObjectID>
            <Published>false</Published>
        </TenantWebService>
    </TenantWebServiceCollection>
</ExportedData>
Now we change this web service collection so that it includes our new page and query object. Use the following code as an example:
<?xml version="1.0" encoding="UTF-8"?>
<ExportedData>
    <TenantWebServiceCollection>
        <TenantWebService>
            <ObjectType>Page</ObjectType>
            <ServiceName>CustomerPage_PowerBI</ServiceName>
            <ObjectID>50101</ObjectID>
            <Published>true</Published>
        </TenantWebService>
        <TenantWebService>
            <ObjectType>Query</ObjectType>
            <ServiceName>CustomerLedgersQuery_PowerBI</ServiceName>
            <ObjectID>50101</ObjectID>
            <Published>true</Published>
        </TenantWebService>
    </TenantWebServiceCollection>
</ExportedData>
For every page or query you need to publish as a web service in Business Central, you need to make an entry in this xml file.

Now you're ready to publish and install this extension on your Business Central sandbox. To do that, follow these steps:
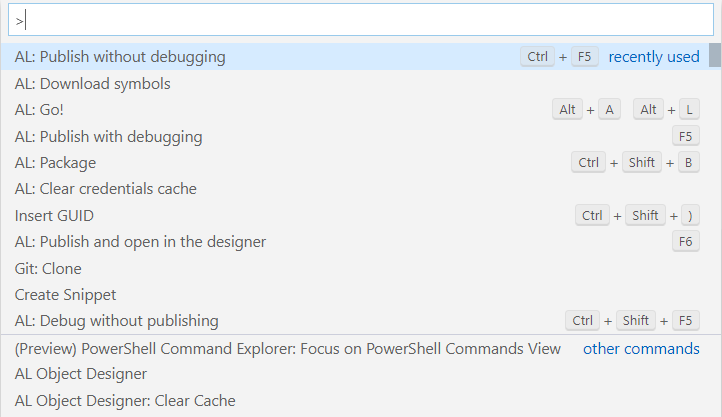
In Visual Studio Code, go to the Command Pallet and select the option: AL: Publish without debugging.
Wait until the extension is published. When it's done, your browser automatically opens and connects to your sandbox in Business Central.
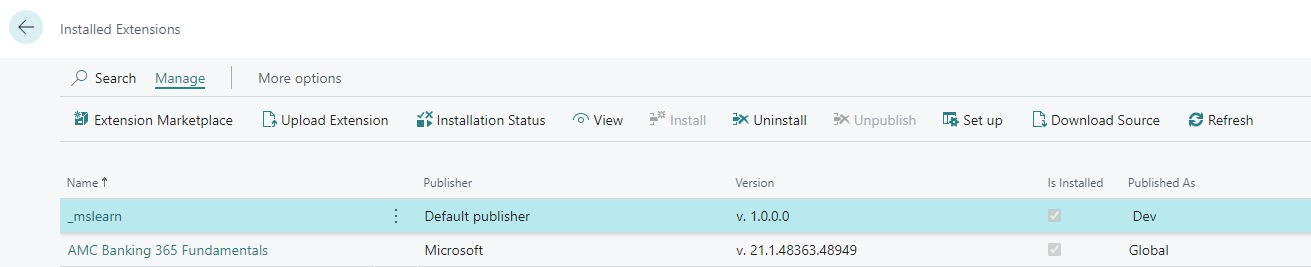
In Business Central, open the Extension Management page, to verify your extension was successfully published and installed.
Now open the web services page, and filter it on _PowerBI.
Your new page and query are now published as web services.


As explained in another unit of this module, Using Business Central as a data source in Power BI, you can now use Power BI Desktop and see these new web services and APIs, using the Business Central Connector for Power BI.
