Create a rollup column
Creating a rollup column is a simple process, but you should consider the following points before you begin.
You must create a supported column type in a table and then define the rollup that you want to calculate. The following column types support rollups:
Whole number
Decimal number
Currency
Date and time
The key considerations about rollups are as follows:
When you specify the column and select a supported column type, you can define the rollup calculation.
Rollups calculate a value from a column in one or many child rows in a related table.
You're limited to a maximum of 10 rollups for each parent table.
Rollup columns are read-only.
Because rollup columns persist in the database, they can be used for filtering or sorting just like regular columns.
Remember that rollups are asynchronous and are calculated by Dataverse on a set schedule, so you might not see the expected value in a rollup until that job runs.
Follow these steps to create a rollup calculation:
Sign into Power Apps maker portal
Select Tables.
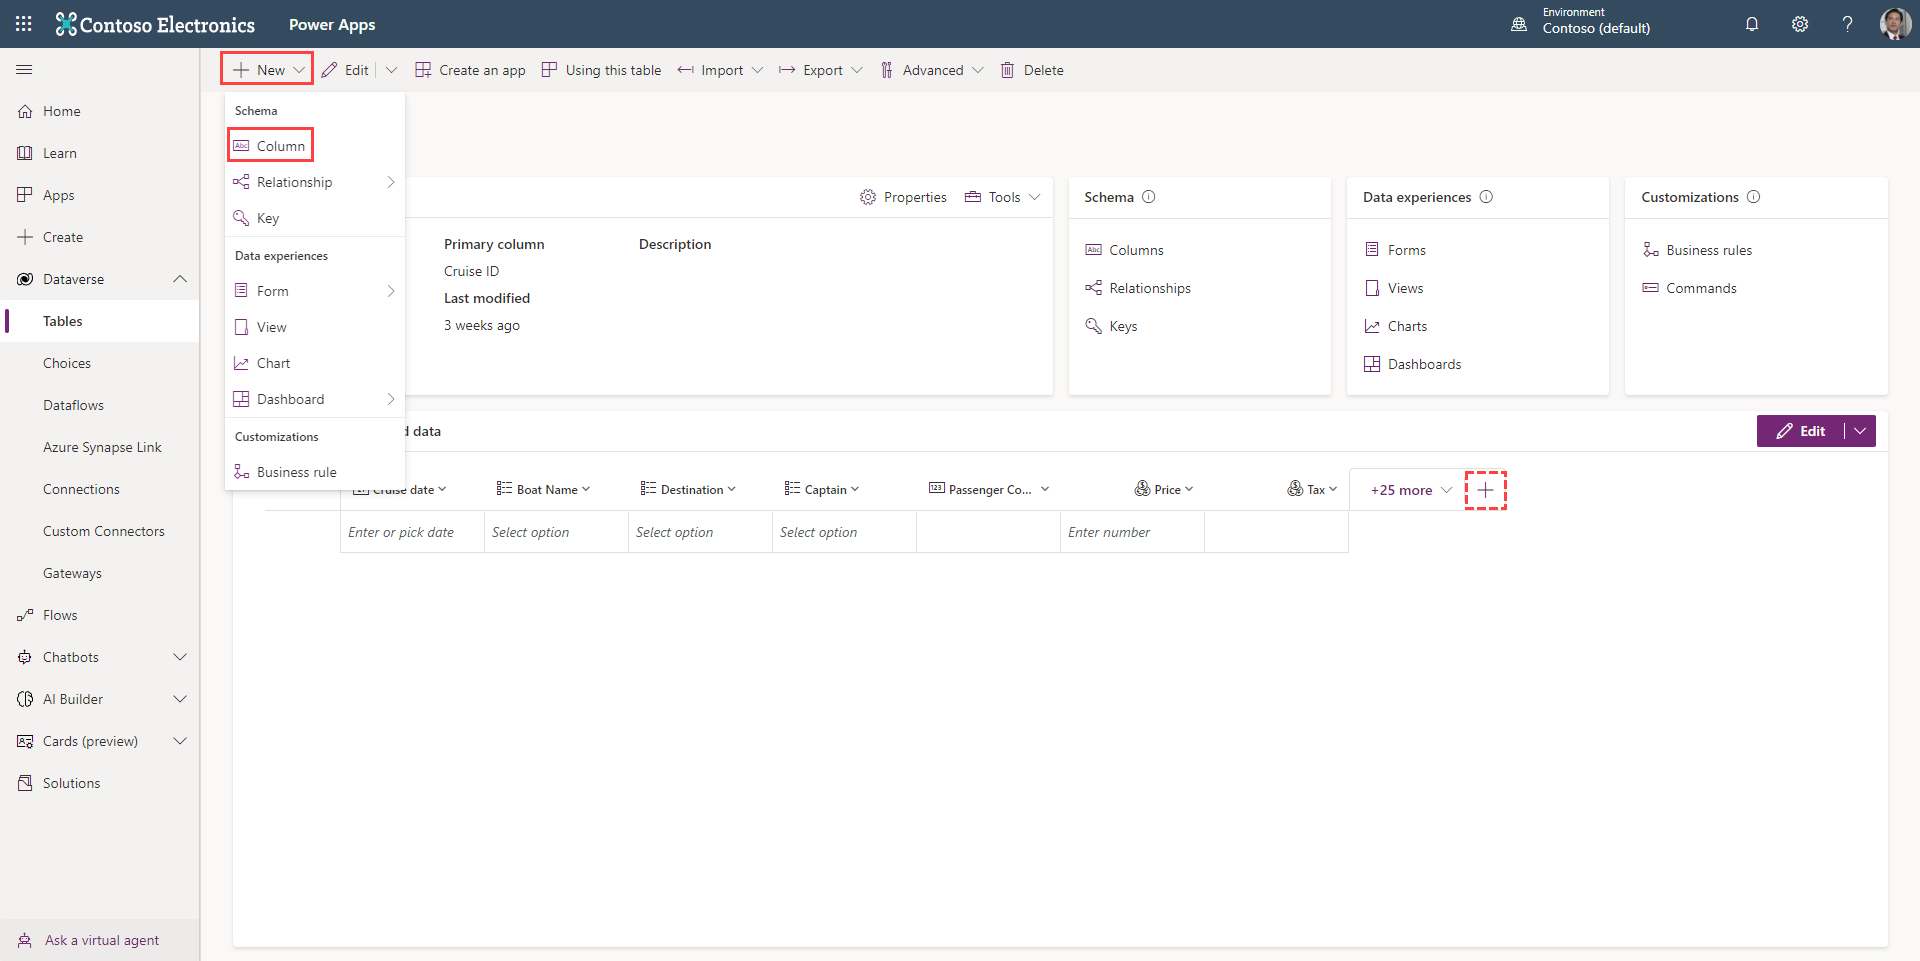
Select the table that you want, then select + New > Column. (Alternatively, from the columns and data pane in the lower-half of your screen you can select the + (new column) button at the top-right of your data table.)
Provide the required information for the column, including the Display name, Data type, and Format. Be sure to select a data type that applies to a rollup. See the list above.
Select Behavior > Rollup.
Note
You must define a relationship of one from this table to many for another table or the ability to define a rollup will not be available.
Define the rollup calculation by using the following guidance.
In the Source table section, specify the table for which the rollup column is defined and whether you'll aggregate over a hierarchy or not. You can add filters with multiple conditions to specify the rows in the hierarchy that you want to use for rollup.
In the Related table section, you can specify that you want to calculate a rollup value from rows in the related table that are directly related to the current parent row by selecting Yes for the Hierarchy option. This specification means that the calculation is performed by using values in the child rows, or you can create a rollup of all rows in a related table by selecting No in the hierarchy.
You can add filters with multiple conditions to specify which related rows to use in the calculation. For example, you can include the revenue from the open opportunities with an annual revenue that is greater than $1,000 US dollars.
In the Aggregate section, specify the metric that you want to compute. You can choose available aggregate functions, such as SUM, COUNT, MIN, MAX, or AVG.
Save the new column and table that is holding the rollup.
The rollup is now ready to use. It will run and recalculate based on the schedule that you set regardless of which form that you use to access the data that is associated with this rollup.