Exercise: Deploy app to Raspberry Pi
You've constructed the prototype device and written the console app that drives it. Now, it's time to deploy your app to the device.
Important
Ensure your Raspberry Pi is configured as described in the Introduction unit. The SSH service must be enabled for secure shell access from your development machine. The I2C service must be enabled to allow your code to access the I2C bus. Ensure your Raspberry Pi is connected to your network via WiFi or Ethernet.
For more information about Raspberry Pi configuration, see the Raspberry Pi documentation.
Deployment types
.NET provides two publishing modes: framework-dependent and self-contained. In a framework-dependent deployment, the app relies on an installation of the .NET runtime on the target device. In a self-contained deployment, the app includes all of the .NET runtime dependencies with the compiled assemblies. There are advantages to each approach. For this module, you'll deploy your app as a self-contained app.
Create a destination directory on the Raspberry Pi
Complete the following steps in a new terminal window:
Open a secure shell session to your Raspberry Pi.
ssh pi@raspberrypiIn the preceding command:
sshis the command to launch OpenSSH.piis the username on the Raspberry Pi.raspberrypiis the host name for the Raspberry Pi. If you've changed the host name on your device, use the device's host name or IP address.
Note
Most modern operating systems have OpenSSH preinstalled. If the
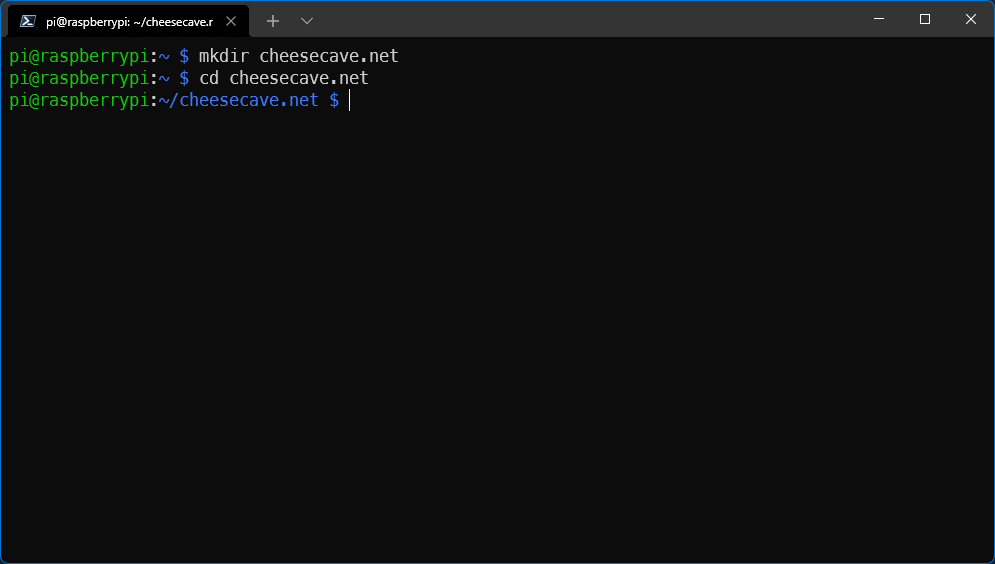
sshcommand doesn't resolve, install OpenSSH.In the SSH session, create a directory named cheesecave.net in the home directory. Switch to the new directory.
mkdir cheesecave.net
cd cheesecave.net
Your current location is ~/cheesecave.net.

Publish a self-contained app to the Raspberry Pi
Complete the following steps in the original terminal window on your development machine:
Publish the app as a self-contained app.
dotnet publish --runtime linux-arm64 --self-containedImportant
This assumes you're using the recommended 64-bit OS. If you're using a 32-bit version of Raspberry Pi OS, use
--runtime linux-armin the preceding command to target the correct OS.The preceding command creates a directory with the files required for a self-contained deployment for the
linux-arm64runtime. Take note of the location of the publish folder.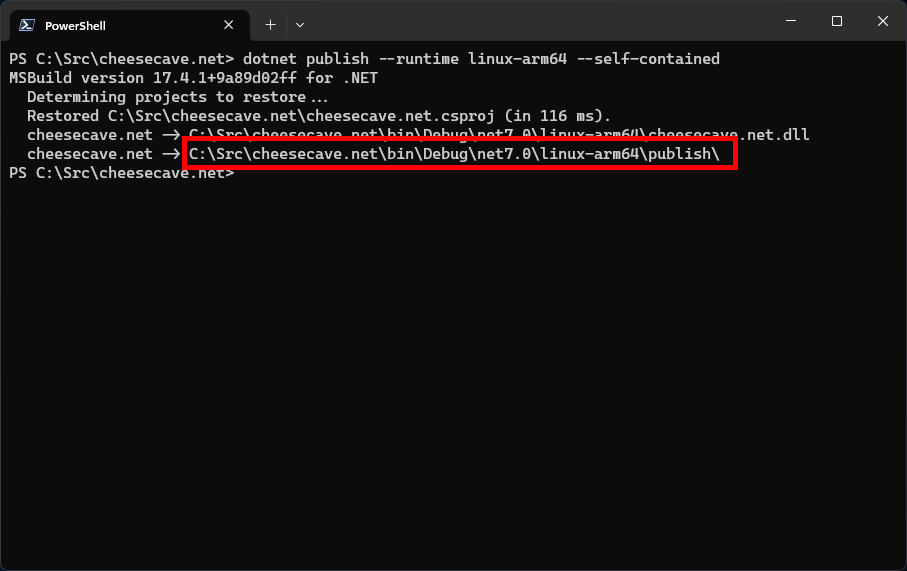
Copy the files from the publish folder to the deployment location on the Raspberry Pi.
scp ./bin/Debug/net7.0/linux-arm64/publish/* pi@raspberrypi:~/cheesecave.netIn the preceding command:
scpis the secure file copy command included with OpenSSH../bin/Debug/net7.0/linux-arm64/publish/*specifies the files to be copied. In this case, every file in the./bin/Debug/net7.0/linux-arm64/publish/directory is included. Enter the correct path if you're using a different version of the .NET SDK or are targetinglinux-arm, as the path will be different.pi@raspberrypi:~/cheesecave.netis the destination.pi@raspberrypiis the username and host name, as before.~/cheesecave.netis the location on the Raspberry Pi where the files will be copied to.

Grant execute permissions
In Linux-based operating systems like Raspberry Pi OS, binary files aren't allowed to execute until they've been marked as executable in the file system.
In the SSH session on the Raspberry Pi, execute the following command:
chmod +x ./cheesecave.net
The cheesecave.net executable file now has permission to execute.
In the next unit, you'll test the code on your device.