Exercise - publish your web app and deploy it with a GitHub Action
You're now ready to publish your app to Azure. Use the sandbox's Windows instance to host your web app. Using Azure's Visual Studio Code extension helps streamline the process.
Create a web app on Azure
Now it's time to run our app in Azure. You need to create an Azure App Service app and deploy your code.
Create the App Service plan and app
Creating an App Service app is a two-step process: First create the plan, then create the app.
The plan name only needs to be unique within your subscription, so you can use the same name we've used: pwa-exercise-plan. The app name needs to be globally unique, though, so you'll need to pick your own.
In Azure Cloud Shell, run the following command to create an App Service plan.
az appservice plan create \
    --name pwa-exercise-plan \
    --sku FREE \
    --location centralus \
    --resource-group [your resource group]
Next, run the following command to create the Web App that uses the App Service plan you just created.
az webapp create \
    --plan pwa-exercise-plan \
    --runtime "node|10.6" \
    --resource-group [your resource group] \
    --name <your-unique-app-name>
Create a GitHub Action to deploy your app
You now need to create a GitHub Action to build your app whenever you push new code to it, and connect the code to the web app you created on Azure. There are two steps to this process.
First, create two nested folders in the root of your app called
.github/workflows. In theworkflowfolder, add a file calleddeploy.yml. This file will be picked up by GitHub actions automatically as a workflow after you commit it to GitHub. Add the following code todeploy.yml.on: push: branches: - master env: AZURE_WEBAPP_NAME: 'trickyimages' # set this to your application's name AZURE_WEBAPP_PACKAGE_PATH: 'dist' # set this to the path to your web app project, for Vue.js it's dist NODE_VERSION: '10.x' # set this to the node version to use jobs: build-and-deploy: name: Build and Deploy runs-on: ubuntu-latest steps: - uses: actions/checkout@v2 - name: Use Node.js ${{ env.NODE_VERSION }} uses: actions/setup-node@v1 with: node-version: ${{ env.NODE_VERSION }} - name: npm install, build, and test run: | # Build and test the project, then # deploy to Azure Web App. npm install npm run build --if-present npm run test --if-present - name: 'Deploy to Azure WebApp' uses: azure/webapps-deploy@v1 with: app-name: ${{ env.AZURE_WEBAPP_NAME }} publish-profile: ${{ secrets.PORTAL_PUBLISH_PROFILE }} package: ${{ env.AZURE_WEBAPP_PACKAGE_PATH }}Edit this file to set the name of the app to the name you gave your web app in Azure.
Connect your app to GitHub using keys
You are going to create a new secret key in GitHub to create a handshake between Azure and GitHub.
Go to the Azure portal where your web app is hosted. Select Get Publish Profile to download a file.

In your GitHub repo, go to Settings > Secrets. Copy and paste the contents of that file into a new Secret with the name PORTAL_PUBLISH_PROFILE, and save it.
Now, when you push new code to your repo, your GitHub action will build and publish the new codebase and your web app will be refreshed.
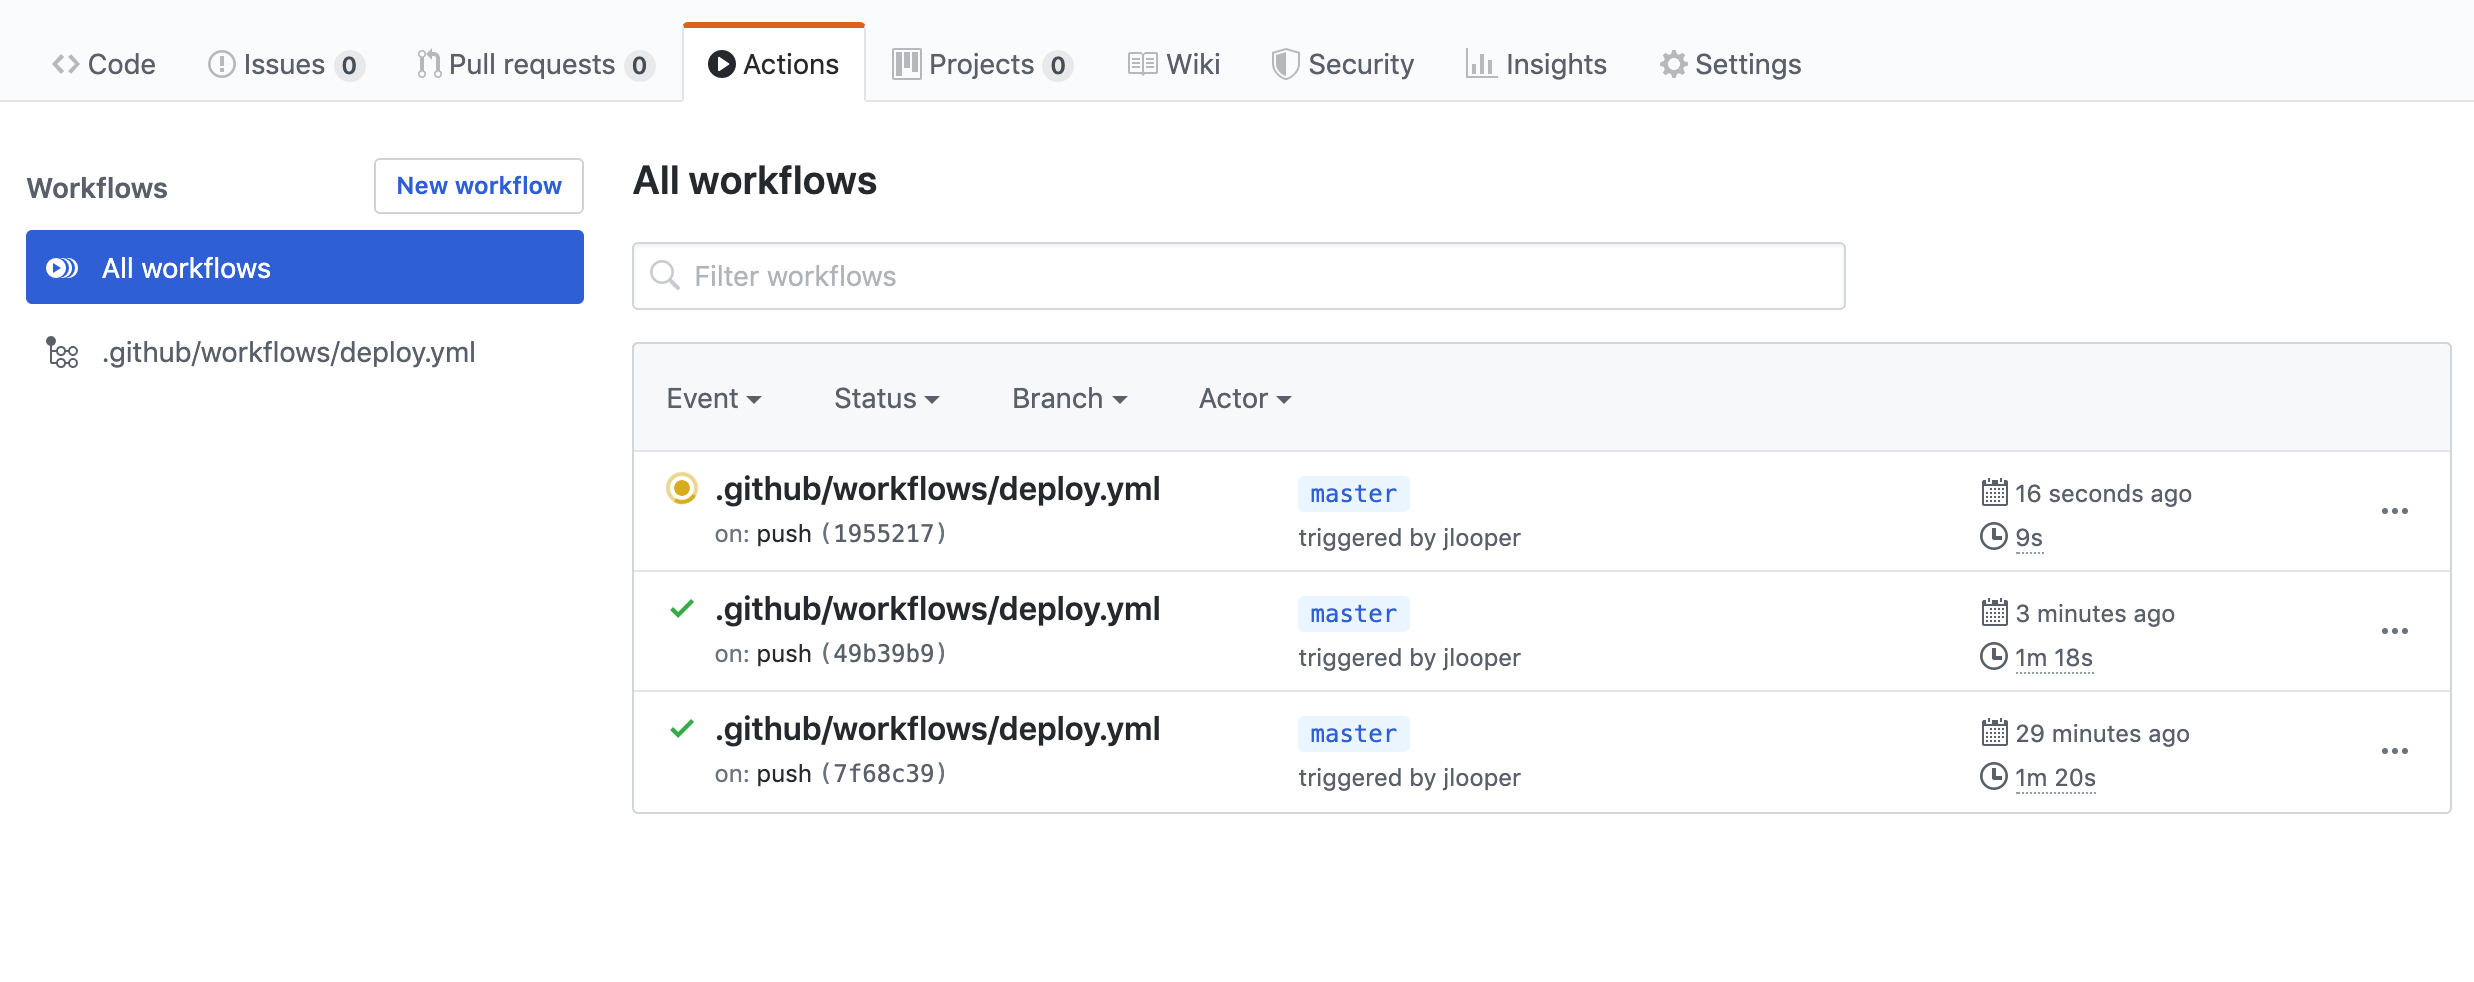
Try it with a new model to watch the changes happen automatically.