Exercise - Use OpenAPI extensions
In this exercise, you'll be configuring OpenAPI extensions on the Contoso Invoicing custom connector. You'll implement the following extensions:
Test connection - To validate that the entered API key is valid.
Dynamic values - To make input of Invoice Type ID a drop-down list of values from the API.
Dynamic schema - To only show the parameters that are valid for the selected invoice type.
Important
Use a test environment with Microsoft Dataverse provisioned. If you do not have one, you can sign up for the community plan.
Note
Download the following file to your local computer to complete this exercise Contoso Invoicing Triggers. Select the download button on the middle-right of the screen.
Task 1: Import solution
In this task, you'll import an unmanaged solution that contains a Contoso Invoicing custom connector and then test the connector. You'll use this connector to complete the tasks in this exercise.
Go to Power Apps maker portal and make sure that you are in the correct environment.
Select Solutions > Import solution.
Select Browse.
Select the ContosoInvoicingExtensions_1_0_0_0.zip solution and then select Open.
Select Next.
Select Import and then wait for the import to complete. You should get a success message after the import completes.
Select Publish all customizations and then wait for the publish to complete.
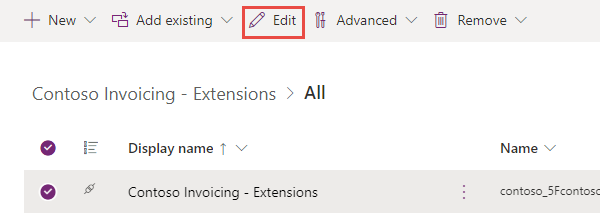
Open the Contoso Invoicing - Extensions solution that you imported.
You should see the Contoso Invoicing - Extensions custom connector component.
Select the Contoso Invoicing - Extensions connector and then select Edit.
Start a new browser window and then go to Contoso Invoicing.
Select the API Key link.
Copy the API Key. Save this key on a notepad; you'll need it for future tasks.
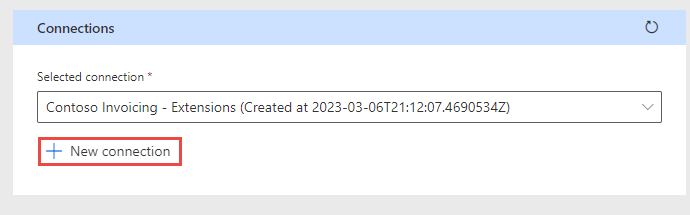
Return to the connector, select the Test tab, and then select + New connection.
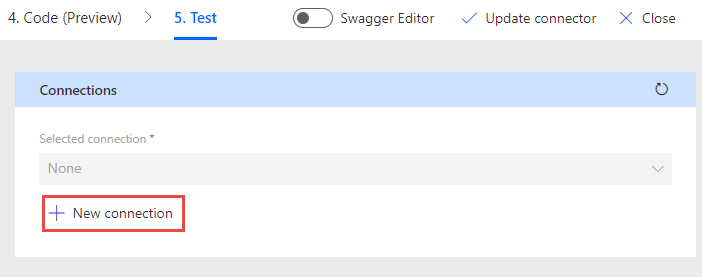
Paste the key that you copied in the API Key field and then select Create connection.
Select Refresh connections.
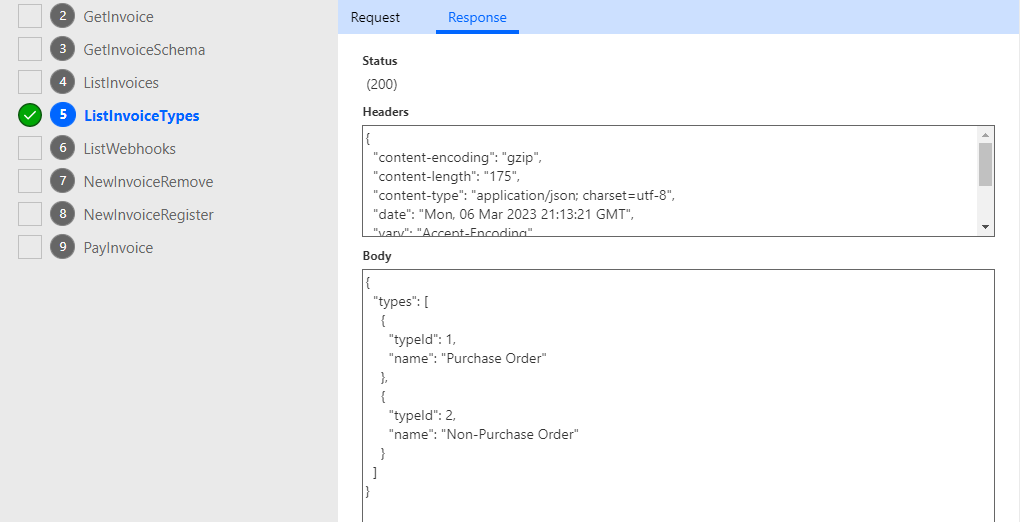
Scroll down to the Operations section, select ListInvoiceTypes, and then select Test operation.
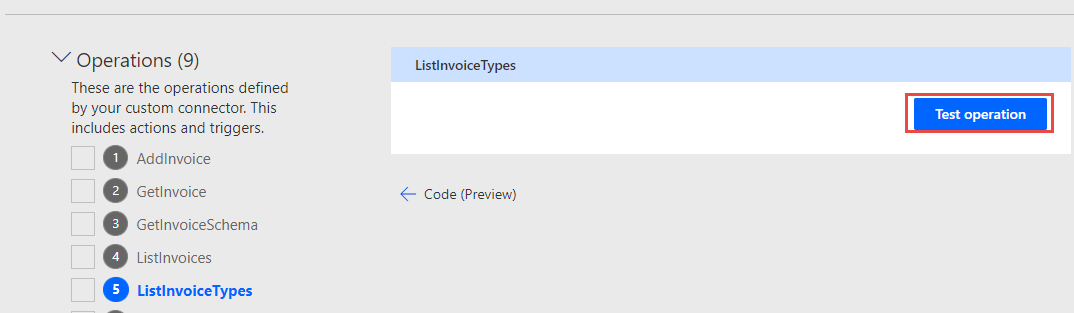
You should get a response containing invoice types. Later, you'll use this operation to implement the Dynamic Values extension for the Invoice Type parameter.
Don't navigate away from this page.


Task 2: Add the test connection extension
In this task, you'll add the test connection extension:
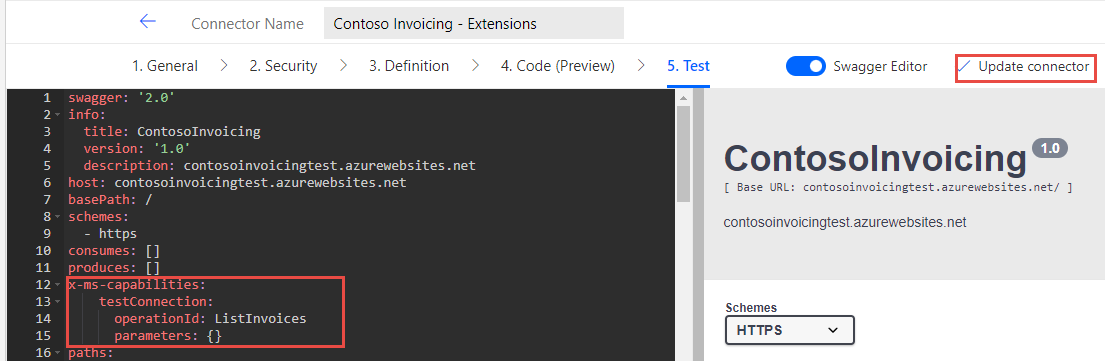
Turn on the Swagger Editor toggle switch.

Add the following fragment after the produces: [] and then select Update connector. Make sure that the text indentation matches the following image.
x-ms-capabilities:
   testConnection:
     operationId: ListInvoices
     parameters: {}
Make sure the indentation looks like the image below.
Select + New connection again.
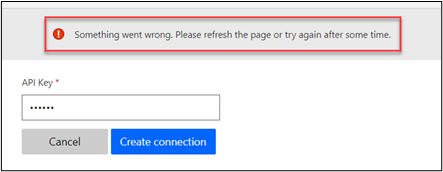
Enter your name or other random value for API Key and then select Create connection.
The connection creation should fail.
Provide the API key that you copied in Task 1 into the API Key field and then select Create connection.
The connection creation should now succeed.
Don't navigate away from this page.


Task 3: Configure dynamic values for invoice type ID
In this task, you'll configure dynamic values for invoice type ID:
Select the Definition tab.
Select AddInvoice from the Actions section.
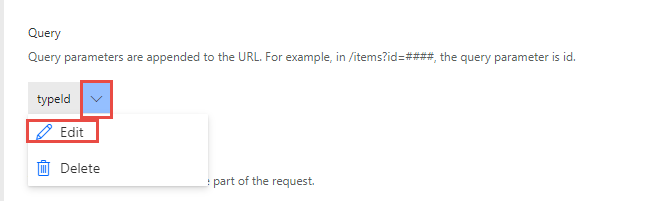
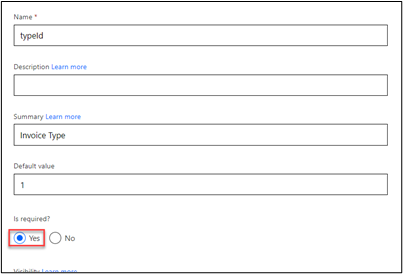
Scroll down, select the ellipsis (Chevron) button of the typeId parameter, and then select Edit.
Enter Invoice Type for Summary, enter 1 for Default value, and then select Yes for Is required.
Scroll down and select Dynamic for Dropdown type.
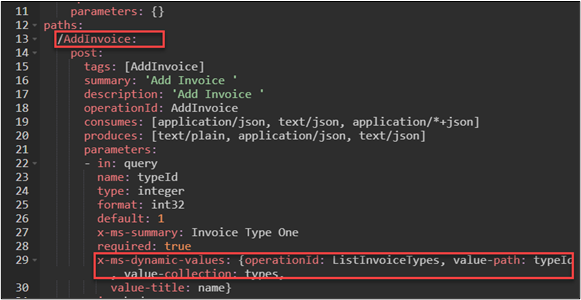
Select ListInvoiceTypes for Operation ID, select typeId for Value, and then select name for Value display name.

Select Update connector.
Turn on the Swagger Editor toggle switch.
If you get hash key errors, close the connector browser tab, and then reopen it in edit mode.
Locate AddInvoice and see if x-ms-dynamic-values was added.
Don't navigate away from this page.


Task 4: Configure the dynamic schema extension
In this task, you'll configure the dynamic schema extension:
Select the Test tab.
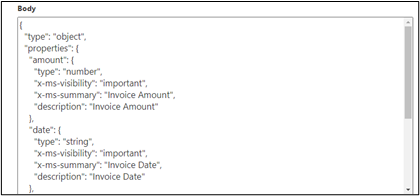
Select the GetInvoiceSchema operation and then select Test operation.
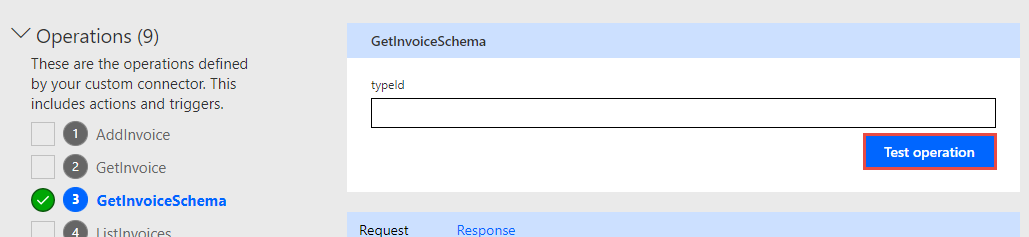
Review the response. This response is what an API needs to return to allow Dynamic Schema to be configured.
Turn on the Swagger Editor toggle switch.
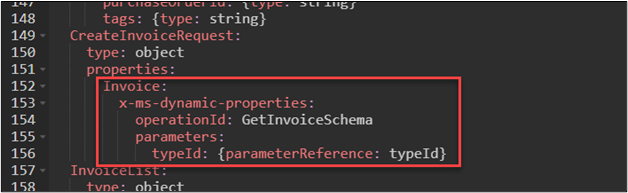
Locate the CreateInvoiceRequest line and replace the invoice line with the following Swagger text.
Invoice:
x-ms-dynamic-properties:
operationId: GetInvoiceSchema
parameters:
typeId: {parameterReference: typeId}
Before:

After:
Make sure that the indentations match the following image.
Turn off the Swagger Editor toggle switch.
Select the Definition tab.
Select the GetInvoiceSchema action and then select internal for Visibility.
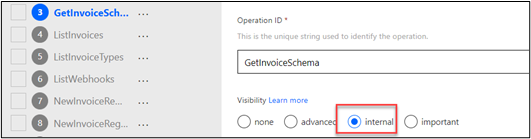
Select Update connector.


Task 5: Test connector
In this task, you'll test the connector:
Go to Power Automate and make sure that you are in the correct environment.
Select Solutions and then open the Contoso Invoicing - Extensions solution.
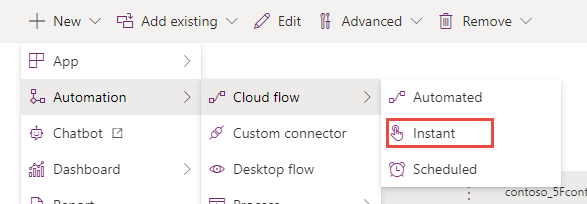
Select + New and then select Automation > Cloud flow > Instant.
Enter Dynamic metadata and Flow name, select Manually triggered a flow for trigger, and then select Create.
Select + New step.
Select the Custom tab and then select Contoso Invoicing - Extensions.
Select AddInvoice for action.
Enter My connection for name, enter your name for API Key, and then select Create. The connection test should fail.


Provide the API key that you copied in Task 1 in the API Key field and then select Create again.
The connection should be created successfully.
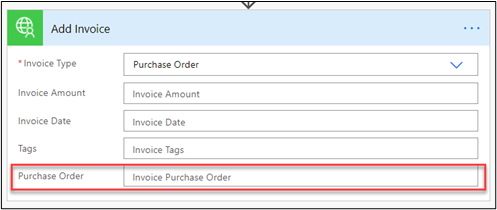
In the Invoice Type drop-down menu, select Purchase Order.
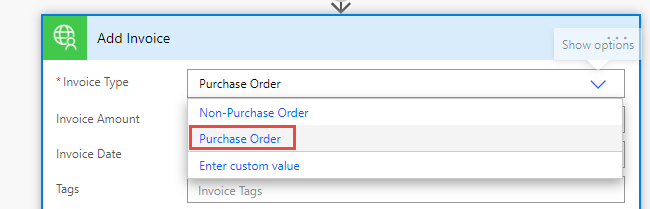
The Purchase Order field should now be visible.
Change the Invoice Type to Non - Purchase Order.
The Purchase Order field should no longer be visible.

Save the flow.


