Exercise - Build the model
Now let's build our model! The first step is to download the dataset and create our Azure service.
Activate the sandbox
The process of signing in to activate the sandbox runs outside the learning module. You're automatically returned to the module after you sign in.
To activate the sandbox:
Select Sign in to activate Sandbox. Enter your credentials to authenticate.
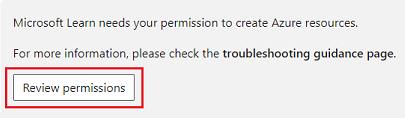
If prompted, select Review permissions.
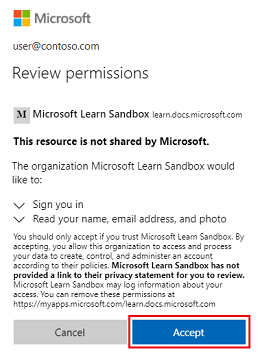
Verify the permissions settings, and select Accept.
The message Sandbox activated! appears, and you can continue with the learning module.
Download the dataset
Data is the first thing we need to create a machine learning model. We'll use a subset of the NABirds dataset from the Cornell Lab to train our model.
Download the zip file that contains the dataset:
In your web browser, go to the dataset in GitHub.
Select Download.
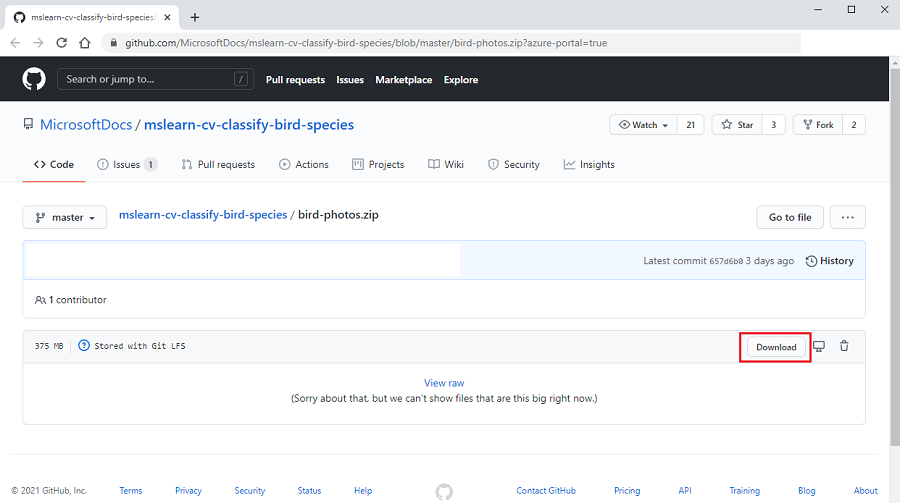
The zip file is copied to your computer and stored in your default location for downloaded files.
When the download is finished, unzip the file. Note the folder location because you’ll need it in a later step.
Create a Custom Vision API resource
Next, we'll create an API resource in Azure AI Custom Vision.
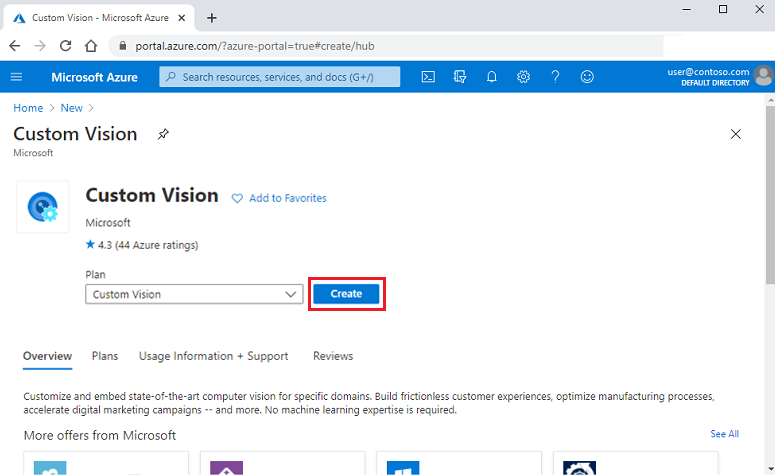
In the Azure portal, select Create a resource.
Search for custom vision. In the Custom Vision card in the search results, select Create.
On the Basics tab, enter or select the required values:
Select your Azure subscription.
Create a new resource group:
Beside Resource group, select the Create new link.
In the dialog box, enter BirdResourceGroup, and then select OK.
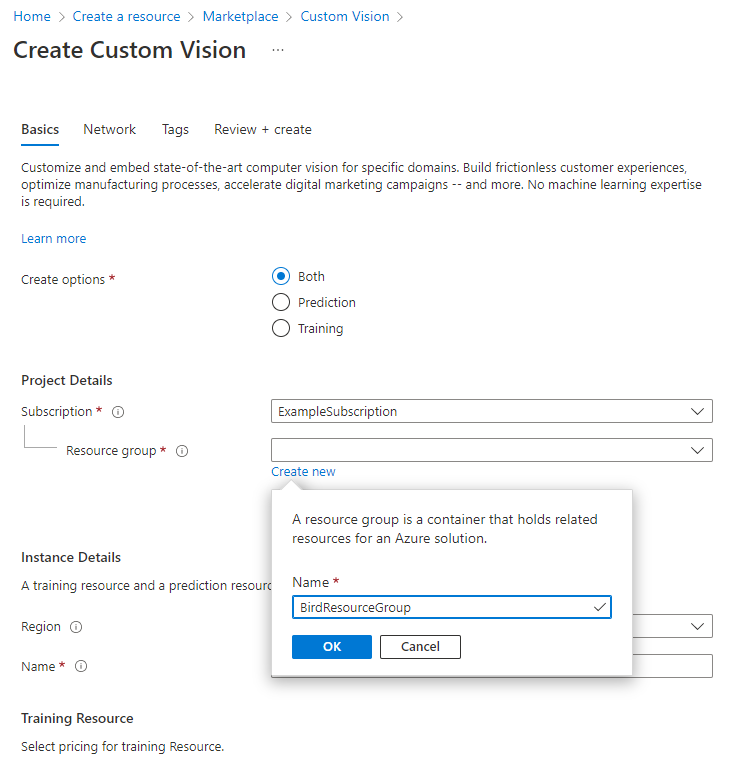
Enter a name for your new Custom Vision service resource (for example, BirdCustomVisionService).
Under Instance Details:
Set Region to (US) South Central US.
Enter a Name for your resource, using only alphanumeric characters and hyphens.
Under Training Resource, set Training pricing tier to Free F0 (2 Transactions per second…).
Under Prediction Resource, set Prediction pricing tier to Free F0 (2 Transactions per second…).
Select Review + create.
Select Create.

When the deployment finishes, select Go to resource group.
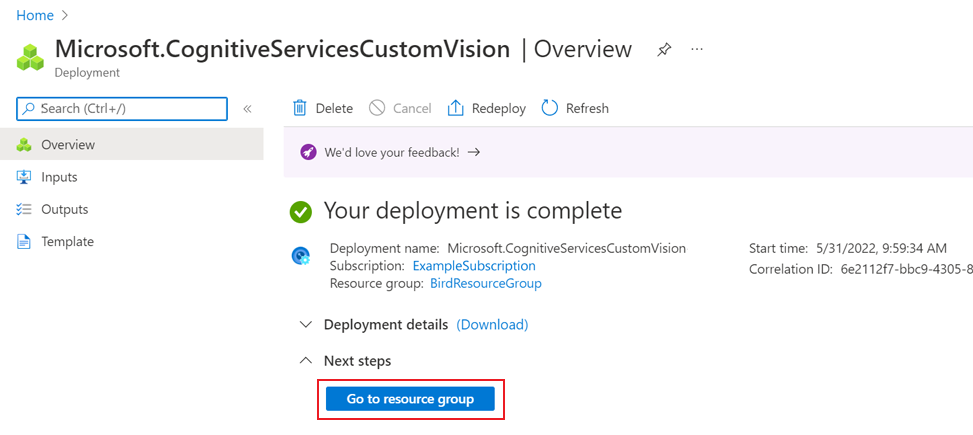
You should see two resources listed in this new resource group: a training resource, and a prediction resource.