Plan to deploy an operational technology (OT) sensor
Your car manufacturing organization has offices and production sites across the globe, with a network linking them together. In earlier phases, the deployment team onboarded a sensor to Defender for IoT and the connectivity team set-up the site networking.
For this module, you have a virtual machine (VM) ready to act as the operational technology (OT) sensor. Your task is to deploy the sensor by installing the OT monitoring software and activating the sensor to send data to the Azure portal. This unit provides an overview of this process.
Your organization's OT sensor deployment plan
The OT sensor deployment plan is shown in the following diagram:
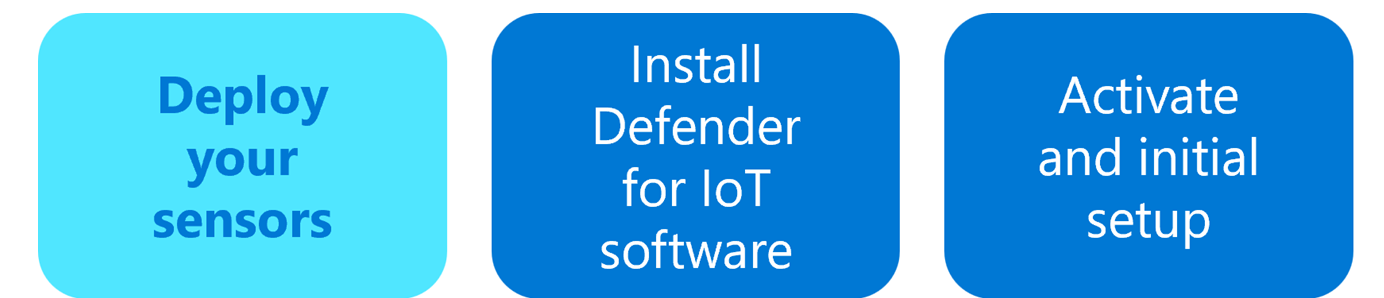
This module deals with installing and activating the monitoring software on the OT sensor.
Check your VM
The first stage in deploying the OT sensor monitoring software is to check that your VM is correctly configured to act as the OT sensor.
We use the VMware ESXi virtual machine, but you can use other systems, such as Hyper-V. Refer to your VM documentation for more details.
Download and install OT sensor monitoring software
Complete the following steps to install the monitoring software on the VM sensor:
Download and save the OT monitoring software installation file from the Defender for IoT setup page.
Open the VM, run the installation file, and follow the stages in the installation wizard.
Once the installation completes, the default network details are displayed in the VM.
Activate and initial setup
Configure the sensor in a browser, and provide the sensor administrator username and password.
The browser displays the Sensor | Overview page, which leads you through the four stages of setting up the sensor. Each stage is displayed in its own tab.
Define network details
In the Management interface tab, you define the network details that connect the sensor to Defender for IoT. You need the following details:
| Name | Description |
|---|---|
| Management interface | Select the interface you want to use. |
| IP Address | Type the IP address for the sensor, which you use to connect to the sensor via the browser. |
| Subnet Mask | Type the address you want to use as the sensor's subnet mask. |
| Default Gateway | Type the address you want to use as the sensor's default gateway. |
| DNS | Type the sensor's DNS server IP address. |
| Hostname | Type the hostname you want to assign to the sensor. Make sure that you use the same hostname as is defined in the DNS server. |
Select interfaces to monitor
The Interface configurations tab shows each interface on the sensor, which should match the list of endpoints in the network diagram. You set up each interface individually.
Select and enable each interface to be monitored. If you're unsure which interface to use, select the  Blink physical interface LED button to have the selected port blink on your machine. Select any of the interfaces that are connected to your switch.
Upload activation file
In the Activation tab, upload the activation file you received from the deployment team.
Define certificate settings
In the Certificates tab, deploy the SSL/TLS certificate settings. It's best practice to use a CA-signed certificate that's more secure, however for this learn module the self-signed certificate is secure enough.
After you complete these tasks, the sensor deployment process is complete and the sensor starts sending data to the Azure portal.