Try-This exercise - Create an Azure Kubernetes Service cluster
Azure Kubernetes Service (AKS) simplifies deploying a managed Kubernetes cluster in Azure by offloading the operational overhead to Azure. As a hosted Kubernetes service, Azure handles critical tasks, like health monitoring and maintenance. When you create an AKS cluster, a control plane is automatically created and configured. This control plane is provided at no cost as a managed Azure resource abstracted from the user.
AKS nodes run on Azure virtual machines (VMs). With AKS nodes, you can connect storage to nodes and pods, upgrade cluster components, and use GPUs. AKS supports Kubernetes clusters that run multiple node pools to support mixed operating systems and Windows Server containers.
When you deploy an AKS cluster, you specify the number and size of the nodes, and AKS deploys and configures the Kubernetes control plane and nodes.
Note
To complete this procedure, you need an Azure subscription.
Sign in to the Azure portal at https://portal.azure.com.
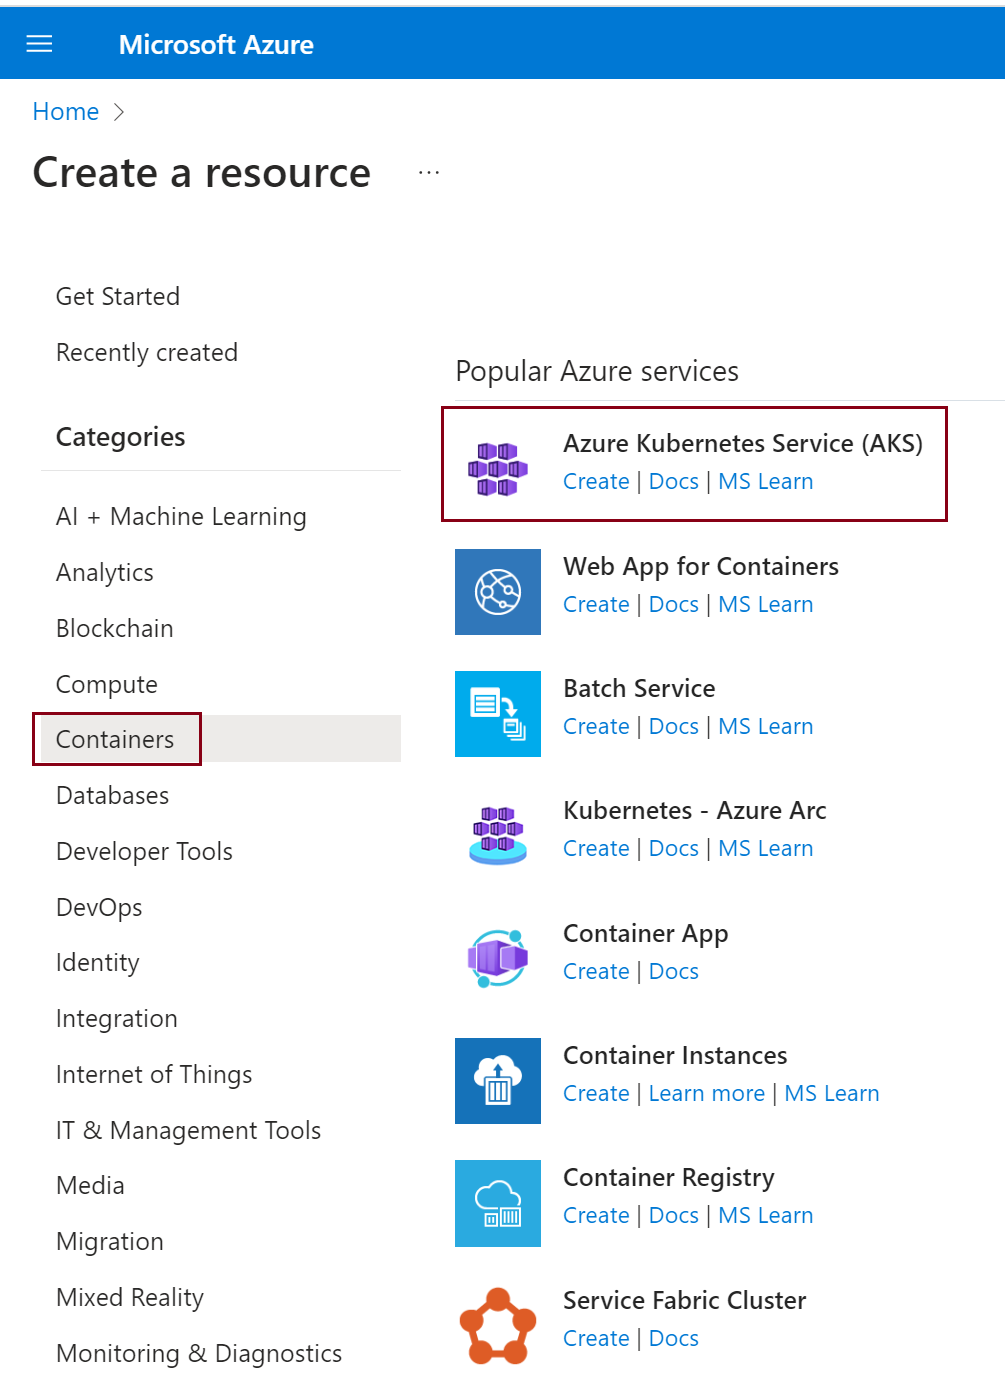
On the Azure portal menu or from the Home page, select Create a resource.
In the Categories section, select Containers and then select Azure Kubernetes Service (AKS).
On the Basics page, configure the following options:
- Project details:
- Select an Azure Subscription.
- Create an Azure Resource group, such as myResourceGroup. While you can select an existing resource group, for testing or evaluation purposes, we recommend creating a resource group to temporarily host these resources and avoid impacting your production or development workloads.
- Cluster details:
- Ensure that the Preset configuration is Standard ($$).
- Enter a Kubernetes cluster name, such as NewCluster.
- Select a Region for the AKS cluster, and leave the default value selected for Kubernetes version.
- Primary node pool details:
- Ensure that the node size is Standard B2ms.
- Ensure that Scale method is set to Manual.
- Set the node count to 1.
- Project details:
Select Next: Node pools.
On the Node pools page, select Enable virtual nodes.
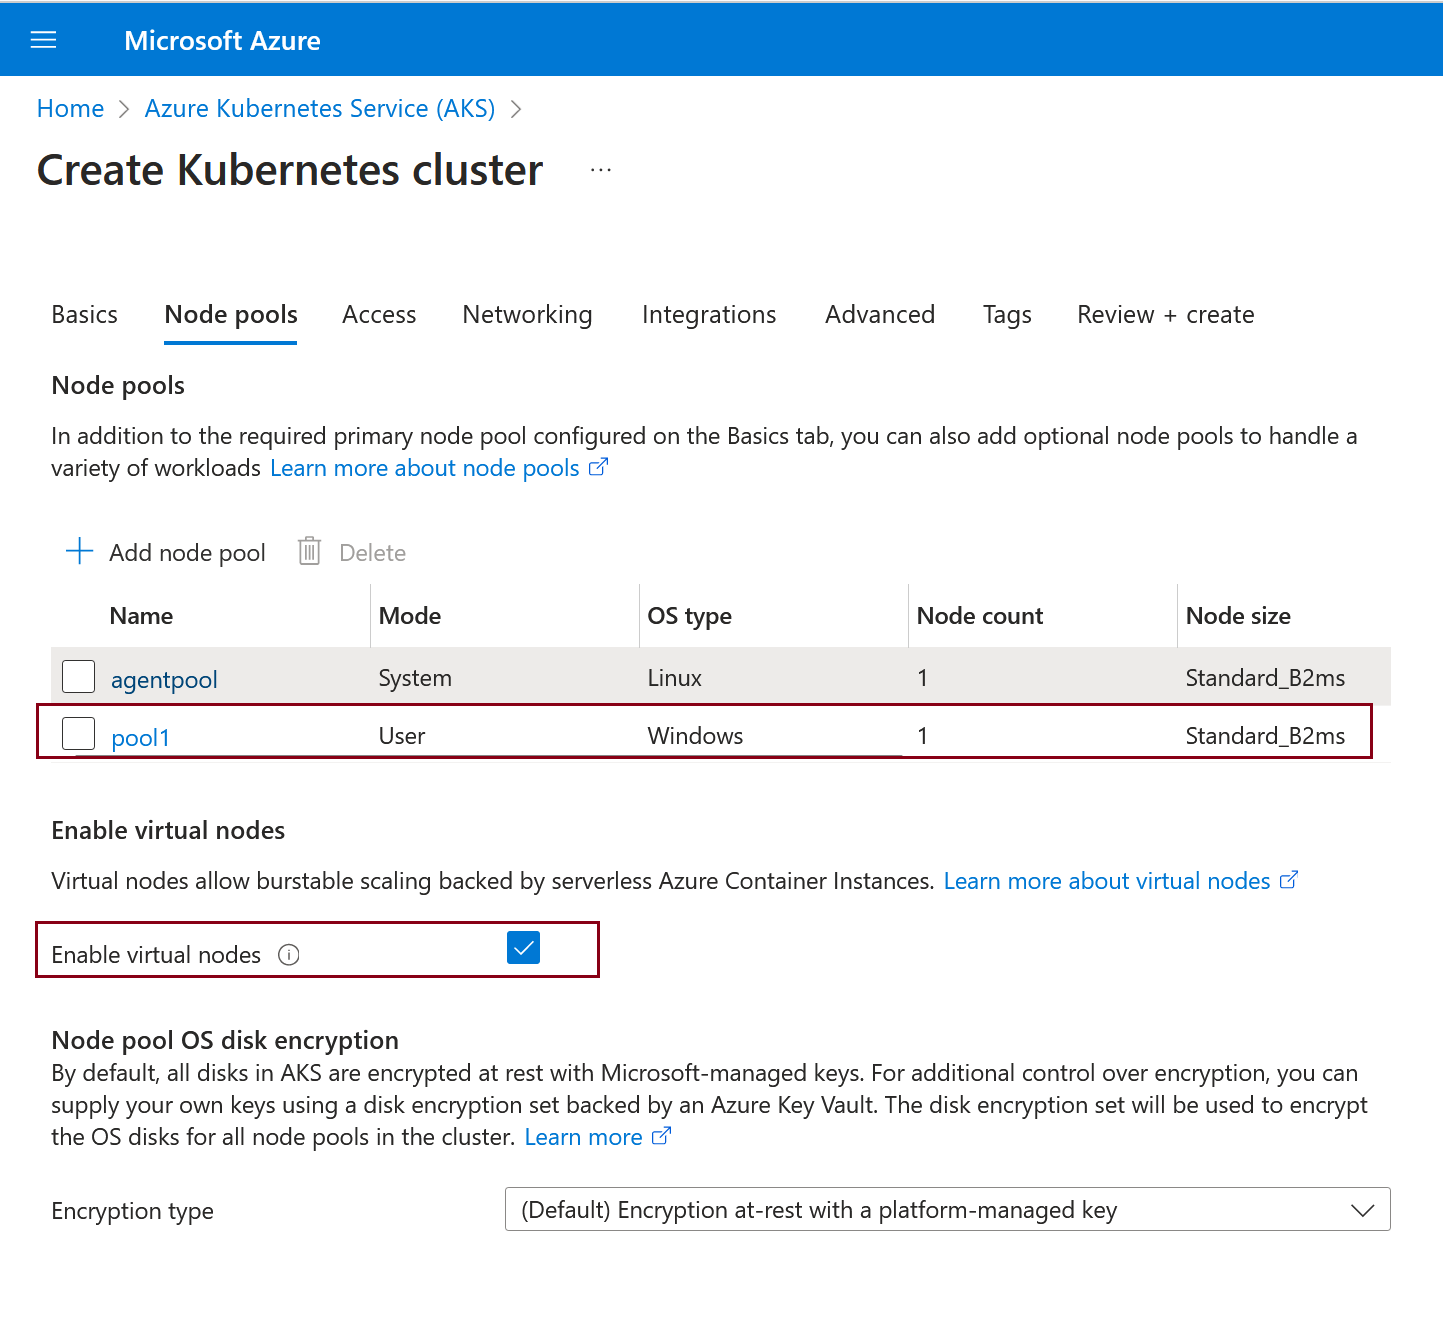
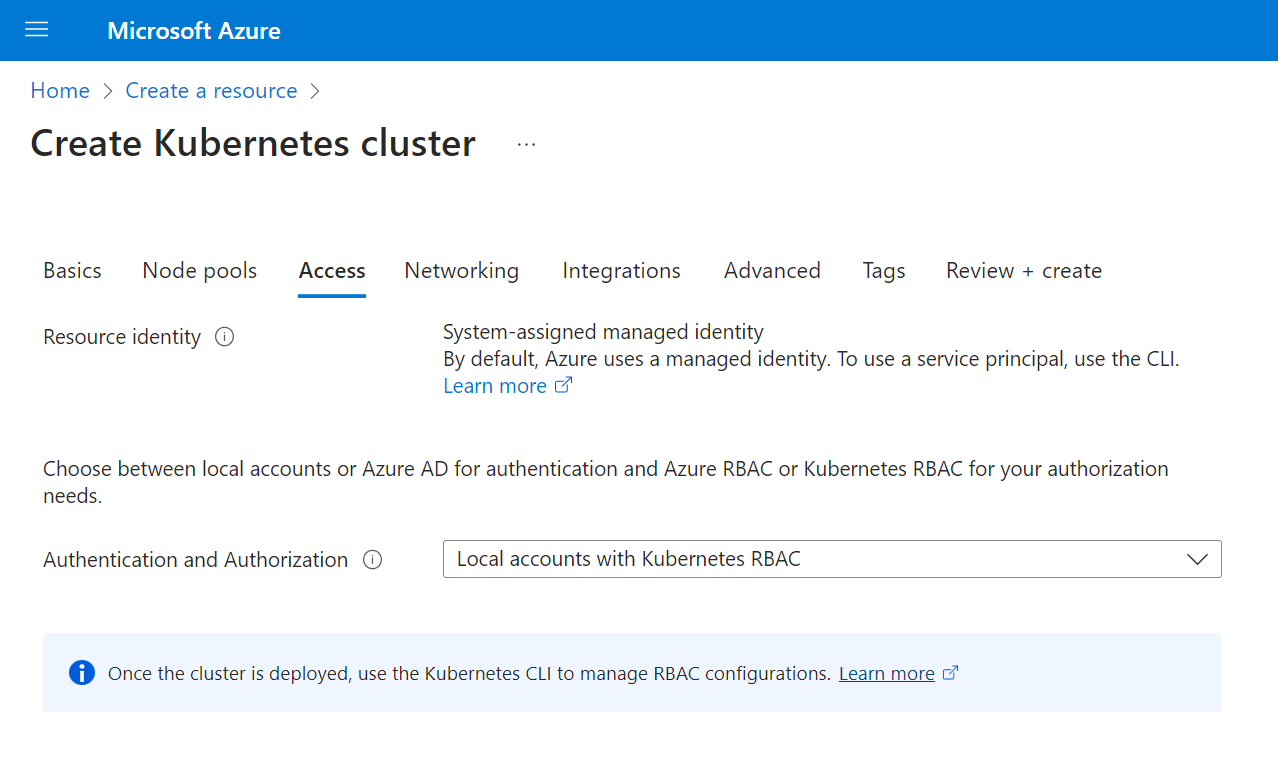
Select Next: Access.
On the Access page, leave the default options and then select Next: Networking.
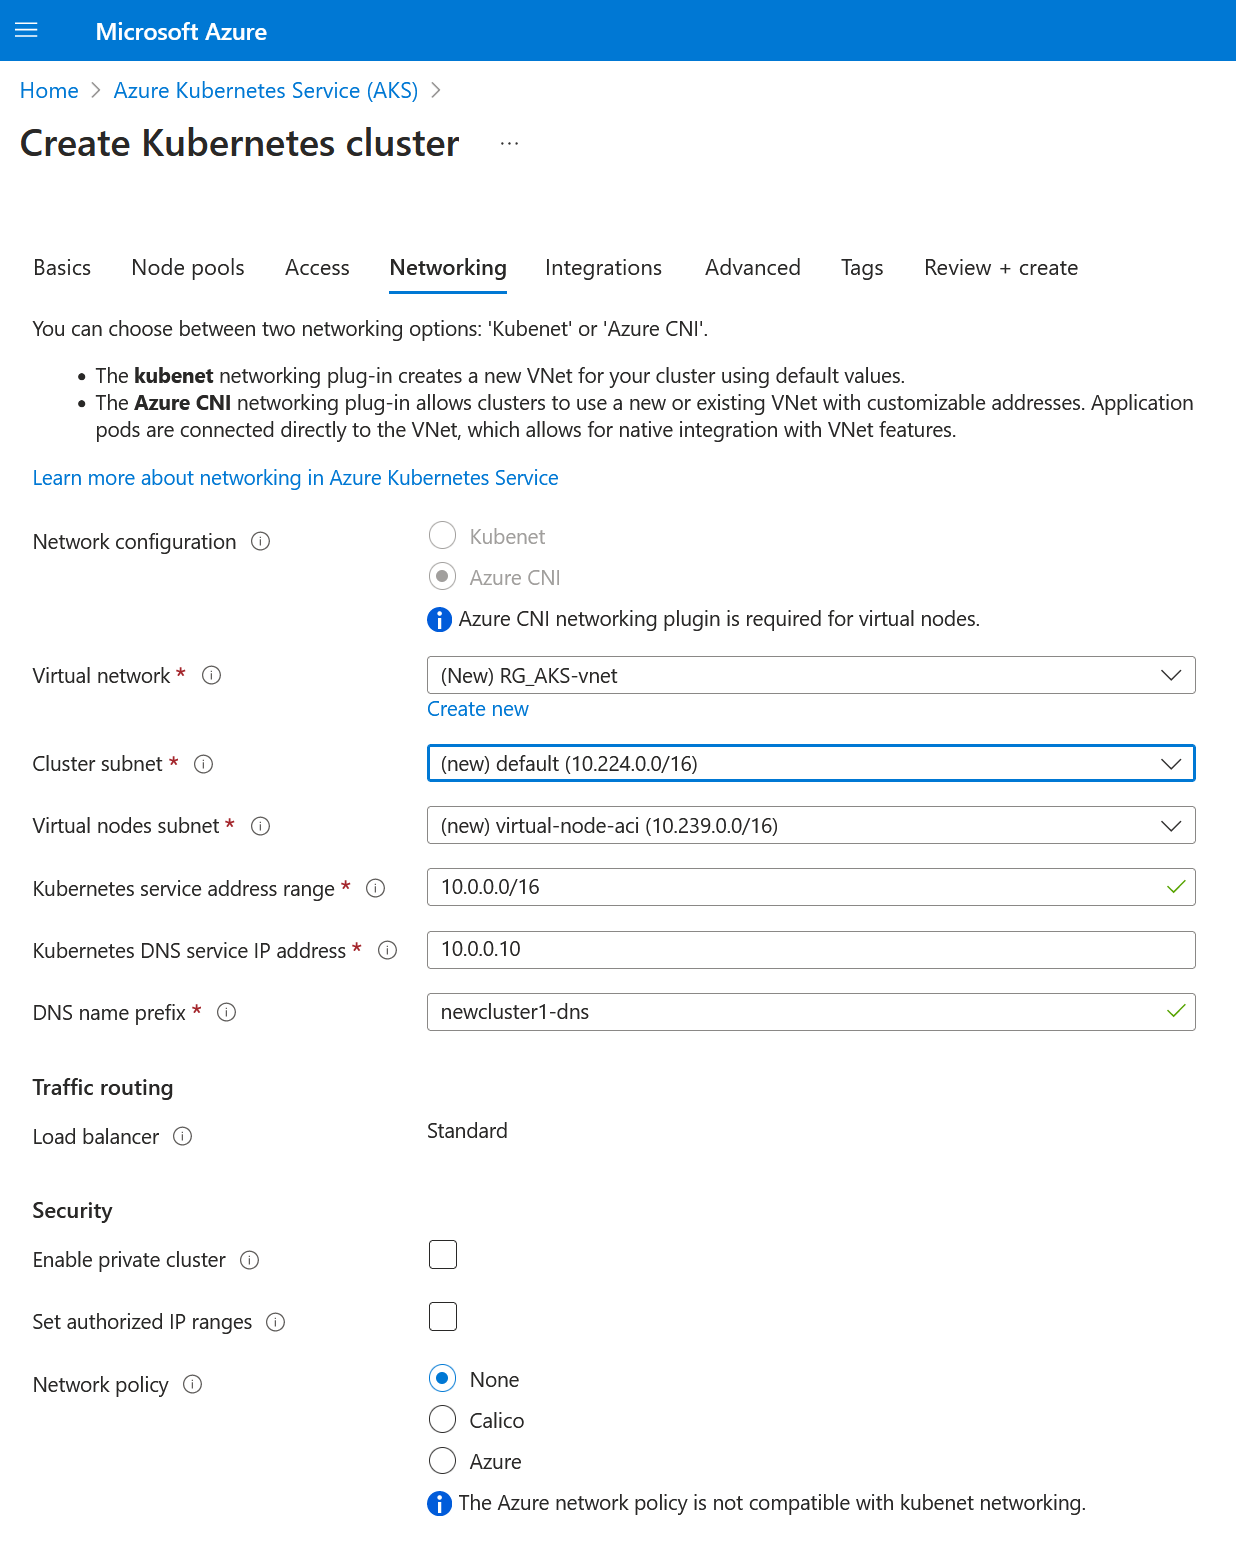
On the Networking page, select or create a new virtual network.
Select Next: Integrations.
In the Integrations page, select the Azure container registry you created in the previous module.

Select Next: Advanced.
On the Advanced page, accept the default options and select Tags.
On the Tags page, accept the default options and select Tags Review + create.
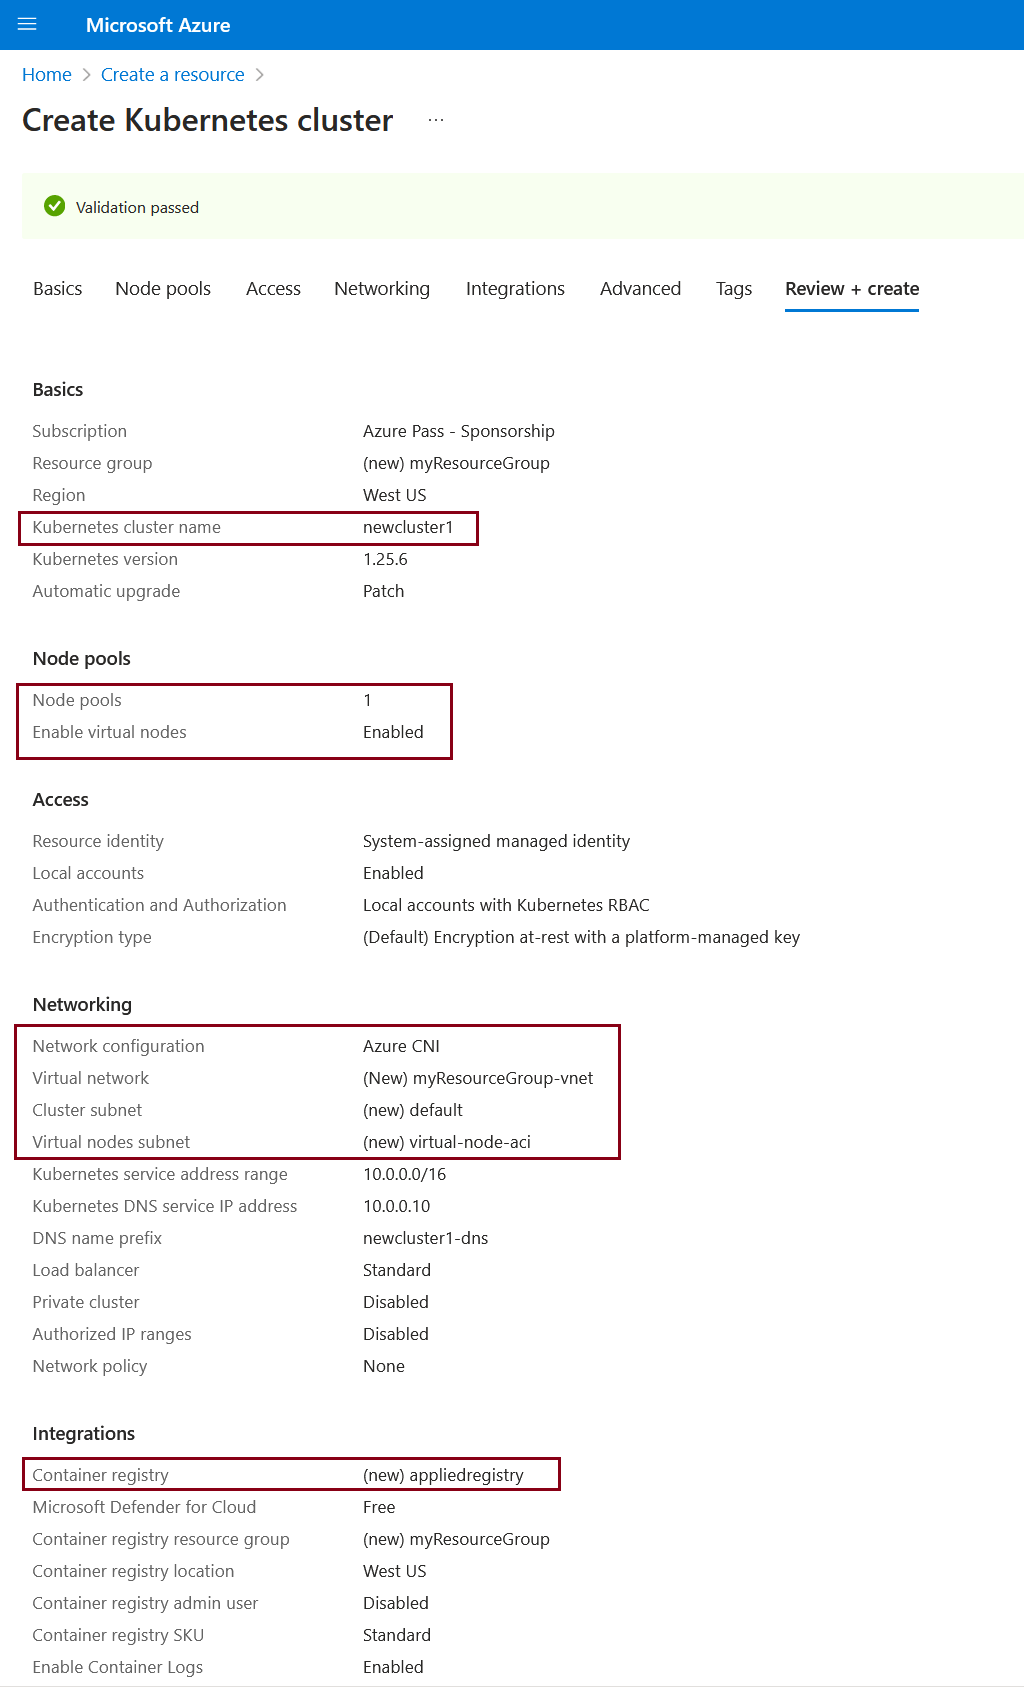
Accept the defaults then select Review + create.
If validation passes, you can proceed to create the AKS cluster by selecting Create. If validation fails, then it indicates which settings need to be modified.
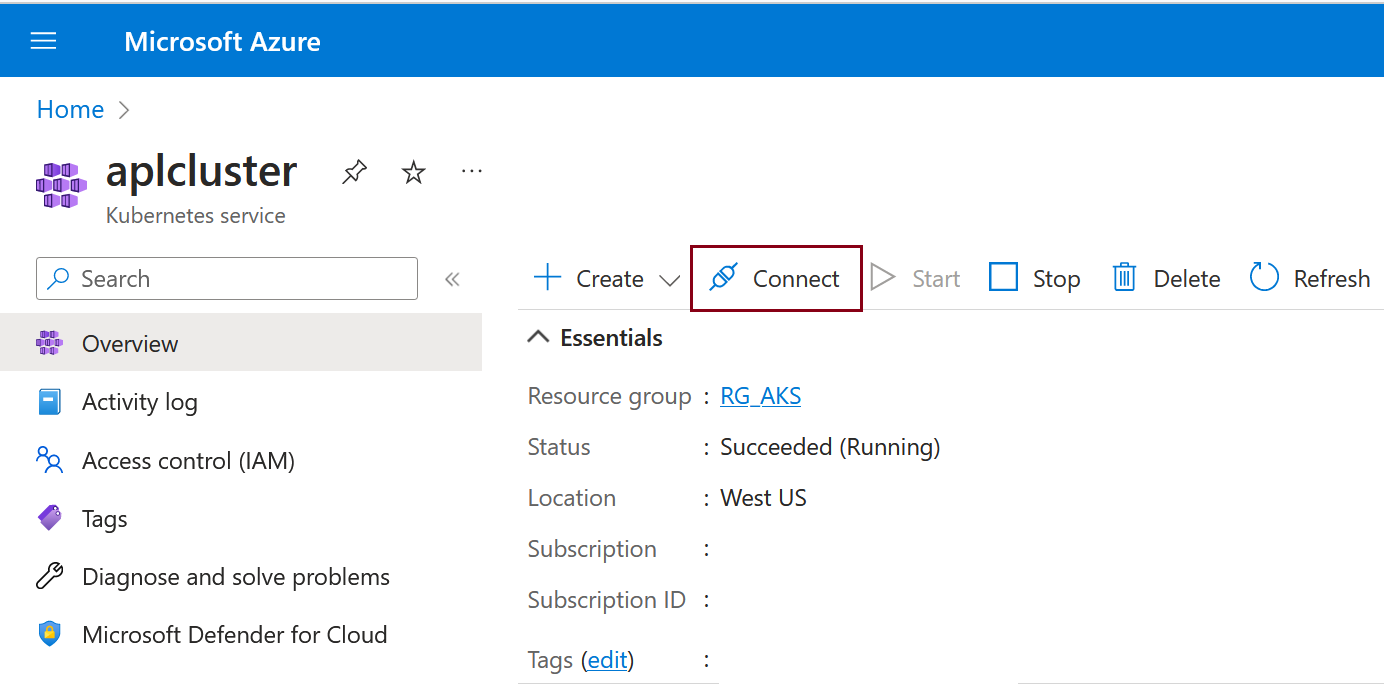
It takes a few minutes to create the AKS cluster. When your deployment is complete, navigate to your resource by either:
- Selecting Go to resource, or
- Browsing to the AKS cluster resource group and selecting the AKS resource. For this demonstration, browse for RG_AKS and select the resource newcluster1.
To connect to the cluster, select Connect.
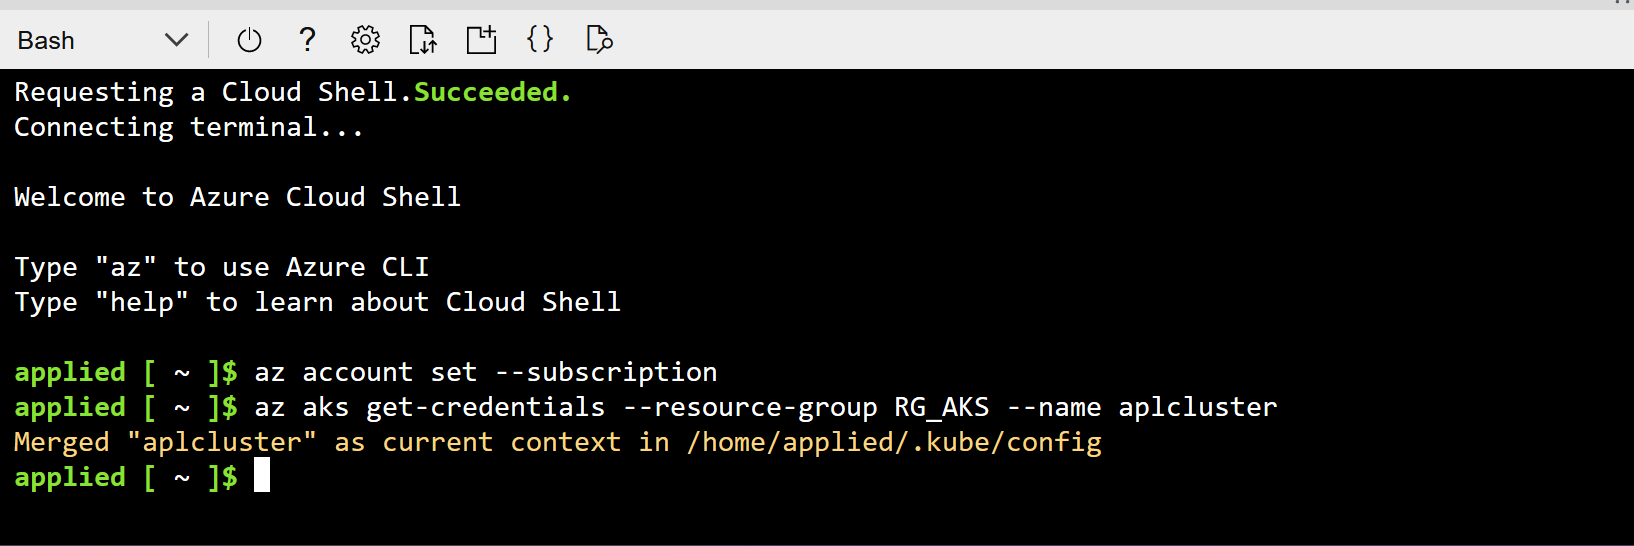
From the Cloud Shell tab, select Open Cloud Shell.
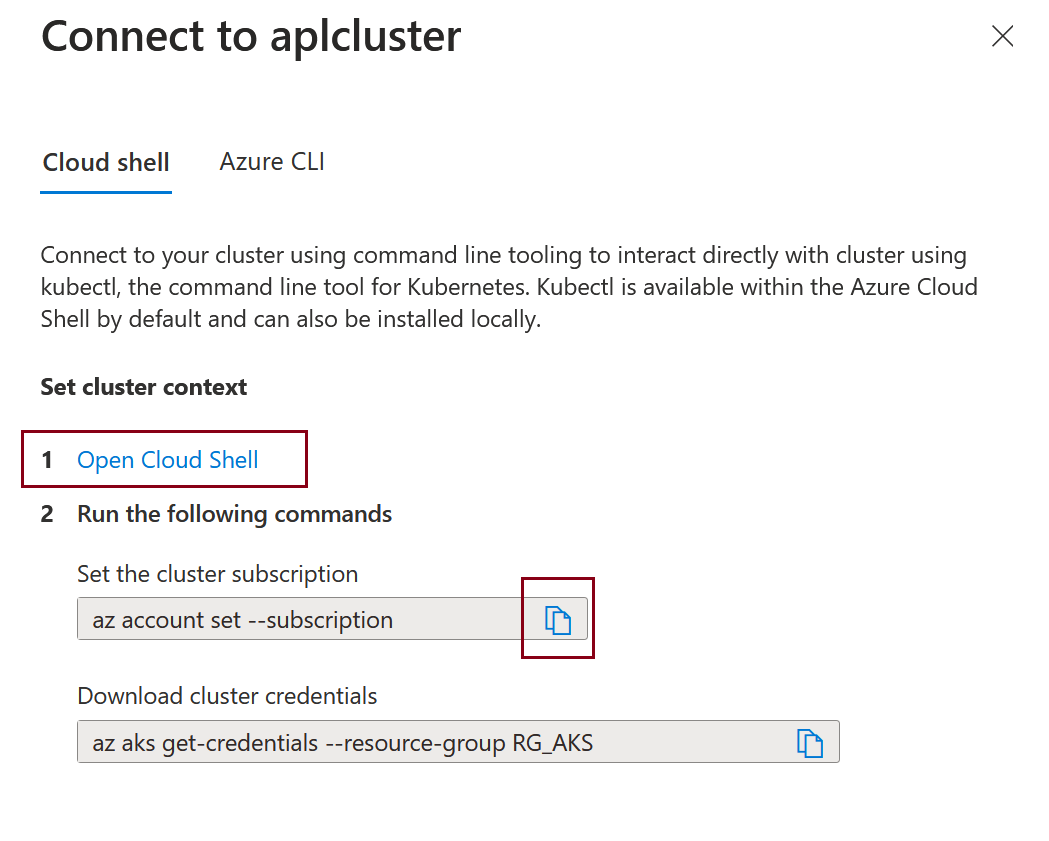
Copy the commands to the Cloud Shell terminal to set the cluster subscription and download the cluster credentials.
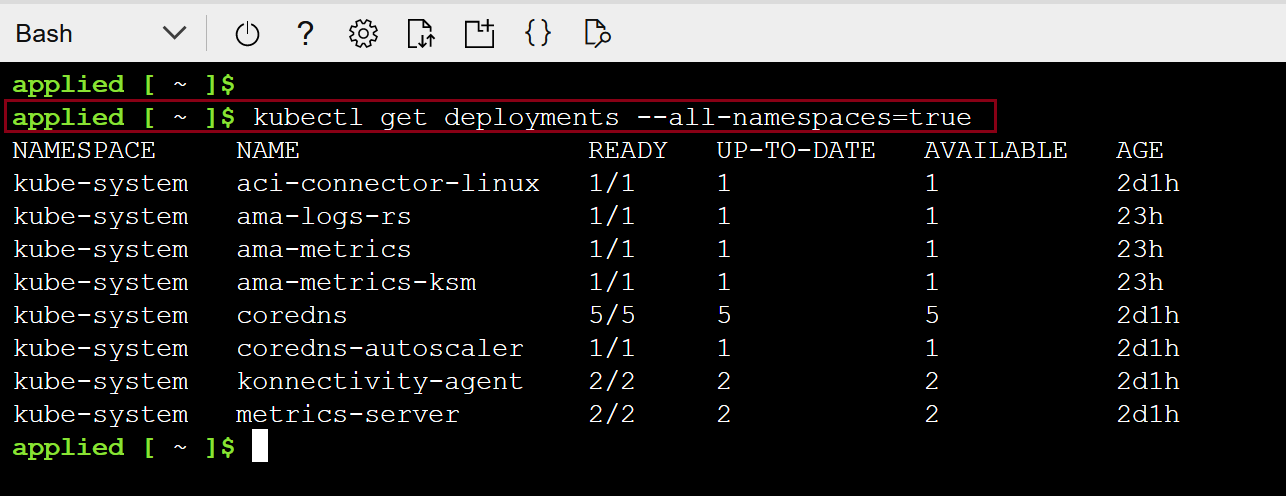
Experiment with the sample kubectl commands. You can use the
kubectl get deployments --all-namespaces=trueto list all deployments in all of namespaces.