Deploy site using Azure portal
This section includes:
- The prerequisites for creating a site.
- The deployment procedure for creating a site.
Prerequisites for creating a site
Before creating a site, perform the following tasks:
- Collect the required information for a site. For more information, see Collect information for a site - Azure Private 5G Core Preview.
- See the release notes for the current version of packet core and whether the version your Azure Stack Edge (ASE) is currently running supports it. If your ASE version is incompatible with the latest packet core, update your Azure Stack Edge Pro GPU.
- Sign in to the Azure portal using your account to access the active subscription you used to create your private mobile network. This account must have the built-in contributor or owner role at the subscription level.
- Configure custom location for AKS cluster. To configure ASE and to create an AKS cluster on the ASE using Azure portal, see Azure Stack Edge documentation.
- Sign in to the Azure portal to create the mobile network site resource representing the physical enterprise location of your Azure Stack Edge device, which host the packet core instance.
Create a site for deployment
You can add a new site to an existing mobile network and then configure ASE later.
When you deploy a site, the following are deployed automatically:
- Packet Core - Each site contains an instance of a packet core, which connects your 4G or 5G devices to the upstream network and manages the traffic flows between them.
- Troubleshooting tools (distributed tracing and local monitoring tool) - Each site deployment includes powerful tools to help local administrators monitor and diagnose the system in their site.
Perform these steps to create your site for deployment:
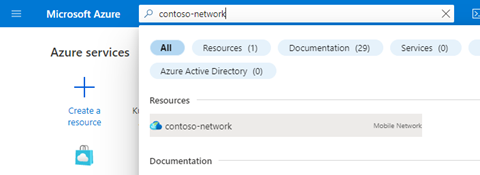
Search for and select the Mobile Network resource representing the private mobile network to which you want to add a site.
On the Get started tab, select Create sites.
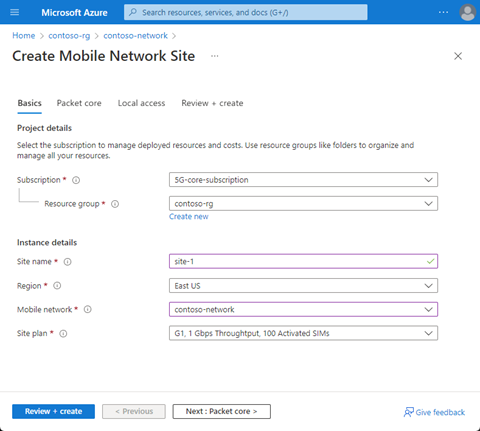
Use the information you collected in Collect site resource values to fill out the fields on the Basics configuration tab, and then select Next: Packet core >.
You now see the Packet core configuration tab.
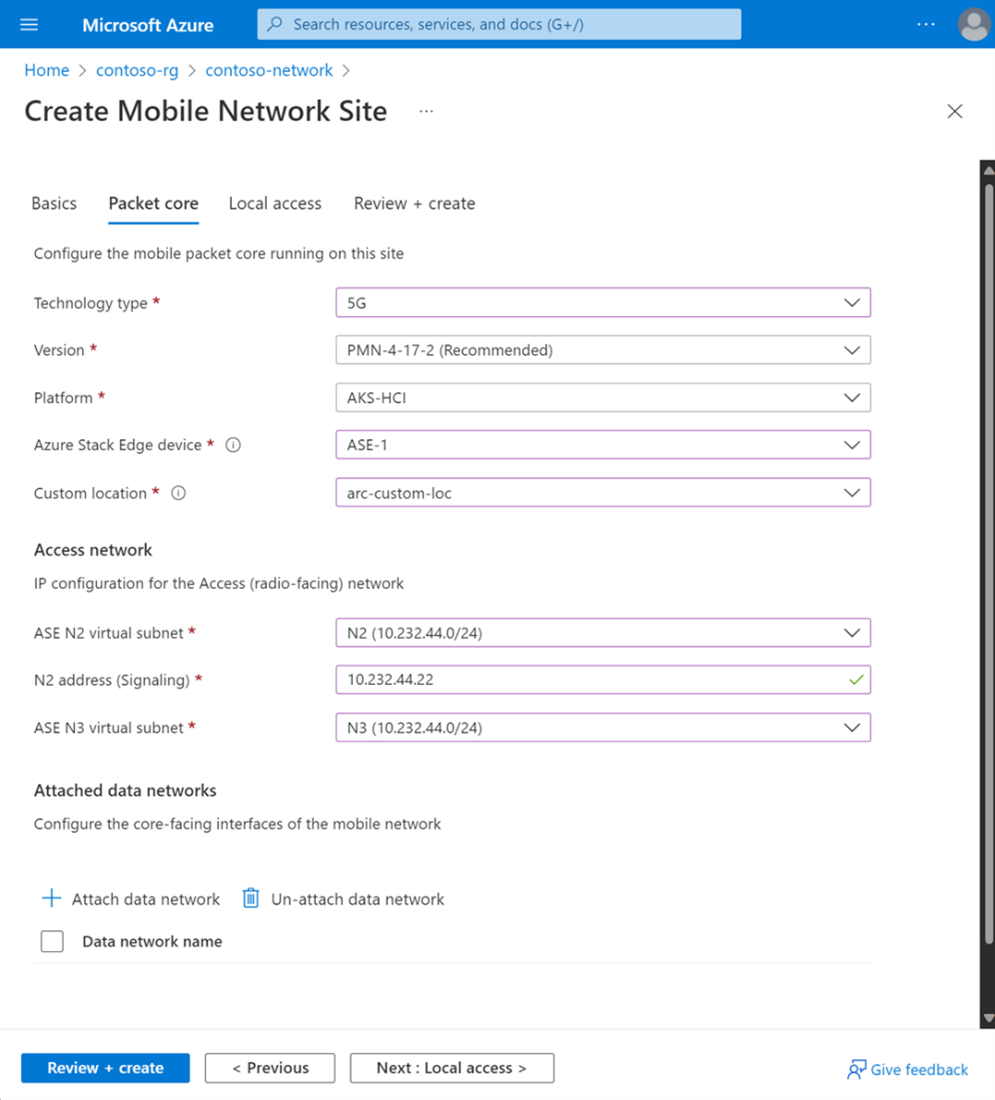
In the Packet core section, set the fields as follows:
- If you're configuring your packet core to have more than one attached data network, leave the Custom location field blank. You configure this field at the end of this procedure.
- Use the information you collected in Collect packet core configuration values to fill out the Technology type, Azure Stack Edge device, and Custom location fields.
- Select the recommended packet core version in the Version field.
- Ensure AKS-HCI is selected in the Platform field.
- Use the information you collected in Collect access network values to fill out the fields in the Access network section.
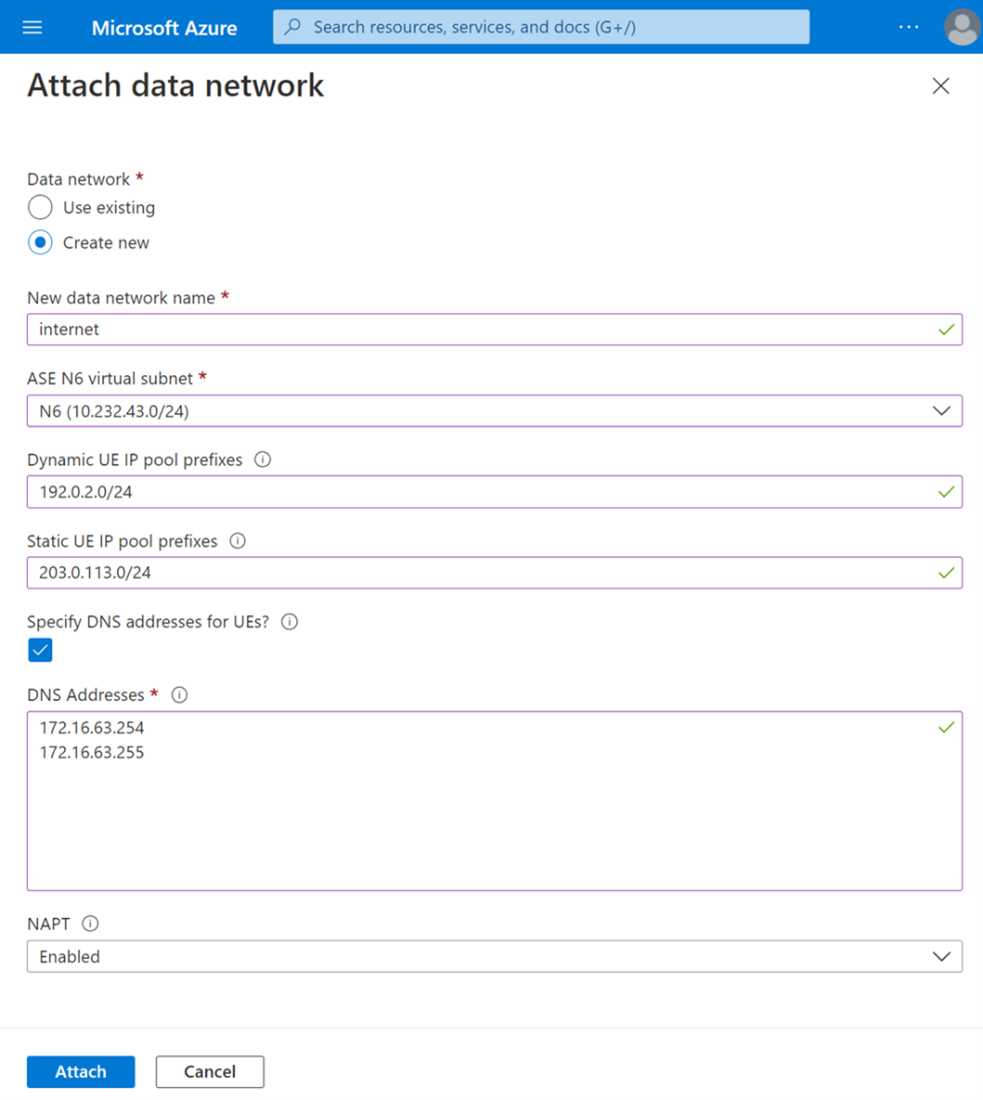
In the Attached data networks section, select Attach data network. Select whether you want to use an existing data network or create a new one. Then fill out the fields with the information you collected in Collect data network values. After you finish filling out the fields, select Attach.
Repeat the previous step for each extra data network you want to configure.
If you chose to provide a custom HTTPS certificate in Collect local monitoring values, select Next : Local access >. If you aren't providing a custom HTTPS certificate at this stage, you can skip this step. Under Provide custom HTTPS certificate? select Yes.
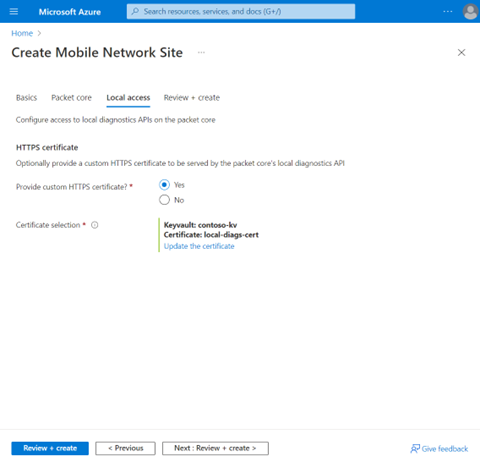
To select a certificate, use the information you collected in Collect local monitoring values.
HTTPS secures access to the distributed tracing and packet core dashboards. You can use a self-signed certificate or provide your own to authenticate access to your local diagnostics tools. We recommend providing a certificate signed by a globally known and trusted certificate authority (CA) for more security in your deployment.
Select Submit.
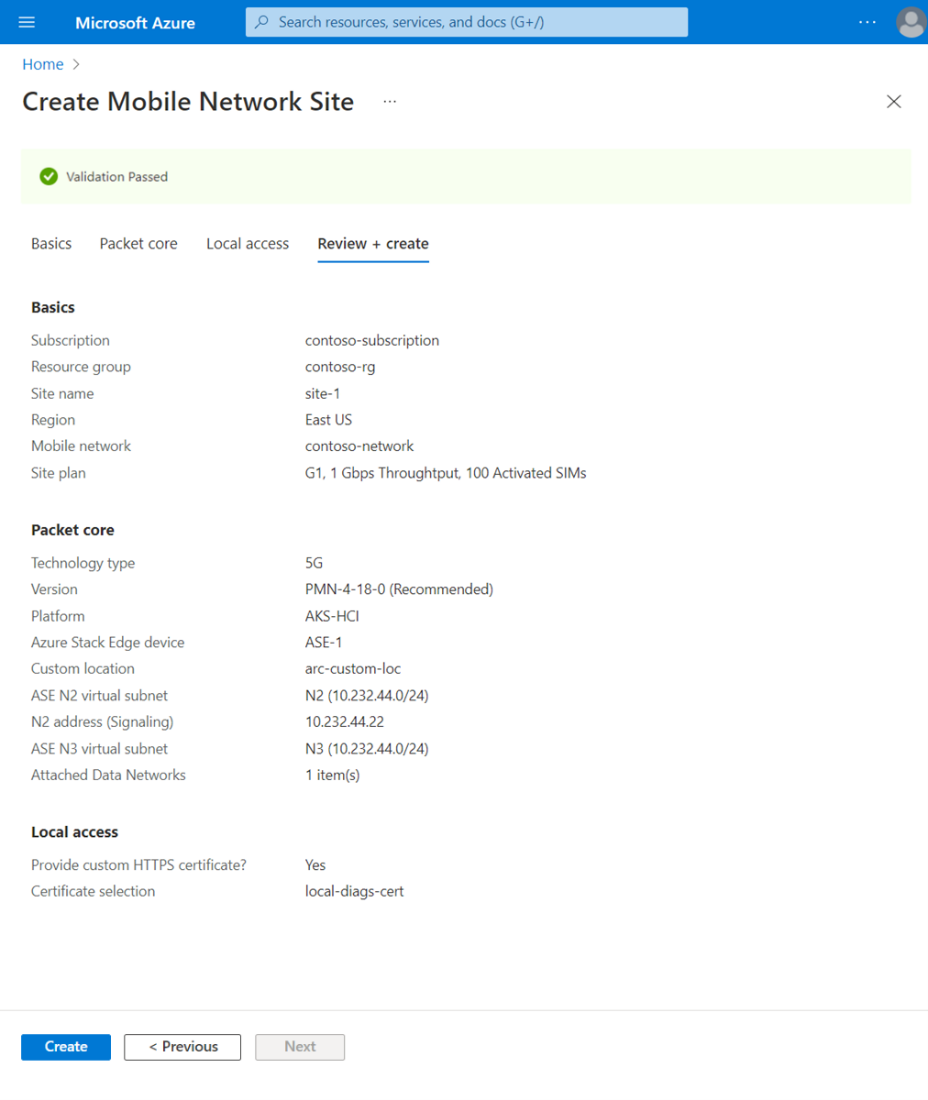
Select Review + create.
Azure validates the configuration values you entered. You should see a message indicating that your values passed validation.
After your configuration is validated, you can select Create to create the site. The Azure portal displays the following confirmation screen when the site is created. This process can take up to an hour based on factors such as the region selected, the edge location, and the internet access speed.
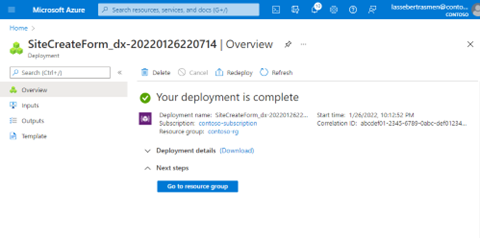
Select Go to resource group, and confirm that the resource group contains the following new resources:
- A Mobile Network Site resource representing the site.
- A Packet Core Control Plane resource representing the control plane function of the packet core instance in the site.
- A Packet Core Data Plane resource representing the data plane function of the packet core instance in the site.
- One or more Data Network resources representing the data networks (if you chose to create new data networks).
- One or more Attached Data Network resources providing configuration for the packet core instance's connection to the data networks.
If you have not yet set the Custom location field, set it now.
From the resource group overview, select the Packet Core Control Plane resource and select Configure a custom location.
Use the information you collected in Collect packet core configuration values to fill out the Custom location field and select Modify.
For instructions on how to delete mobile network sites, see Delete sites - Azure Private 5G Core.
For instructions to modify or upgrade a packet core instance, see Modify a packet core instance - Azure Private 5G Core.
Configure a service and SIM policies using Azure portal
The services represent a particular set of QoS information that you want to offer to UEs. For example, you might want to configure a service that provides higher bandwidth limits for specific traffic.
You can also use services to block specific traffic types or traffic from specific sources. For more information, see Policy control.
For instructions on configuring a service and SIM policies, see the Management module.
For instructions on how to configure SIM policies using Azure portal, see Configure a SIM policy - Azure Private 5G Core.
Note
Provisioning SIM and creating SIM policies can be done as part of deployment. However, if you want to provision SIMs and create SIM policies later, select No to complete these tasks as part of managing the Azure Private 5G Core networks. For more information, see the Management module.