Exercise - Restore AdventureWorks2019 database in Azure Arc-enabled SQL Managed Instance
In this exercise, you restore and query AdventureWorks2019 sample database to familiarize yourself with your newly deployed Azure Arc-enabled SQL Managed Instance.
Exercise 1: Restore AdventureWorks2019
Download AdventureWorks2019 sample database backup AdventureWorks2019.
Copy the downloaded backup file to your backup drive attached to your Arc-enabled SQL Managed Instance using the
kubectl cpcommand.Open Azure Data Studio.
Expand the Connections.
Expand Azure Arc Controllers.
Expand your Arc data controller.
Right-click on your Arc-enabled SQL Managed Instance and select Manage.
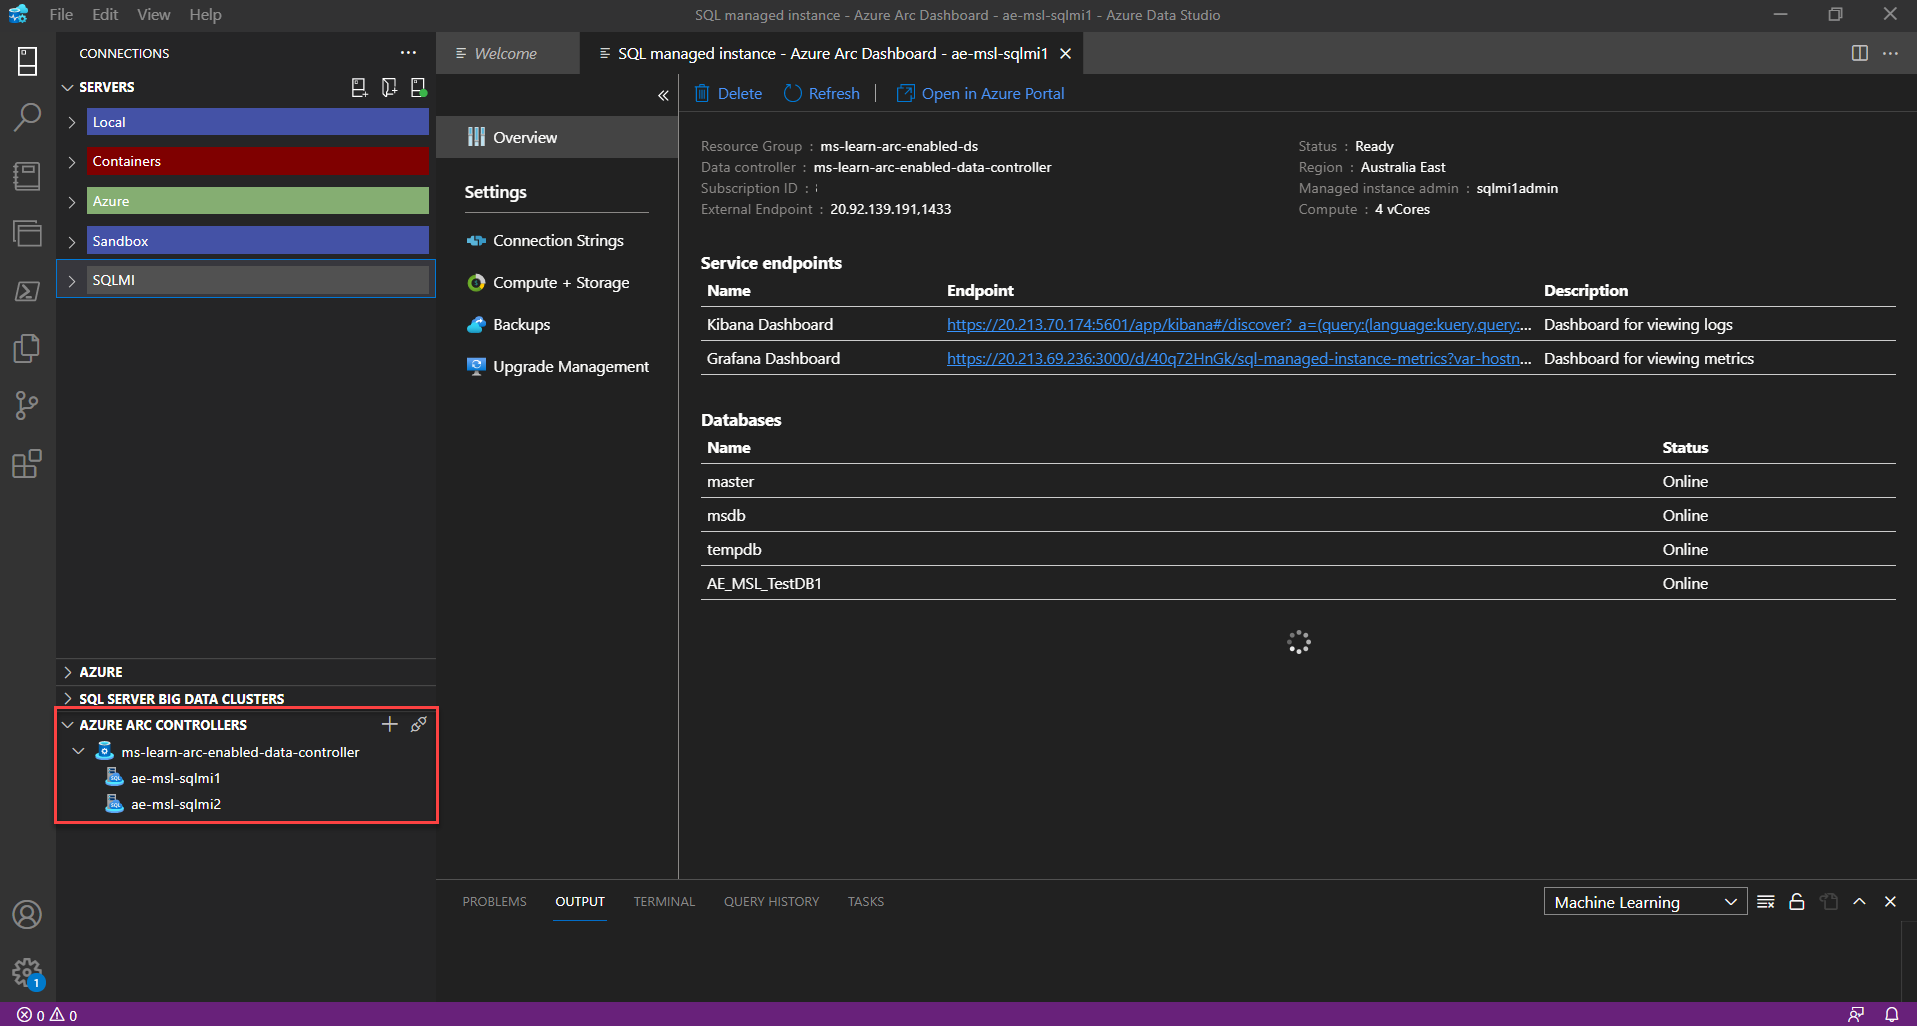
The external Endpoint is what you need to connect to your Arc-enabled SQL Managed Instance. Copy this and open either SQL Server Manage Studio or Azure Data Studio. The primary external endpoint is available from ADS as can be seen above or via the
az sql mi-arc listcommand.Connect to your external endpoint and name accordingly.
Open a new query window to perform your database restore.
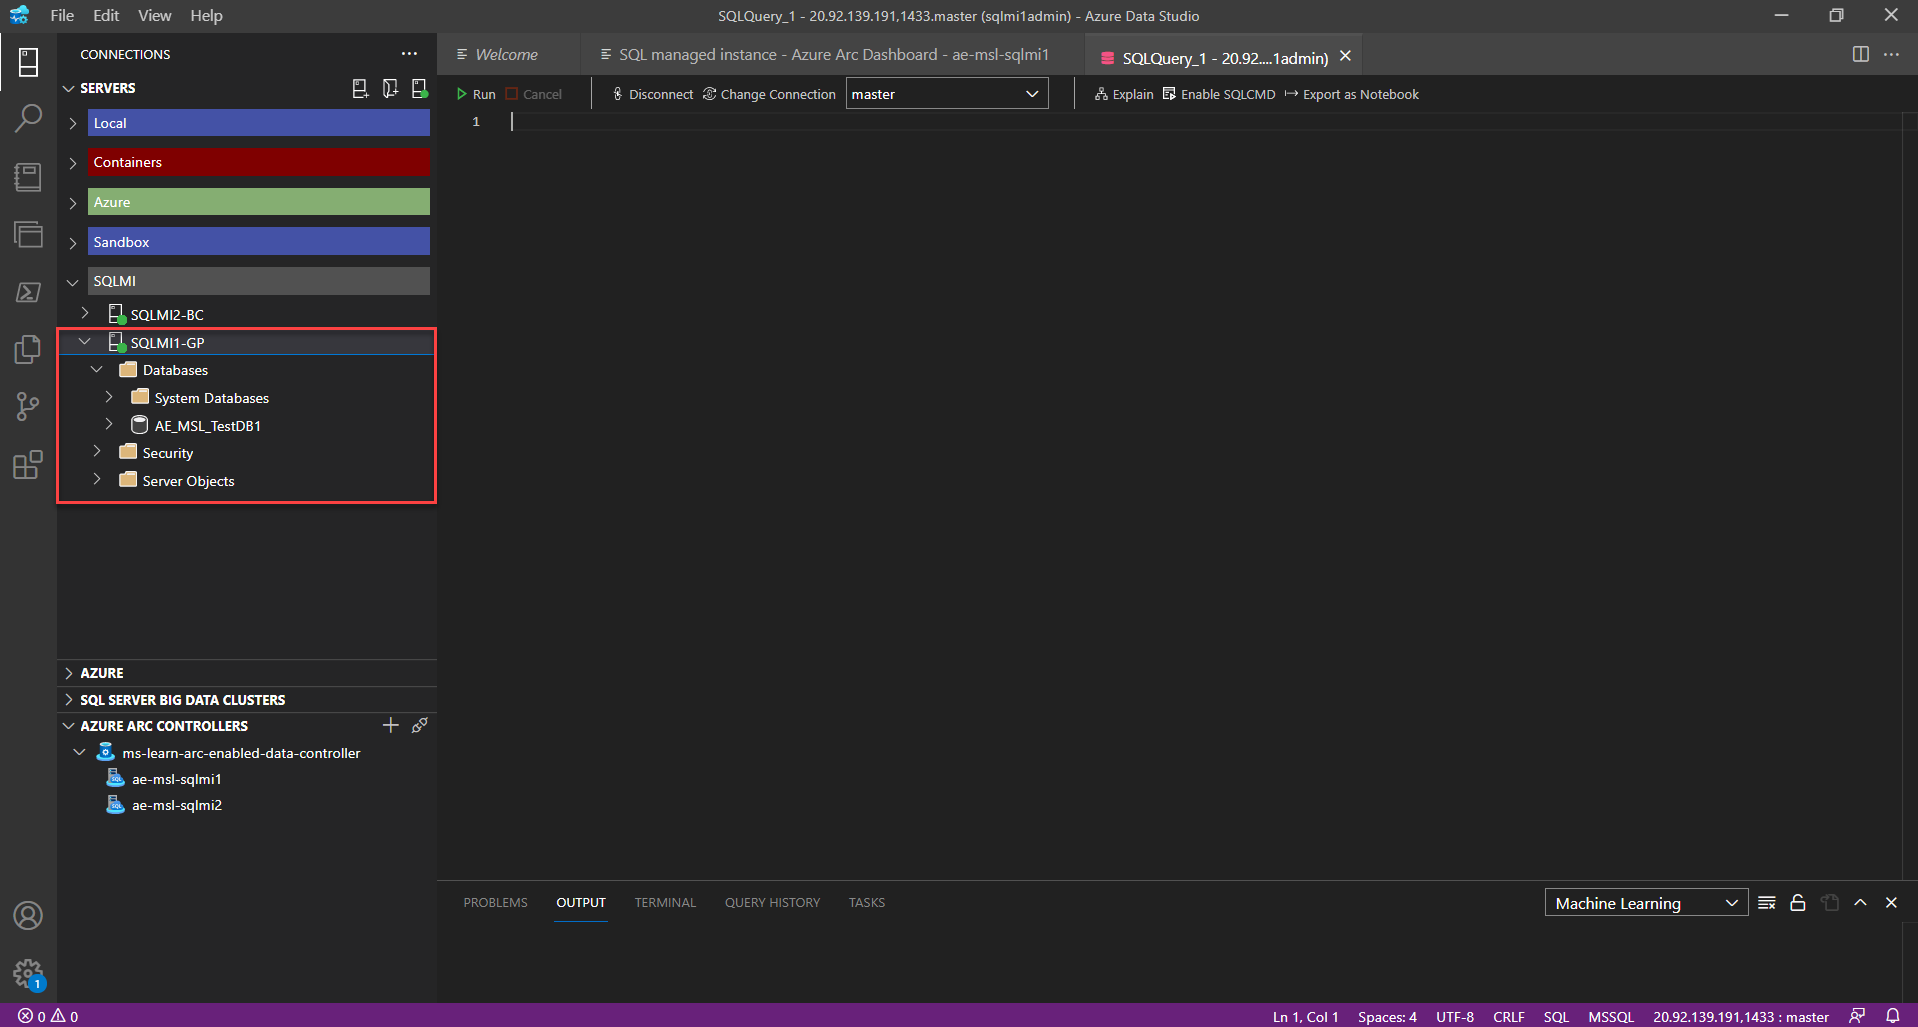
Execute the Restore Filelistonly command to confirm you have access to the AdventureWorks2019 backup file. In this example, we are restoring from locally attached storage.
Execute the Restore Database Command to restore to your Arc-enabled SQL Managed Instance.

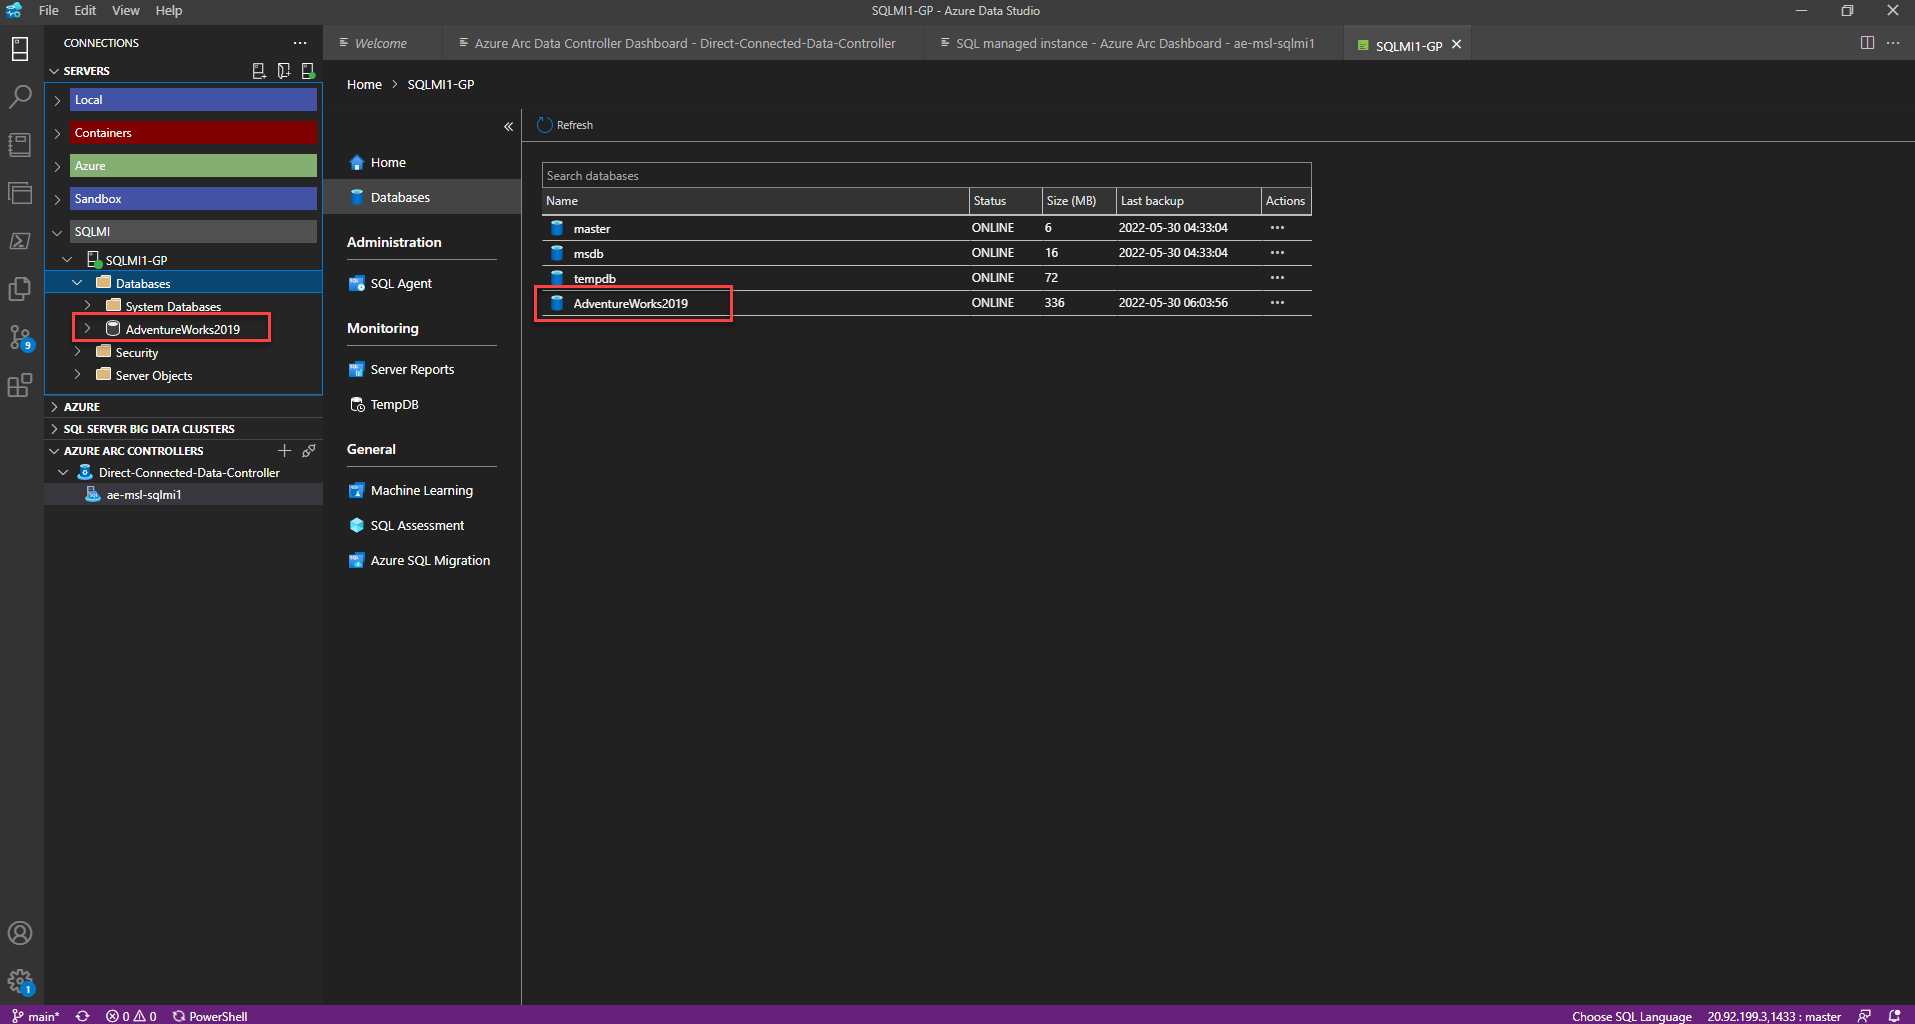
Refresh your database list in the connections tab for your Arc-enabled SQL Managed Instance connection.
Explore AdventureWorks2019
Whether you deploy your Arc-enabled SQL Managed Instance to Azure, on-premises, or any public cloud, you can access it the same as any other instance of SQL Server. Using your preferred tools like SQL Server Management Studio or Azure Data Studio, you will explore the AdventureWorks2019 database we restored in the exercise above.
Right-click on AdventureWorks2019 in your database listing and select New Query.
Execute the following statement to list all schemas and tables in the AdventureWorks2019 database:
Select S.Name as 'SchemaName',
        T.Name as 'TableName'
From sys.schemas as S
    Inner Join sys.tables as T on T.schema_id = S.schema_id
Order By S.Name, T.Name;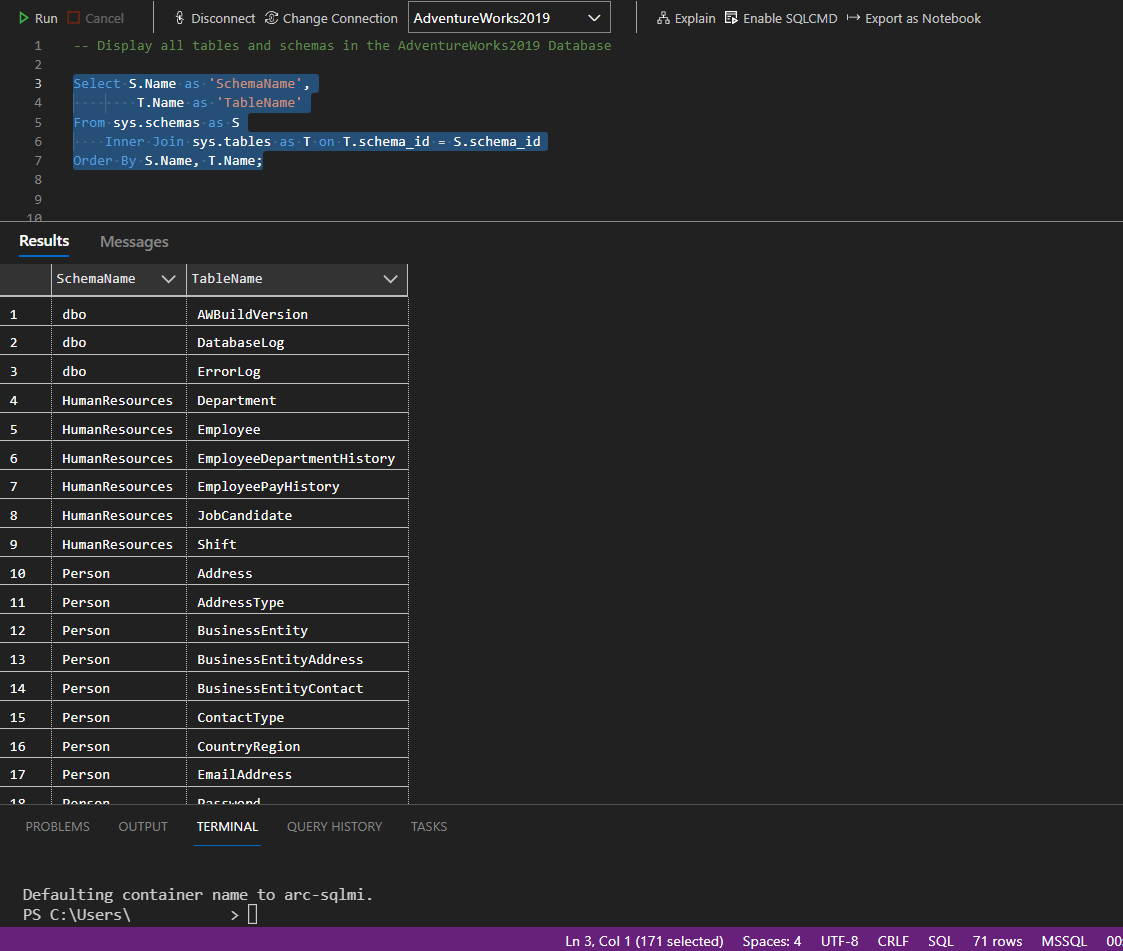
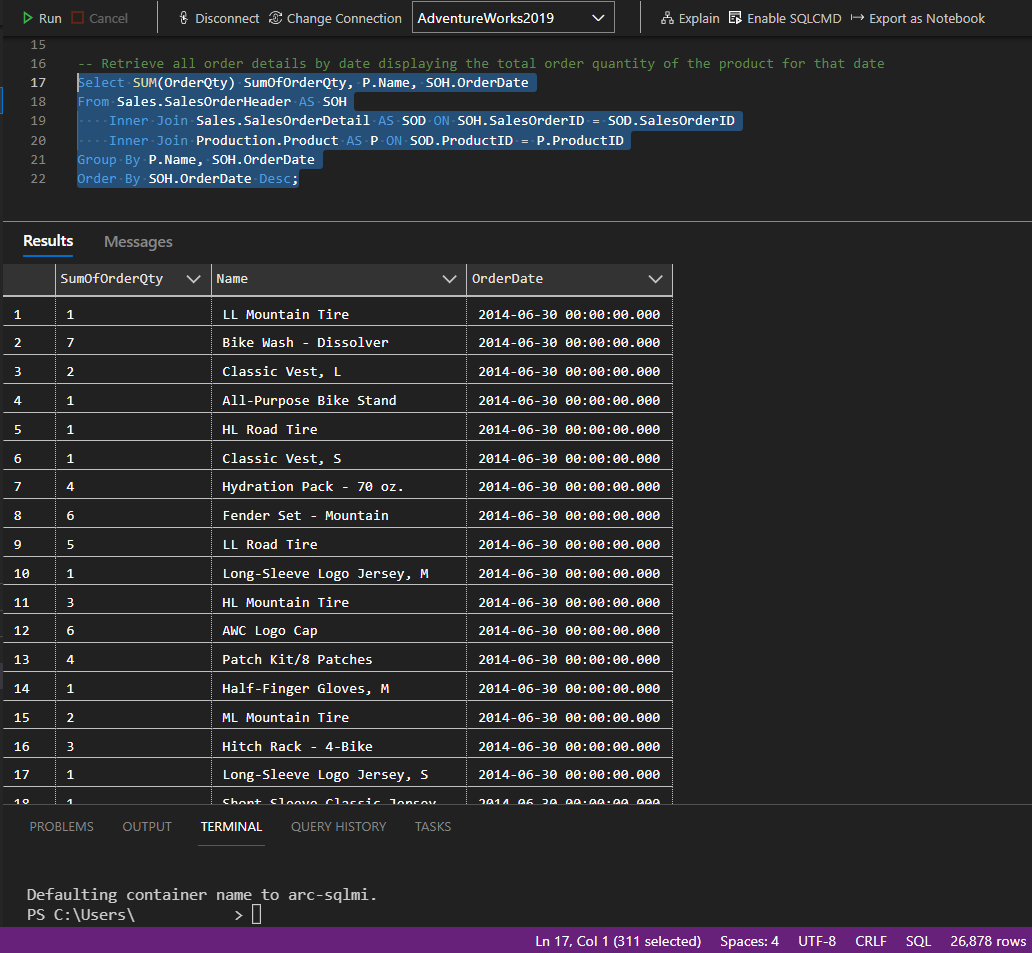
Execute the following statement to retrieve all order details in the AdventureWorks2019 database:
Select SUM(OrderQty) SumOfOrderQty, P.Name, SOH.OrderDate
From Sales.SalesOrderHeader as SOH
    Inner Join Sales.SalesOrderDetail As SOD ON SOH.SalesOrderID = SOD.SalesOrderID
    Inner Join Production.Product as P on SOD.ProductID = P.ProductID
Group By P.Name, SOH.OrderDate
Order By SOH.OrderDate Desc;