Exercise - Register and scan a data source
Grant the Microsoft Purview managed identity access
To scan a source, Microsoft Purview requires a set of credentials. For Azure Data Lake Storage Gen2, Microsoft Purview supports the following authentication methods.
- Managed Identity (recommended)
- Service Principal
- Account Key
In this module, we'll walk through how to grant the Microsoft Purview managed identity the necessary access to successfully configure and run a scan.
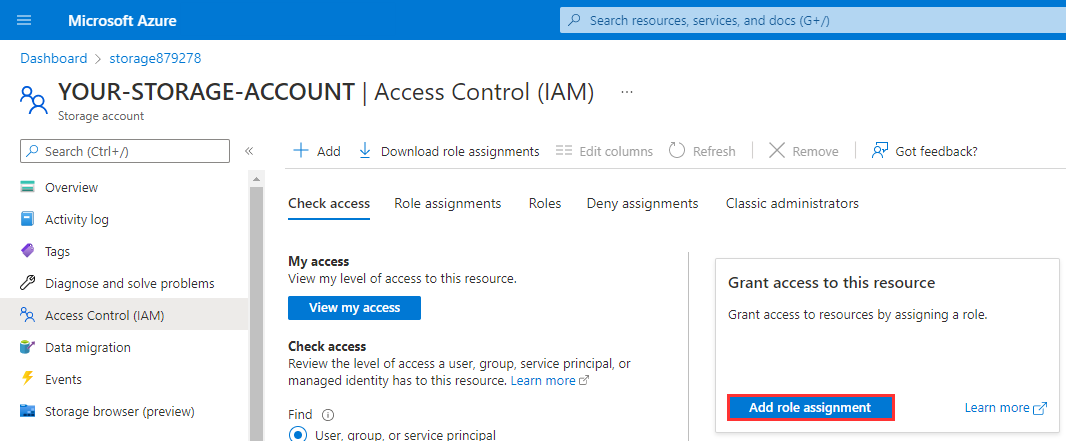
Navigate to your Azure Data Lake Storage Gen2 account in the Azure portal) and select Access Control (IAM) from the left navigation menu.

Select Add role assignments.
Filter the list of roles by searching for
Storage Blob Data Reader, select the row to select the role, and then select Next.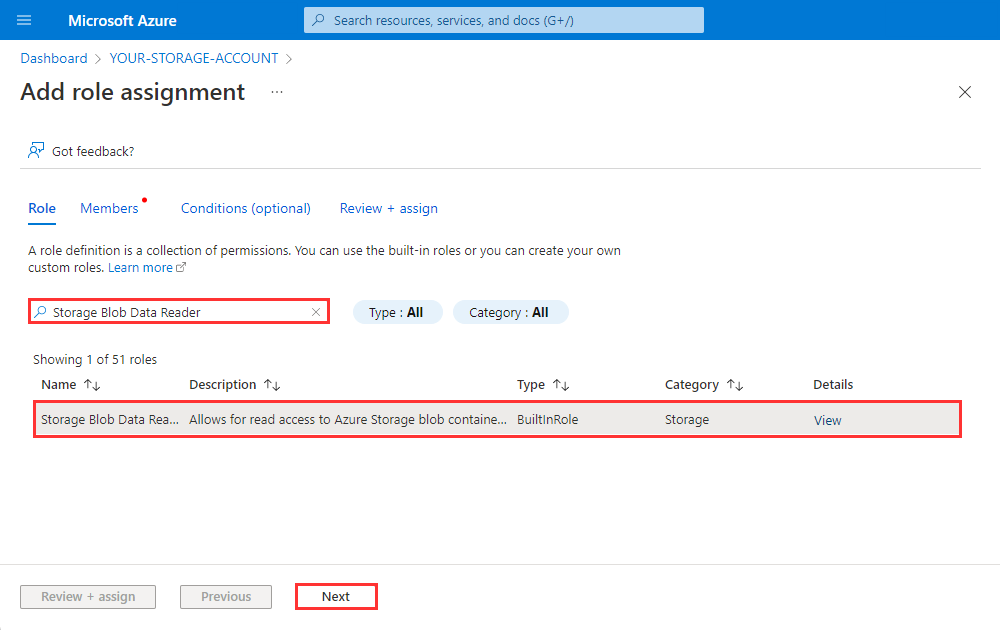
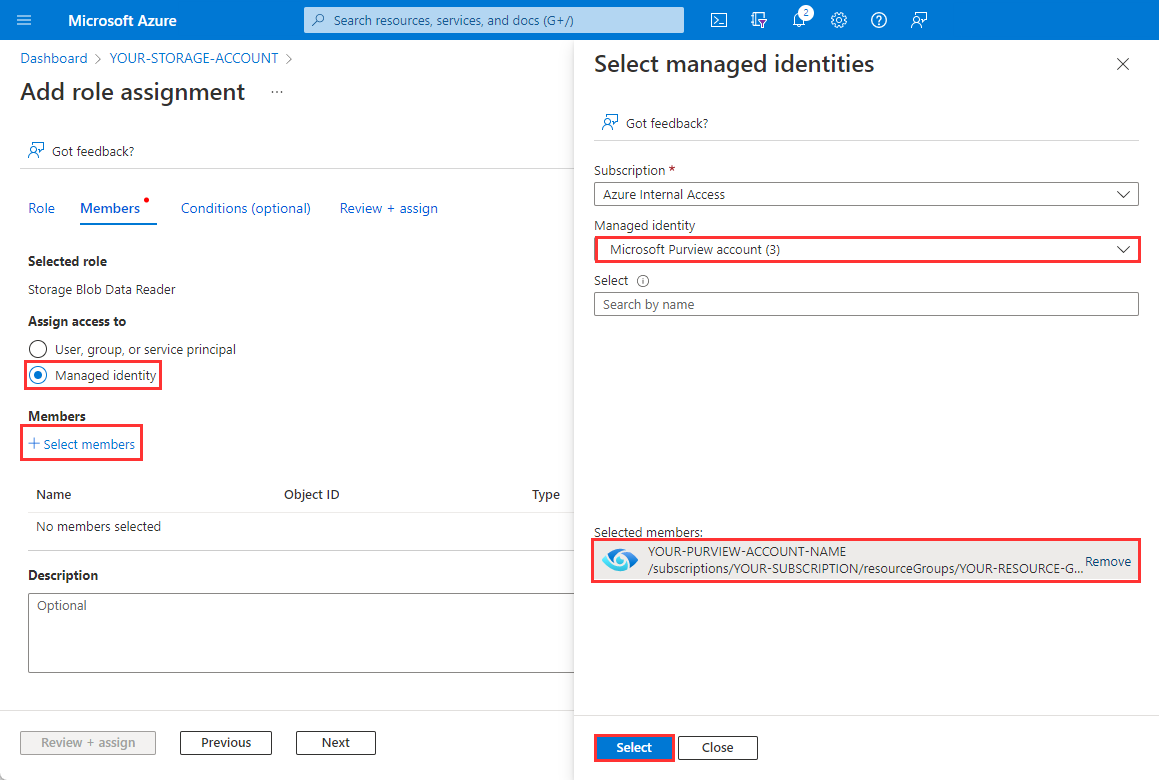
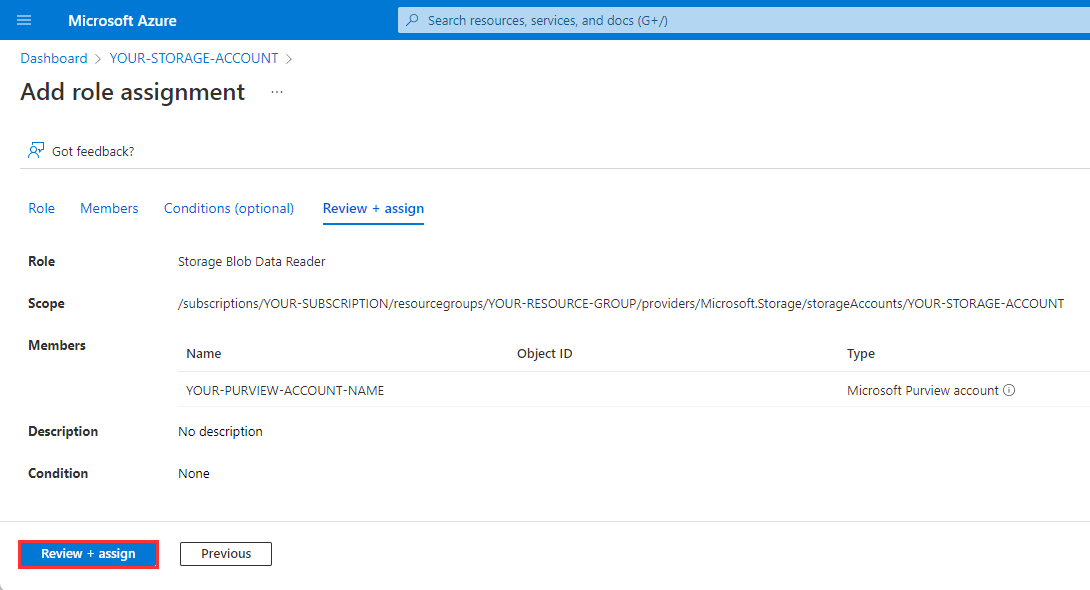
Under Assign access to, select Managed identity, select + Select members, select Microsoft Purview account from the Managed Identity drop-down menu, select the managed identity for your Microsoft Purview account, select Select. Finally, select Review + assign.
Select Review + assign once more to perform the role assignment.
To confirm the role has been assigned, navigate to the Role assignments tab and filter the Scope to
This resource. You should be able to see that the Microsoft Purview managed identity has been granted the Storage Blob Data Reader role.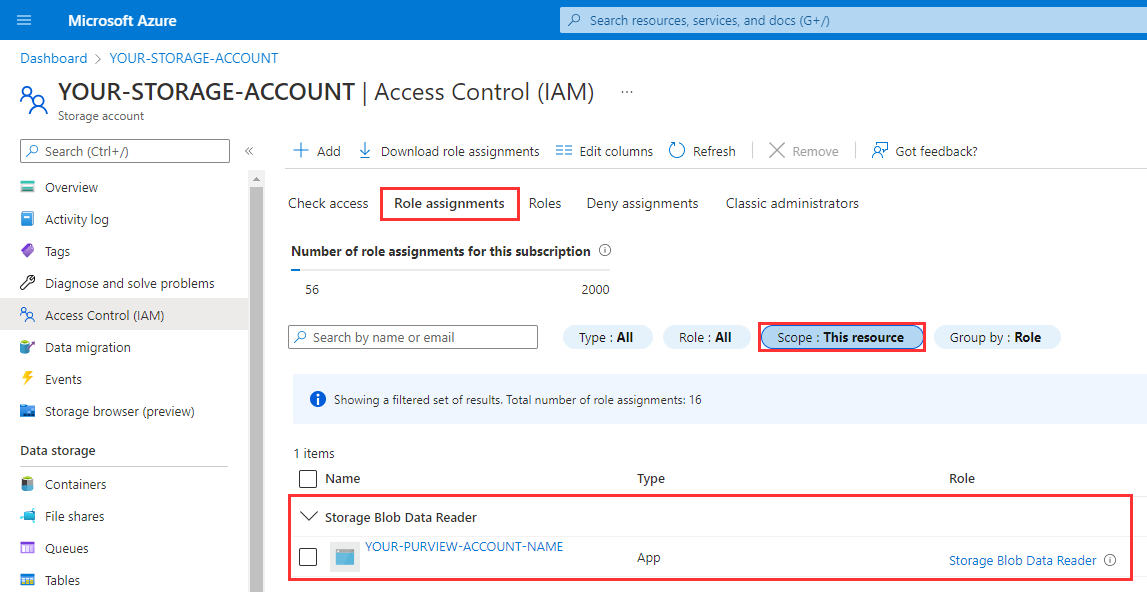
Register the source
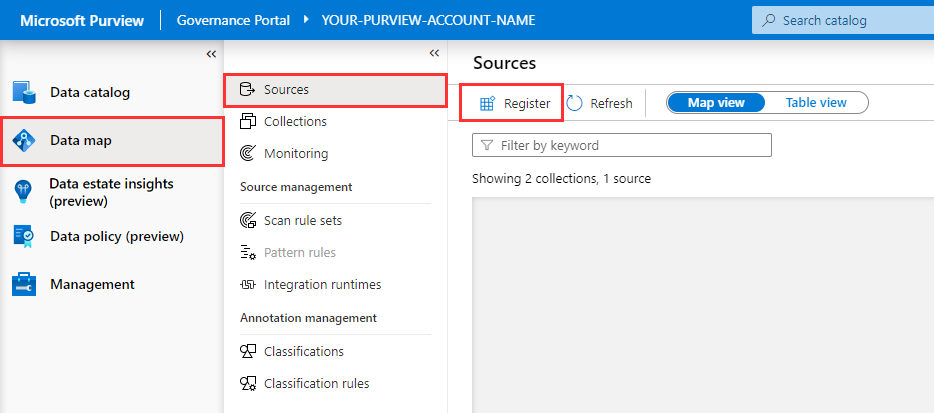
Open the Microsoft Purview Governance Portal for your account, navigate to Data Map > Sources, and select Register.
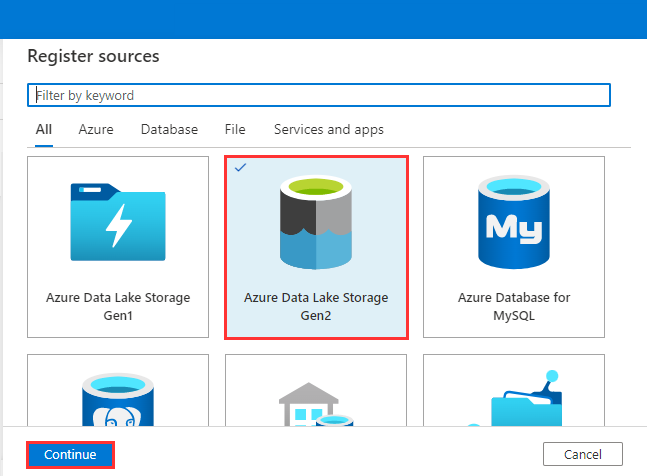
Select Azure Data Lake Storage Gen2 and select Continue.
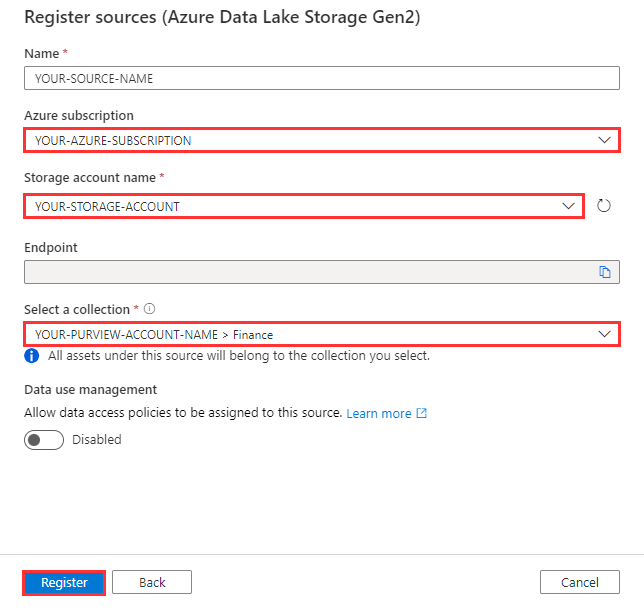
Select the Azure subscription, Storage account name, Collection, and select Register.
Scan source with the Microsoft Purview managed identity
At this point, we've registered a data source. Assets aren't written to the catalog until after a scan has finished running.
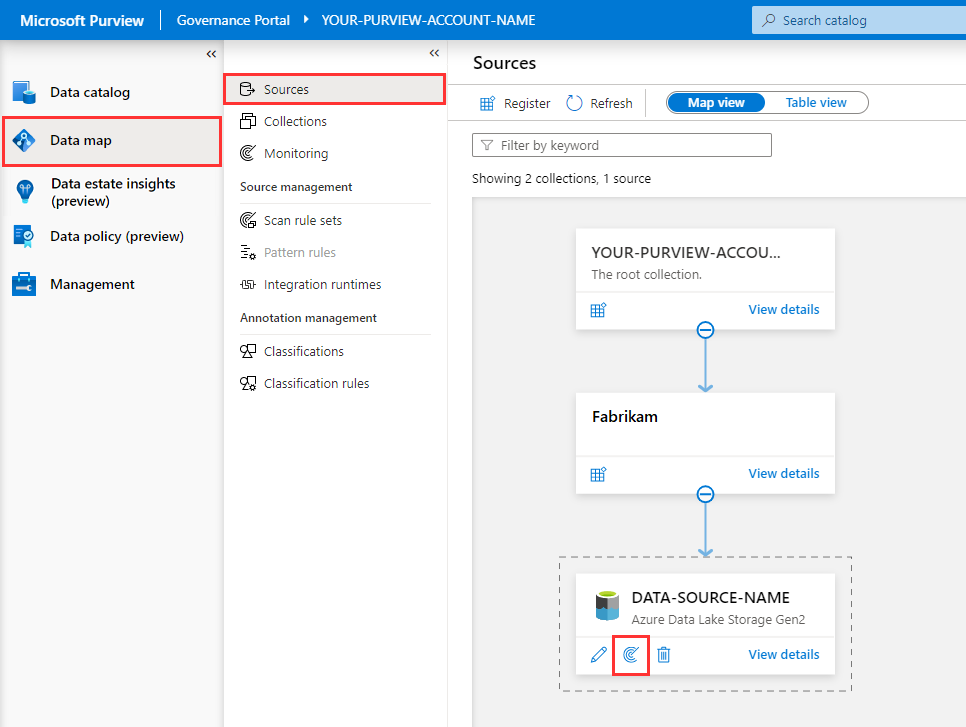
Open Purview Governance Portal, navigate to Data Map > Sources, and within the Azure Data Lake Storage Gen2 tile, select the New Scan button.
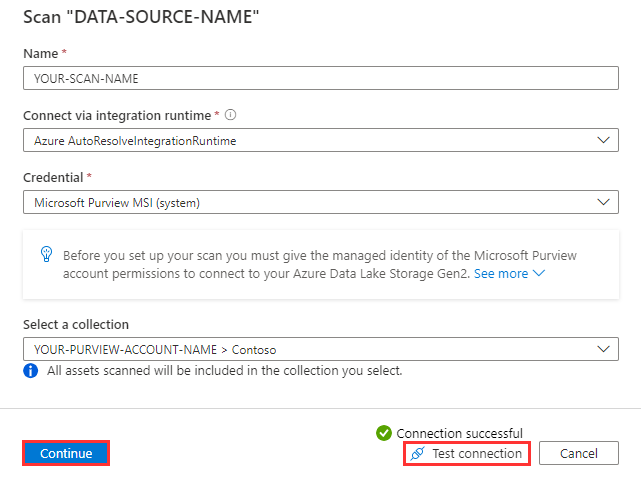
Select Test connection to ensure the Microsoft Purview managed identity has the appropriate level of access to read the Azure Data Lake Storage Gen2 account. When successful, select Continue.
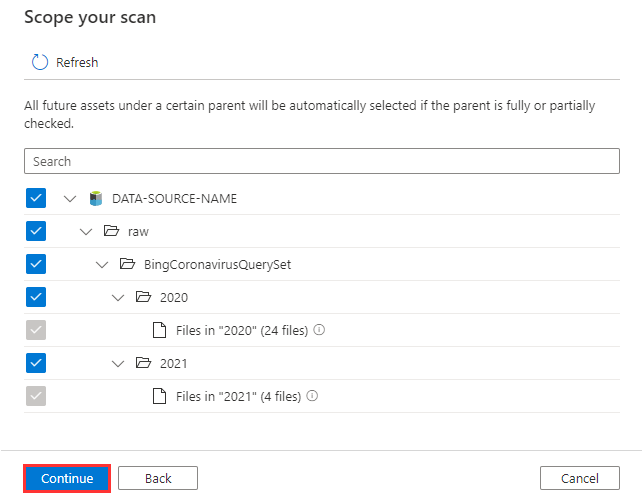
Expand the hierarchy to see which assets will be within the scans scope, and select Continue.
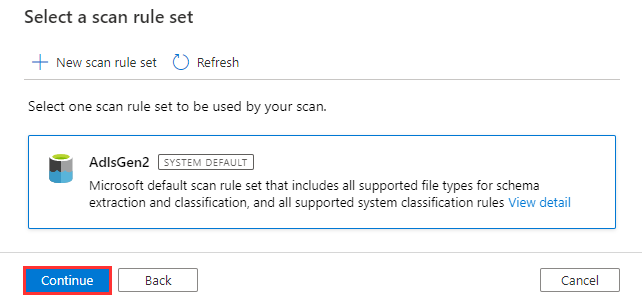
Select the system default scan rule set and select Continue.
Scan Rule Sets determine which File Types and Classification Rules are in scope. If you want to include a custom file type or custom classification rule as part of a scan, a custom scan rule set will need to be created.
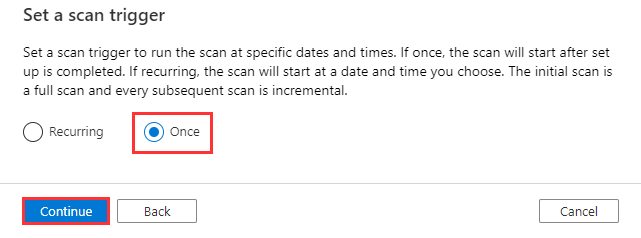
Select Once and select Continue.
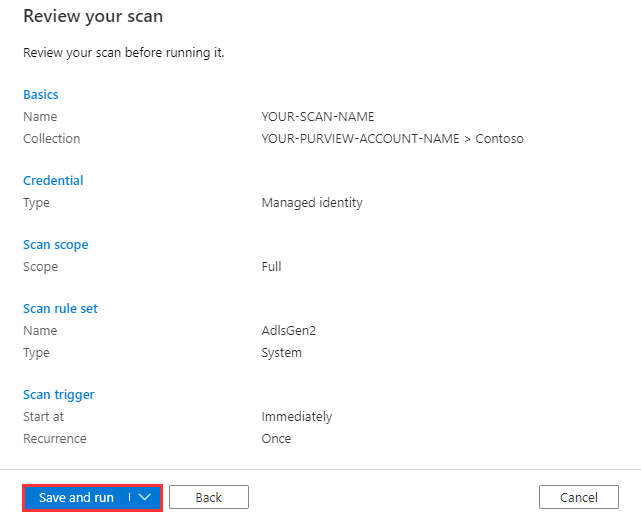
Select Save and Run.
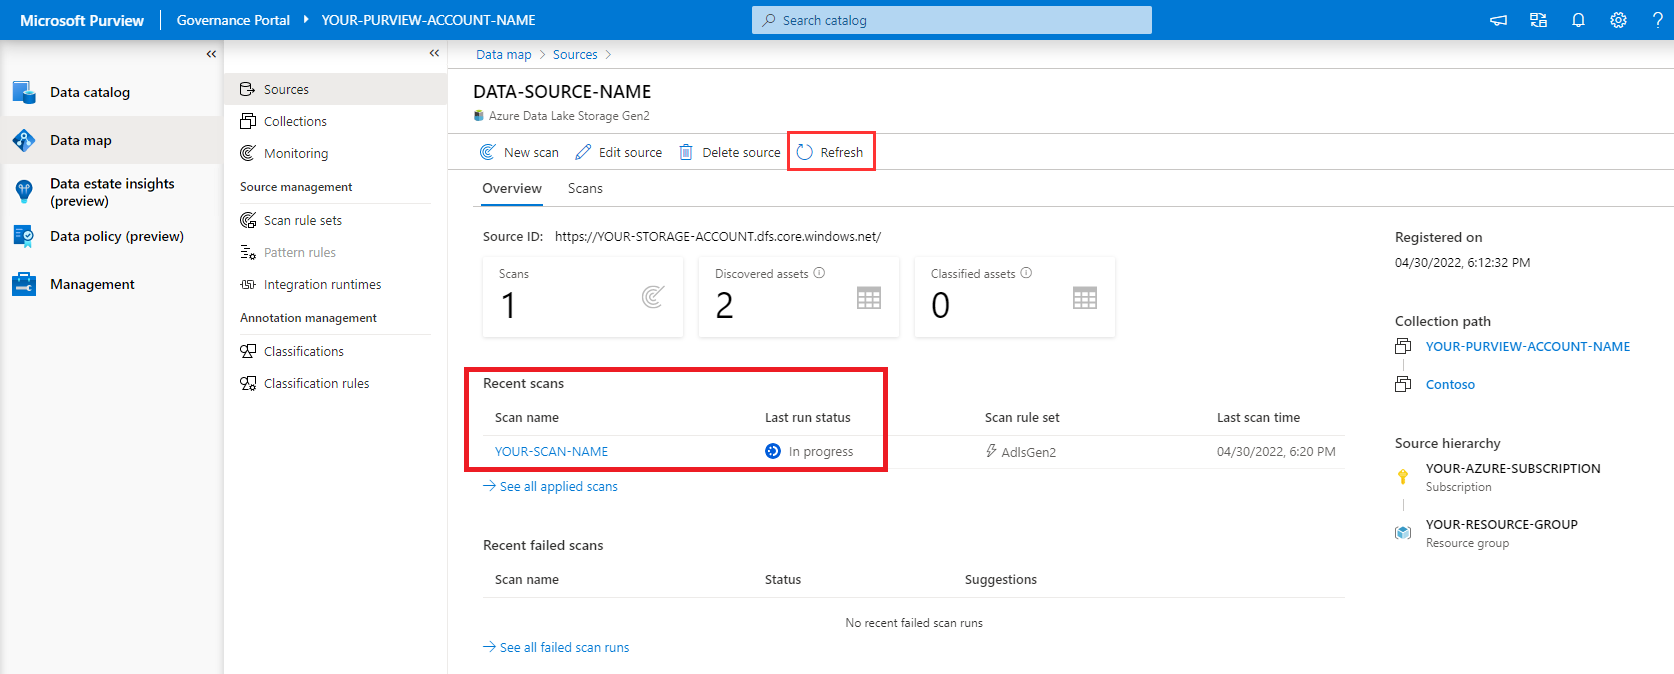
To monitor the progress of the scan run, select View Details under your data source in the data map.
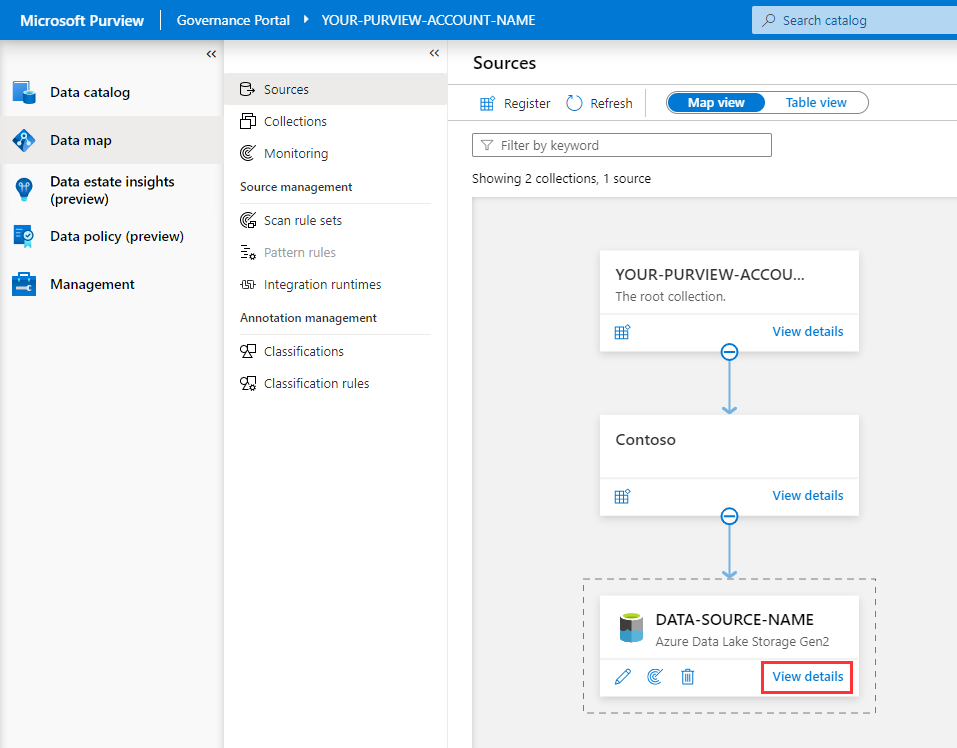
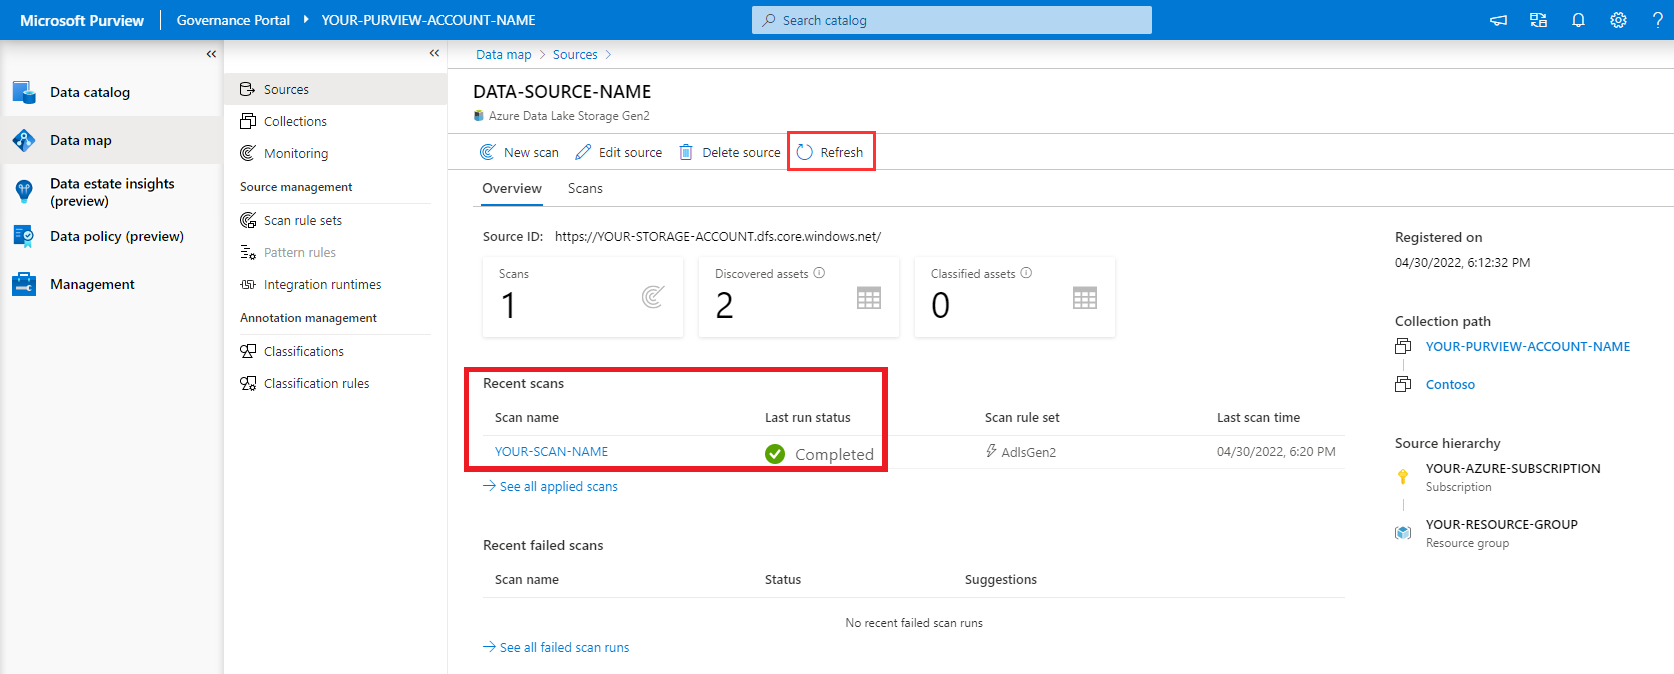
Select Refresh to periodically update the status of the scan and wait until it says completed.
Note
It will take 5 to 10 minutes to complete.
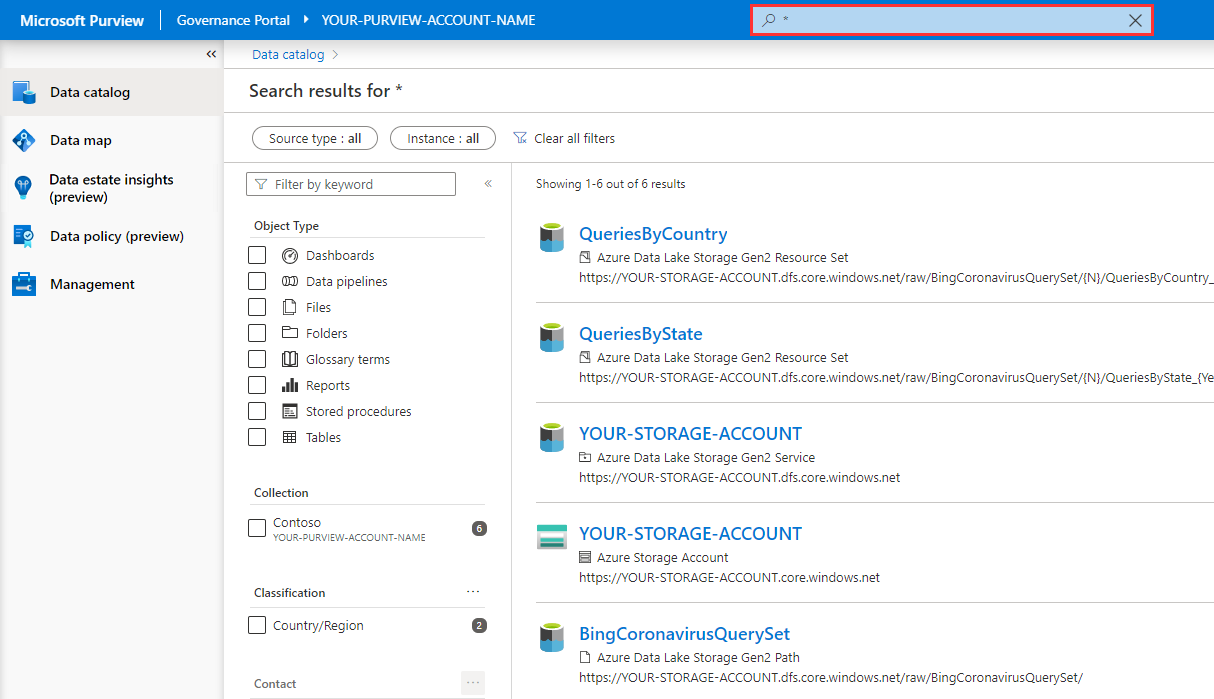
View Assets
Navigate to Purview Governance Portal > Data catalog, and perform a wildcard search by typing the asterisk character (
*) into the search box and hitting the Enter key to submit the query.
You should be able to see a list of assets within the search results, which is a result of the scan.