Setup
Prerequisites
In order to follow the hands-on exercises in this module, you'll need the following:
- An Azure account with an active subscription. If you don't have one, you can follow the link to create a free one.
- Owner permissions within a Resource Group to create resources and manage role assignments. If you just created your Azure account, you'll have owner permissions already. If you didn't create your subscription, check with your Azure administrator to confirm you have owner permissions within a resource group.
- An Azure Data Lake Store Gen2 or Azure Storage account. If you don't have one, follow the steps below to create one.
- Some data in your ADLS Gen2 or Azure Storage account. If you don't have any data, you can follow the steps below to add data to your storage account.
Create a storage account
Note
If you already have an ADLS Gen2 or Azure Storage account in your subscription that you would like to use, you can skip this section.
To provide data for Microsoft Purview to classify, we'll set up an ADLS Gen 2 account with some sample data. Follow the steps below to create the resource.
Sign in to the Azure portal with your Azure account.
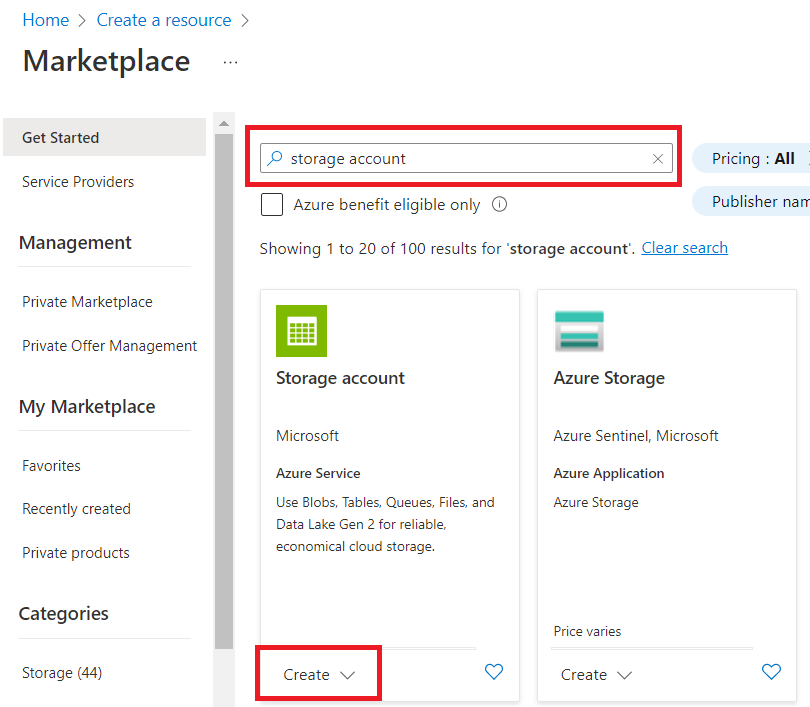
Select Create a resource.

Search for and select Storage account.
Select the Storage account plan, and select Create.
Select an existing resource group, or create a new one.
Create a unique storage account name.
Select Standard performance.
Select Locally-redundant storage.
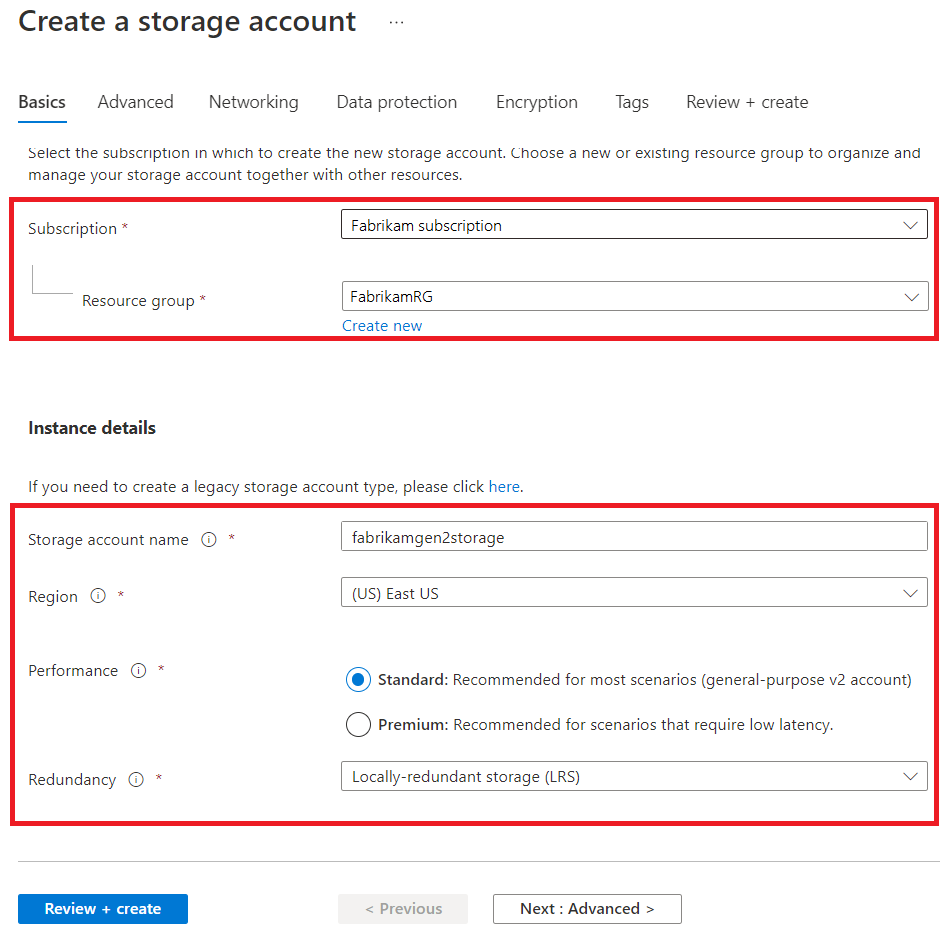
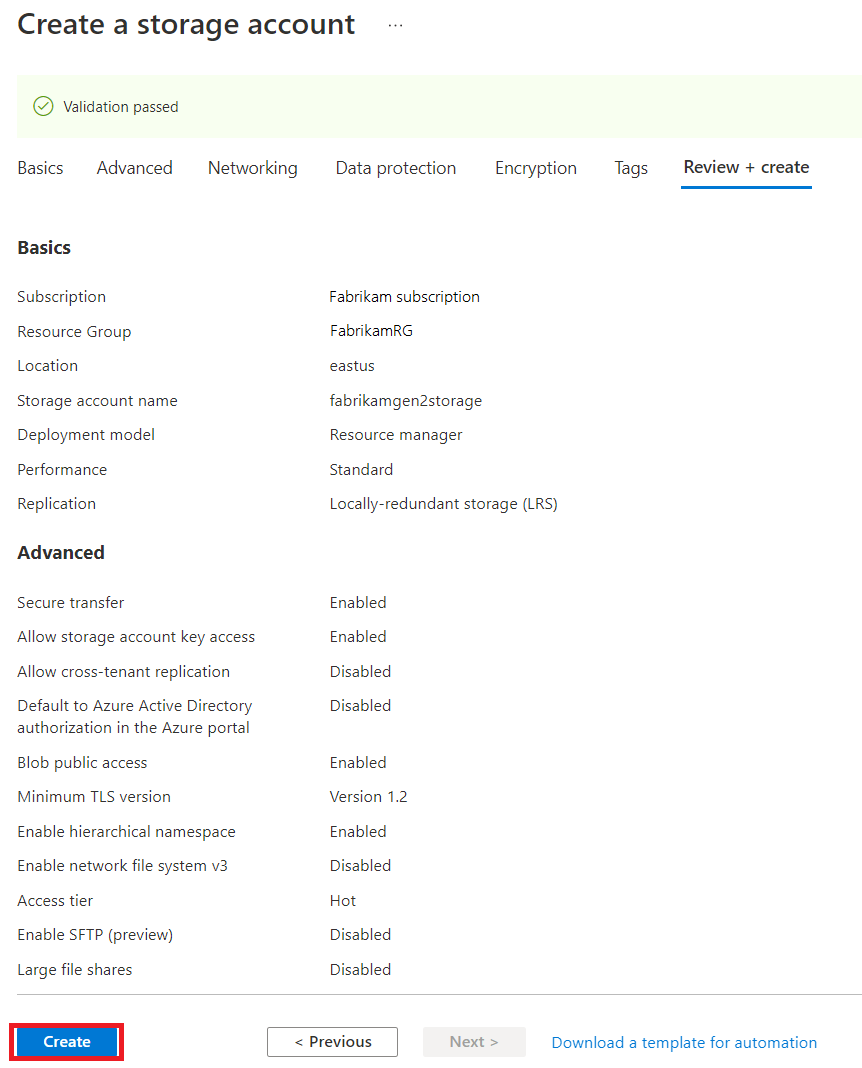
Select Next: Advanced.
Select Enable hierarchical namespace.
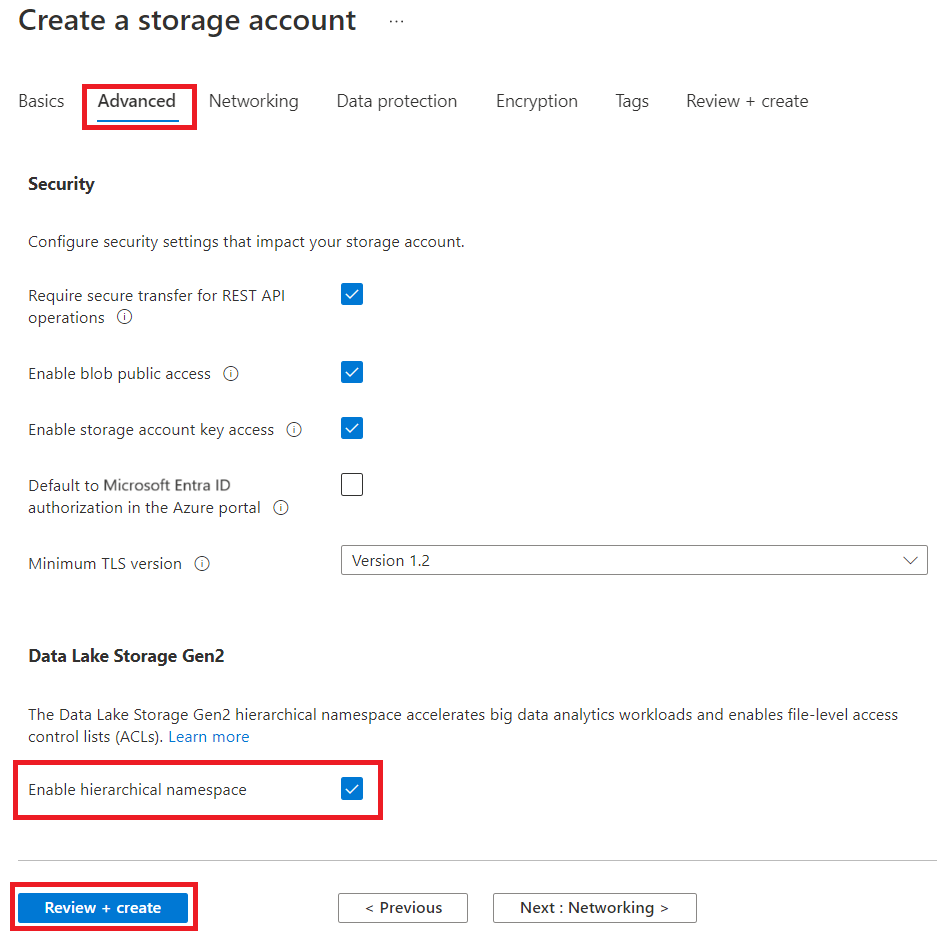
Select Review + create.
After validation succeeds, select Create.
Add data to your storage account
Note
If your storage account already has data you would like to scan, you can skip this section.
Download a copy of the Bing Coronavirus Query Set to your local machine.
Note
This data set was originally sourced from Microsoft Research Open Data.
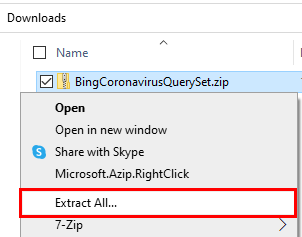
Locate the downloaded zip file via File Explorer and unzip the contents by right-clicking or holding on the file and selecting Extract All...
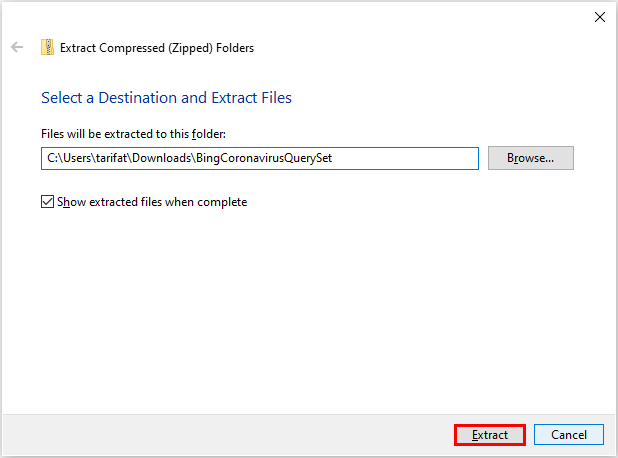
Select Extract.
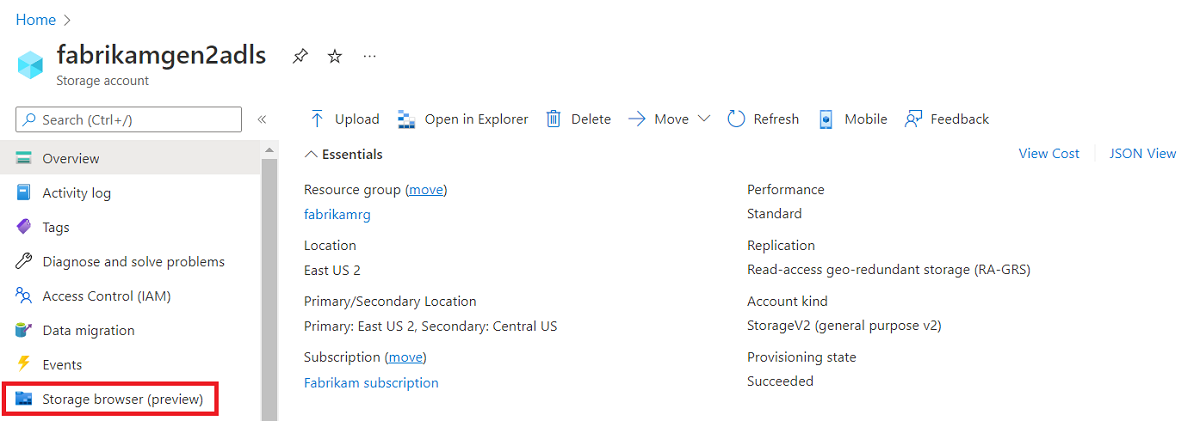
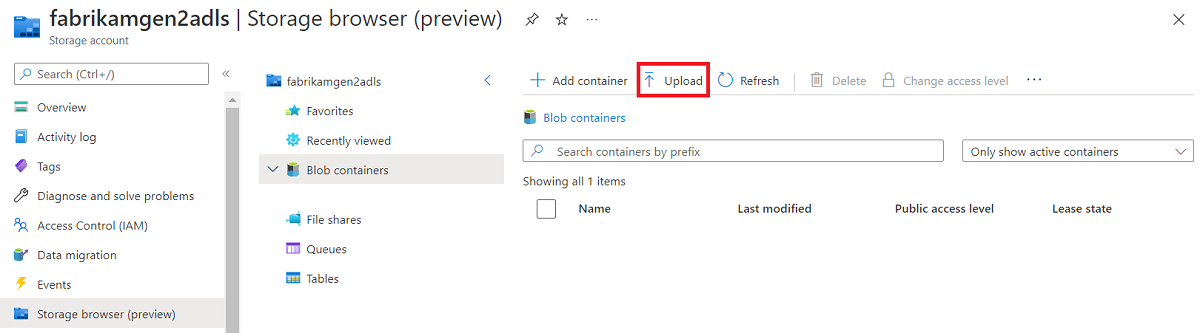
In the Azure portal, locate your storage account, and in the left menu select Storage browser.
Select Upload from the top menu.
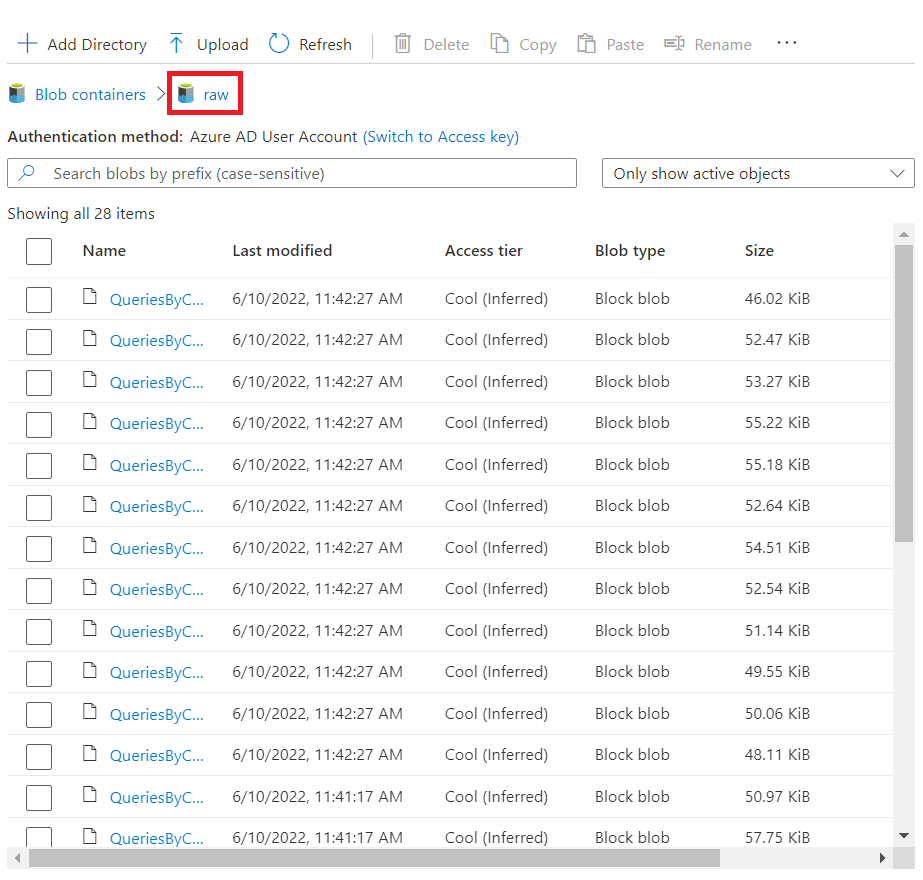
In the new menu either browse for files, or drag all your files from the query set we extracted earlier. Create a new container, named raw.
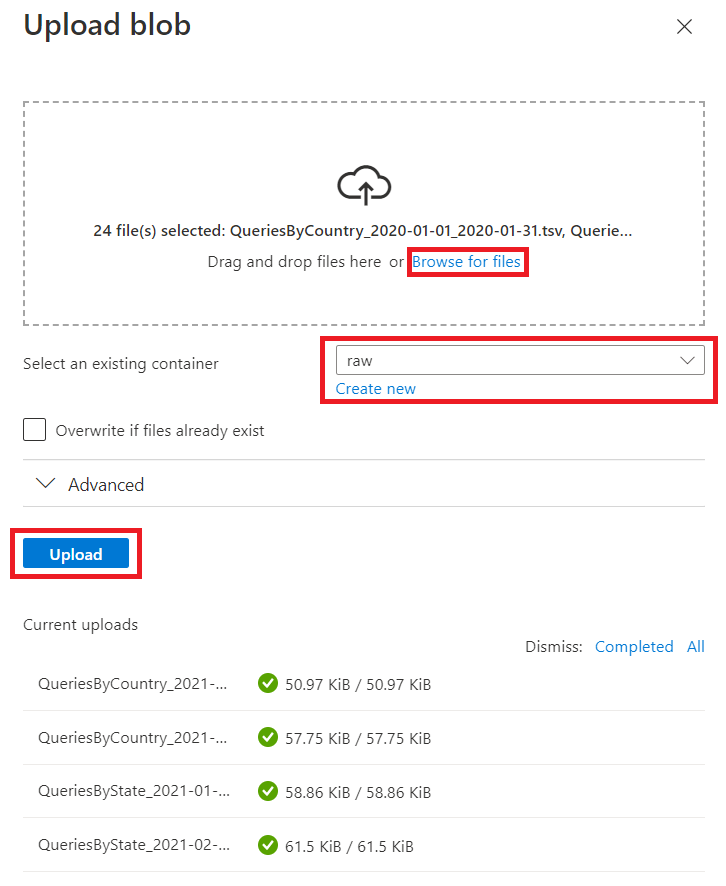
Select Upload, and at the bottom of the screen you'll see the upload status of each file as it is added.
Once all your files are uploaded, you can exit the upload menu and select our new raw container.
In the raw container, you should see all the files you uploaded.