Exercise - Access control
In this unit, you'll use the Microsoft Purview governance portal to provide a user within your Microsoft Entra read access to the data map. You'll then create another collection.
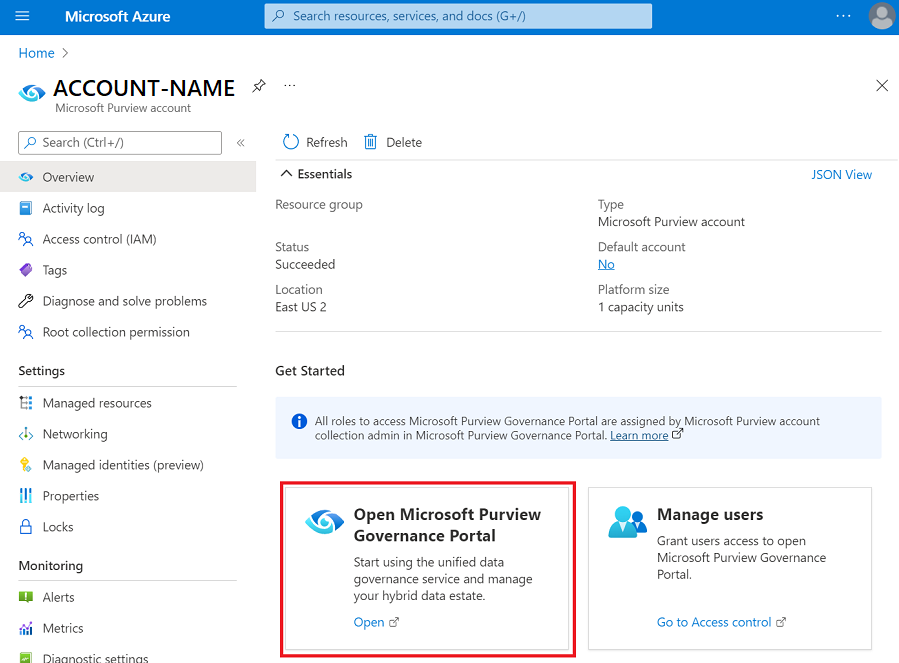
To open Microsoft Purview governance portal, you can use the link and select your account, or you can open the Azure portal, search for the Microsoft Purview account you created in the last session, and select Open Microsoft Purview Governance Portal.
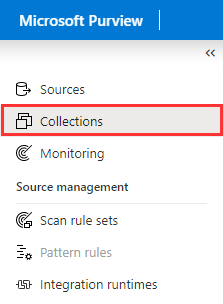
On the left-hand menu of Microsoft Purview governance portal, navigate to Data map.

Select Collections.
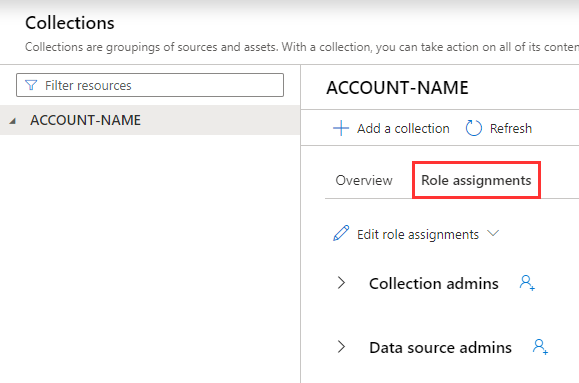
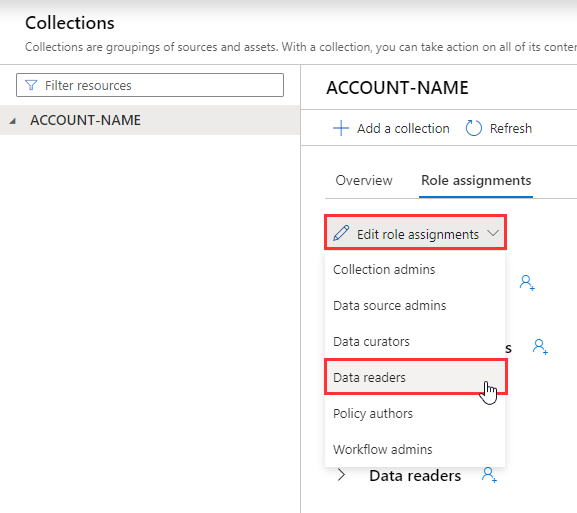
Select the root collection. This should be the only collection on your new account, and will have the same name as your account.

Select Role assignments.
Open the Edit role assignments menu and select Data readers.
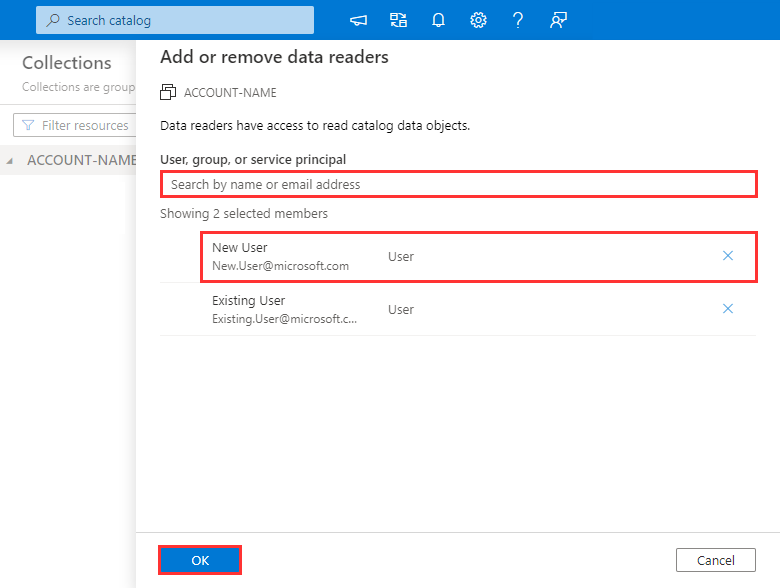
Search for another user within your Microsoft Entra ID, select their account, select OK. This will grant the user read permissions on your Microsoft Purview account.
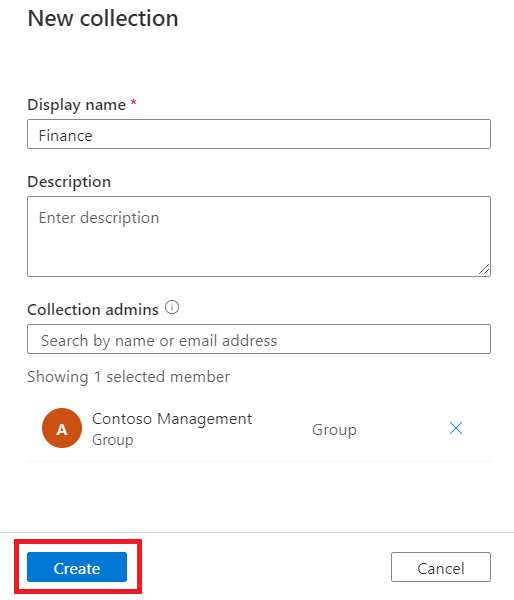
Back at your root collection, select + Add a collection

Give your new collection a name. In this example, we've used 'Finance', but any name that suits the top level of your organization will work. You can also choose to add a collection admin for this collection. The collection will automatically inherit an admin from the root collection, but you can add another.
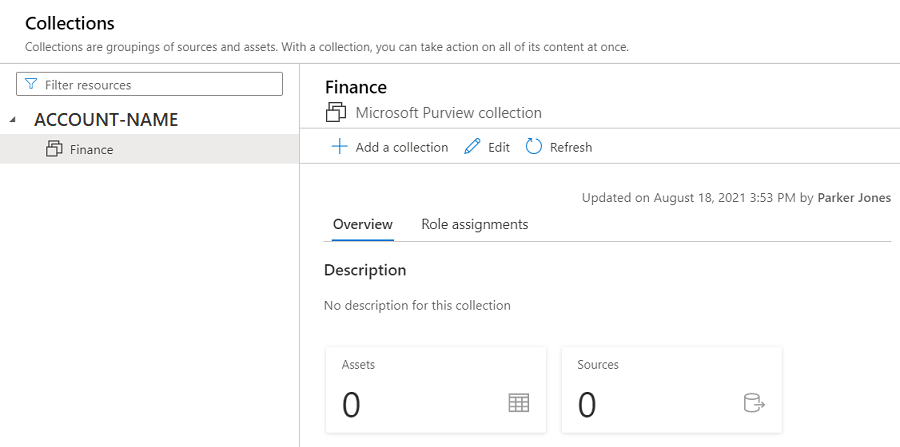
After you've created your collection, you'll automatically be navigated to this collection's page. You'll see it now has its own window where you can add a subcollection, edit, or add role assignments, just like the root collection.
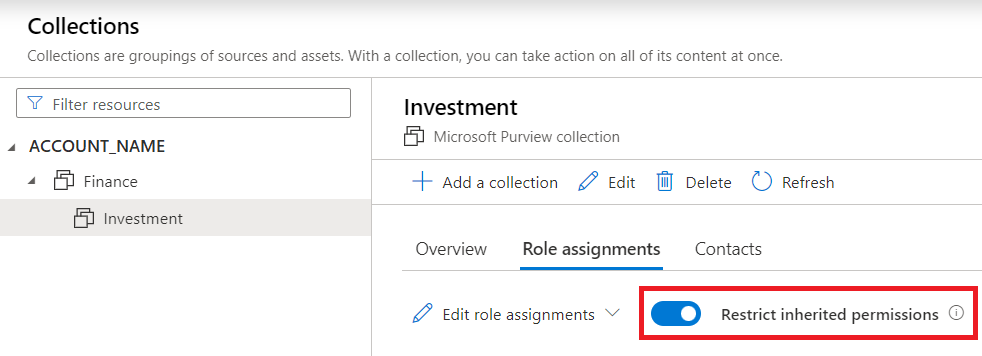
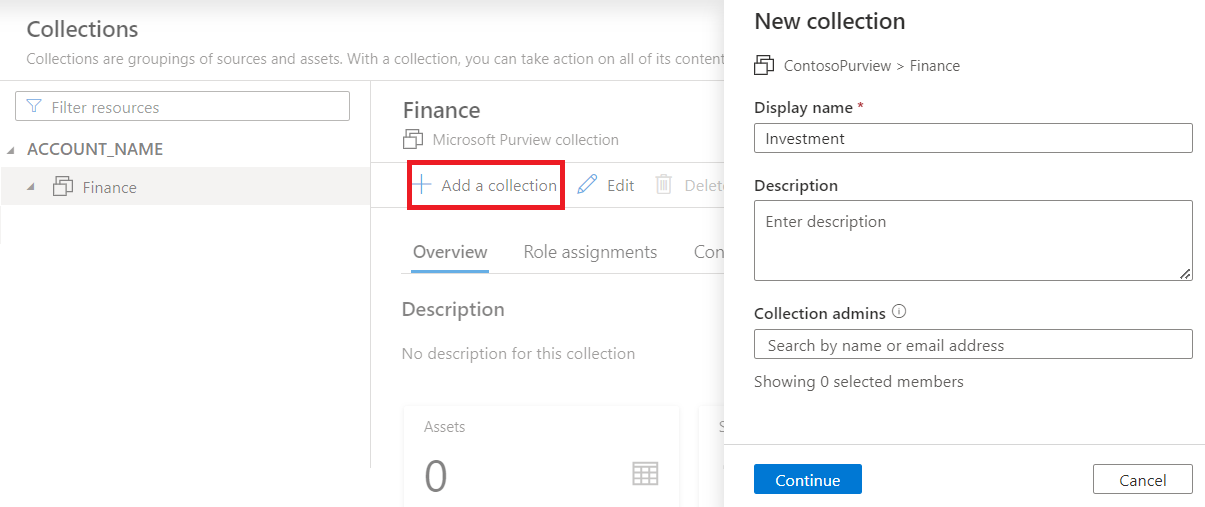
Let's add one more collection under our new 'Finance' collection. Select the 'Finance' collection, then select + Add a collection, and give your new collection a name. In our example, we've chosen 'Investment'.
Once you've created your new collection, select the new collection, select Role assignments. Enable to Restrict inherited permissions toggle. This will create a secure subcollection that won't inherit permissions from the Finance or root collections.