Create the first app
Now that a solid understanding of Power Apps has been established, the next step in the journey is to create an application in Power Apps.
This tutorial demonstrates how to create a Student Information app. Follow these steps to get started:
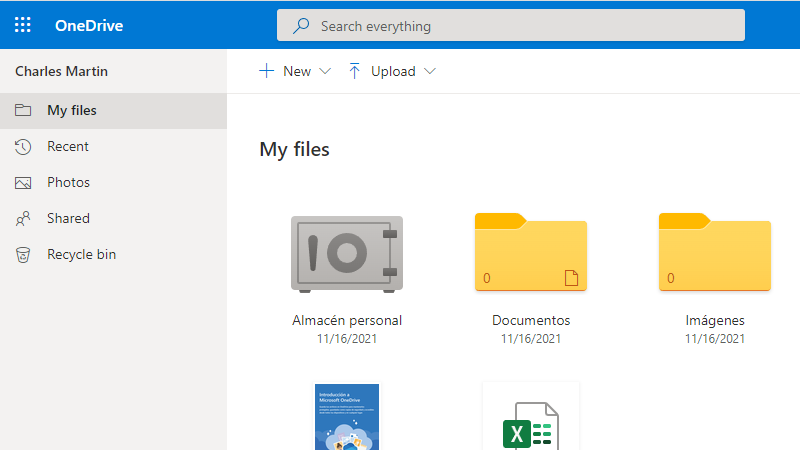
Step 1 - Connect to a data source: For this tutorial, we're including an Excel spreadsheet for the data source. Download the data source spreadsheet and upload it to your OneDrive for Business (your institutional OneDrive will be a OneDrive for Business).
Step 2 - Open the spreadsheet: Inside, there are already placeholders for contact information. In the first or second row, update the email and contact information with a different name and email.
Step 3 - Sign in: Next, go to the Power Apps page and sign in with the school/organizational account normally used. This account should be the same as the one used to upload the data source in the first step.
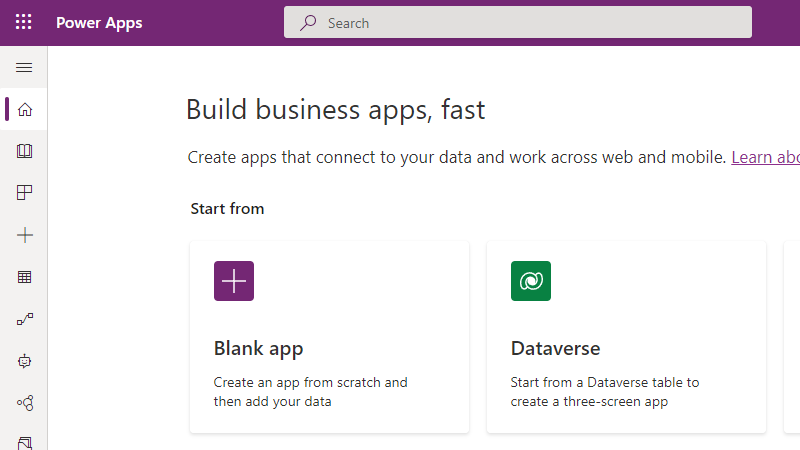
Step 4 - Create: Expand the side menu (three horizontal lines at the top left) to see view and select the Create option. Then, select Start from Excel to create a three-screen app.
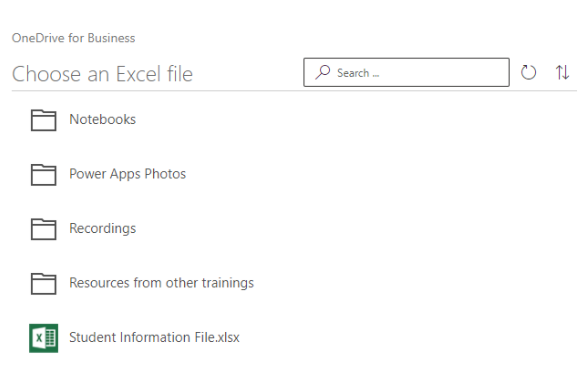
Step 5 - Connect: Under Connections, select the same OneDrive for Business account previously used.
- If the OneDrive doesn’t already appear in your list of connections, select New Connection to create a connection to the OneDrive where the file was uploaded.
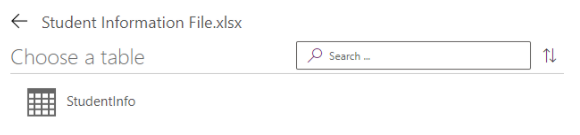
- For Choose an Excel file, on the right side, scroll to find and select Student Information File.xlsx. For Choose a table select Student Info and select Connect.
Step 6 - View the data: Power Apps auto-generates the app by matching the data in the Excel spreadsheet table to the Power Apps program template created for this exercise. Applications that are generated will always be based on a single list or a table (the table in the sample Excel spreadsheet was already established). The app can be updated by editing or adding more data at a later point.
Step 7 - That’s all that there's to it. The new three-screen app will now open in Power Apps studio. Practice using the application by selecting the play icon (grey triangle) in the upper right corner.

Step 8 - Select File, then Save as, then The Cloud / Save to Power Apps. Replace the current title “App” with the name “Student Information App,” then select Save. A green check mark will display when all of the changes are successfully saved. Now the app will remain in the Power Apps account apps for later access.
The app that was created includes all of the data from the Excel table. This activity provides a good entry experience to gain a basic understanding of the power of Power Apps.
Excellent job! Your first app has just been created.