Customize the app further
Data cards can be further customized with unique fields, such as behavior notes, parent call history, absences—even borrowed items from the classroom. Data cards are sections of information that are displayed in the app.
The ability to “click to call” phone numbers from the app may be wanted. These options are explored in this section.
- Add a custom data card
- Reorder fields
- Insert a button
- Write a formula
- Format text display using a function
Add a custom data card
Data Card controls are the building blocks of the Edit form and Display form controls in canvas apps. The form represents everything that is on the entire record, and each of the cards represents a single field of that record.
Let’s rearrange the DataCards on the DetailsScreen1.
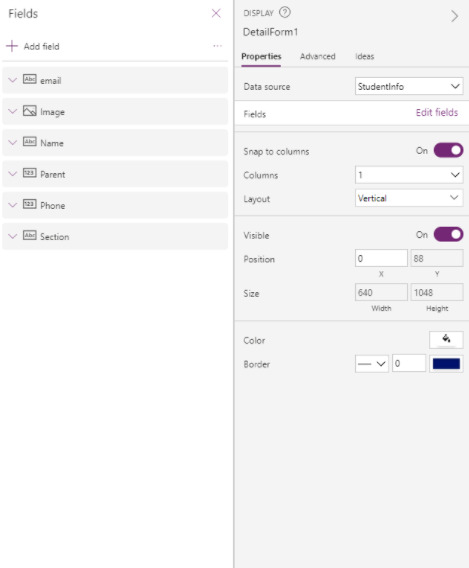
- On the left, select DetailForm1 (under DetailsScreen1)
- Then select Edit Field and the three dots next to Add a Field and select Add a custom card
- Do this two times so that two custom cards have been added
- Using the right-hand side tool board under properties, select edit fields. Drag the fields to new positions or use the three dots and move the cards up and down. Put the cards in this order:
- Name
- Section
- Image
- Parent
- Phone
- DataCard1
- DataCard2
The addition of the new custom data cards may make it difficult to view all the cards on the screen. It's possible to scroll to view the rest, but it would be better for the user to view everything on one page. To improve the view:
Step 1 - Make some category titles invisible. First, select the portion of the DataCard that says Name.
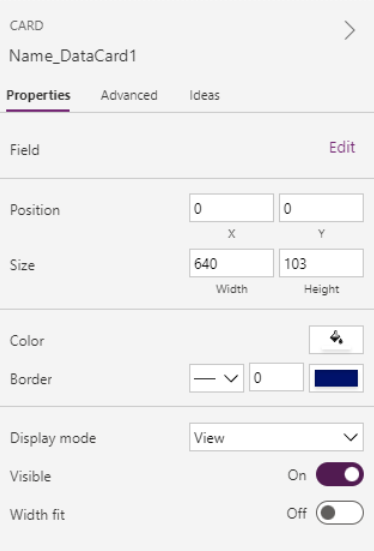
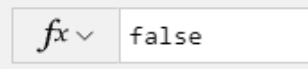
Under Properties, slide the Visible toggle off.

Step 2 - Resize the box on the screen smaller until it becomes invisible. This can then be repeated to remove the word image.
Insert buttons
Now let’s add a bit more functionality to the app by inserting two buttons. On the DetailsForm1 select DataCard1. Select Insert then Button. Insert two buttons and drag the buttons until both are visible. Name one Text and the other Call.

The buttons don’t function yet, so we need to add a bit of functionality to them.
Add functionality to buttons
Copy and paste this formula into the function bar for the text button.
- Launch("sms:"&Phone_DataCard2.Default)
Copy and paste this formula into the function bar for the call button.
- Launch("tel:"&Phone_DataCard2.Default)
Test the buttons
Let’s test everything out to see how it works. Run the application and select Call. This will open either Teams or Skype—whichever app for making phone calls is configured on your device. If testing it on a mobile device, it can send a text or make a call.

Add email button
Let’s add another button to send an email. Repeat the same steps used above with the following formula.
- Launch("mailto:"&email_DataCard2.Default)

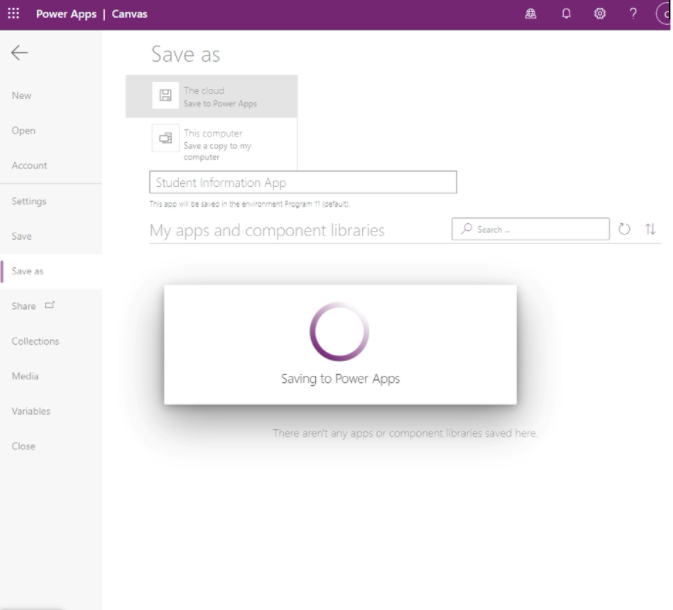
Be sure to save the app again, following the same process used earlier.
In this example we provided formulas for you. But there’s much more you can do with formulas. Microsoft has compiled many of them, and there are many Power Apps users who have shared their favorites online. Just search!
Power Apps on mobile: The application can also be used on a mobile device!