Edit apps and change the controls
Now let’s learn about editing apps in Power Apps Studio. To exit the Play mode we were just in, select X in the top-right corner to display the Power Apps canvas.
On the left of the panel is the navigation which displays different parts of the app that was developed.
Edit rows: The app also allows you to edit these rows or to even add a new row. Now that we've looked a bit deeper into Power Apps, let’s customize it a little.
Update the layout: From the right pane, open the Data pane by selecting the drop-down menu next to Layout. Different layouts can be explored from this screen, such as the image, title, or subtitle. Changes are seen in real-time as they process.
The ability to change the controls in the app lets you sort the data cards and order them to best suit your needs. For instance, if parent telephone numbers are frequently used, they can be placed at the top of the data card.
The steps to update the controls are:
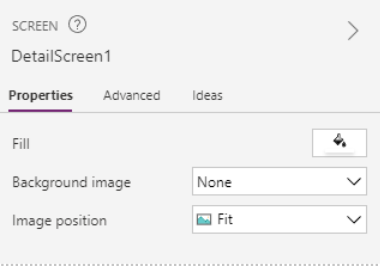
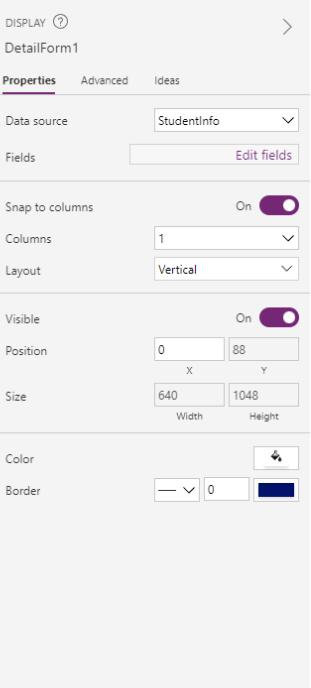
Step 1 - Explore the details screen to figure out what changes are wanted. The details screen is named DetailScreen1 by default.
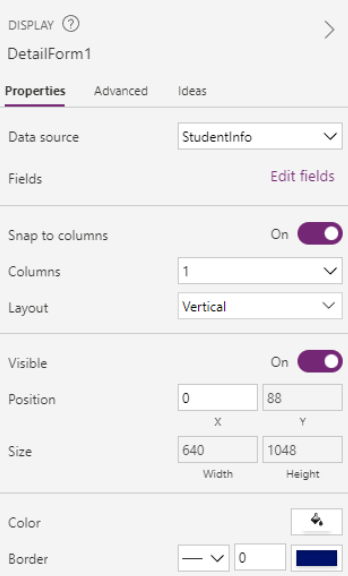
DetailForm1 – This control contains other controls. It also contains a data card for each column of the row being displayed.
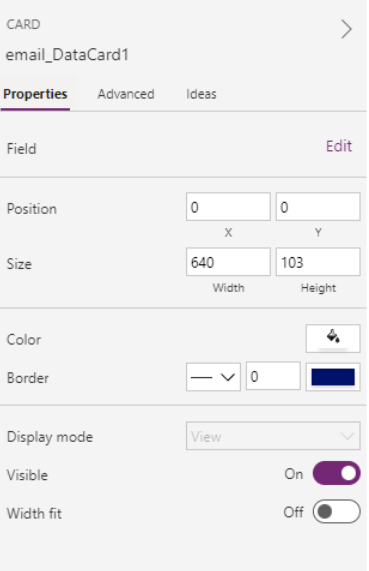
email_DataCard1 – This is the card control. Each card represents a single column of the row.
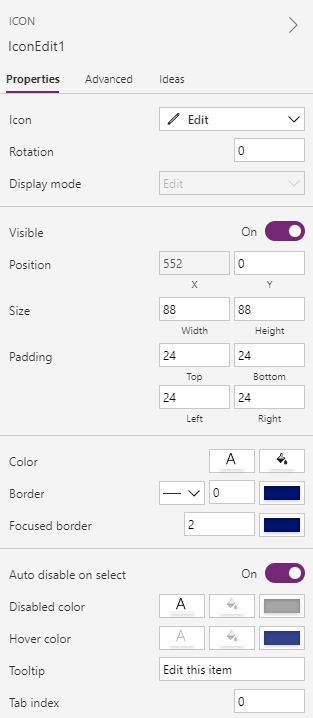
IconEdit1 – When this control is selected, it opens the edit/create screen so that the user can edit the current item.
Step 2 - Reorder the DataCards on DetailForm1. For example, the parent email may be displayed first, which wouldn’t benefit users who want to view student cards. It can easily be reordered in the app.
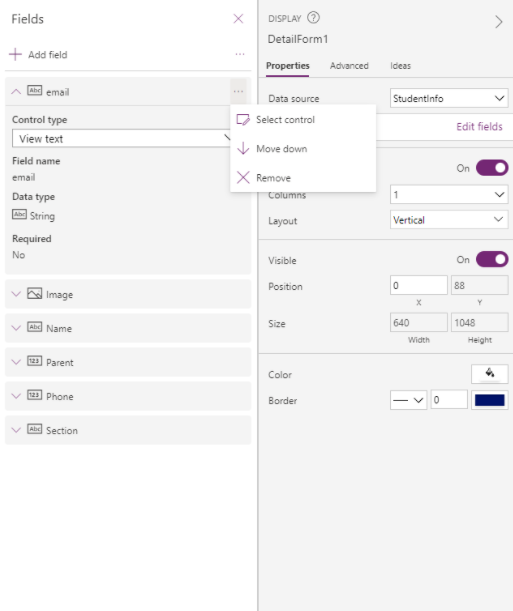
Select DetailForm1 on the left side. Then on the tool bar on the right, under properties, select Edit fields.
When finished, the DataCards can be reordered by dragging to the preferred placement. Another option for reordering is available from the details screen. Select the three dots on the right of the field to be edited. The different data fields can then be moved up and down to put them in the order that makes the most sense.
Step 3 - Republish the app by selecting File and Save. In Power Apps, users have the opportunity to save a different version after any edit so you can return to a previous version of the app, if needed.

Now let’s customize the app a bit further.