Exercise - Create a custom connector from an OpenAPI document
In this exercise you'll learn how to create a custom connector from an OpenAPI document.
Note
To complete this exercise you will need a Power Apps license, an openapi.json file and an API access key.
Power Apps requires either a Microsoft 365 license or a free trial. Learn more about your licensing options. Microsoft products include Microsoft Power Apps and Power Automate.
The openapi.json file can be found on GitHub here. Unzip the archive, and the openapi.json will be included.
The API access key has already been obtained from the previous exercise unit.
Create a custom connector from an OpenAPI document
There are several ways of creating a custom connector for Power Apps. In this exercise, you will create one using an OpenAPI document. Suppose you have an OpenAPI document named openapi.json and an API access key provided by the professional development team.
After logging into Power Apps dashboard, open the
Datablade and click theCustom Connectorsmenu on the left-hand side. Then, click the➕ New custom connectorbutton at the right-top corner and select theImport an OpenAPI filemenu.
When a pop-up modal appears, give the name, InventoryManager, to the
Connector namefield and click theImportbutton to import the OpenAPI document,openapi.json. Then, click theContinuebutton.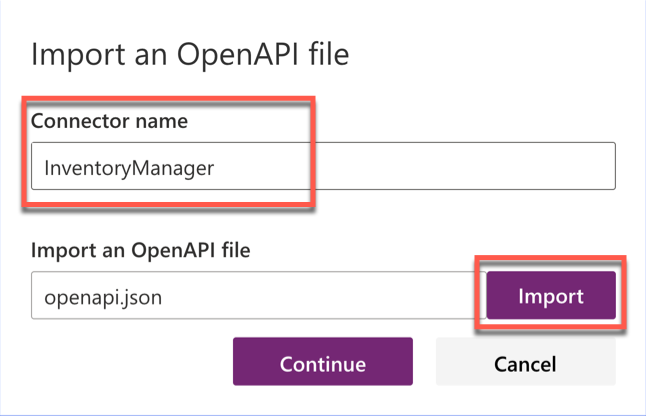
As the OpenAPI document has everything you need to create the custom connector, click the
✅ Create connectorbutton at the right-top corner.
Once the custom connector is created, you will see the message,
✅ Custom connector has been successfully createdat the top of the screen.
Click the
Custom Connectorsmenu on the left-hand side of the page, and you will see the custom connector created. The➕button at the right-hand side.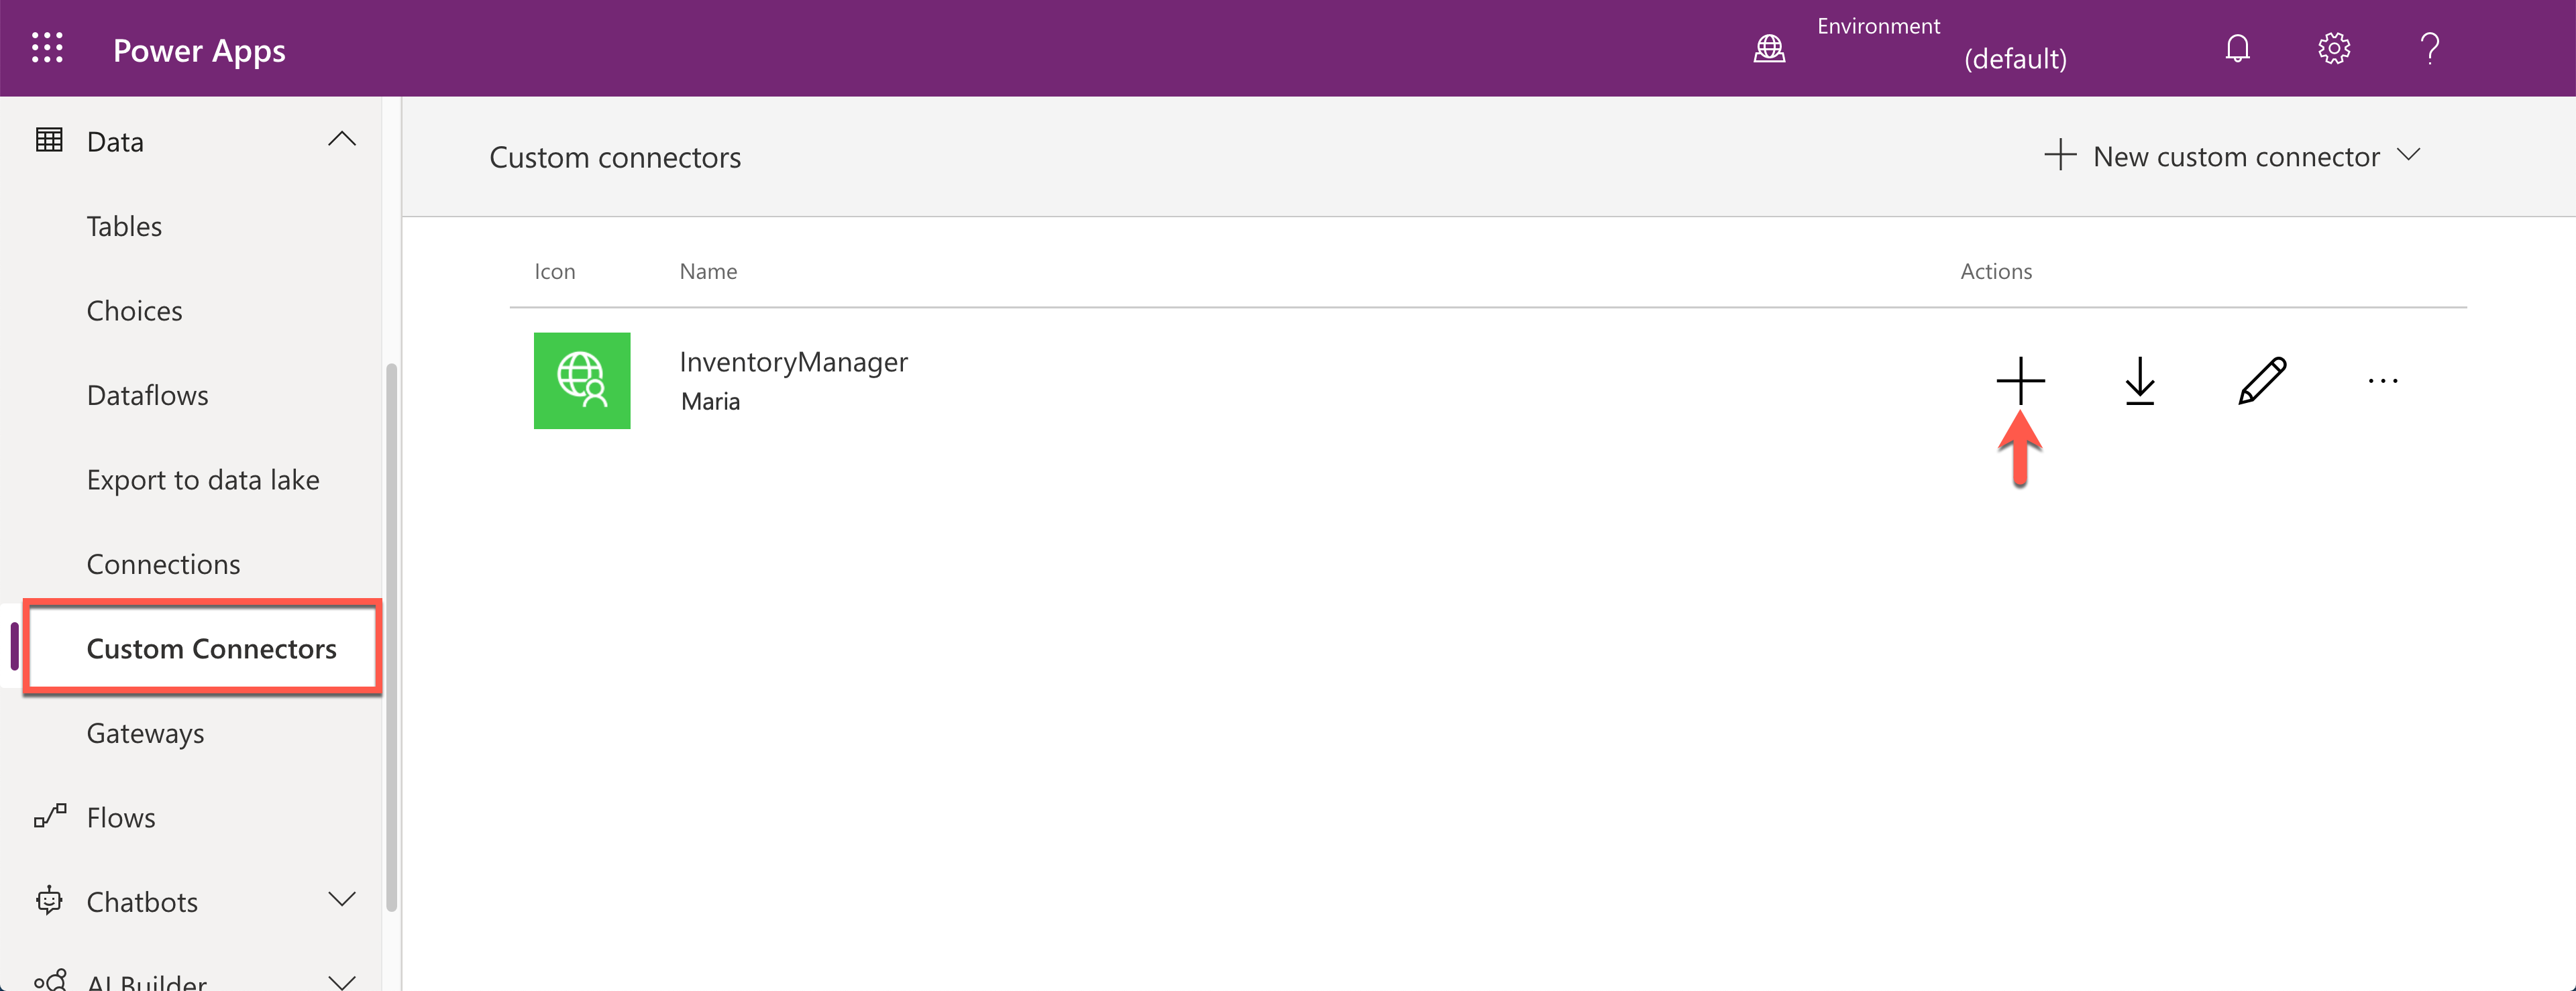
When a pop-up modal shows up, you will see the API Key field. Enter the API key for the web API, which is usually obtained from the web API's developers. Then click the
Createbutton.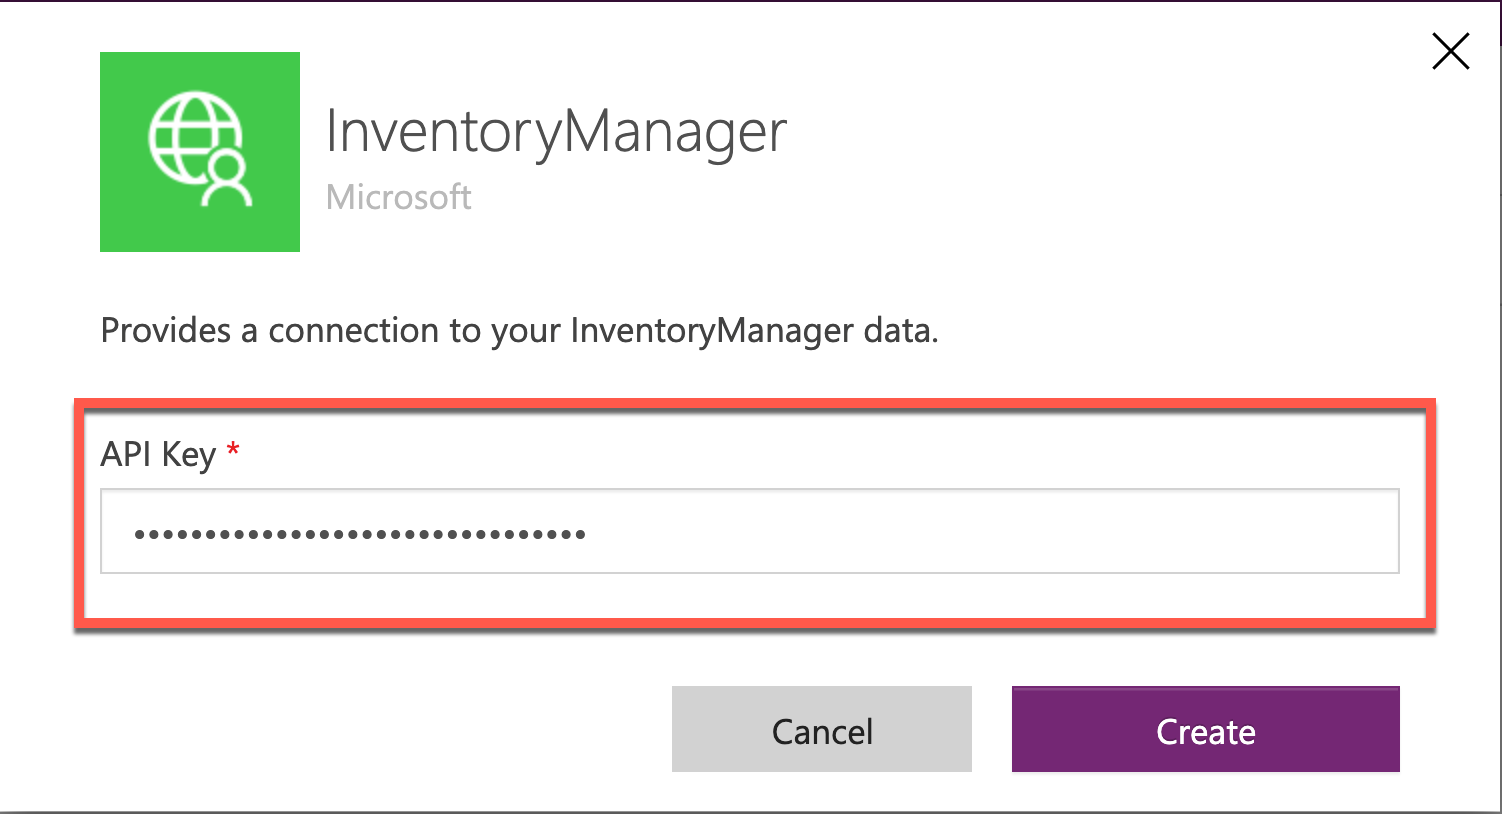
Go to the
Connectionsmenu, and you will see the new connection has been created.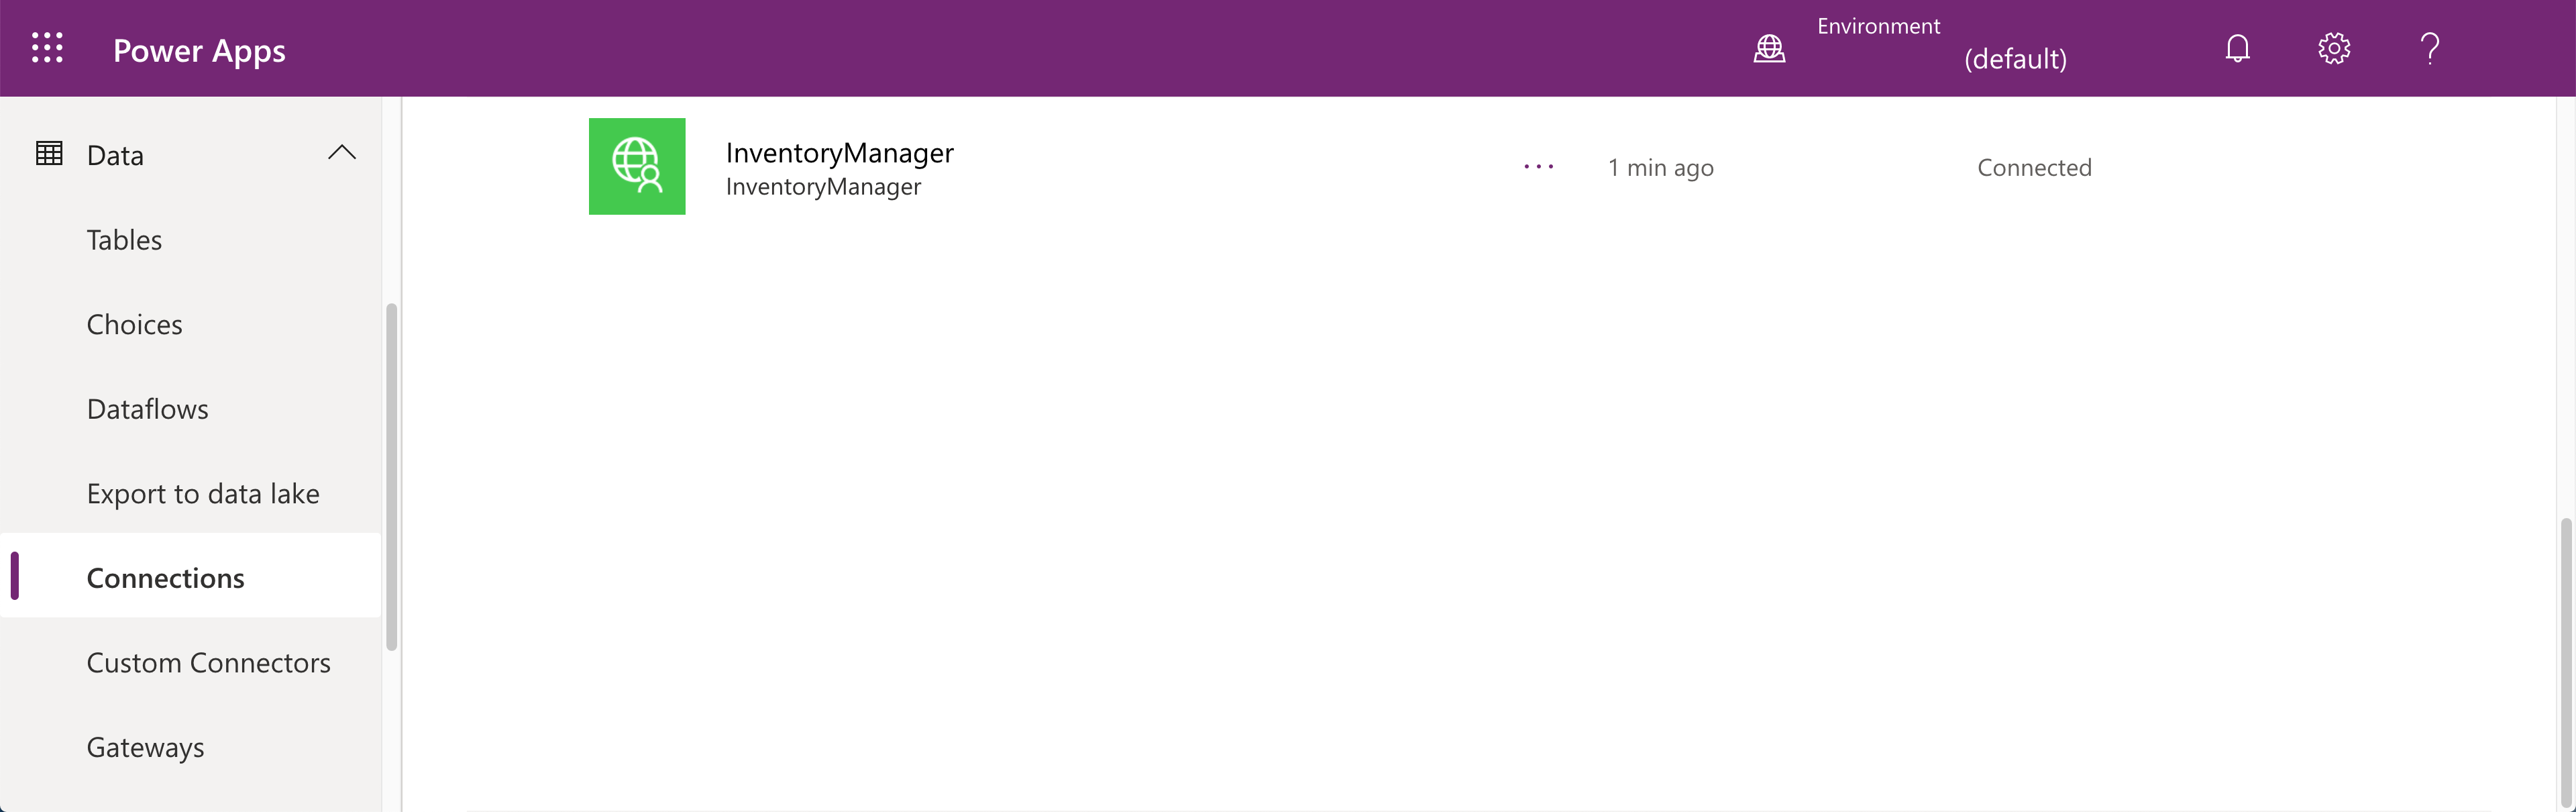
A new custom connector from the OpenAPI document is now created and ready to be used within a Power Apps application.