Exercise - Create users
When you create projects, the admin interface is automatically created, but it doesn't configure any user access. To sign in to the Django admin site, we now need to create our first user, which is a superuser.
Create a superuser
Open a new terminal window in Visual Studio Code by selecting Terminal > New terminal.
Ensure the virtual environment is activated by running the following code:
# Windows
.\\venv\\Source\\Activate

# Linux or macOS
source ./venv/bin/activate
Create a superuser by running the following command:
python manage.py createsuperuserComplete the process by answering the questions provided by the wizard. Enter the username you want to use, an email address, and a password.
Note
The password must be complex according to Django's standards, which means at least eight characters and a combination of upper- and lowercase letters, special characters, and numbers. If you don't meet the complexity rules, Django will ask if you want to override the requirements, which isn't recommended.
Sign in to the admin site
After the admin user has been created, it's time for our first sign-in to the Django admin interface. During the project setup earlier in this module, we started the server, so our admin site is already active.
Go to http://localhost:8000/admin.
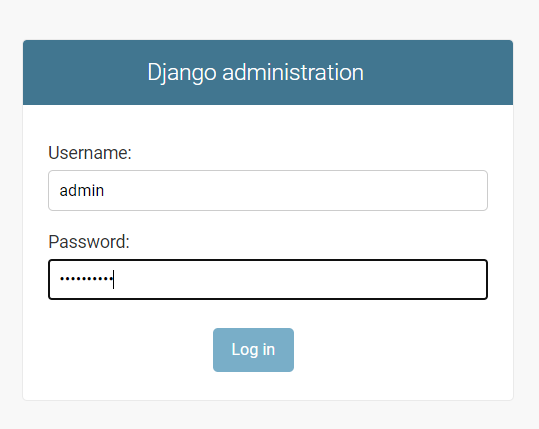
Enter the username and password you created earlier.
After you've successfully signed in to the admin site, you should see a screen that looks like the following one.

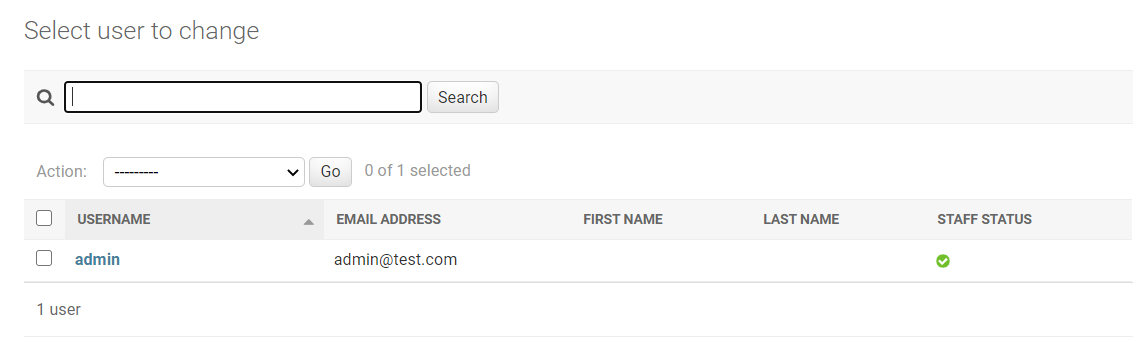
Select Users.
You'll now see the list of users, which includes the user you created.
Create a staff user
Select ADD USER in the upper-right corner.
Enter a Username for the staffuser.
Enter a Password that meets the complexity requirements, and confirm the password.
Select SAVE.
On the next screen, select Staff status to make the new user a staff user.

Select SAVE.