Exercise - Classify sensitive data in a cloud-native application
In this exercise, you classify the sensitive data types in a sample eShopLite application.
The app is in active development and currently has two data classes, Product and Order. They're building out the ordering process and want you to add the code to classify data types.
In this exercise, see how to:
- Explore the current app and its data types.
- Add the code to classify the data types.
- Run and test the app.
Open the development environment
You can choose to use a GitHub codespace that hosts the exercise, or complete the exercise locally in Visual Studio Code.
To use a codespace, create a preconfigured GitHub Codespace with this Codespace creation link.
GitHub takes several minutes to create and configure the codespace. When the process completes, you see the code files for the exercise. The code to use for the remainder of this module is in the /dotnet-compliance directory.
To use Visual Studio Code, fork the https://github.com/MicrosoftDocs/mslearn-dotnet-cloudnative repository to your own GitHub account. Then:
- Make sure Docker is running. In a new Visual Studio Code window, press Ctrl+Shift+P to open the command palette.
- Search for and select Dev Containers: Clone Repository in Container Volume.
- Select your forked repository. Visual Studio Code creates your development container locally.
Test the eShopLite app
At the bottom of the Visual Studio Code window, select the TERMINAL tab.
Move to the exercise folder:
cd dotnet-compliance/eShopLiteBuild the apps containers.
dotnet publish /p:PublishProfile=DefaultContainerRun the app using docker:
cd ..
docker compose up
Select the PORTS tab, then select the Open in Browser globe icon for the Front End (32000) port.
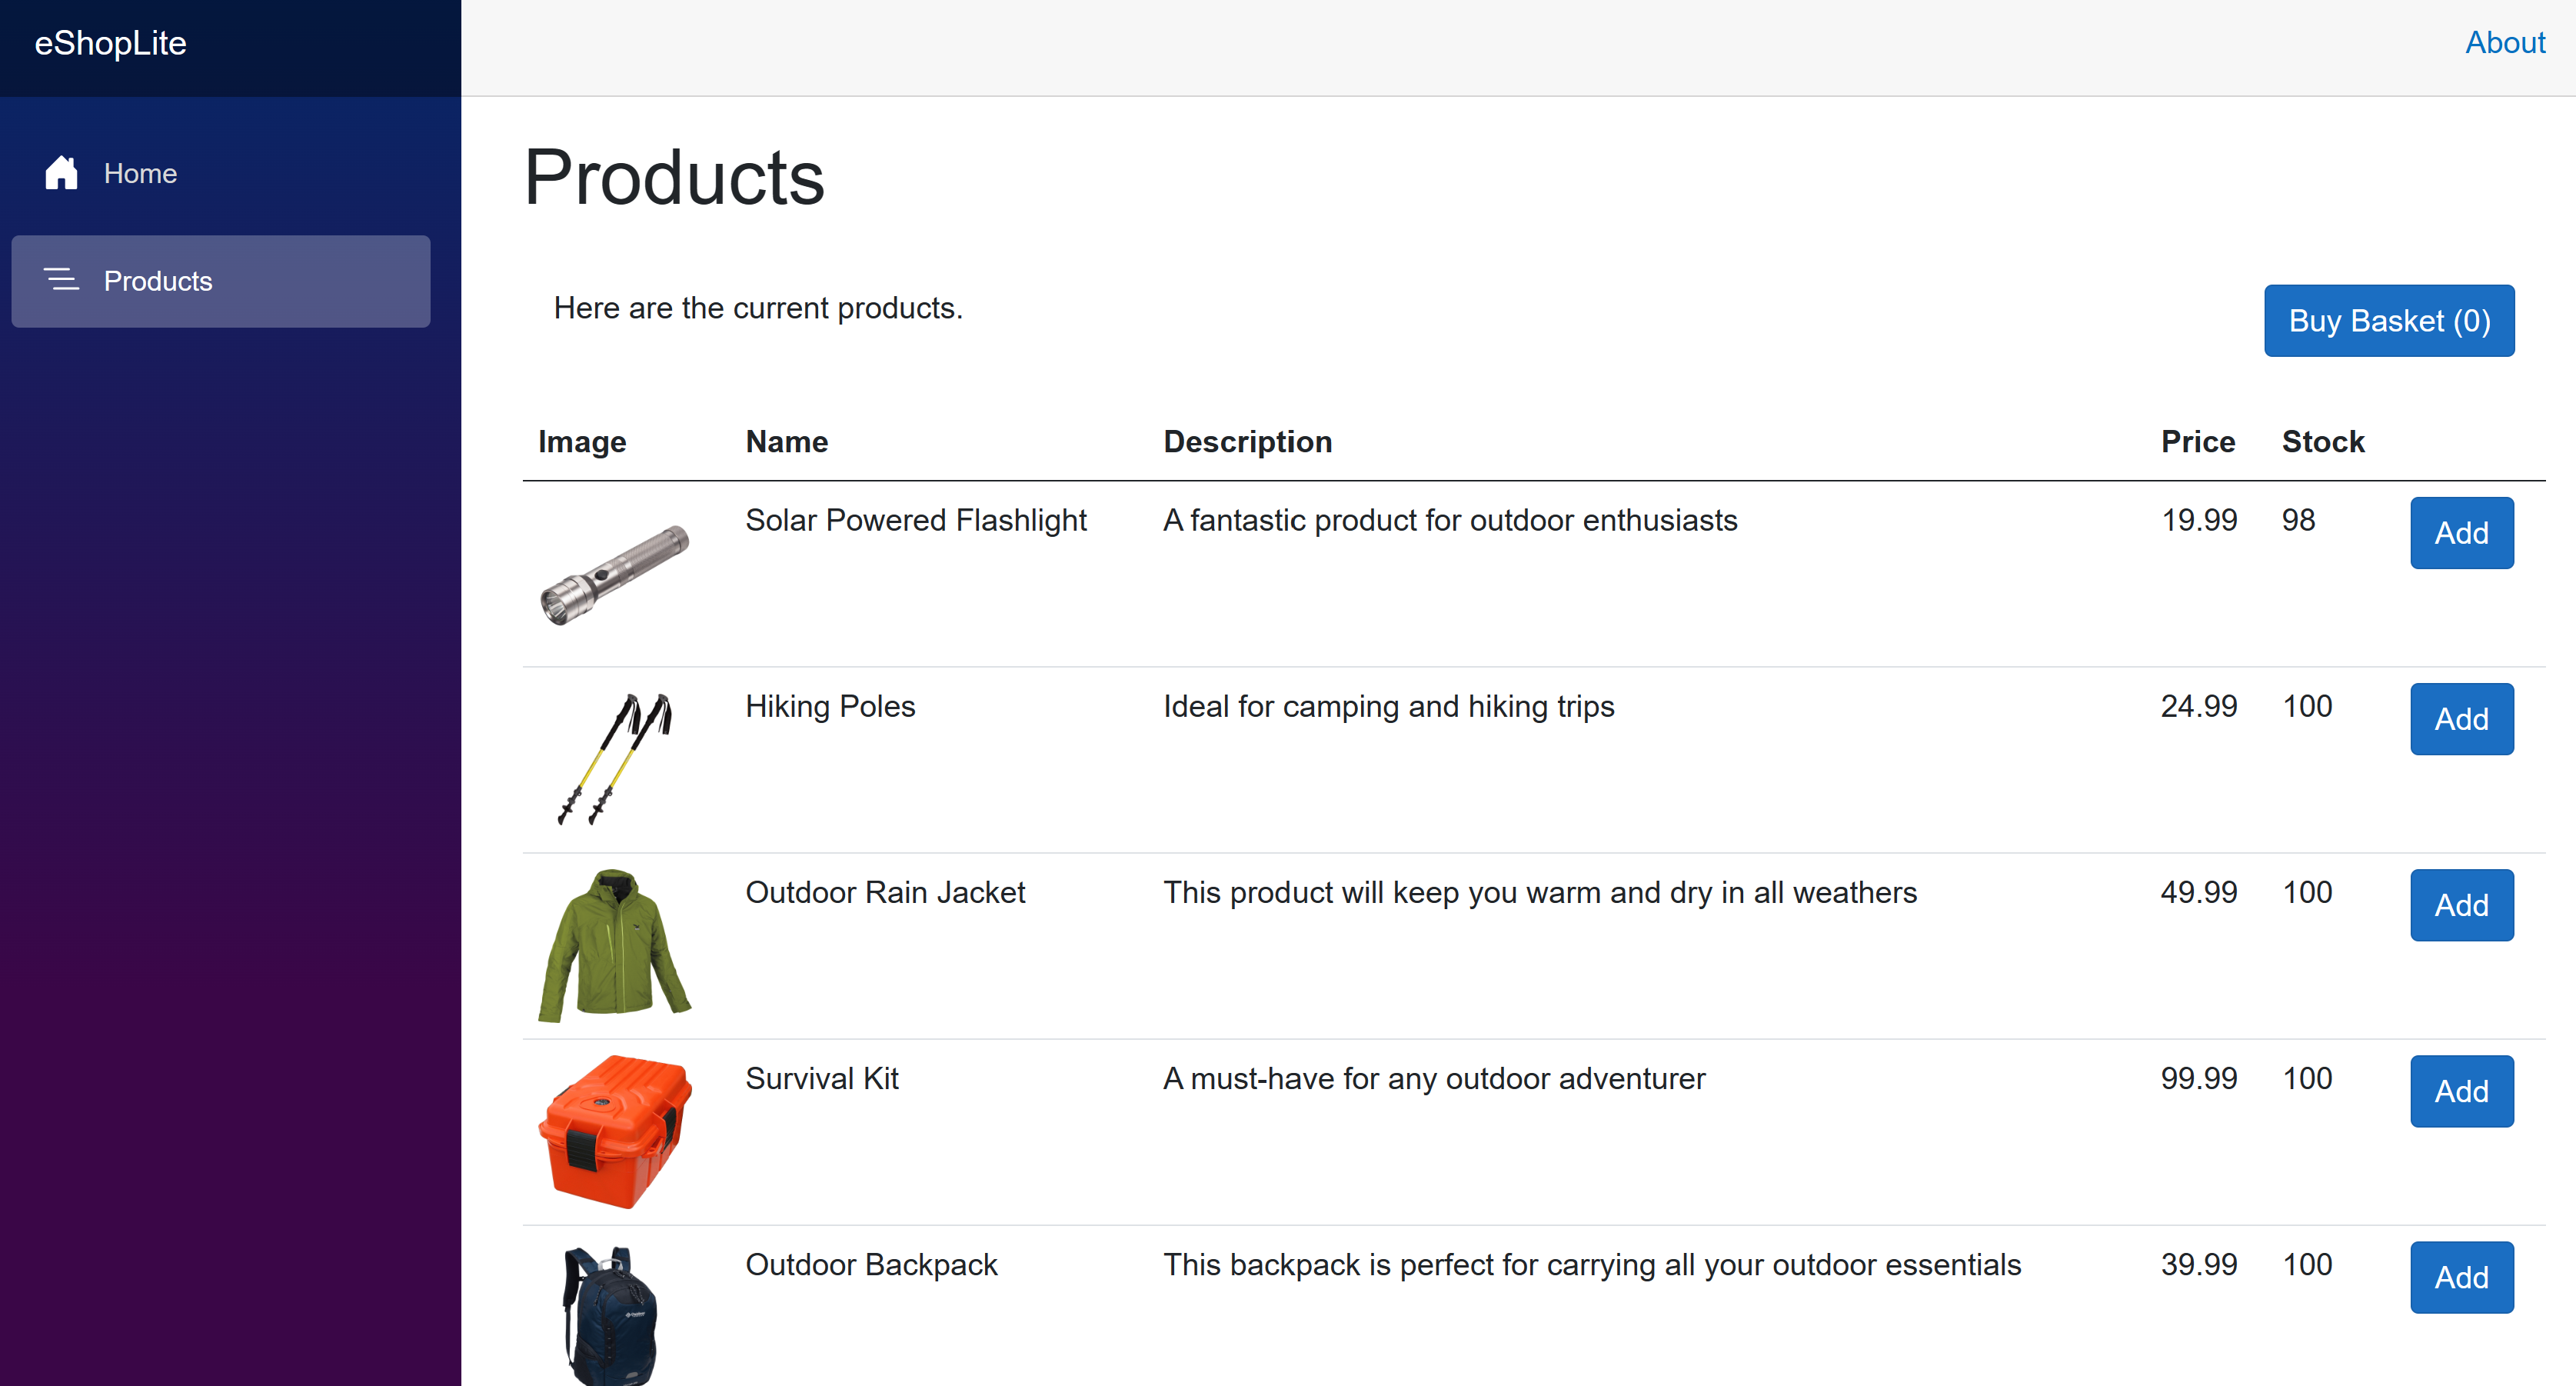
Select the Products link. The app displays a list of products.
Select the TERMINAL tab, then press Ctrl+C to stop the app.
Create taxonomies and attributes
In this task, add code to create two new taxonomies. Then annotate the Product and Order data types with the appropriate attributes.
In the TERMINAL tab, move to the eShopLite/DataEntities folder:
cd eShopLite/DataEntities/Add the compliance package:
dotnet add package Microsoft.Extensions.Compliance.RedactionIn the EXPLORER pane, right-click the DataEntities folder, then select the New file.
In the file name, enter Compliance.cs.
In the editor, enter this code:
using Microsoft.Extensions.Compliance.Classification;
using Microsoft.Extensions.Compliance.Redaction;

public static class DataClassifications
{
    // End User Identifiable Information
    public static DataClassification EUIIDataClassification {get;} = new DataClassification("EUIIDataTaxonomy", "EUIIData");

    // End User Pseudonymous Information
    public static DataClassification EUPDataClassification {get;} = new DataClassification("EUPDataTaxonomy", "EUPData");
}

public class EUIIDataAttribute : DataClassificationAttribute
{
    public EUIIDataAttribute() : base(DataClassifications.EUIIDataClassification) { }
}

public class EUPDataAttribute : DataClassificationAttribute
{
    public EUPDataAttribute() : base(DataClassifications.EUPDataClassification) { }
}
The above code creates two taxonomies, EUII and EUPI. It also creates two attributes, EUIIDataAttribute and EUPDataAttribute. These attributes are used to annotate the data types.
Classify the data types
Use these taxonomies and attributes to classify the data types in the eShopLite app.
In the EXPLORER pane, expand the DataEntities folder, then select the Product.cs file.
There isn't specific customer sensitive data in this class, but the app could leak pseudonymous data if the product ID property is connected to a customer in the logs.
Add the EUPData attribute to the ProductId property:
[EUPData]
[Key]
[JsonPropertyName("id")]
public int Id { get; set; }
The above code tells the redaction engine that the Id property is pseudonymous data.
In the EXPLORER pane, expand the DataEntities folder, then select the Order.cs file.
The Order class contains sensitive data. The CustomerName and CustomerAddress properties are end user identifiable information. The Id property is end user pseudonymous information.
Add the EUIIData attribute to the CustomerName and CustomerAddress properties:
[EUIIData]
[JsonPropertyName("customerName")]
public string? CustomerName { get; set; }

[EUIIData]
[JsonPropertyName("customerAddress")]
public string? CustomerAddress { get; set; }
The above code tells the redaction engine that the CustomerName and CustomerAddress properties are end user identifiable information.
Add the EUPData attribute to the Id property:
[Key]
[EUPData]
[JsonPropertyName("id")]
public int Id { get; set; }
The above code tells the redaction engine that the Id property is end user pseudonymous information.
Test your changes to the eShopLite app
On the TERMINAL pane at the bottom, go to the dotnet-compliance/eShopLite folder.
cd ..Update the apps containers.
dotnet publish /p:PublishProfile=DefaultContainerGo to the dotnet-compliance folder, and start the app with Docker:
cd ..
docker compose up
If you closed the tab in your browser, select the PORTS tab, then select the Open in Browser icon for the Front End (32000) port.
Note the eShopLite app is unchanged.
Try adding some products to the basket, then select Buy Basket.
In the TERMINAL window, press Ctrl+C to stop the app.
You'll add redacted logging in the next exercise.