Set up Outlook integration
Business Central introduces the ability to manage business interactions with your customers and vendors directly in Microsoft Outlook. With the Business Central Outlook add-ins, you can see financial data related to customers and vendors, as well as create and send financial documents, such as quotes and invoices.
Business Central has deep integration with Microsoft 365, and you can use Business Central as your business inbox in Outlook. But if you do not have Outlook, you can work with Business Central in the browser or on your mobile device.
You can send documents such as invoices as email using your business email address. From your Role Center, you can access an assisted setup guide that helps you set up email. If you do not use an Microsoft 365 email account, you must specify technical information about your mail server. If you do not have this information available, contact your IT support staff.
It is easy to get started with the Business Central add-in for Outlook. In the Set up your Business Inbox in Outlook assisted setup guide, you can set up the connection for yourself or for your organization. If your organization uses Microsoft 365, you must specify your Microsoft 365 username and password. If your organization does not use Microsoft 365, you must specify information about the Exchange Server that you use. The Business Central add-ins are then automatically added to Outlook.
To install the add-in, follow these steps:
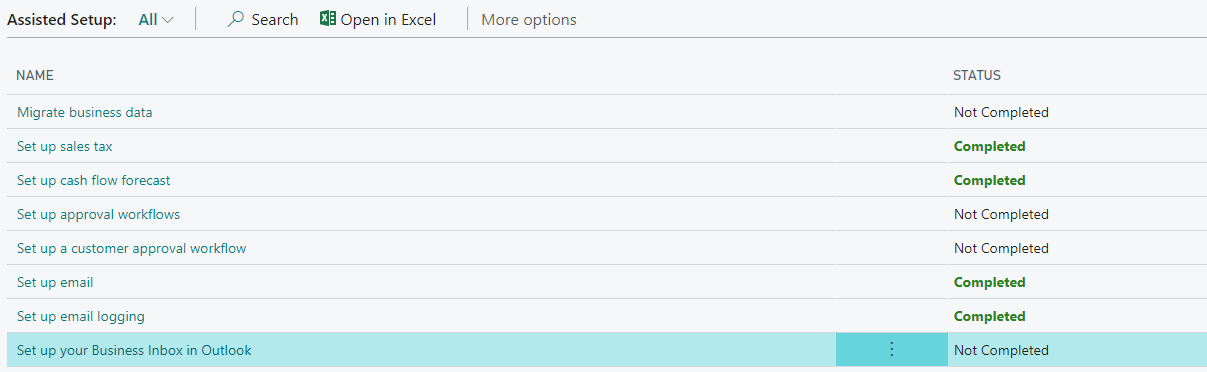
First go to the Assisted Setup page and launch the wizard named Set up your Business Inbox in Outlook.
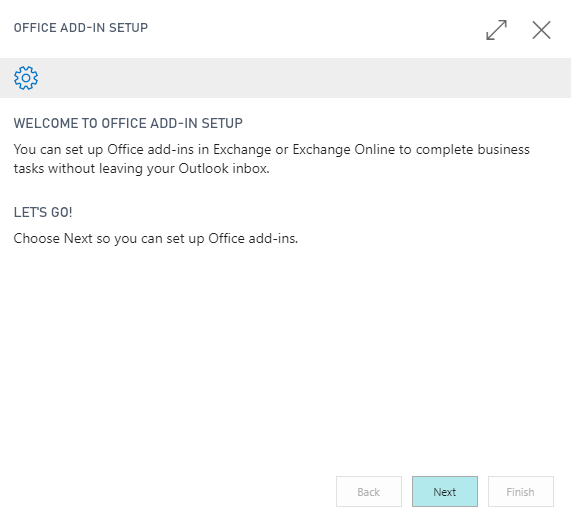
In the page that opens, click Next.
You can set up the add-in for your mailbox or for your entire organization.
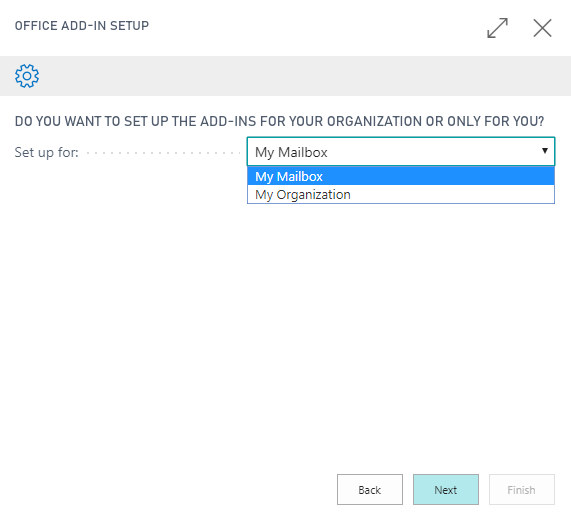
Select My Mailbox and click Next.

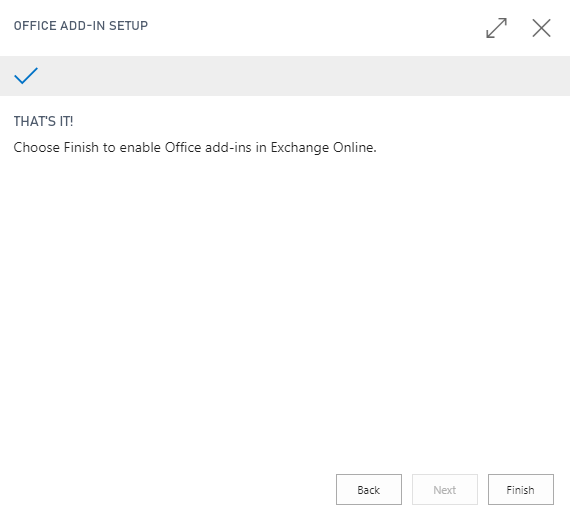
To receive a sample email message to evaluate the add-ins, select the corresponding option and click Next. Then click Finish to end the setup.
When you open Outlook, you should see an email message from Dynamics 365 Business Central Admin.
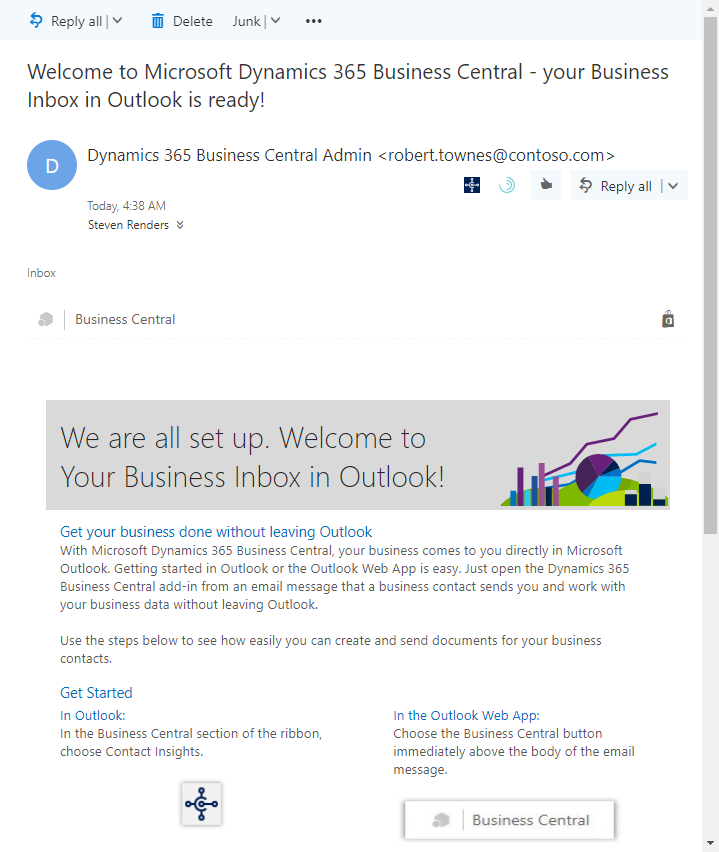
The new add-ins are added to the Outlook ribbon, and in Outlook Web App, you can see the Business Central add-ins immediately above or below the body of the email message.

The add-ins are updated periodically, and you'll get notified that a new version is ready for you in Outlook.
Some companies using Microsoft 365 restrict user's permissions to deploy add-ins. You must make sure that you have an Microsoft 365 subscription that includes email and allows you to deploy add-ins. If you want to try out the add-in anyway, you can try Microsoft 365 for free.
In some cases, the add-ins do not get added automatically to Outlook. Even if you or a colleague run the assisted setup guide on behalf of the company, Business Central might not show up in Outlook.
Add Business Central add-ins manually
If you experience this issue, you can add the Business Central add-ins manually.
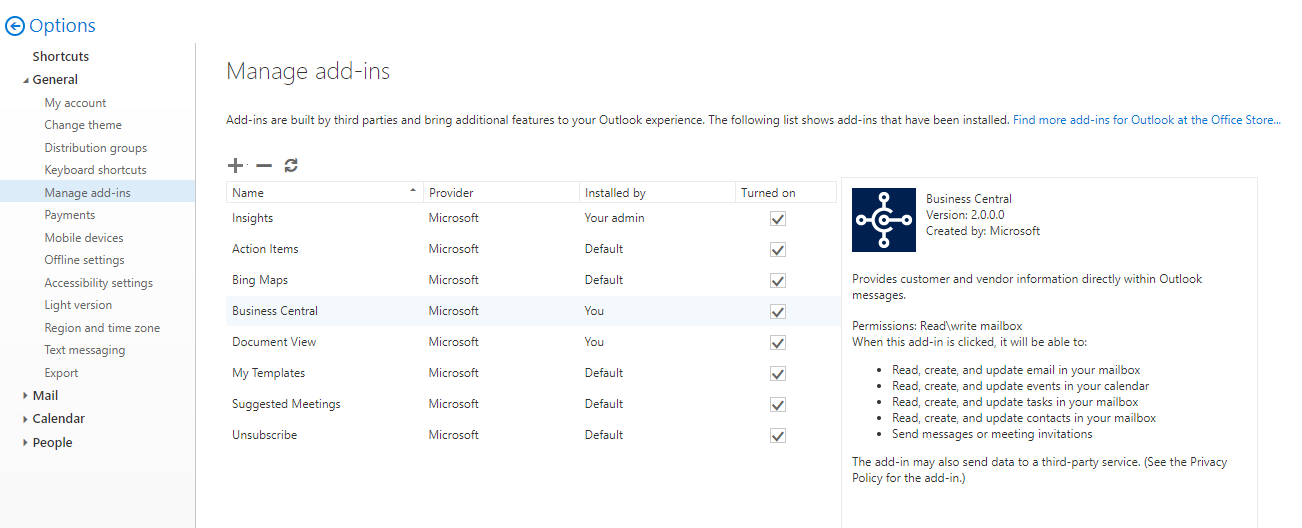
First, you must verify that you have access to the add-ins in your Microsoft 365 account. Simply open your Outlook Web Access in a browser, and then add /owa/#path=/options/manageapps to the URL in the address bar. This opens the Manage Add-ins page,
where you can enable Business Central for your Outlook.
Then, when you navigate back to Outlook, Business Central should be available.
Similarly, in the Outlook desktop client, you can verify that Business Central is listed on the Manage Add-ins page.
In both cases, if Business Central is still not available, you must get the add-in manifest files.