Exercise: Create a main account
Read this first - before you start the lab!
Important
For this lab, you CANNOT sign in with your own credentials. Use the following steps to sign in to your lab environment with the correct credentials.
Select Launch VM mode or Sign in to launch VM mode in this unit.
In the Resources tab on the lab side bar, select the T icon next to Password in the MININT box, to have the administrator password for the Virtual Machine entered for you.
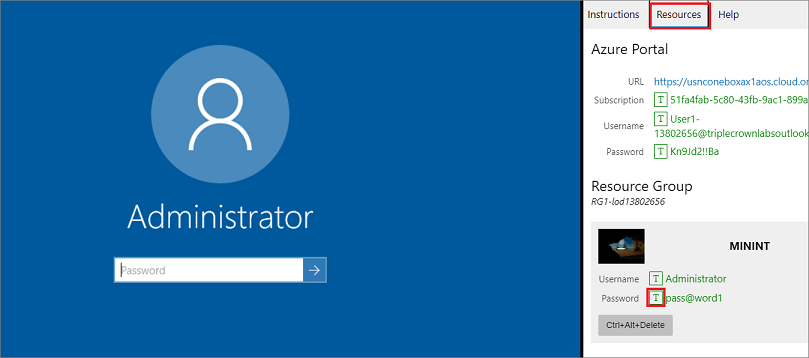
Press Enter.
In the Networks window that opens, select No to not allow your PC to be discoverable.
You'll see a PowerShell window and a Windows Command window appear. After about two to three minutes, they'll close and Microsoft Edge will open automatically. Wait for it to navigate to the Sign in page for finance and operations.
On the Microsoft Sign in page in finance and operations, insert your mouse cursor into the Username field.
On the Resources tab of the lab side bar, below the Azure portal heading, select the T icon next to Username, then press Enter.

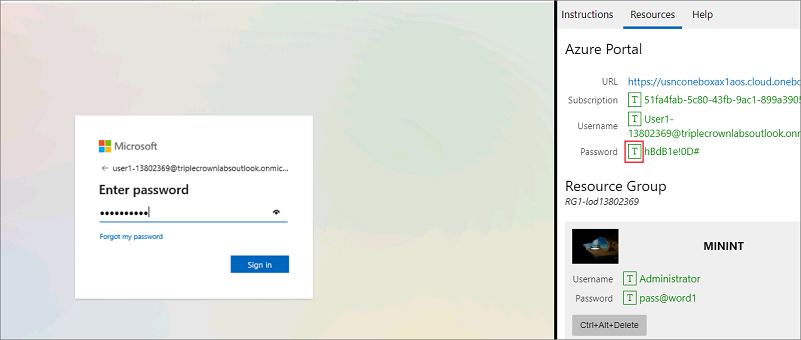
Your mouse cursor will now be in the Password page.
On the Resources tab of the lab side bar, below the Azure portal heading, select the T icon next to select Password, then press Enter.
Don't stay signed in, or store the password on the virtual machine.
To see the lab instructions, select the Instructions tab on the lab side bar.
You can now begin your work on this lab.
Objective
Main account is the key component of chart of accounts. This helps in structuring the accounting system of an organization. In this lab, you'll learn the user interface of the main account. You'll also learn how to create a new main account for your organization. After creating the main account, you'll use it to create a general journal and post the journal.
Lab steps
On the Finance and Operations Home page, in the upper right, verify you're working with the USMF company.
If necessary, select the company, and from the menu, select USMF.
In the left navigation pane, select Modules > General ledger > Calendars > Fiscal calendars.
Select Calendar Fiscal.
If the current calendar year is already created, exit the Fiscal calendars page.
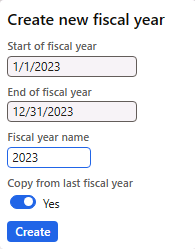
If the current calendar year is not created, select the New year button in the action pane and enter the current year as it appears in the following screenshot. Select the Create button to create the current year calendar.
In the left navigation pane, select Modules > General ledger > Chart of accounts > Accounts > Main accounts.
On the action pane, select + New.
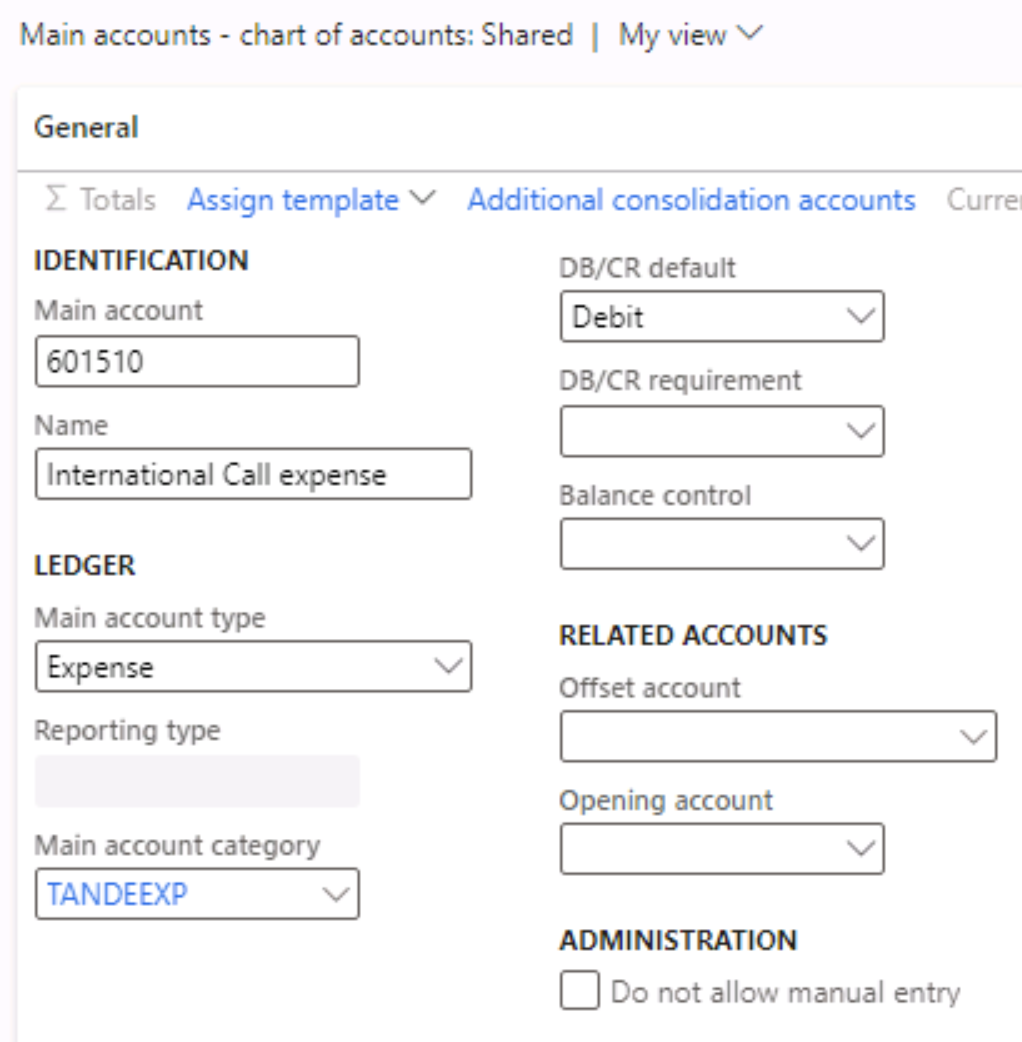
Enter the following values on the Main account page:
Main account: 601510
Name: International call expense
Main expense type: Expense
Main account category: TANDEEXP
DB/CR default: Debit
Navigate to Modules > General ledger > Journal entries > General journals.
On the action pane, select + New.
Enter the following value on the General journals page and select Lines on the action pane:
- Name: GenJrn
Enter the following values on the Journal voucher page:
Account type: Ledger
Main account: 601510
Debit: 10.00
Offset account type: Ledger
Offset account number: 110180
Select the Save button in the action pane.
Select Validate > Simulate posting.
Select the Post button in the action pane. The journal should get posted.
Close the lab environment
- Select Done in the Instructions pane in the lab side bar.
- In the Lab is complete window, select Continue, and then select Leave to return to the next unit in the module.