Exercise: Create a product assortment
Read this first - before you start the lab!
Important
For this lab, you CANNOT sign in with your own credentials. Use the following steps to sign in to your lab environment with the correct credentials.
Select Launch VM mode or Sign in to launch VM mode in this unit.
In the Resources tab on the lab side bar, select the T icon next to Password in the MININT box, to have the administrator password for the Virtual Machine entered for you.
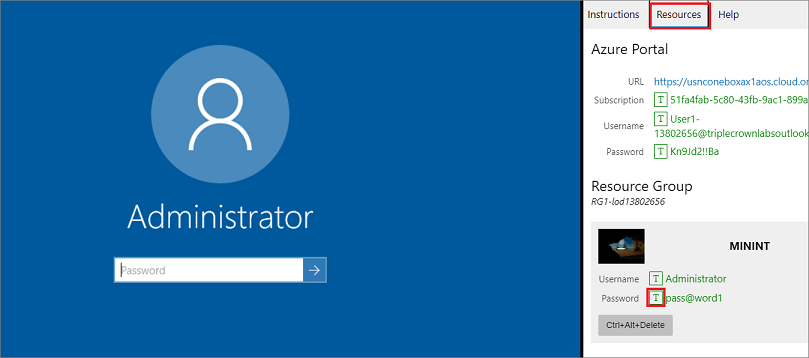
Press Enter.
In the Networks window that opens, select No to not allow your PC to be discoverable.
You'll see a PowerShell window and a Windows Command window appear. After about two to three minutes, they'll close and Microsoft Edge will open automatically. Wait for it to navigate to the Sign in page for finance and operations.
On the Microsoft Sign in page in finance and operations, insert your mouse cursor into the Username field.
On the Resources tab of the lab side bar, below the Azure portal heading, select the T icon next to Username, then press Enter.

Your mouse cursor will now be in the Password page.
On the Resources tab of the lab side bar, below the Azure portal heading, select the T icon next to select Password, then press Enter.
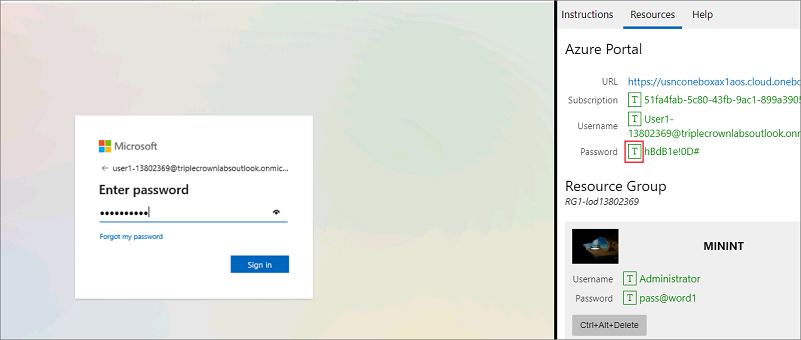
Don't stay signed in, or store the password on the virtual machine.
To see the lab instructions, select the Instructions tab on the lab side bar.
You can now begin your work on this lab.
Objective
You need to create an assortment of related products that are assigned to a specific commerce channel that will be made available at a future date. In this lab, you'll learn to create a new product assortment.
Lab Steps
You need to create an assortment of related products that are assigned to a specific commerce channel that will be made available at a future date.
On the Finance and Operations home page, on the top left, select the Expand the navigation pane hamburger menu.
In the navigation pane, select Retail and Commerce > Catalogs and assortments > Assortments.
Wait for the page to load.
On the Assortments page, select + New.
In the New Record pane, expand General.
Select the Effective date box, and then select a date in the future.
In the Assortment name box, enter a name for the new assortment. For example, New Spring Season.
Set the Expiration date to Never.
The expiration date can be used to automatically deactivate a published assortment.
Expand Commerce channels.
On the Commerce channels menu, select + Add line.
In Choose organization nodes, select the Organization hierarchy menu, and then select Retail Stores by Type (Fabrikam).
In the AVAILABLE ORGANIZATION NODES list, select Online, and then select the Add
 icon to add it to the SELECTED ORGANIZATION NODES.
This adds to the parent node and all child nodes.
Add the Mall parent node, and then select OK.
Verify the two nodes have been added to the Commerce channels.
Expand Products.
On the Products menu, select + Add line.
Select the Category menu, select Team Sports (Team Sports), and then select OK.
This adds all child items of the parent category.
Review the last column named Line type. By default, all items are included.
Select + Add line, select the Category menu, expand Team Sports (Team Sports), select Baseball, and then select OK.
To exclude an item from an already included larger category, in this case Team Sports, in the Line type column, change the value to Exclude.
Using the Baseball category row, select the Products menu.
When products within a category are defined, you can select a specific product to include or exclude. Select AdultBaseballInfield.
To remove an added product, delete contents of the product box, and then press the Tab key on your keyboard or select another area of the page.
On the top menu, select Save.
On the top menu, select Publish.
Review the information in the dialog box, and then select Yes.
The newly created product assortment becomes available on the effective date.
Close the lab environment
- Select Done in the Instructions pane in the lab side bar.
- In the Lab is complete window, select Continue, and then select Leave to return to the next unit in the module.