Exercise - set up manual approvals
In this exercise, you'll investigate Manual Approval.
Steps
Let's now look at when our release pipeline needs manual approval before the deployment of a stage starts or manual approval that the deployment is completed as expected.
While DevOps is all about automation, manual approvals are still helpful. There are many scenarios where they're needed. For example, a product owner might want to sign out a release before it moves to production.
Or the scrum team wants to ensure that no new software is deployed to the test environment before someone signs off on it because they might need to find an appropriate time if it's constantly in use.
This can help to gain trust in the DevOps processes within the business.
Even if the process is later automated, people might still want manual control until they become comfortable with the processes. Explicit manual approvals can be a great way to achieve that.
Let's try one.
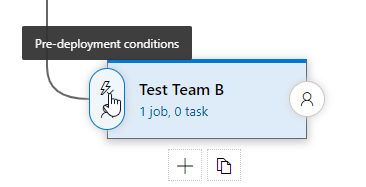
Click the pre-deployment conditions icon for the Development stage to open the settings.
Click the Disabled button in the Pre-deployment approvals section to enable it.
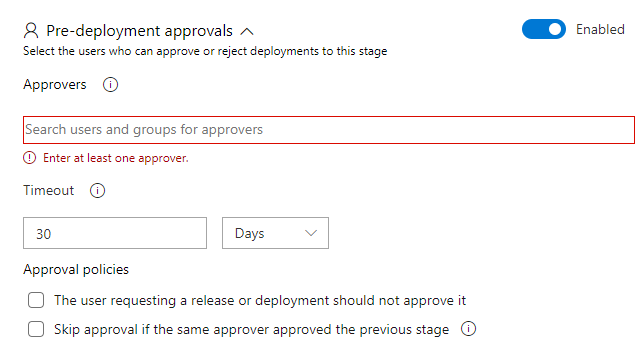
In the Approvers list, find your name and select it. Then set the Timeout to 1 Day.

Note
Approvers is a list, not just a single value. If you add more than one person to the list, you can also choose if they need to approve in sequence or if either or both approvals are required.
Take record of the approver policy options that are available:

It's prevalent not to allow a user who requests a release or deployment to approve it.
We're the only approver in this case, so we'll leave that unchecked.
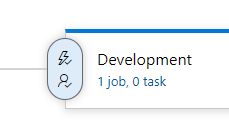
Close the Pre-deployment conditions pane and notice a checkmark beside the person in the icon.
Test the approval
Now it's time to see what happens when approval is required.
Click Save to save the work, and OK on the popup window.
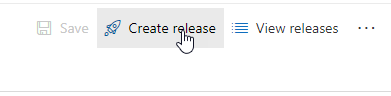
Click Create release to start the release process.
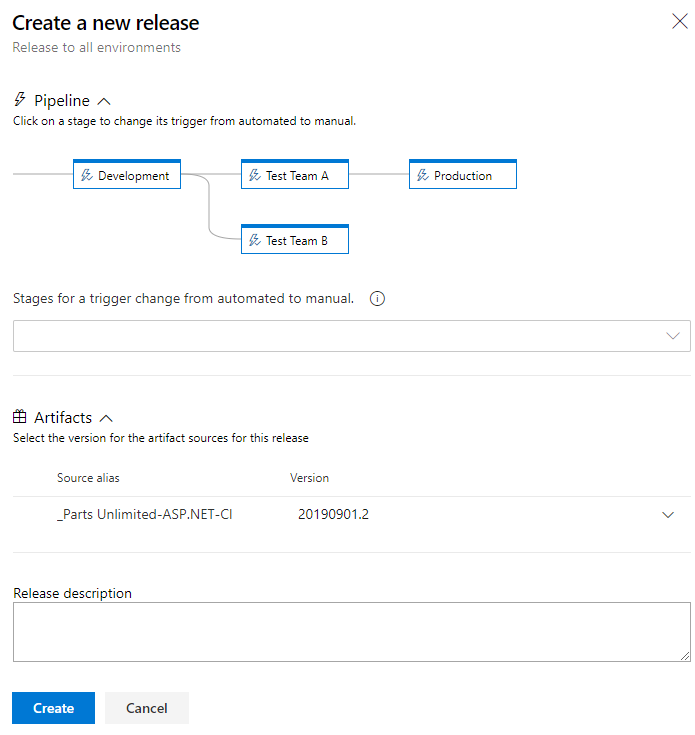
See the available options in the Create a new release pane, then click Create.
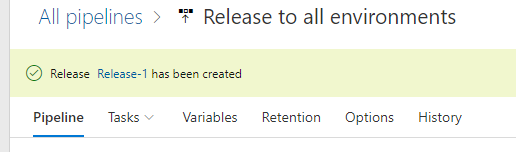
In the upper left of the screen, you can see that a release has been created.
An email should have been received at this point, indicating that approval is required.
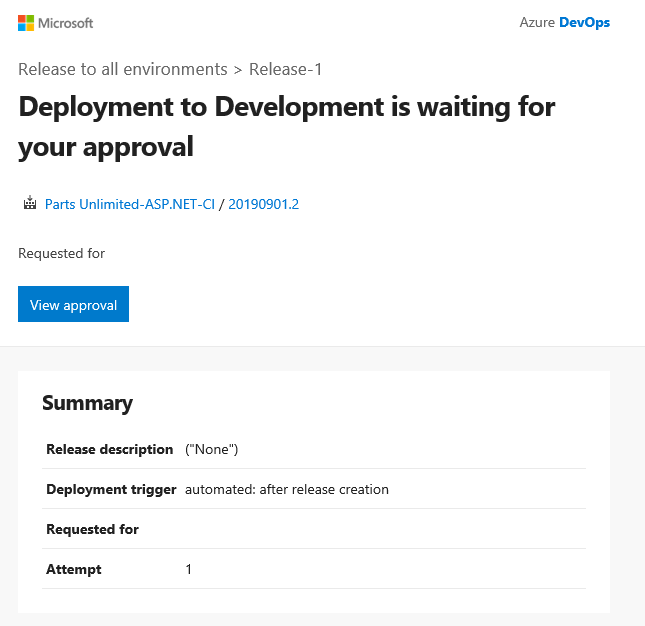
At this point, you could click the link in the email, but instead, we'll navigate within Azure DevOps to see what's needed.
Click on the Release 1 Created link (or whatever number it is for you) in the area we looked at in Step 9. We're then taken to a screen that shows the status of the release.
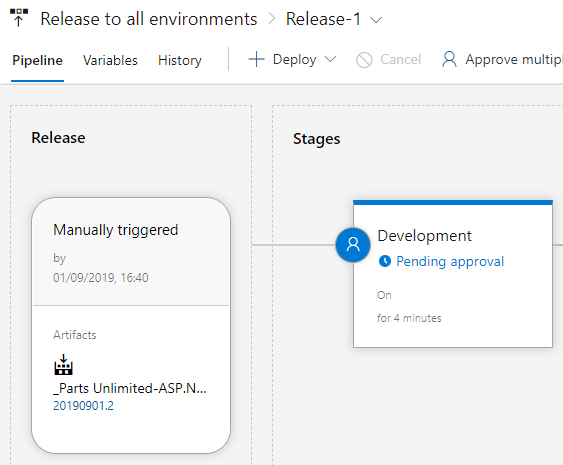
You can see that a release has been manually triggered and that the Development stage is waiting for approval. As an approver, you can now do that approval.
Hover over the Development stage and click the Approve icon that appears.
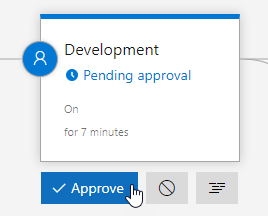
Note
Options to cancel the deployment or to view the logs are also provided at this point.
In the Development approvals window, add a comment and click Approve.
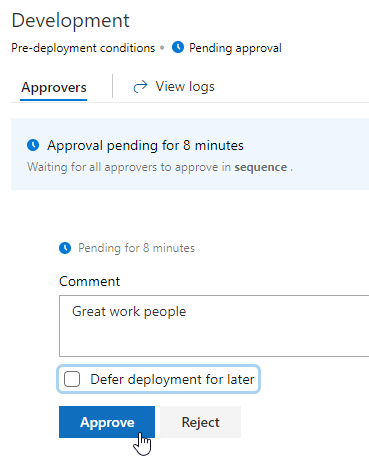
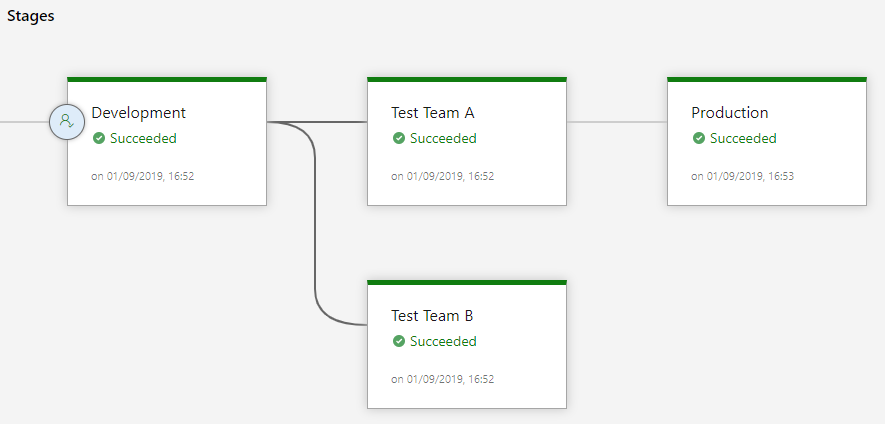
The deployment stage will then continue. Watch as each stage proceeds and succeeds.