Lab – Set authorization requirements on database tables
Read this first - before you start the lab!
Important
For this lab, you CANNOT sign in with your own credentials. Use the following steps to sign in to your lab environment with the correct credentials.
Ensure that you are signed in to Microsoft Learn.
Select Launch VM mode or Sign in to launch VM mode in this unit.
In the Resources tab on the lab side bar, select the T icon next to Password in the MININT box, to have the administrator password for the Virtual Machine entered for you.
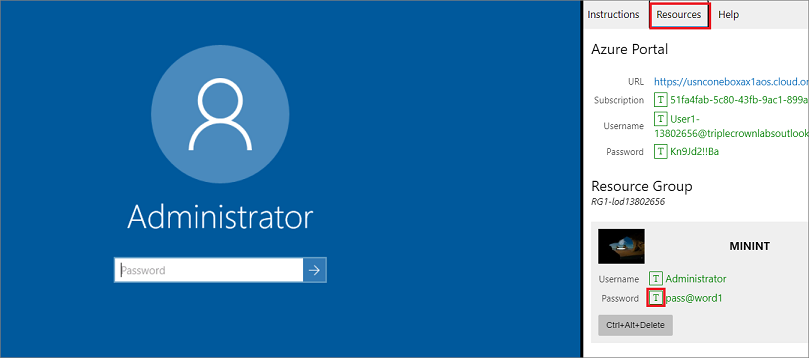
Select Enter.
Microsoft Edge will open. Wait for it to navigate to the Sign in page for finance and operations.
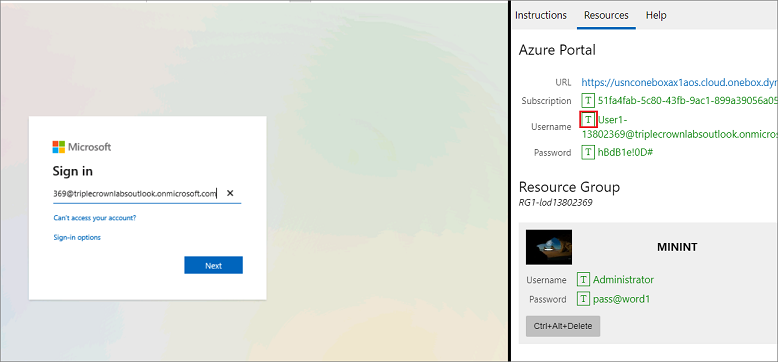
On the Microsoft Sign in page in finance and operations, place your mouse cursor into the Username field.
On the Resources tab of the lab side bar, below the Azure portal heading, select the T icon next to Username, then press Enter.
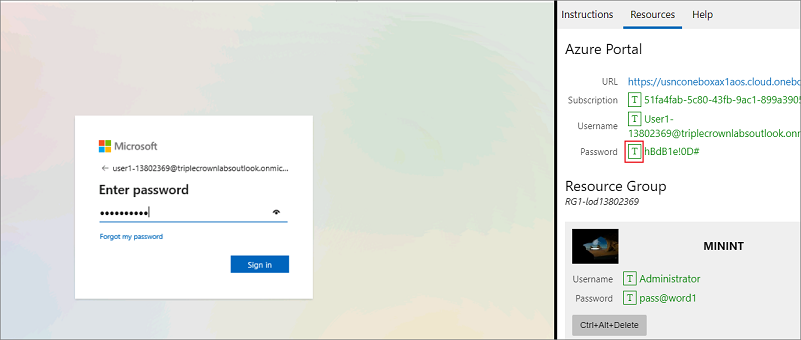
Your mouse cursor will now be in the Password page.
On the Resources tab of the lab side bar, below the Azure portal heading, select the T icon next to select Password, then press Enter.
Don't stay signed in or store the password on the virtual machine.
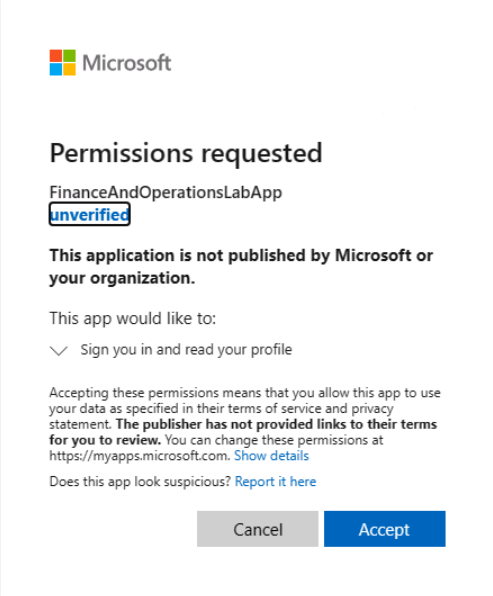
Select Accept in the Permissions requested page.
To see the lab instructions, select the Instructions tab on the lab side bar.
You can now begin your work on this lab.
Scenario
You want to enable the Table Permissions Framework for a specific table in the Application Object Tree (AOT).
Enable the AOSAuthorization property
- Minimize the Microsoft Edge window.
- Select Run as administrator to open Visual Studio.
- Select Yes in the Do you want to allow this app to make changes to your device? window.
- Select Continue without code.
- Start creating a new project by opening the File menu and selecting New > Project.
- In the Create a new project dialog box, ensure that Finance Operations is selected in the Recent project templates section, and then select Next.
- In the Configure your new project dialog box, enter FleetManagementClassProject in the Project name field.
- Select Create.
- To ensure the correct settings are in place, select Dynamics 365 in the Extensions menu.
- Select Options.
- Under the Dynamics 365 node on the left pane, select Projects.
- Ensure the check boxes are selected for Organize projects by element type and Synchronize database on build for newly created project.
- Select OK.
- Right-click your project in the Solution Explorer.
- Select Add > New item.
- Under Dynamics 365 Items on the left pane, select Data Model, and then select Table.
- Name the table MyTable.
- Select Add.
- With MyTable open in the designer, right-click the main node of the table and select Properties.
- In the Properties window, find the AOS Authorization property. This property is set to None by default.
- Select the drop-down icon in the AOS Authorization property, where you will see six options:
- None
- CreateDelete
- UpdateDelete
- CreateUpdateDelete
- CreateReadUpdateDelete
- Read
- Select CreateReadUpdateDelete.
- Select Save MyTable.
Close the lab environment
- Select Done in the Instructions pane in the lab side bar.
- In the Lab is complete window, select Continue, and then select Leave to return to the next unit in the module.