Build a Power Automate flow by using ID reader
The ID reader is located on the Explore page in AI Builder.
When you sign in to Microsoft Power Automate or Power Apps, you can go to AI Builder on the left menu and then select Explore.
The AI Builder home page contains all AI capabilities that you need. Select the Identity document reader prebuilt model and you’ll learn more about this AI capability. You’ll see the output on some preloaded samples but you also can upload an ID and view the extracted data. Remember, the ID reader only works with passports (all passports) and US driver licenses (more document types might be added eventually).

Create an automated flow by using ID reader
The following sections describe how to create your first flow that uses the ID reader.
Create a new flow
In this exercise, you'll create a manually triggered flow that will extract information from a US driver license or a passport. After the information has been extracted, Power Automate will send you an email message with the output.
Sign in to Microsoft Power Automate.
Create a new flow by going to the Create menu on the left and then selecting Instant cloud flow. Give your flow a name and then select the Manually trigger a flow trigger.
Select the Create button.

Configure the trigger
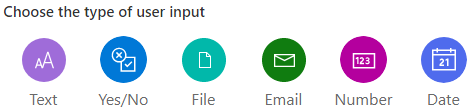
After you've reviewed the Manually trigger a flow trigger, you'll need to configure it. Select the trigger to expand it and then select Add an Input. From the list of inputs select File.
Scan the identity document file
Your next task is to add the AI Builder action that will extract the data.
Select + New step.
Search for the AI Builder connector or select it from the list of connectors.
Select the Extract information from identity documents* action.

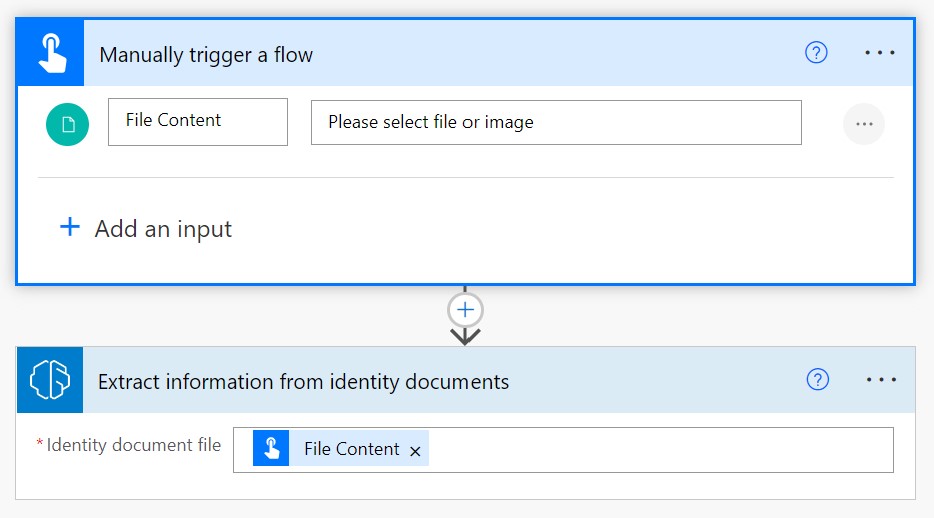
Select File Content for the Identity document file field (with this selection, AI Builder will process the file that you'll upload when you manually trigger the flow). At this point, the flow should resemble the following image.
Add the action that will send you the email that contains the extracted information. Select + New step and then select the Send an email action, where you can specify your email address, the subject of the email, and what to enter in the body of the email. For this example, fill in the fields as follows:
To - Enter steve@contoso.com as the email address where you want to receive the extracted data.
Subject - Enter the email subject as Extracted information from passport.
Body - This field should contain the Machine Readable Zone, the first name, last name, and the country/region that is extracted from the document.


Your flow should now resemble the following image.

When you're done with writing the email pattern, you can Save the flow and then select Test. Select Manually on the pane and then select Save & Test.
Select the Import option to import a passport or US driver license image that you have on your PC and then select Run flow.
The maximum supported image size is 20 MB. Be sure to use small images for fastest processing time. You don't need to specify that you're uploading a passport or a driver license. The model will recognize each type.
If your flow ran successfully, you'll receive an email similar to the following image.

You can now modify this flow so that it fetches scans from Microsoft OneDrive or SharePoint, for instance, or so that it writes the output into an Excel spreadsheet.