Exercise - Style your HTML with CSS
Cascading Style Sheets (CSS) let you specify how your page should look. The basic idea is to define what the style should be for the elements that you use within your HTML pages. While the HTML elements define your content, CSS styles define what this content looks like.
For example, you can apply rounded corners or give a gradient background to an element, or you can use CSS to specify how hyperlinks look and respond when you interact with them. You can also perform sophisticated page layouts and animation effects.
You can apply styles to specific elements, all elements of a specific type, or use classes to style many different elements.
In this exercise, you apply CSS styles to HTML page elements and add some CSS code to define your light and dark themes. Then, you check the results in your browser's developer tools.
External CSS
In the previous unit about HTML, you linked to an external CSS file from HTML.
...
<head>
  <meta charset="utf-8">
  <meta http-equiv="X-UA-Compatible" content="IE=edge">
  <meta name="viewport" content="width=device-width, initial-scale=1.0">
  <title>Task Timeline</title>
  <link rel="stylesheet" href="main.css">
...
One benefit of external CSS is that multiple HTML pages can link to the same CSS file. If you make a change to the CSS, your styling is updated for each page. When you use an HTML file for your page content, a CSS file for styling, and a JavaScript file for interaction, it's called separation of concerns.
As described previously, you can also write CSS directly in HTML, which is called internal CSS. Even for a basic website, there are so many CSS rules the HTML page can become cluttered quickly. With more than one page, the same CSS would often be repeated and challenging to manage.
CSS rules
CSS rules are how you apply styles to HTML elements. CSS rules have a selector, which is used to express the element (or elements) to which the styles should be applied.
In Visual Studio Code, open the main.css file and enter the following:
body {
    font-family: monospace;
}

ul {
    font-family: helvetica;
}
This code snippet contains two rules. Each rule has:
- A selector.
bodyandulare the selectors of the two rules, and are used to select to which element(s) the styles apply. - An opening curly brace (
{). - A list of style declarations that determine what the selected element(s) should look like.
- A closing curly brace (
}).
For example, the ul selector selects the <ul> HTML element in the page to apply styles to it. The declaration is font-family: helvetica, and determines what the style should be. The property name is font-family, and the value is helvetica.
As you see next, you can define your own custom names for elements.
Selectors
ID and class selectors let you apply styles to custom attribute names in your HTML. You use an ID to style one element, whereas you use classes to style multiple elements.
Copy the following code and add it to your CSS file. Paste it in after the closing curly brace for the
ulselector that you added previously.li { list-style: circle; } .list { list-style: square; } #msg { font-family: monospace; }The preceding code contains three CSS rules, with the last two rules using custom attributes to select elements:
.listand#msg..listis a class selector. Each HTML element that contains aclassattribute set tolistgets the styles that are defined within this selector.#msgis an ID selector. The HTML element that has itsidattribute set tomsggets the styles that are defined within this selector.
The names that you use for your selectors can be arbitrary, as long as they match what you've defined in the HTML.
Save your work by selecting Control+S on Windows or Command+S on macOS.
View in browser
To preview using Visual Studio Code, right-click the
index.htmlfile in Explorer, then select Open In Default Browser.Important
Even though you were just editing the
main.cssfile, to preview the changes, you should select theindex.htmlfile.The webpage opens in your default browser.
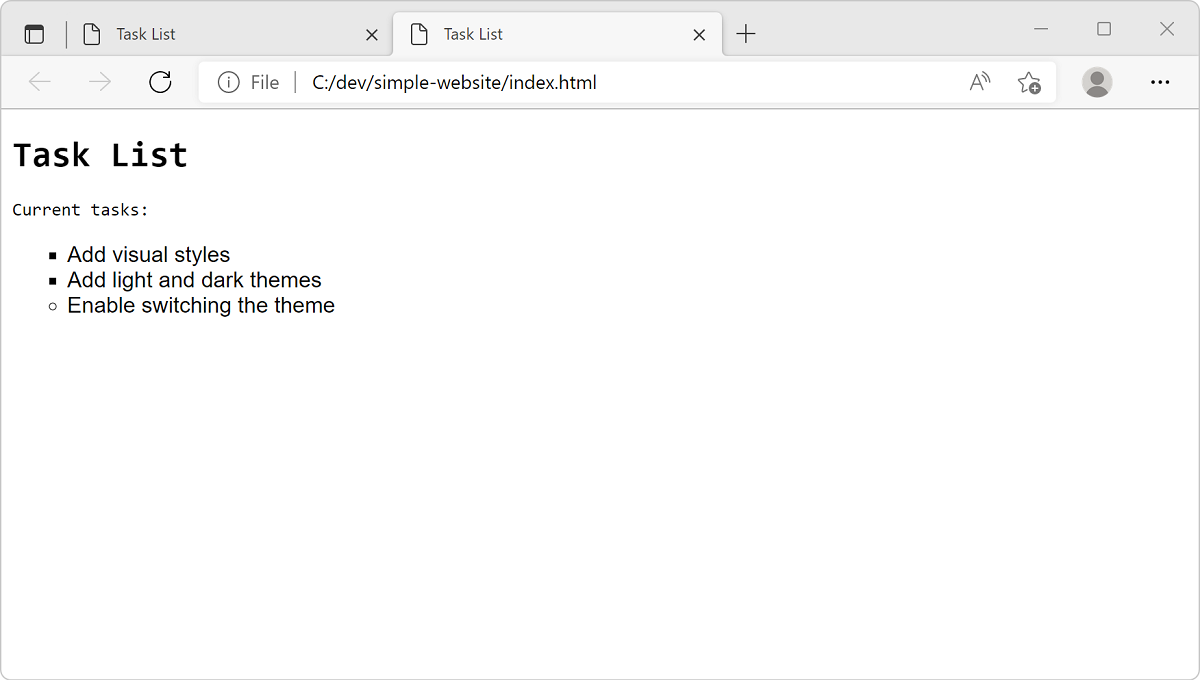

Are the font styles what you expected to see? It's interesting how styles applied to the <body> are inherited on the <h1> element. We didn't define anything for <h1>, but it still got the font that was defined on <body>. This inheritance mechanism from parent elements to their descendants is one of the key aspects of CSS. However, the <li> elements have a different font. The style for the <li> elements overrides the style set for <body> because the <li> element is a descendant of the <ul> element, which you defined a style for.
When you use Open In Default Browser in Visual Studio Code, it opens a new tab in the browser every time. To avoid opening a new tab, you can reload the tab that already contains your website instead.
To reload the tab, press F5, which is the refresh keyboard shortcut, or press Ctrl+R on Windows or Linux, and Command+R on a Mac.
Add a light theme
Next, add support for a color theme for your website. Begin by defining a light-colored theme using hex color codes.
In your CSS file (
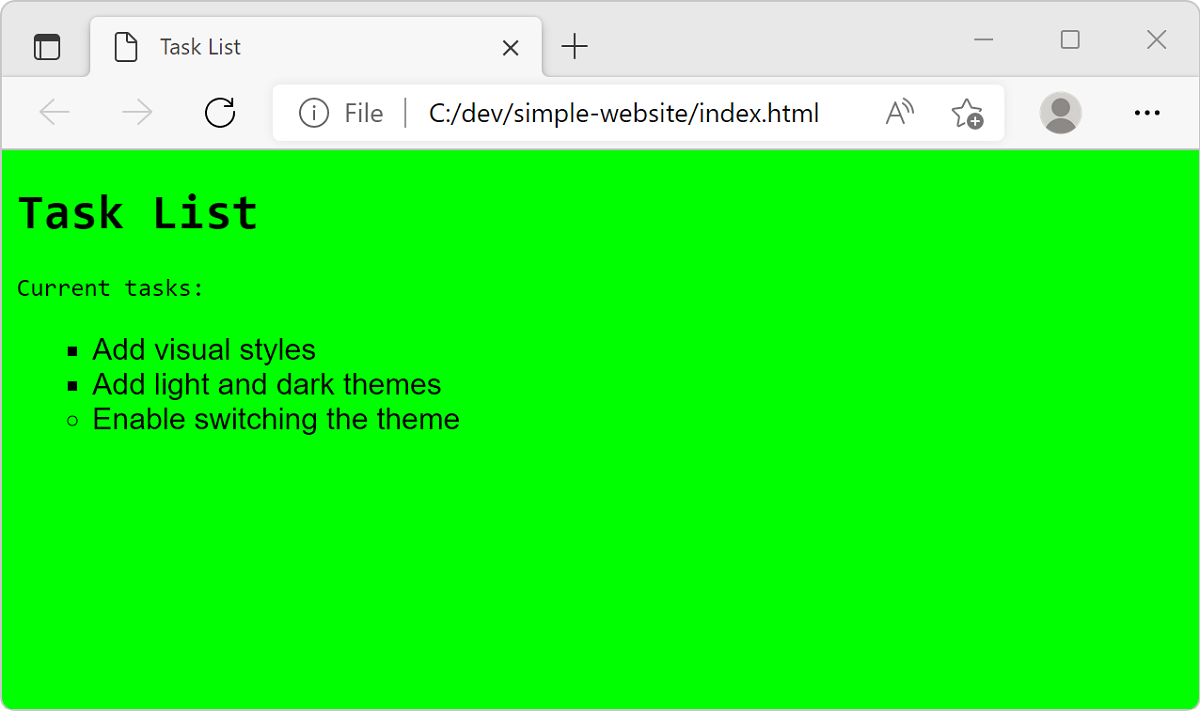
main.css), add the following code at the end of the file..light-theme { color: #000000; background: #00FF00; }In this example,
#000000specifies black for the font color, and#00FF00specifies green for the background color.In your HTML file (
index.html), update the<body>element with the class namelight-theme. Now, the class selector for light theme applies the styles correctly.<body class="light-theme">
View in browser
To preview using Visual Studio Code, right-click
index.html, then select Open In Default Browser or reload the previous tab by pressing F5.Notice that the light theme using a green background appears.

View applied CSS
On the browser view, open Developer Tools.
Right-click the page and select Inspect, or select the shortcut F12 or Ctrl+Shift+I.
Select the Elements tab and select the Styles tab inside the Elements tab (it should already be selected by default).
Hover over the various HTML elements, and as you select a few elements, notice how the developer tools display which styles are applied to them in the Styles tab.
Select the
<body>element. Note thelight-themeapplied.Select the unordered list
<ul>element. Note the custom stylefont-family: helvetica;, which overrides the style for the<body>element.

To learn more about viewing CSS styles in Developer Tools, check out the Get started viewing and changing CSS article.
Add a dark theme
For the dark theme, you'll set up the infrastructure in preparation for the next unit, in which you'll enable theme switching on the web page.
To add support for a dark theme to your CSS, use the following steps.
In your CSS file (
main.css), add some constants to the page root at the beginning of the file.:root { --green: #00FF00; --white: #FFFFFF; --black: #000000; }The
:rootselector represents the<html>element in the HTML page. For this kind of task, a best practice is to define a set of global CSS variables in a CSS rule with the:rootselector. In this example, you've defined three color variables. Now, you can use these variables in other CSS rules.At the end of the CSS file, replace the
light-themerule with the following code to update it and to add thedark-themeselector..light-theme { --bg: var(--green); --fontColor: var(--black); } .dark-theme { --bg: var(--black); --fontColor: var(--green); }In the preceding code, you defined two new variables,
bgandfontColor, which specify a background and font color. These variables use thevarkeyword to set their property values to the variables previously specified in your:rootselector.Next, in your CSS file, replace the current
bodyselector with the following code.body { background: var(--bg); color: var(--fontColor); font-family: helvetica; }In this example, you use the
bodyselector to set thebackgroundandcolorproperties and, because the elements that are visible on the web page are all inside the<body>element, they inherit the colors set on<body>.In your CSS file, remove the rules with the
#msgandulselectors so that they also inherit the same font from<body>.Remember to save your file by selecting Control+S or Command+S.
Your CSS file (
main.css) should now look like this example::root { --green: #00FF00; --white: #FFFFFF; --black: #000000; } body { background: var(--bg); color: var(--fontColor); font-family: helvetica; } li { list-style: circle; } .list { list-style: square; } .light-theme { --bg: var(--green); --fontColor: var(--black); } .dark-theme { --bg: var(--black); --fontColor: var(--green); }To view the dark theme, open the file
index.htmland manually edit the default theme in the<body>class attribute to dark theme (dark-theme). Save the file and reload the page in the browser.
Edit the
<body>class attribute to switch the default back to light theme.

In the next unit, you use JavaScript to provide interactivity and support the switching of themes.
Use GitHub Copilot to add a theme
You can use GitHub Copilot in your IDE to generate CSS to add a new theme. You can customize the prompt to specify properties to define the styles for HTML elements per your requirements.
The following text shows an example prompt for Copilot Chat:
Add a medium colored theme in the CSS file using hex color codes for blue font and light blue background. Make font family as Arial.
GitHub Copilot is powered by AI, so surprises and mistakes are possible. For more information, see Copilot FAQs.
Learn more about GitHub Copilot in Visual Studio Code.