Exercise – Configure software to interact with GitHub
Now that you have a GitHub account and the learn-git repo created, it's time to install software that will make interacting with your GitHub repository simpler. You'll need to install Visual Studio Code first, then install Git, and then configure Visual Studio Code.
Install Visual Studio Code
- Go to https://code.visualstudio.com/Download.
- Download Visual Studio Code for your operating system.
- Install Visual Studio Code with the default options.
Important
You must complete the installation of Visual Studio Code before you start the Git install, or some of the options in Git won't be available to select.
Now that Visual Studio Code is installed, it will be available as a selection during Git installation. Continue by installing Git.
Install Git
Download Git for your operating system.
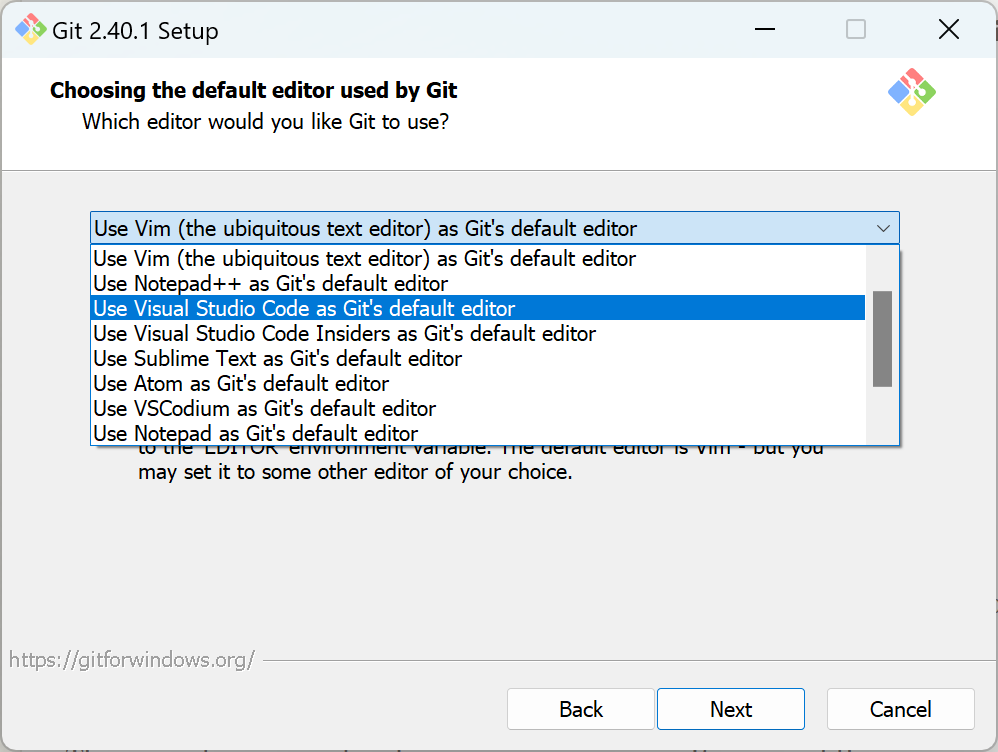
Install Git with the following custom selections - all other selections can be left as the default.
Choosing the default editor used by Git - Set to Use Visual Studio Code as Git's default editor.
Adjusting the name of the initial branch in new repositories - Set to Override the default branch name for new repositories and enter main in the text box.

Note
Only steps 4 and 5 require custom settings. The rest of the Git installation can be completed with default values.
Configure Visual Studio Code
For most of this project, you'll be using the terminal window of Visual Studio Code to run commands from the Git command line. Being familiar with the command line can greatly improve your Git experience. Rather than having to navigate different menus and recall where to locate different settings, you can do everything from the terminal window.
Open the terminal window
- Launch Visual Studio Code.
- On the menu bar, select Terminal > New Terminal or use the hotkey combination CTRL ` (control backtick) to open the terminal in Visual Studio Code.
- Change the terminal type to Git Bash.
Note
By default, Visual Studio Code will always open the terminal window in PowerShell mode. You can change that default with the Select Default Profile option on the same menu where you changed to Git Bash.
Configure Git settings and directories
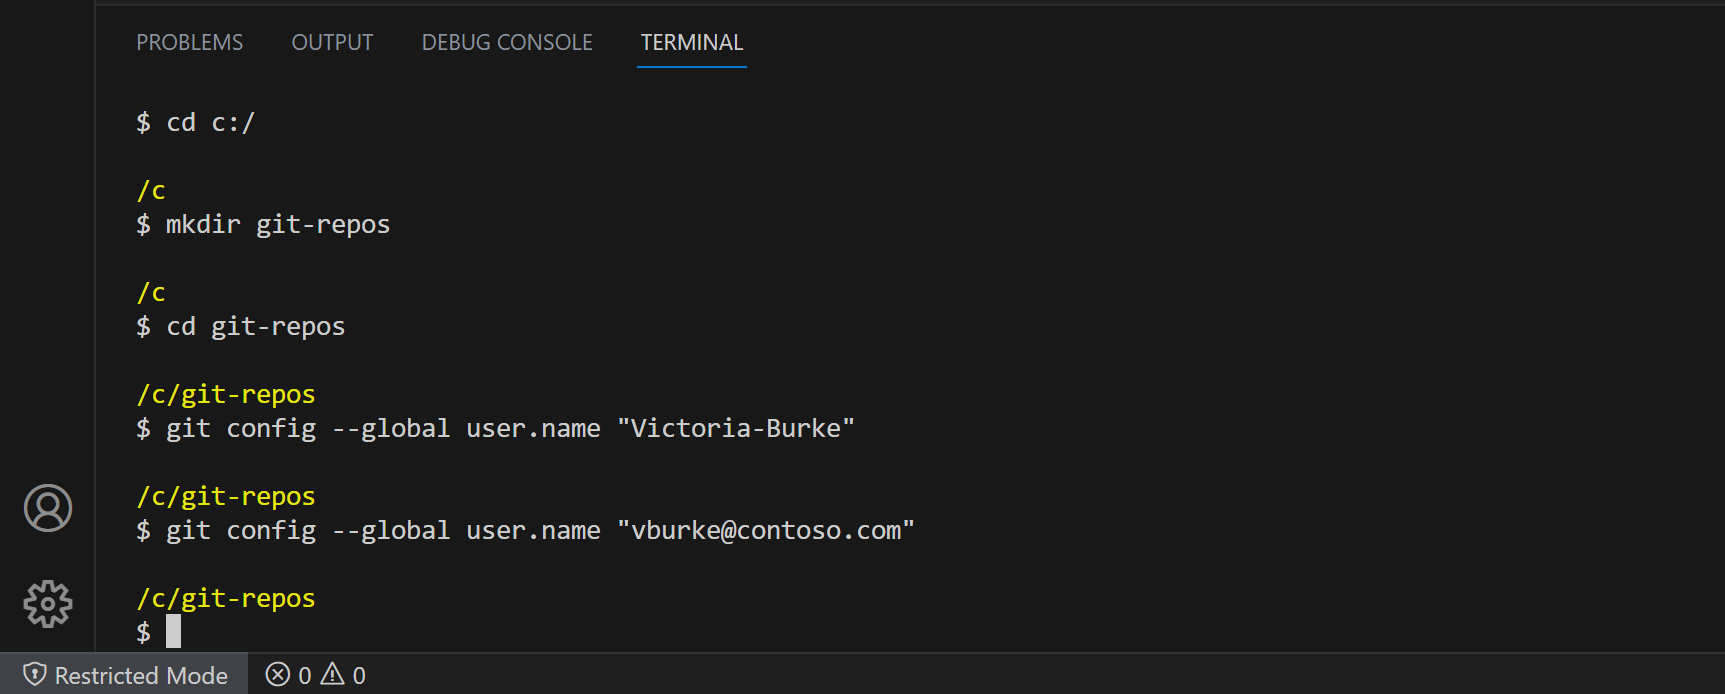
Now we'll use a combination of batch commands and Git commands to create a Git repository folder and set our global username and email. In the terminal window, run the following commands.
| Command | Action |
|---|---|
cd c:/ |
Changes from any location to the root of the C drive. |
mkdir git-repos |
Creates a new directory, git-repos, on the C drive. |
cd git-repos |
Changes to the newly created git-repos directory. |
git config --global user.name "Victoria Burke" |
Sets your user name for all git repos to help identify commits.*replace Victoria-Burke with your GitHub username. |
git config --global user.email "vburke@contoso.com" |
Sets your email address for all git repos to help identify commits.*replace vburke@contoso.com with the email associated with your GitHub account. |
Congratulations! You've successfully installed Git and Visual Studio Code. You've also configured Visual Studio Code to start working with your Git repository.