Exercise – Use software to create a local version of your repository
In this exercise, you're going to clone your GitHub repository from the web to your local computer. Because we've just started with this repository, it will be a quick process. However, when working with large repositories the process could take a while. Remember, when you clone a repository you're downloading the full repository to your computer.
Open the terminal window
- Launch Visual Studio Code.
- On the menu bar, select Terminal > New Terminal or use the hotkey combination CTRL ` (control backtick) to open the terminal in Visual Studio Code.
- Change the terminal type to Git Bash.
- In the terminal window, enter
cd c:/git-repos
Clone your GitHub repository
- Type
git clone https://github.com/<github user name>/learn-git.git - If prompted to authenticate, choose an authentication option and follow the prompts.
The repository should download quickly. Once the repository downloads, continue to the next task.
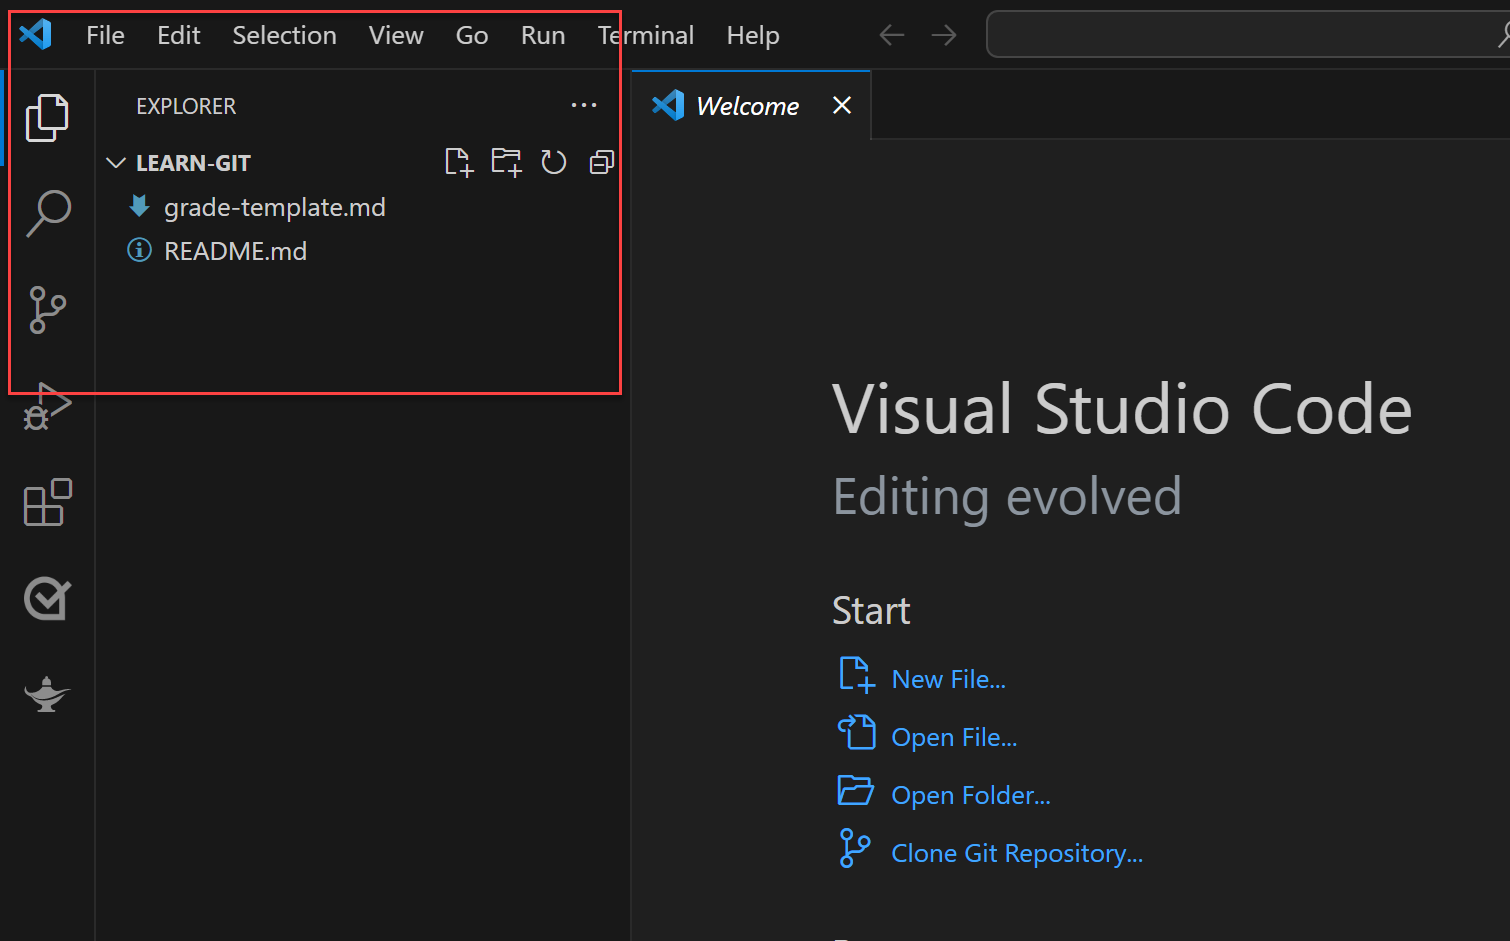
Open your local repository in VS Code File Explorer
- In the Visual Studio Code menu, go to File, Open Folder or use the hotkey sequence CTRL O followed by CTRL K.
- Navigate to c:\git-repos and select learn-git.
- Click Select folder.
The explorer view should update to show your README.md file and your grade-template.md file. Your terminal window will likely close. Re-open the terminal window with the CTRL ` hotkey and change back to Git Bash if that's not your default.
Congratulations, you've successfully cloned your GitHub learn-git repository to your local machine and opened it in VS Code.