Exercise: Create a product
Read this first - before you start the lab!
Important
For this lab, you CANNOT sign in with your own credentials. Use the following steps to sign in to your lab environment with the correct credentials.
Select Launch VM mode or Sign in to launch VM mode in this unit.
In the Resources tab on the lab side bar, select the T icon next to Password in the MININT box, to have the administrator password for the Virtual Machine entered for you.
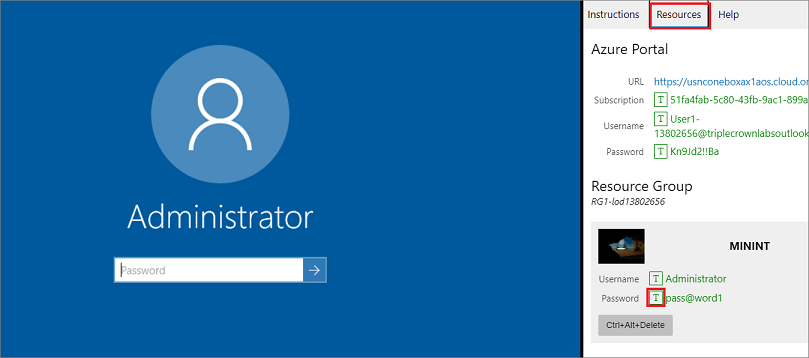
Press Enter.
In the Networks window that opens, select No to not allow your PC to be discoverable.
You'll see a PowerShell window and a Windows Command window appear. After about two to three minutes, they'll close and Microsoft Edge will open automatically. Wait for it to navigate to the Sign in page for finance and operations.
On the Microsoft Sign in page in finance and operations, insert your mouse cursor into the Username field.
On the Resources tab of the lab side bar, below the Azure portal heading, select the T icon next to Username, then press Enter.

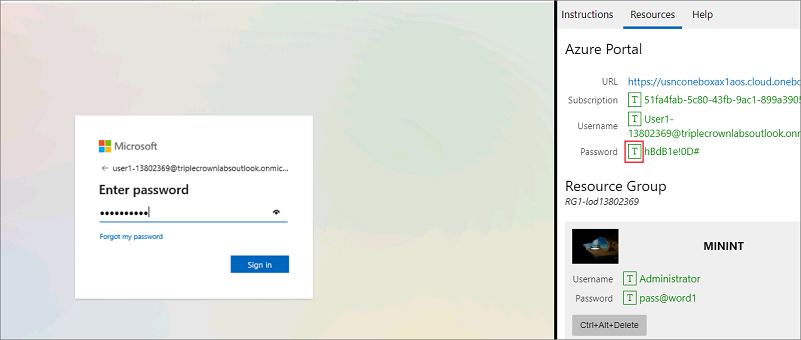
Your mouse cursor will now be in the Password page.
On the Resources tab of the lab side bar, below the Azure portal heading, select the T icon next to select Password, then press Enter.
Don't stay signed in, or store the password on the virtual machine.
To see the lab instructions, select the Instructions tab on the lab side bar.
You can now begin your work on this lab.
Objective
In Contoso Entertainment System USA (USMF), you plan to purchase a new configuration of a cabinet from a vendor. You need to create an item to represent the new configuration. In this lab, you learn how to create a new item and item configurations.
Lab steps
In Contoso Entertainment System USA (USMF), you plan to purchase a new configuration of a cabinet from a vendor. You need to create an item to represent the new configuration.
On the Finance and Operations Home page, in the upper right, verify you're working with the USMF company. If necessary, on the company drop-down, select USMF.
In the upper left, select the Expand the navigation pane hamburger menu.
In the navigation pane, select Modules, and then select Product information management. Then on the Products menu, select Products.
On the Products page, in the upper menu, select + New.
In the New product page, in the Product type field, verify that Item is selected.
In the Product subtype field, verify that Product is selected.
Under IDENTIFICATION, in the Product number box, enter GTL007.
In the Product name box, enter Cabinet 2.
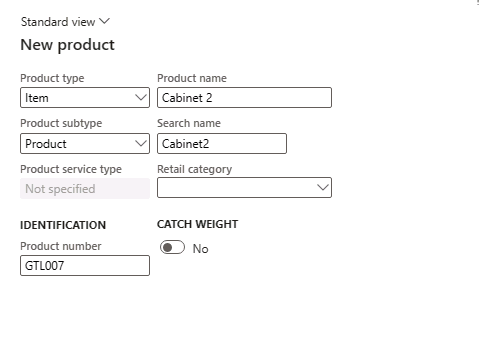
Select the OK button.
Under the Product menu in the Action Pane, select Dimension groups under the Set up group.
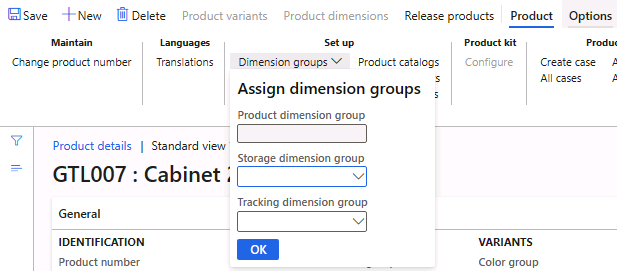
Select the Storage dimension group drop-down and select SiteWH.
Select the Tracking dimension group drop-down and select None.
Select the OK button.
Select the Release products button in the Action Pane to release the product in a legal entity.
A page opens displaying the first step as Select products to release.
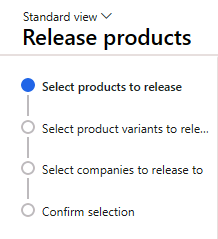
Select the Next button at the bottom of the page
In the Select companies to release to page, select the USMF legal entity where the product should be released.
Select the Next button at the bottom of the page.
In the Confirm selection page, set the value of Show Infolog upon failure as Yes and Run as batch as No.
Select the Finish button at the bottom of the page.
In the navigation pane, select Modules, and then select Product information management. Then on the Products menu, select Released products.
In the Releases products page, locate the new item GTL007 in the grid.
Select the product link and navigate to the Product details page.
In the General FastTab, enter the following:
- Item model group: FIFO
In the Purchase FastTab, enter the following:
Unit: ea
Item sales tax group: ALL
Price: 30
In the Sell FastTab, enter the following:
Unit: ea
Item sales tax group: ALL
Price: 35
In the Manage inventory FastTab, enter the following:
- Unit: ea
In the Engineer FastTab, enter the following:
- BOM Unit: ea
In the Manage costs FastTab, enter the following:
- Item group: audio
To complete the configuration, select Product in the Action Pane. Select the Validate button under the Maintain group
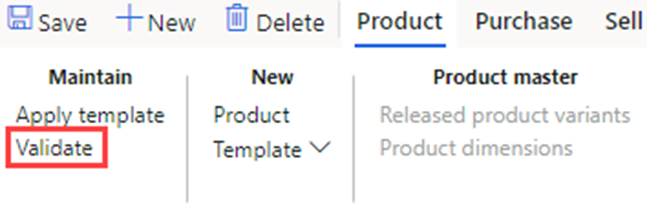
- Verify you're presented with the information banner confirming that all field values needed were validated.

- Close all pages and return to the Home page.
Close the lab environment
- Select Done in the Instructions pane in the lab side bar.
- In the Lab is complete window, select Continue, and then select Leave to return to the next unit in the module.