Exercise - Deploy a Bicep file from GitHub workflows
GitHub Actions are similar to Azure Pipelines in nature. They provide a way to automate software development and deployments. In this exercise, you'll learn how to deploy a Bicep file using a GitHub Action.
Prerequisites
- You'll need a GitHub account that you can create for free here.
- A GitHub repository is also required to store your Bicep file and workflows created earlier in the Exercise - Create Bicep templates. Once you've created your GitHub repository, push the Bicep file into it.
- For deployment to Azure, access to an Azure subscription is needed, which can be created for free here.
Creating a service principal in Azure
To deploy your resources to Azure, you'll need to create a service principal which GitHub can use. Open a terminal or use Cloud Shell in the Azure portal and type the following commands:
az login
az ad sp create-for-rbac --name myApp --role contributor --scopes /subscriptions/{subscription-id}/resourceGroups/Bicep --sdk-auth
Note
Don't forget to replace the {subscription-id} with your actual subscription ID.
Understanding the command
- az ad sp create-for-rbac: Creates a service principal for role-based access control.
- --name: Name of the service principal.
- --role: Assigns the
contributorrole, allowing full management of resources. - --scopes: Limits access to a specific resource group.
- --sdk-auth: Outputs credentials in a format suitable for SDK authentication.
When the operation succeeds, it should output a JSON object that contains your tenantId, subscriptionId, clientId, clientSecret, and a few more properties, such as the following:
{
    "clientId": "<GUID>",
    "clientSecret": "<GUID>",
    "subscriptionId": "<GUID>",
    "tenantId": "<GUID>",
    (...)
}
Note this object since you'll need to add it to your GitHub secrets.
Creating a GitHub secret
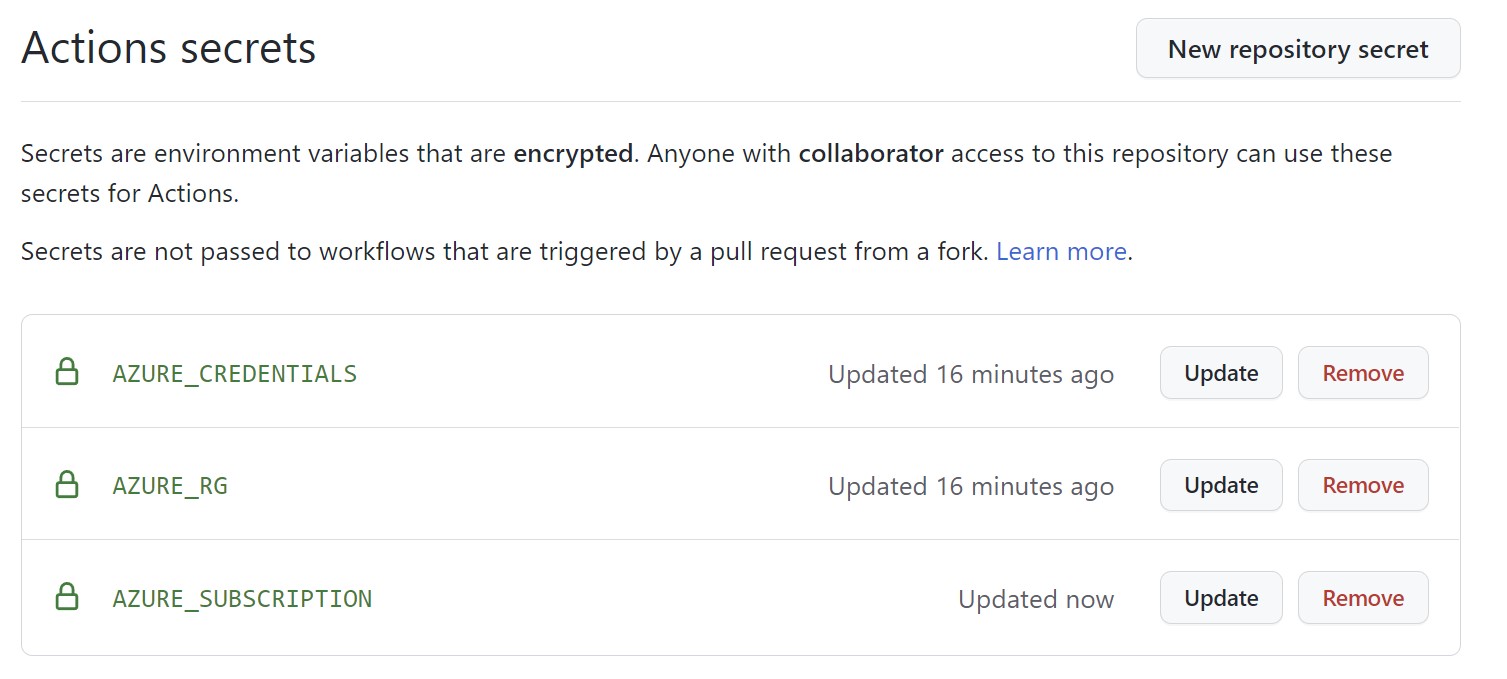
In your GitHub repository, navigate to Settings > Secrets > Actions. Create a new secret called AZURE_CREDENTIALS and paste the entire JSON object you got from the previous step.
Create another secret for the name of the resource group with a name such as AZURE_RG and one for the subscription ID named AZURE_SUBSCRIPTION.
Why use secrets?
GitHub secrets store sensitive information securely. They are:
- Encrypted: Stored securely in GitHub.
- Not visible in logs: Masked in workflow run logs.
- Accessible in workflows: Available as environment variables during workflow execution.
Creating a GitHub action
Create a new workflow
First, navigate to your repository and select the Actions menu. Then, set up a workflow to create an empty workflow in your repository. You can rename the file to a different name if you prefer.

Define the workflow
Replace the content of the file with the following snippet:
on: [push]
name: Azure Resource Manager
jobs:
  build-and-deploy:
    runs-on: ubuntu-latest
    steps:
      # Checkout code
      - uses: actions/checkout@main

        # Log into Azure
      - uses: azure/login@v1
        with:
          creds: ${{ secrets.AZURE_CREDENTIALS }}

        # Deploy Bicep file
      - name: deploy
        uses: azure/arm-deploy@v1
        with:
          subscriptionId: ${{ secrets.AZURE_SUBSCRIPTION }}
          resourceGroupName: ${{ secrets.AZURE_RG }}
          template: ./main.bicep
          parameters: storagePrefix=stg
          failOnStdErr: false
Feel free to replace the
storagePrefixparameter value with your own.
Understanding the workflow
This GitHub Action workflow performs the following:
Trigger: Runs automatically when code is pushed to the repository (
on: [push]).Job: Defines a job named
build-and-deploythat runs on an Ubuntu runner.Steps:
- Checkout code: Uses
actions/checkout@mainto check out the repository code. - Log into Azure: Uses
azure/login@v1to authenticate with Azure using theAZURE_CREDENTIALSsecret. - Deploy Bicep file: Uses
azure/arm-deploy@v1to deploy the Bicep template:subscriptionId: Azure subscription ID from secrets.resourceGroupName: Resource group name from secrets.template: Path to the Bicep file.parameters: Parameters passed to the Bicep template.failOnStdErr: Set tofalseto not fail on standard error output.
Note
The first part of the workflow defines the trigger and its name. The rest defines a job and uses a few tasks to check out the code, sign in to Azure, and deploy the Bicep file.
- Checkout code: Uses
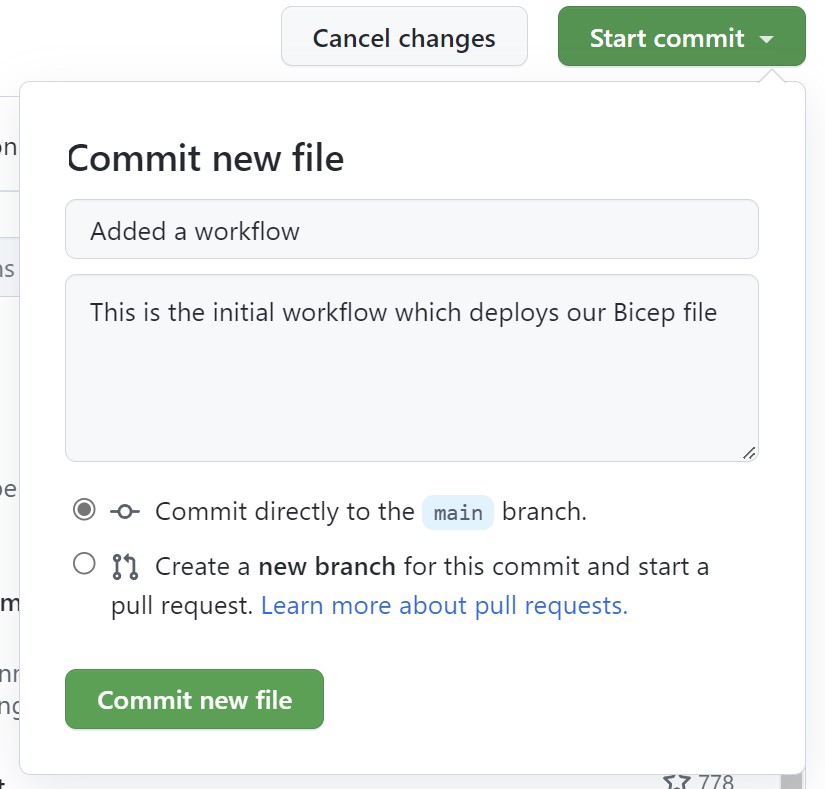
Commit the workflow
Select Start commit, and enter a title and a description in the pop-up dialog. Then select Commit directly to the main branch, followed by Commit new file.
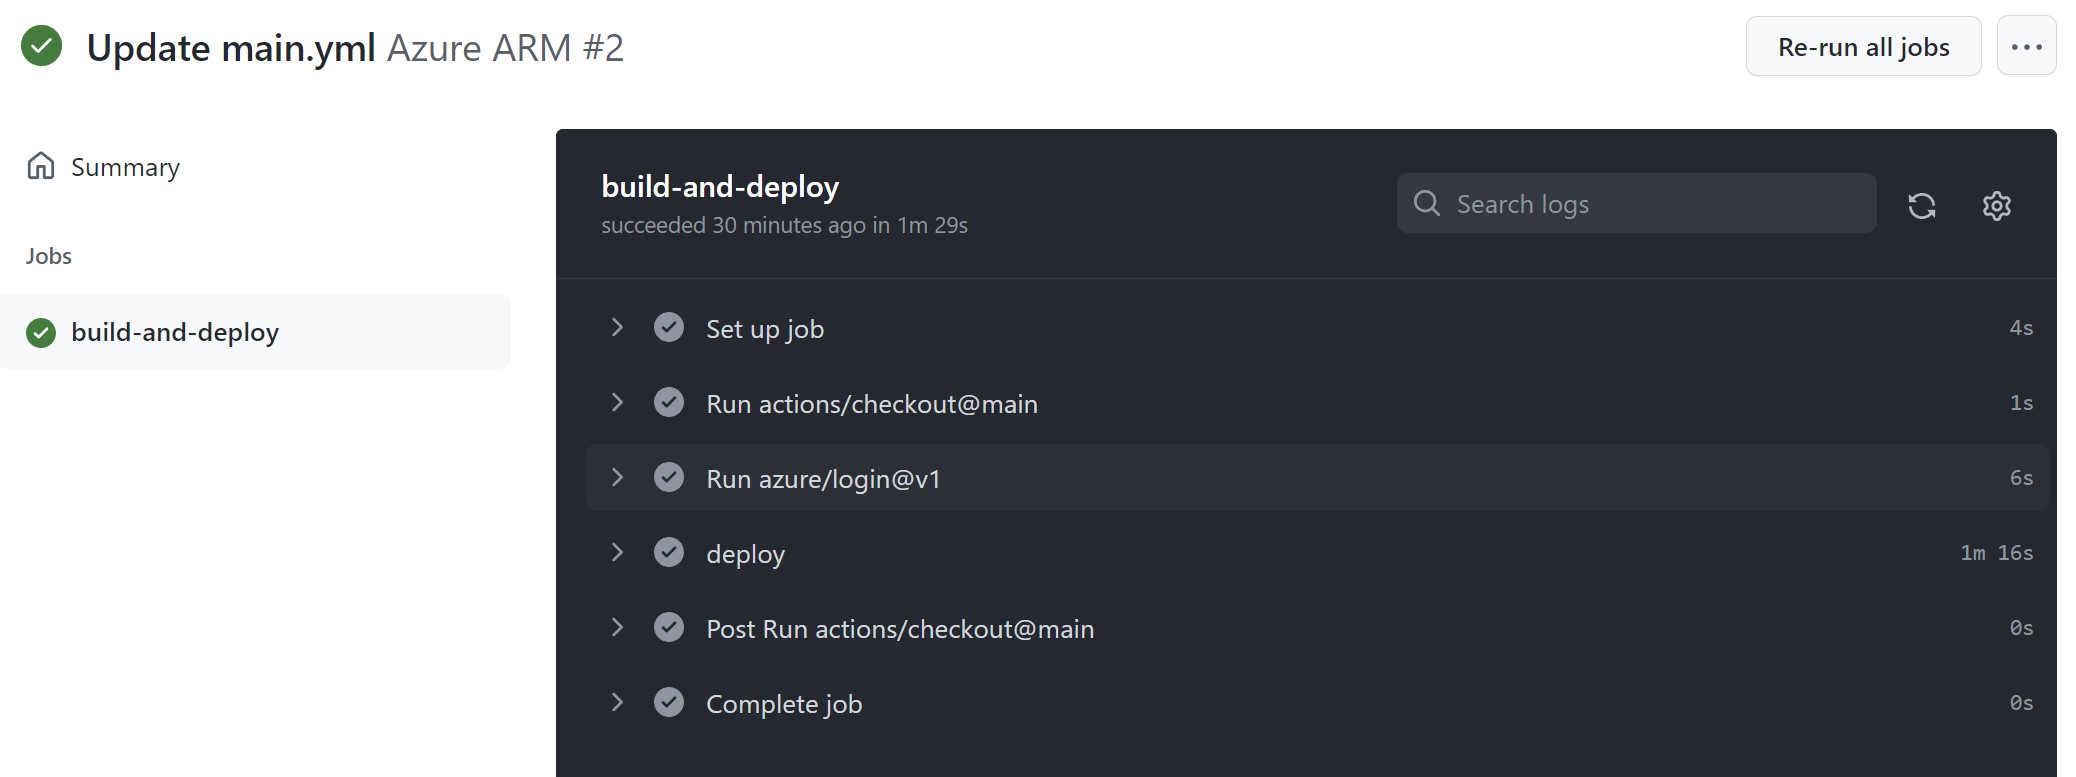
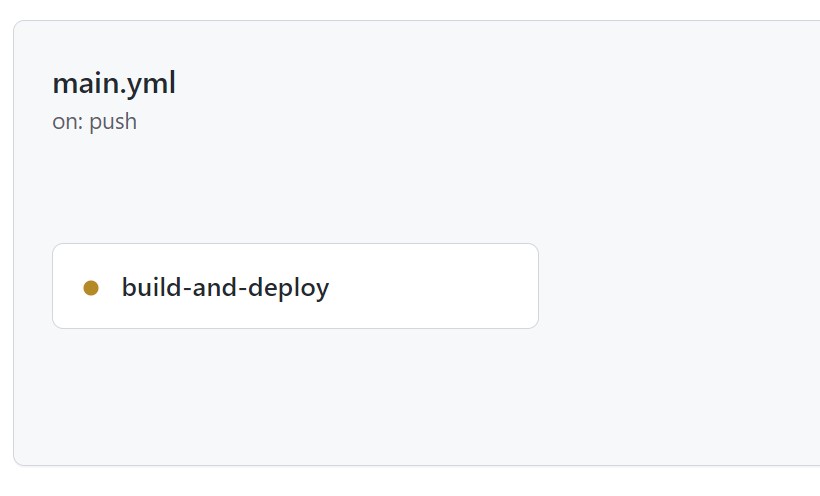
Monitor the workflow
Navigate to the Actions tab and select the newly created action that should be running.
Verify deployment
Monitor the status and when the job is finished, check the Azure portal to see if the storage account has been created.