Exercise manage users roles
You need to assign additional permissions to one of your newly created administrators.
In this exercise, you'll create a user account to use in the exercises.
Create an Azure account and add Microsoft Entra ID Premium P2 trial licenses
The tasks in this exercise and the exercises in this learning path require you to already have an Azure subscription that you can use or to sign up for an Azure trial account. If you already have your own Azure subscription, you might skip this task and continue to the next.
- In a web browser, go to Azure portal.
- Scroll down through the page to learn more about the benefits and free services available.
- Select Start free.
- Use the wizard to sign up for your Azure trial subscription.
- You need to a Microsoft Entra ID P2 license to complete some of the exercises. In the organization you created, search for and then select Microsoft Entra ID.
- Select Licenses in the menu.
- In the right Quick tasks menu of the Licenses - Overview page, select Get a free trial
- Under Getting started with Microsoft Entra ID, select Get a free trial for Microsoft Entra ID Premium.
- In the Activate pane, underMicrosoft Entra ID PREMIUM P2, select Free trial and then select Activate.
- In the navigation menu on the left, select Overview.
- Refresh the browser until you see Microsoft Entra ID Premium P2 under the organization name. It might take a couple of minutes.
- You might need to sign out and sign back into Microsoft Azure if you encounter any problems with expected features not being available.
Add a new user
Now, let's create a user account.
Sign in to the Microsoft Entra admin center as a Global administrator
In the menu on the left expand the Identity section.
In the left navigation menu, under Users, select All Users, then select +New User.
Create a user using the following information:
Setting Value User principal name ChrisG Mail nickname (you might have to uncheck the Derive from user principal name. ChrisG Display name Chris Green Password Pass@word1 Select Create. The user is now created and registered to your organization.
Assign a role to a user
Using Microsoft Entra ID, you can designate limited administrators to manage identity tasks in less-privileged roles. Administrators can be assigned for such purposes as adding or changing users, assigning administrative roles, resetting user passwords, managing user licenses, and managing domain names.
In Microsoft Entra ID, All users screen, select Adele Vance.
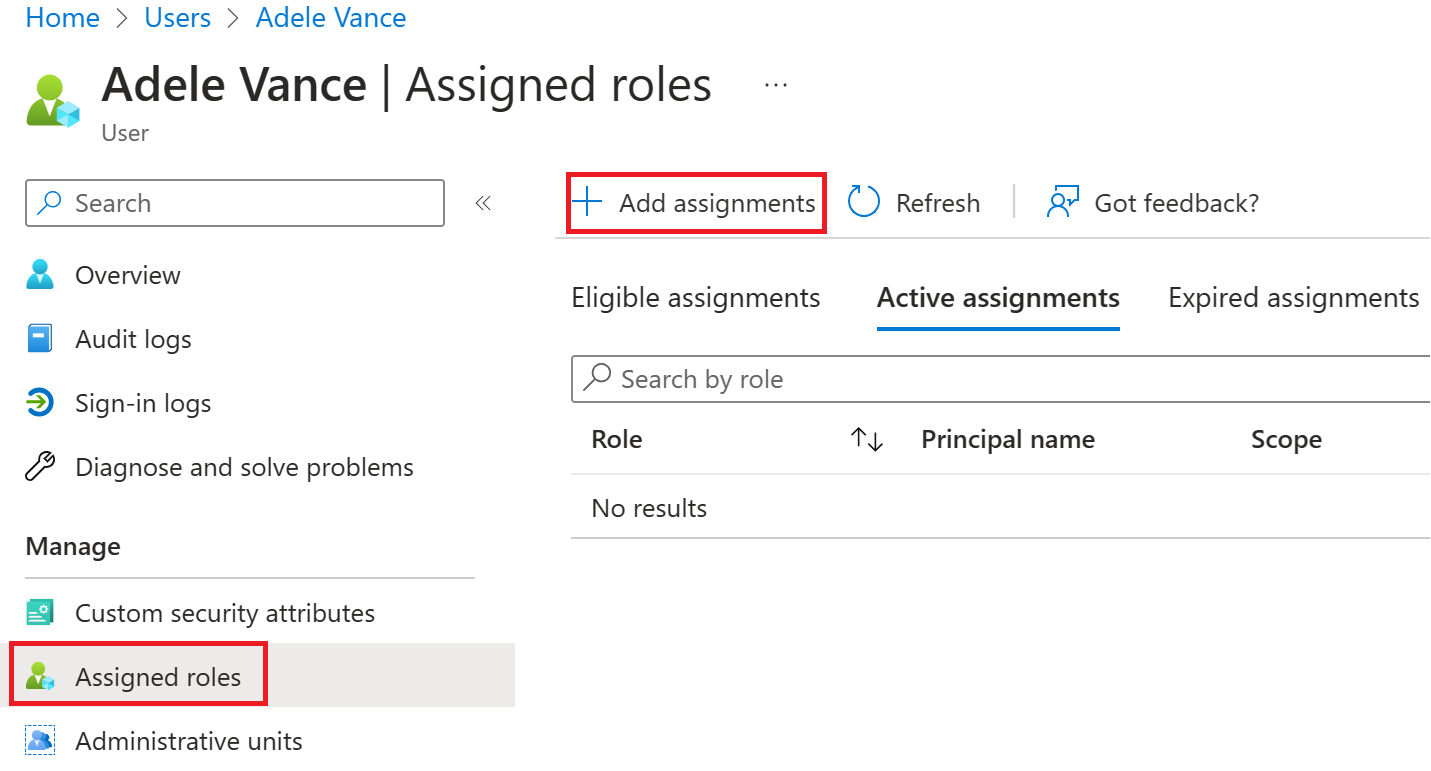
On the user’s profile page, select Assigned roles. The Assigned roles page appears.
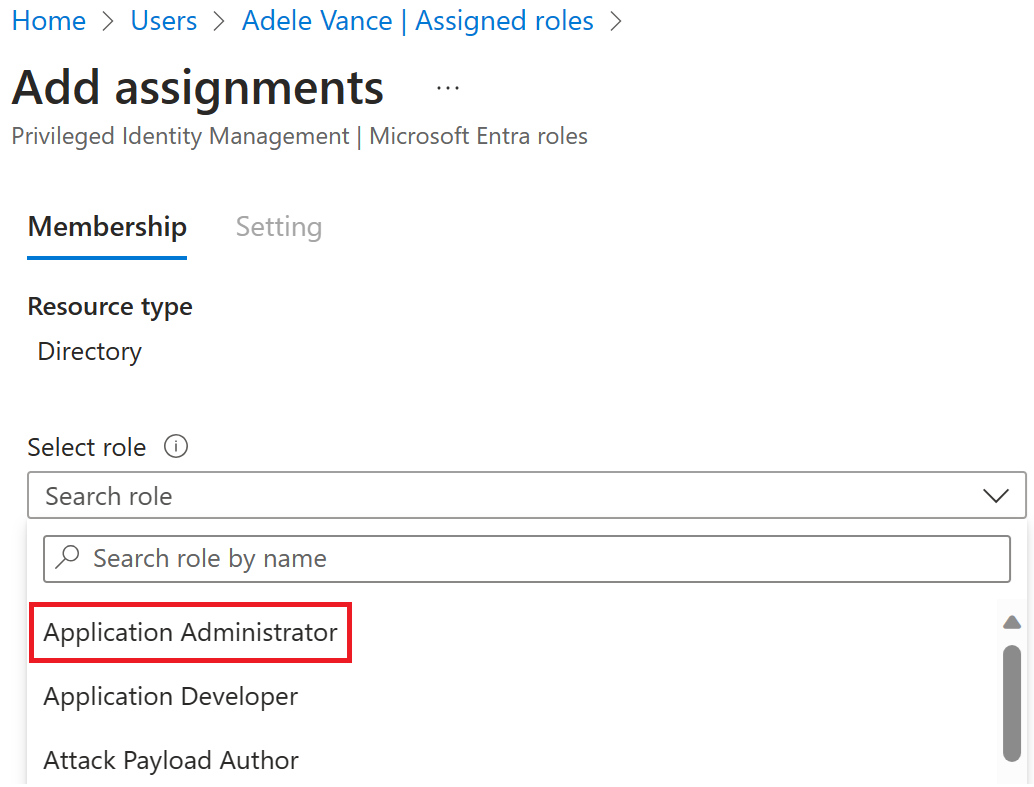
Select Add assignments, select the role to assign to the user (for example, Application administrator), and then select Add.
Select + Add Assignment.
The newly assigned Application administrator role appears on the user’s Assigned roles page.
Remove a role assignment
If you need to remove the role assignment from a user, you can also do that from the Assigned roles page.
To remove a role assignment from a user
In Microsoft Entra ID, select Users - All User, and then select the user getting the role assignment removed. For example, Adele Vance.
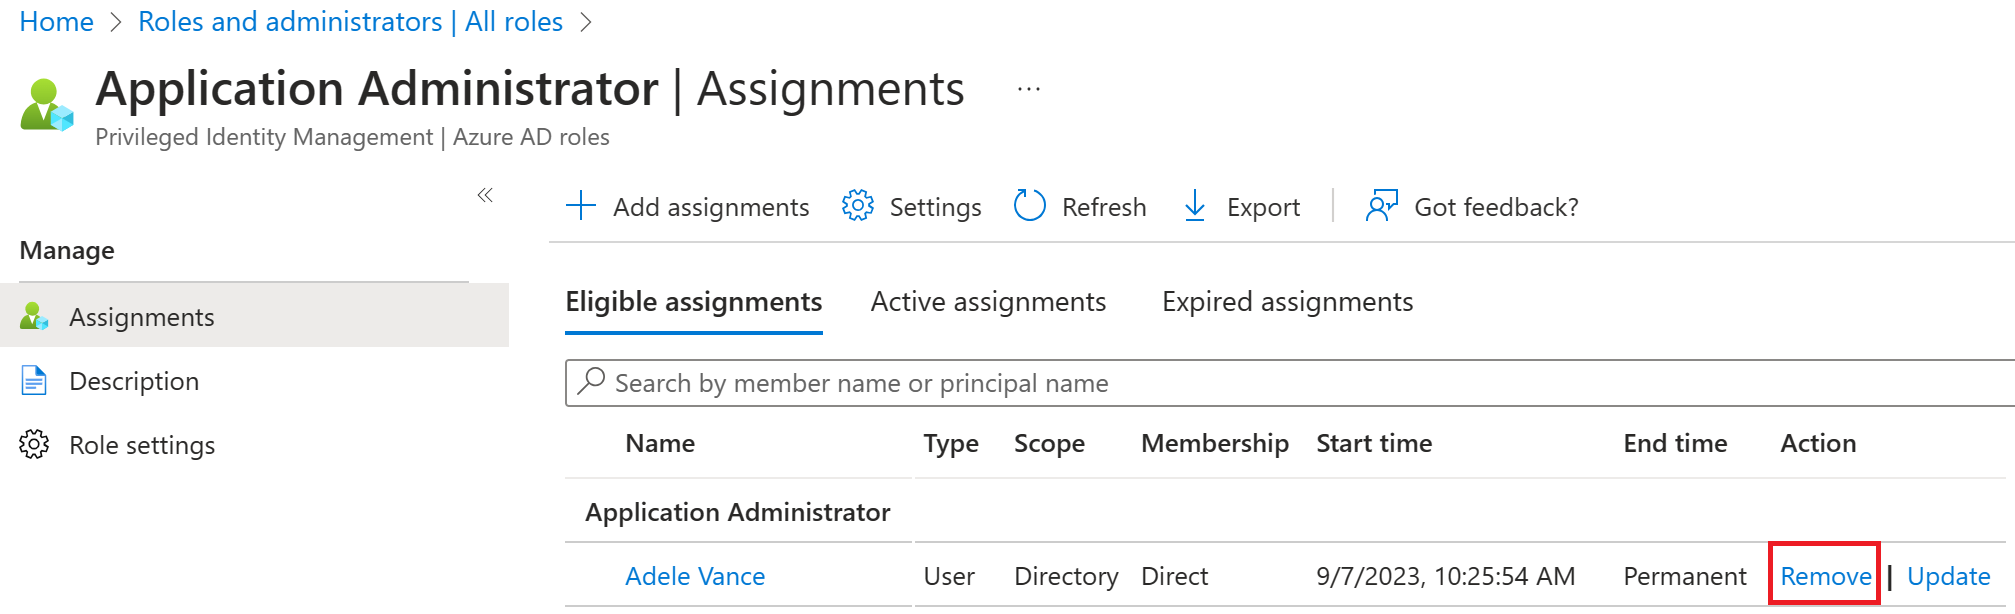
Select Assigned roles, then select the name of the role your wish to removed -
Application Administrator.On the far right side of the screen, select Remove. Then select Yes option when prompted for confirmation.
The Application administrator role is removed from the user and it no longer appears on the Chris Green – Assigned roles page.